Introduction
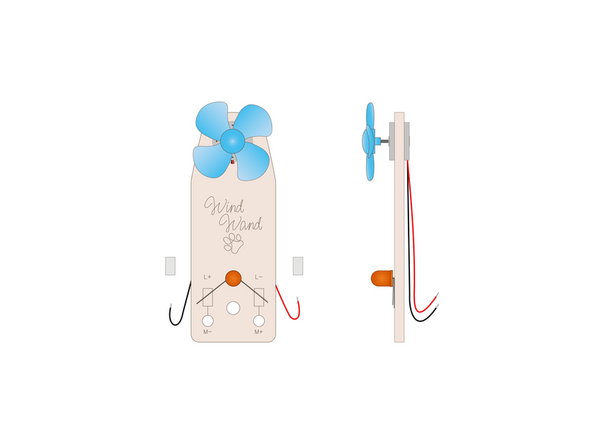
Make an LED light up with the power of the wind! Using a small motor with a fan blade as a generator is easy. We'll connect an LED using Maker Tape and get it to light up.
Tools
Optional Tools
Parts
Video Overview
Featured Document
-
-
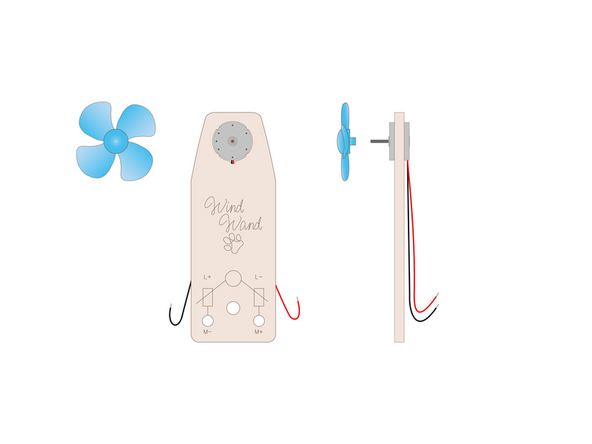
You'll need all of the parts from the Wind Wand kit.
-
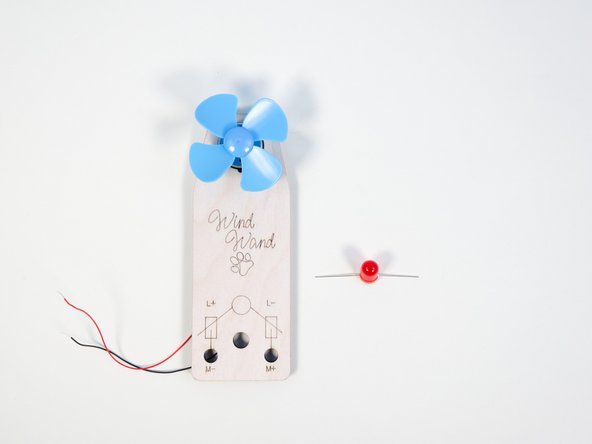
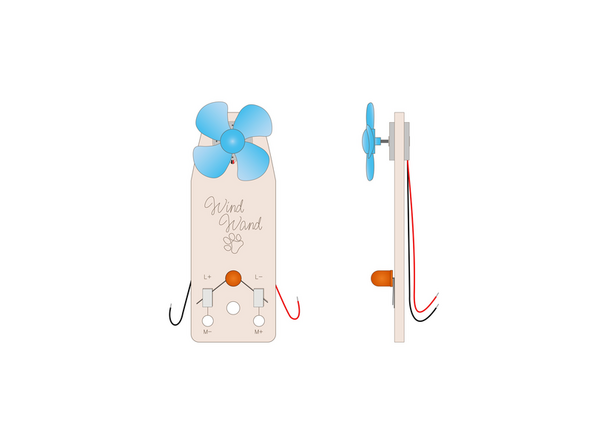
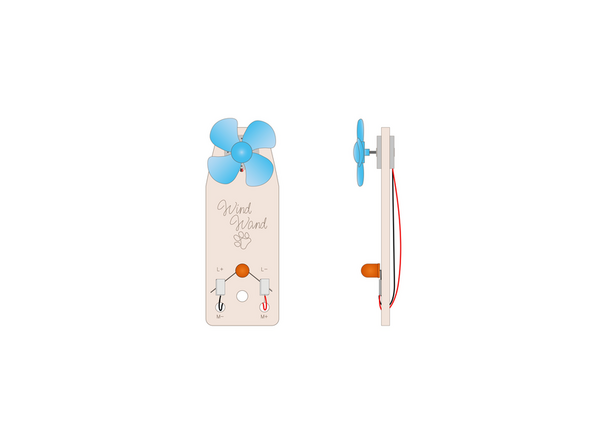
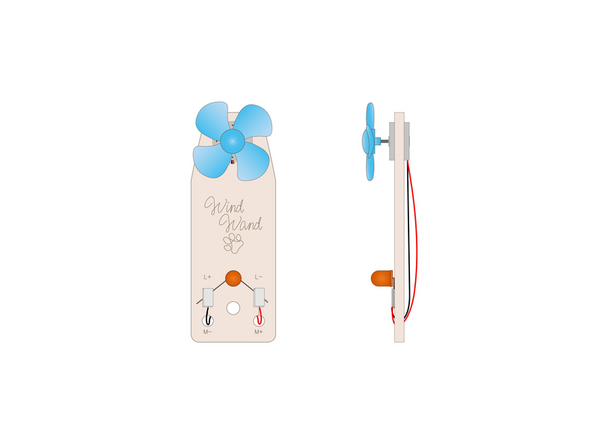
The wooden body, the motor, the fan, and an LED.
-
You'll also need four small pieces of Maker Tape. We'll use Maker Tape because it's conductive and will create a good electrical connection for our circuit.
-
-
-
We'll start by adding the motor.
-
Press the motor in from the back of the Wind Wand body.
-
It should go about half through an doesn't need to go further. It just needs to stay in place.
-
It should be a good pressure fit, but if it's too tight you can lightly sand or cut away part of the notches on the inside of the hole.
-
If the motor fit is a bit loose you can try to add a piece of tape around the body of the motor.
-
-
-
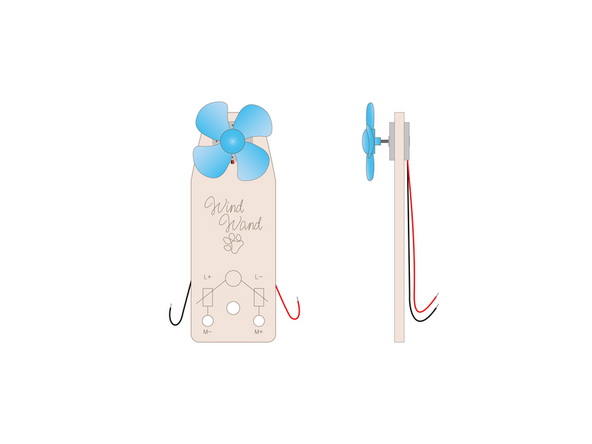
Add the fan blade. It should easily press fit onto the shaft of the motor.
-
-
-
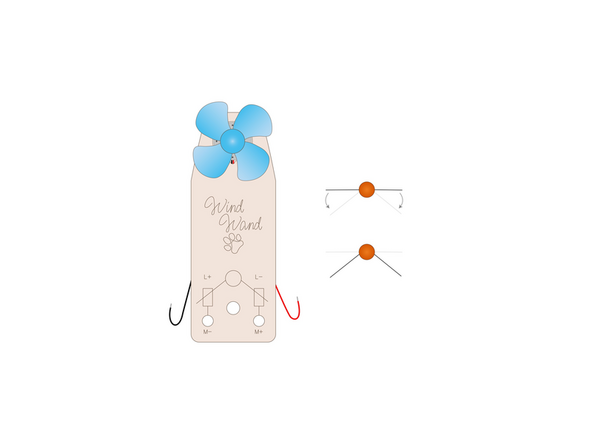
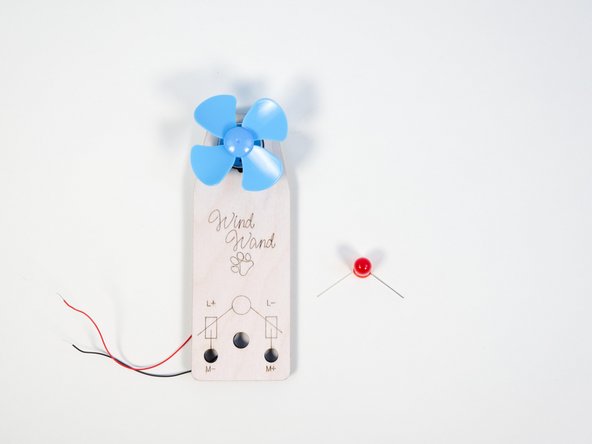
Take the LED and splay the legs outward in opposite directions.
-
Make note of the Positive (longer) leg and Negative (shorter) leg. You'll want the Positive leg on the left side, to match the "L+" on the Wind Wand body.
-
Once the LED legs are straight out in opposite directions carefully bend them down to approximately 45 degrees as shown.
-
-
-
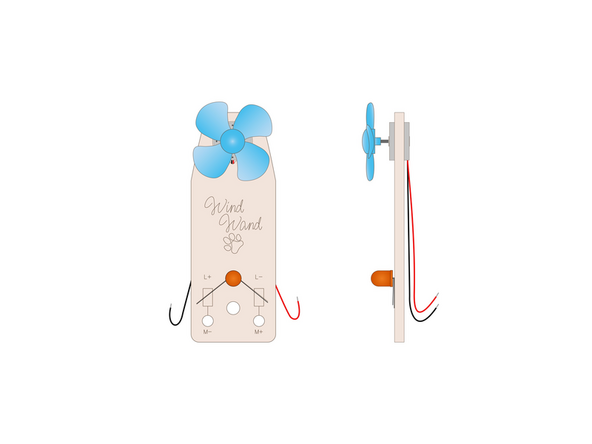
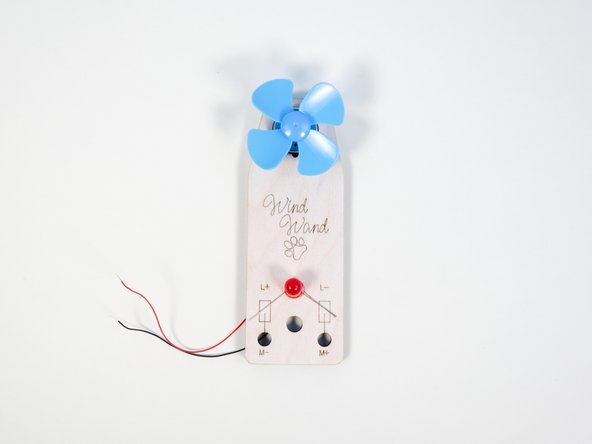
Add the LED onto the front of the Wind Wand body with the legs matching the lines.
-
Remember! The longer leg is Positive and needs to be on the left side.
-
-
-
You'll need two short pieces of Maker Tape. Each about 12mm long (or about half an inch).
-
Use the two pieces of Maker Tape to hold the LED legs down to the surface of the Wind Wand.
-
Give the tape a good press to ensure a solid electrical connection.
-
-
-
We'll now connect the motor wires to the LED legs.
-
Cut two more pieces of Maker Tape, the same length as the previous pieces.
-
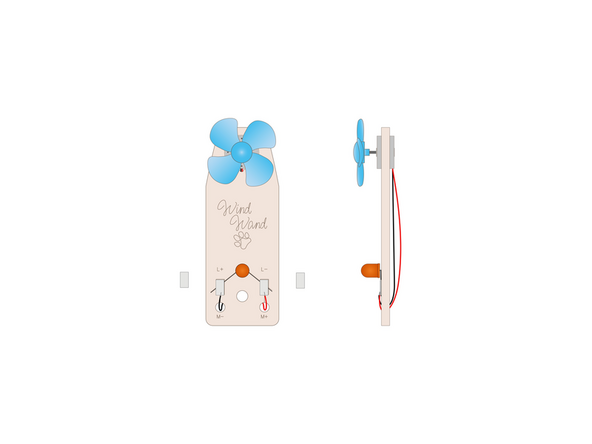
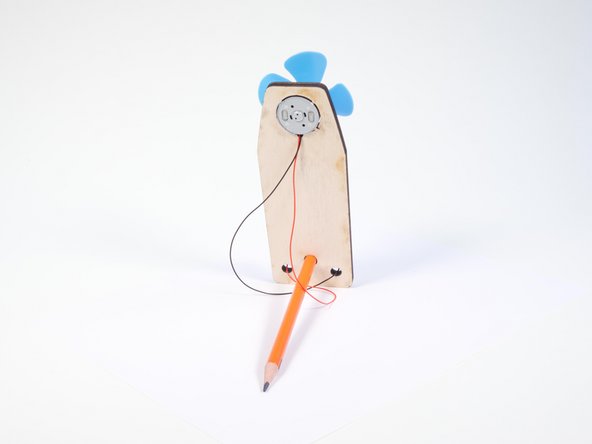
Thread the black and red wires through the holes in the Wind Wand body.
-
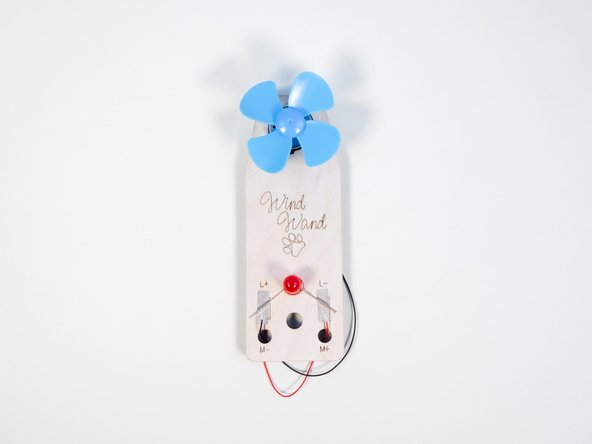
Connect the black wire from the motor (M-) to the Positive leg of the LED (L+) and the red wire from the motor (M-) to the Negative leg of the LED (L-).
-
Wait! Isn't that backwards!? Usually black is Negative and red is Positive, so it appears we're connecting things backwards, but we are not...
-
Since we are using the Motor to generate electricity instead of powering the motor with electricity we need to reverse the polarity.
-
Make sure the wires are securely held down with Maker Tape to ensure a good connection.
-
-
-
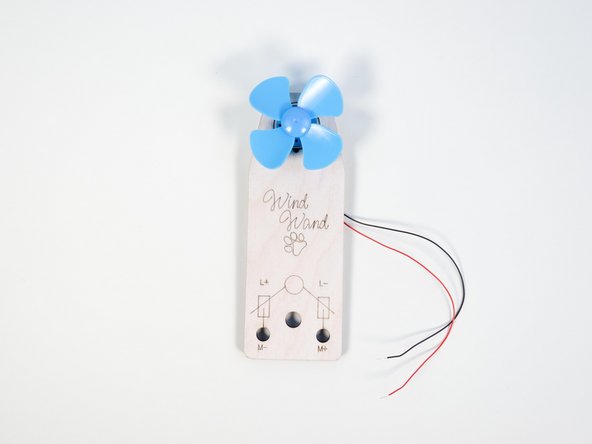
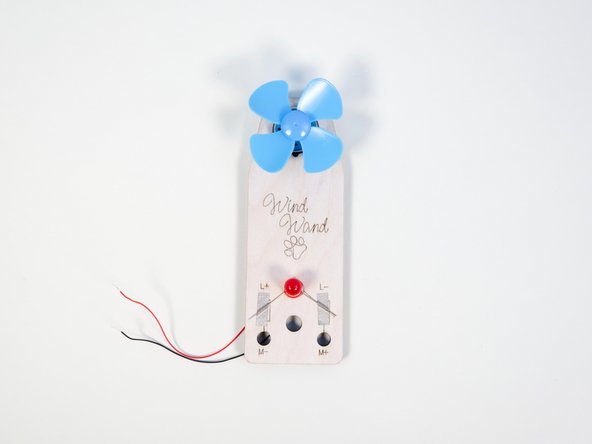
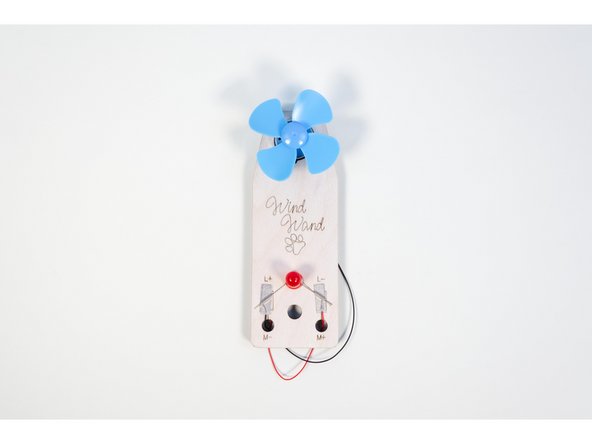
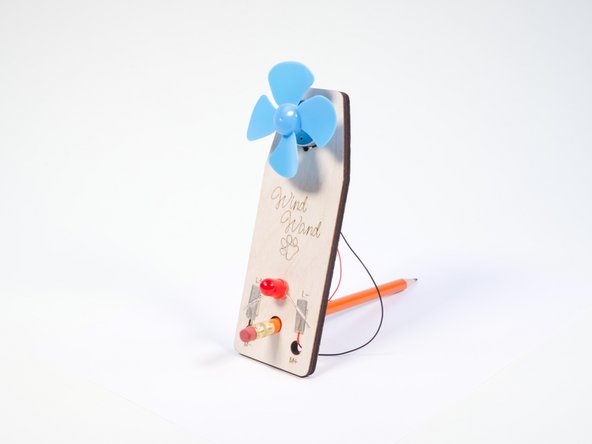
Your Wind Wand is now complete, and ready for testing!
-
-
-
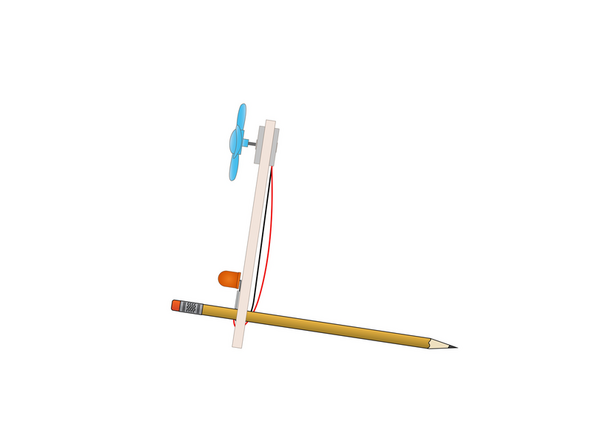
One more thing! We added a hole in the center of the Wind Wand so you can easily stand it up with a pencil.
-
-
-
Try to light up the LED!
-
We first tried by blowing on the fan blade with a huge breath... and it worked!
-
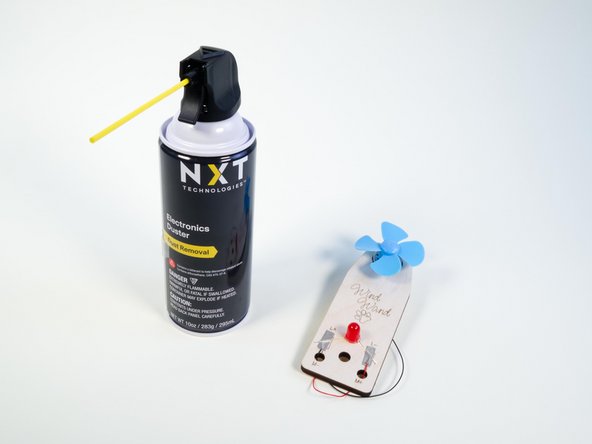
We then used a can of compressed air and that worked even better!
-
Next we used a desktop fan, and got that to work as well.
-
-
-
If you find it a bit difficult to light up the LED by blowing on it (or just want to lower the number of people blowing their breathe in a closed area) consider using compressed air instead.
-
Compressed air comes in cans, and is typically used as a "duster" to clean out dust from computers and other equipment.
-
A warning with the cans is that they should be used in an upright position, not pointed downward, so hold your Wind Wand upright, do not lay it on a table...
-
And note that the cans are meant for short bursts, not sustained use, and can get very cold when you spray too much. So we do have another suggestion...
-
This Rechargeable Air Duster is a reusable solution with a long-lasting battery and no freeze-ups.
-
-
-
Someone asked if a desk fan would work and... it does!
-
You can use a fan and test how close you need to move the Wind Wand to it to get the fan spinning and the LED to light up.
-


