
Introduction
Before tackling this fun Winter Holiday project, look over both of our project guides entitled Molded LEDs for small candy molds and Halloween Molded LED Circuit Sticks, keeping in mind that this is a simple variation on those ideas.
Video Overview
-
-
Note: This project uses Molded LEDs. Do you know how to make them? It's quite simple but, if you don't already know how, review our guide titled Molded LEDs for small candy molds detailing this process.
-
Also: This project is a thematic variation on another project with a separate full guide. Review the guide for Halloween Molded LED Circuit Sticks before attempting this project. The same ideas are used here; only the molds and overall theme have been changed.
-
Once you've learned how to make a molded LED with hot glue and have seen how these Circuit Sticks were made in the Halloween project, use the molds listed in the materials section to make a few for your diorama.
-
-
-
Because the single LED circuit sticks were made to sit directly atop the planter/flower pot surface instead of appearing to float above a tombstone, the stick that each circuit is assembled on does not need to be a FULL stick. Cutting them in half will work just fine and afford the same amount of stick to push into the flower pot.
-
It should also be noted that because these single-LED circuit sticks don't have a tombstone cutout, the batteries on THESE versions need to be protected and held in place to allow for each stick to be pushed into the potting material at the end without dislodging the battery.
-
To achieve this, we simply wrapped that portion of each stick in masking tape as shown.
-
-
-
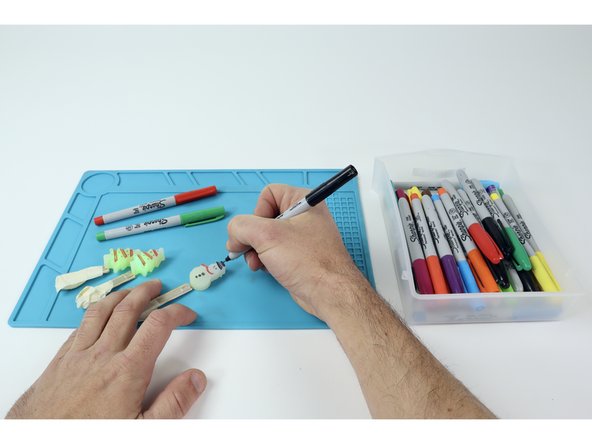
Most Molded LEDs when popped out of their molds will have tiny recessed details that may be hard to see. Add a little extra flair by coloring those areas in with fine tipped permanent markers.
-
-
-
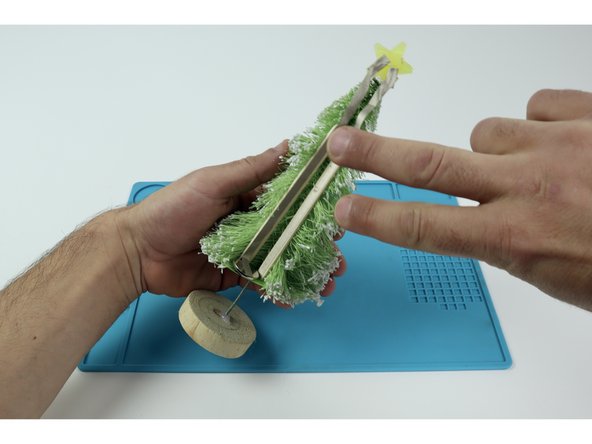
We hot-glued a molded star LED at the top of a craft tree and wanted to place the battery down low in a stable place. This means we needed to solve two problems: creating a stable place below for the battery to be mounted upon horizontally and adding something between it and the LED that pathways can stick to.
-
To set up solutions to each of these problems, begin by parting the branch material in one spot as if were hair. The part should go from the top of the tree all the way down the height of the tree.
-
Apply hot glue to one side of two separate popsicle sticks and press each into place vertically on either side of the part as shown. Now you have a two separate flat surfaces that your conductive Maker Tape paths can be pressed to when connecting the LED at the top to the voltage source that will be below.
-
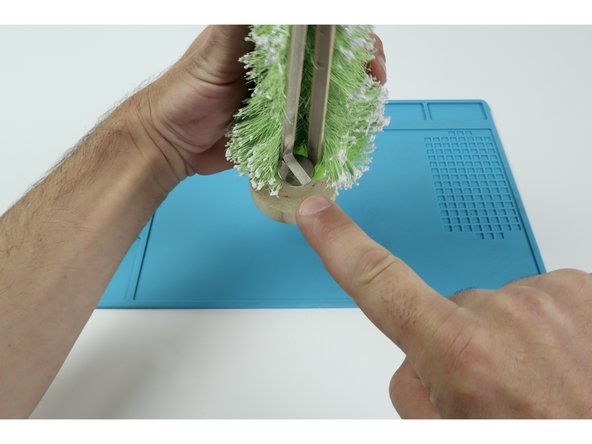
To create a simple flat platform for your battery that is also near those popsicle sticks, simply cut a small disk out of cardboard roughly the diameter of the underside of the branched portion of the tree. Now, cut a slit from one edge to the middle so this disc can be slipped around the tree trunk.
-
Apply hot glue to the top of the disc and press upward to contact to the underside of the branches. Your battery will be positioned atop that platform on the part showing between the two popsicle sticks. Complete the circuit afterward as shown.
-
-
-
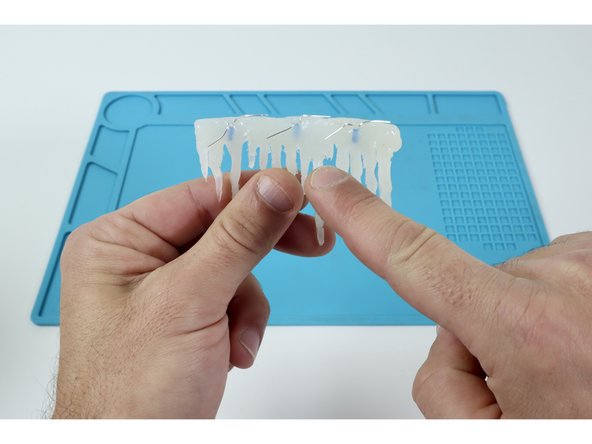
The icicle element is made from a small, thin, "section-y" mold. For this reason, ONLY 3mm LEDs will work (we used blue with clear glue in the mold) and they must be evenly-spaced to get light to all of the icicles.
-
To wire these three LEDs together and only use one battery, they need to be connected in an arrangement called a parallel circuit.
-
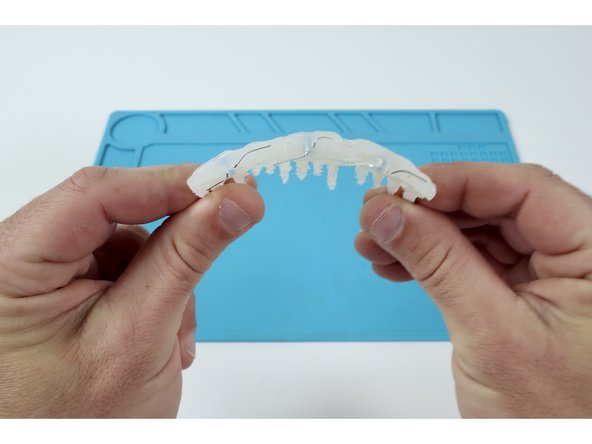
Bend all of the short legs so they lay flat across the top edge of the Molded LED array.
-
Next, bend the remaining long LED legs around to the back of the Molded LED array.
-
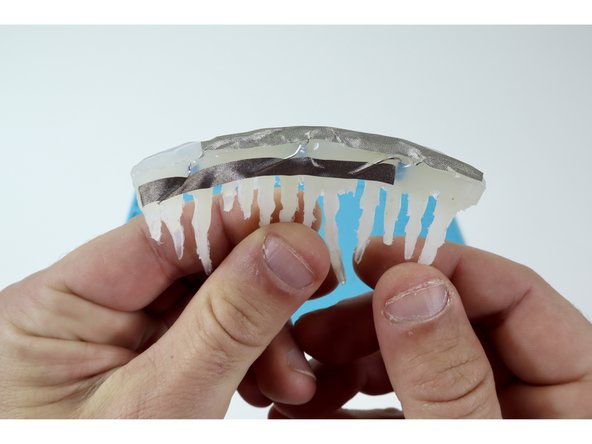
Connect the top three LED legs (all negative/short) with one piece of Maker Tape and all three remaining (positive/long) LED legs with a separate one as shown.
-
-
-
Once this separate Molded LED array is prepared you will need to connect that top/negative path around the back of the flower pot where the battery is to be located. Afterward, snip a separate small piece of Maker Tape and with it make/stick a tape loop to the end of that path. Now, stick your battery to that tape loop positive side out.
-
Now cut and connect another long Maker Tape path to the backside/positive path on the Molded LED array and run IT around the opposite side of the flower pot, eventually connecting it to the positive side of the battery.
-
-
-
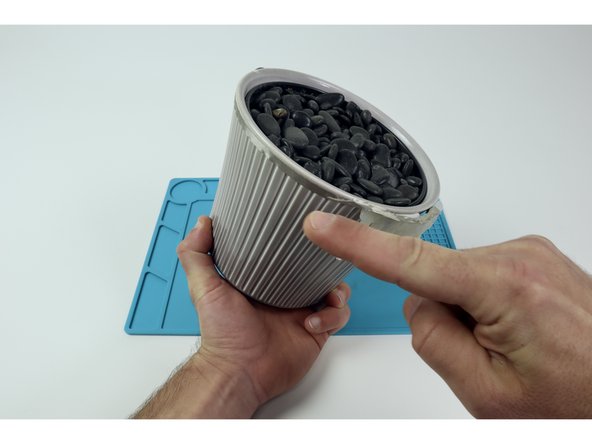
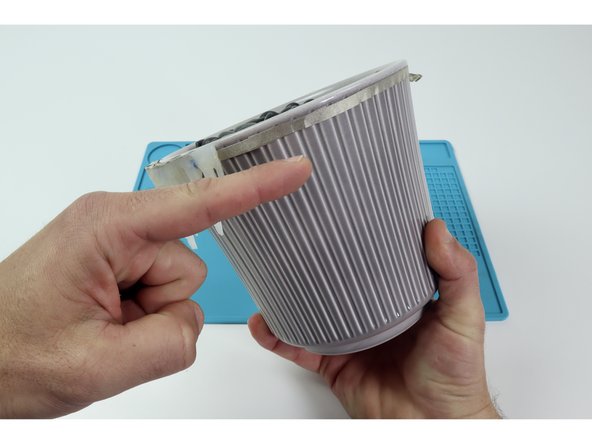
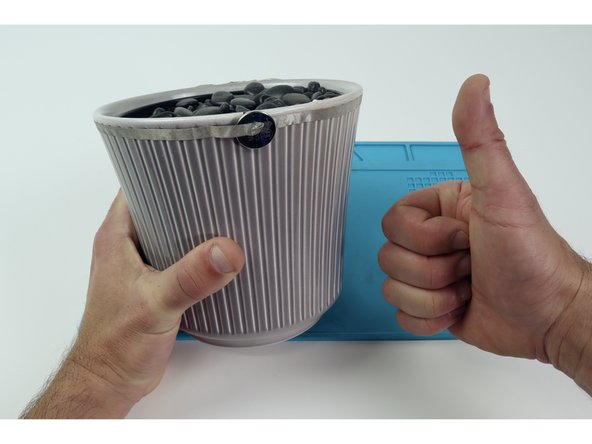
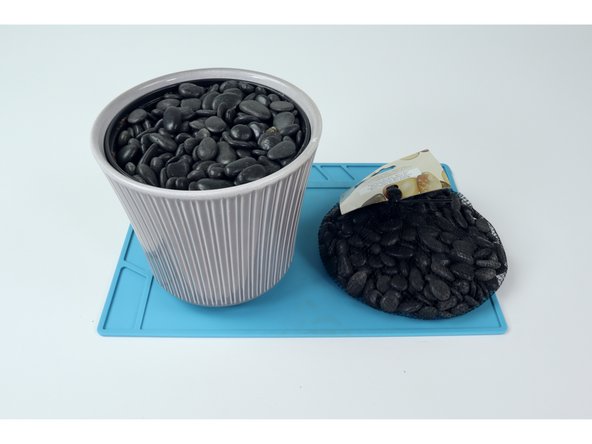
To prepare the flower pot we chose to dump the dirt and refill with stones so it would be less messy... but dirt works just fine.
-
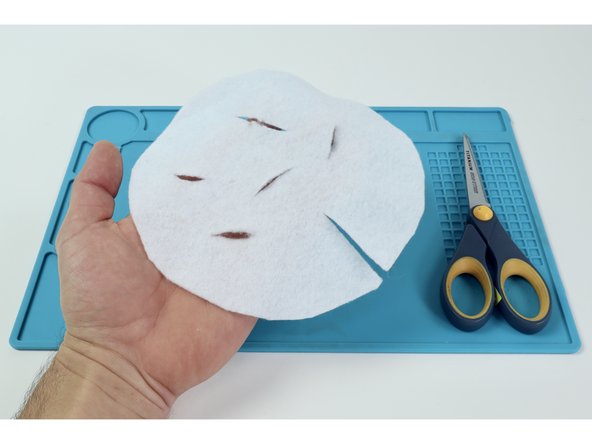
To prepare the felt, we simply cut out a circle that was roughly the same diameter as the flower pot rim.
-
Once the felt is cut, plan out where you want to place each element. Use a pencil to draw a faint 2" line on the felt where each stick will go and then cut slits with your scissors. A single slit from the edge will work for the craft tree if you made one.
-
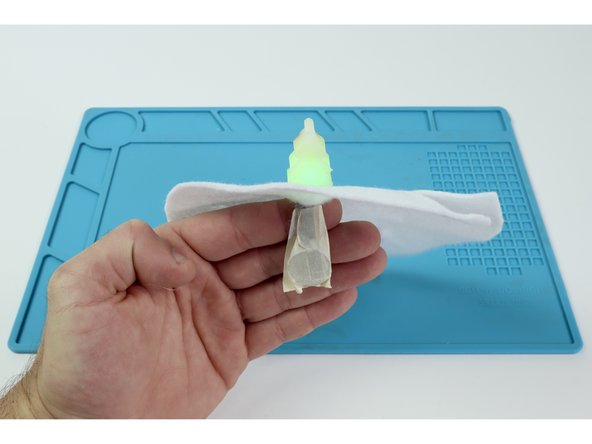
Lay the felt down on the flower pot and insert all prepared elements through the slits.
-


This winter holiday version of the "Halloween Molded LED Circuit Sticks" project will fill any corner of the room with holiday cheer!
This winter holiday version of the "Halloween Molded LED Circuit Sticks" project will fill any corner of the room with holiday cheer!