
Introduction
Follow this guide to learn three different ways to attach/connect conductive hook & loop material to a wearable circuit.
Featured Document
-
-
Gather the materials shown: Hot Glue Gun/Glue, Scissors, 1/4" MakerTape and your Conductive Hook & Loop material.
-
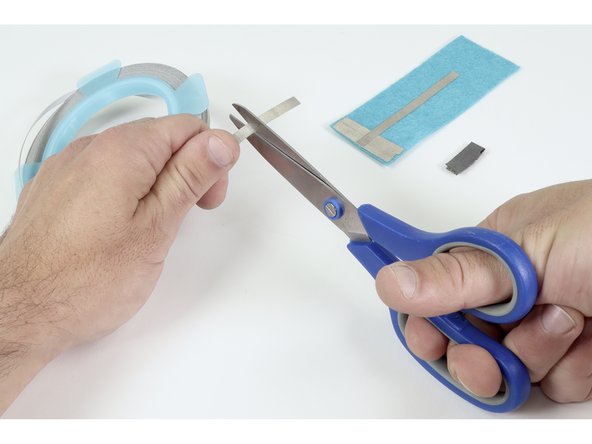
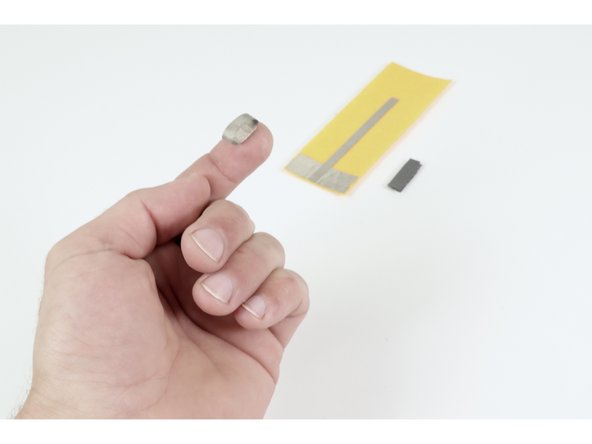
Cut a small piece of Maker Tape (about 2-3") and make a tape loop with it.
-
-
-
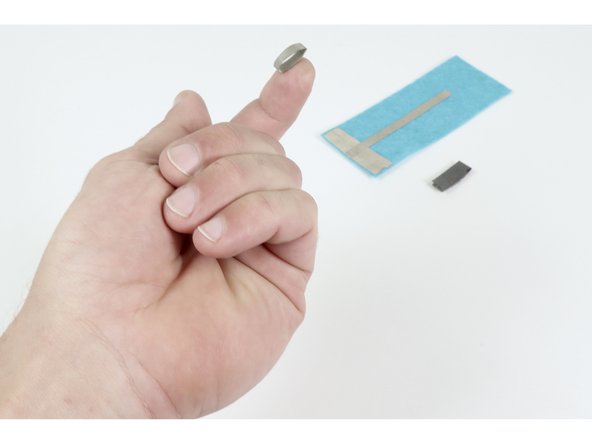
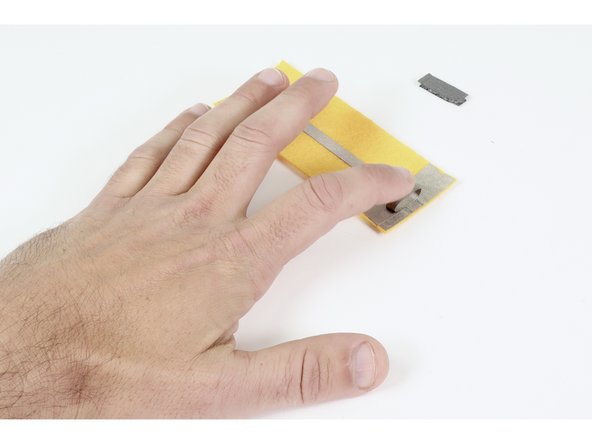
Press that tape loop into contact with the center of one of the two widened ends of whichever circuit you are working on. NOTE: What is pictured is NOT a working circuit. It is only a mock up of the portion relevant to this process.
-
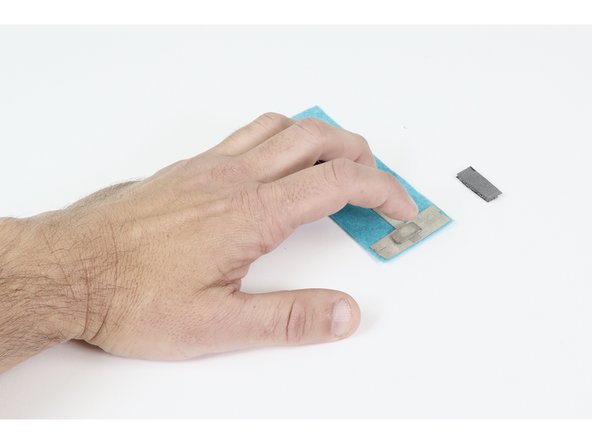
Squeeze two beads of hot glue as shown in photo 2; one on each side of the Maker Tape Loop you just placed.
-
Press one of the two halves of Conductive Hook & Loop atop the glue and tape loop.
-
Repeat this process for the remaining half of your Conductive Hook & Loop at the site of your remaining widened circuit path end.
-
-
-
Gather the materials shown: Stapler/Staples, Scissors, 1/4" MakerTape and your Conductive Hook & Loop material.
-
Cut a small piece of Maker Tape (about 2-3") and make a tape loop with it.
-
-
-
Press that tape loop into contact with the center of one of the two widened ends of whichever circuit you are working on. NOTE: What is pictured is NOT a working circuit. It is only a mock up of the portion relevant to this process.
-
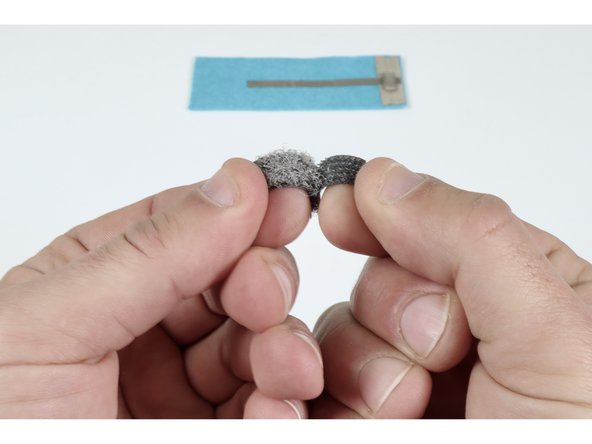
Peel apart your Conductive Hook & Loop .
-
Press one of the two halves of the Hook & Loop material atop the Maker Tape Loop. This will hold the Hook & Loop temporarily in place while also creating an electrical connection.
-
-
-
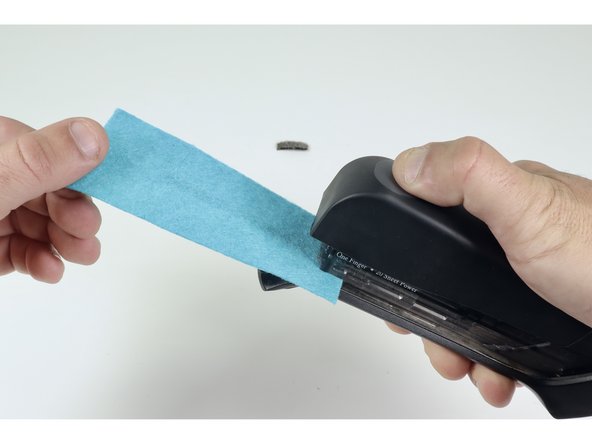
Flip your project over so that, when inserted into a stapler, the Conductive Hook & Loop is facing the lower, dimpled plate of the stapler.
-
Line the Conductive Hook & Loop up with those dimples to ensure that, when stapled, the staple doesn't miss the Hook & Loop.
-
Staple once through everything. The staple will bring the Hook & Loop, Maker Tape Loop and widened conductive end of your circuit all into constant contact.
-
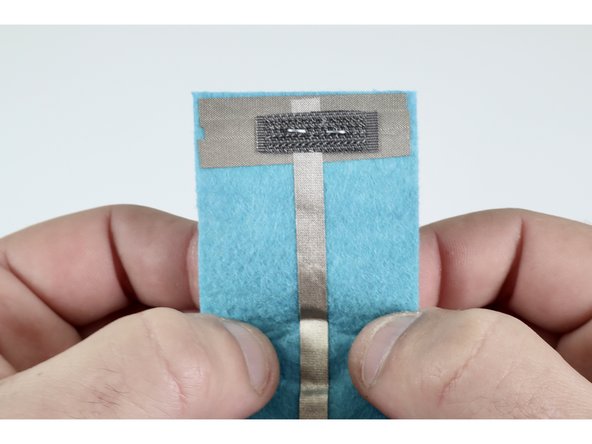
If done correctly, the scratchy side of the staple should be buried within the Hook (or) Loop material while the flat bar should be on the opposite "felt only" side.
-
Repeat this process for the remaining half of your Conductive Hook & Loop at the site of the remaining widened circuit path end.
-
-
-
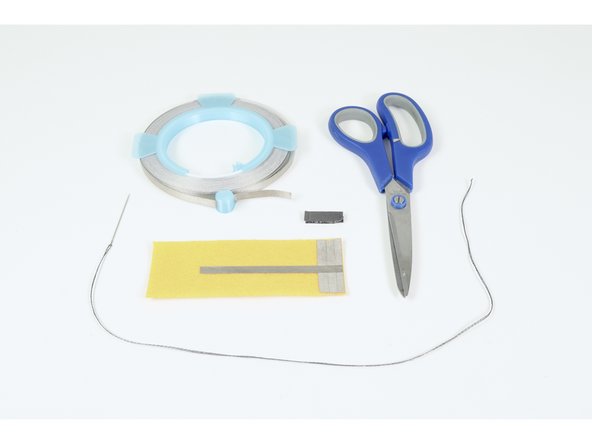
Gather the materials shown: Conductive Thread/Needle, Scissors, 1/4" MakerTape and your Conductive Hook & Loop material.
-
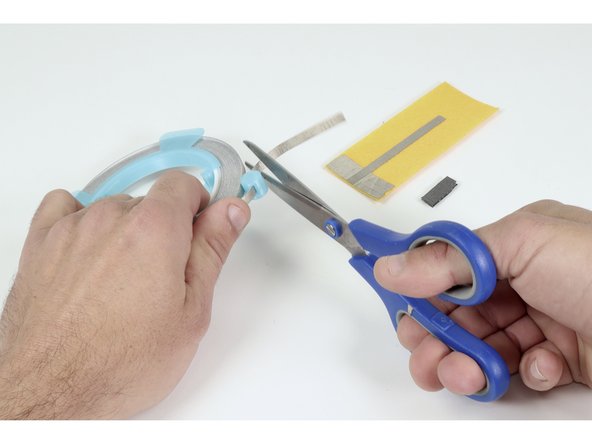
Cut a small piece of Maker Tape (about 2-3") and make a tape loop with it.
-
-
-
Press that tape loop into contact with one of the 2 widened ends of whichever circuit you are working on.
-
Peel apart your Conductive Hook & Loop .
-
Press one of the two halves of the Hook and Loop material atop the Maker Tape Loop. This will hold the Hook & Loop temporarily in place while also creating an electrical connection.
-
-
-
Thread a needle with conductive thread and use it to make a simple running stitch around the perimeter of the Conductive Hook & Loop material. This stitch should go through the Hook & Loop, Widened Maker Tape pad below AND the fabric you are working with.
-
Repeat this process for the remaining half of your Conductive Hook & Loop at the site of the remaining widened circuit path end.
-


Choose whichever process suits the tools and process you are most comfortable with to create closure systems that also function as switches for your wearable circuit projects.
Choose whichever process suits the tools and process you are most comfortable with to create closure systems that also function as switches for your wearable circuit projects.