
Introduction
Automate hitting a cowbell with the Bit Board, a servo, and a few LEGO pieces. No longer will your arm get sore from too much cowbell!
Video Overview
Featured Document
-
-
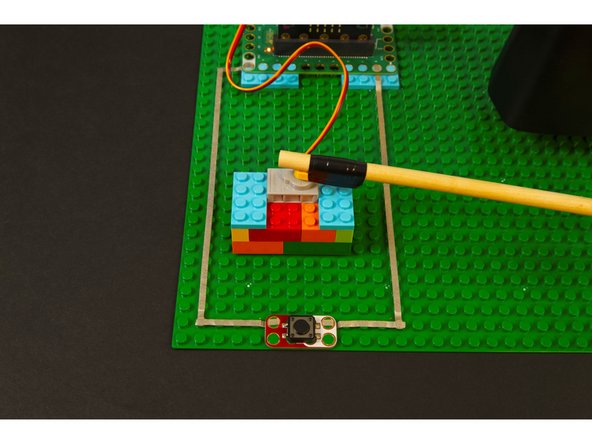
The most difficult part of this project is mounting your cowbell.
-
Usually a cowbell is held in one hand or mounted to a stand as part of a drum kit.
-
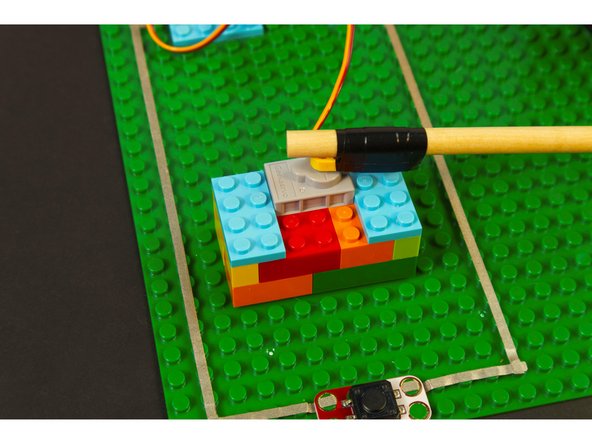
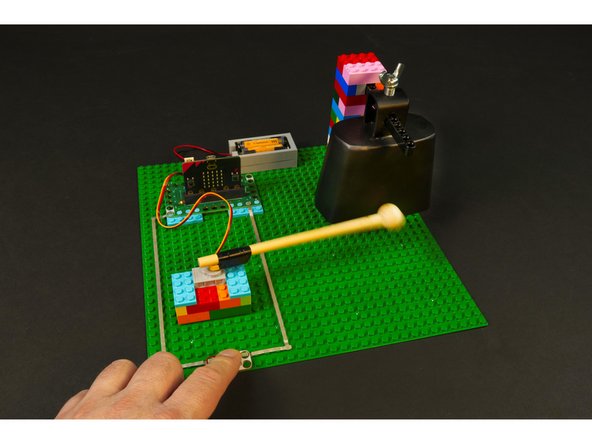
We managed to build a simple LEGO brick tower and add a beam that fit through the mounting hole on the cowbell!
-
You can probably come up with a few methods of mounting the cowbell, but this worked for us and was pretty simple.
-
-
-
Our circuit consists of a button connected with 1/8" wide Maker Tape to Pin 8 and Ground, and a 270 degree servo plugged into Pin Row 13.
-
-
-
While we're using a Jumbo Pushbutton Chip in this example, you can opt to use the Standard Pushbutton Chip, or even make your own button/switch using Maker Tape.
-
Check out some of our DIY switches and buttons: Getting Started with Paper Circuits Guides
-
-
-
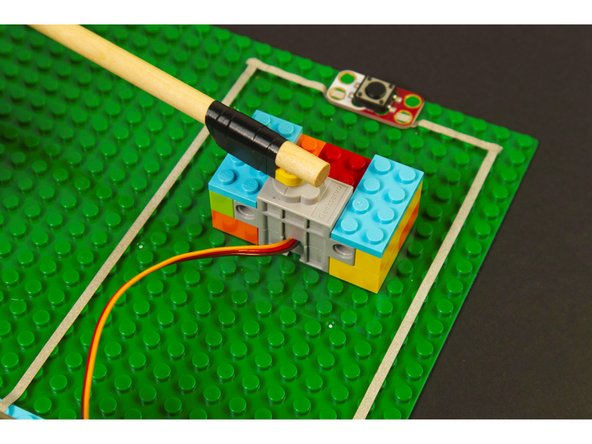
We stuck our servo right down to the baseplate and then added some bricks around it to hold it in place.
-
We connected a LEGO Beam 5 x 0.5 with Axle Holes on each end (11478 / 44864) to our mallet handle with a bit of electrical tape and then stuck it on our servo.
-
You don't have to use electrical tape. You can use other tapes, or even hot glue. We found that electrical tape wound nice and tight since it has a little stretch to it.
-
-
-
Connect a USB cable to the micro:bit and then plug it into your computer.
-
We'll be using makecode.microbit.org to program our board. It uses a simple drag and drop block interface.
-
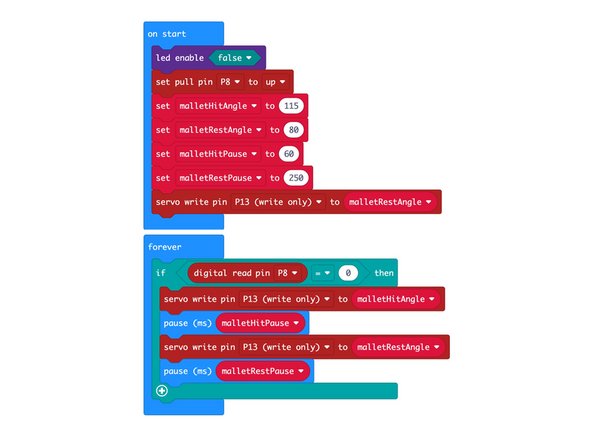
We're going to load the following code for our Automatic Cowbell program: https://makecode.microbit.org/_eVfg3HDWm...
-
We've got four variables in our code which you can adjust. The angles may need adjusting based on how you've positioned your servo, and the two pause variables can change how the strike and time between strikes works.
-
-
-
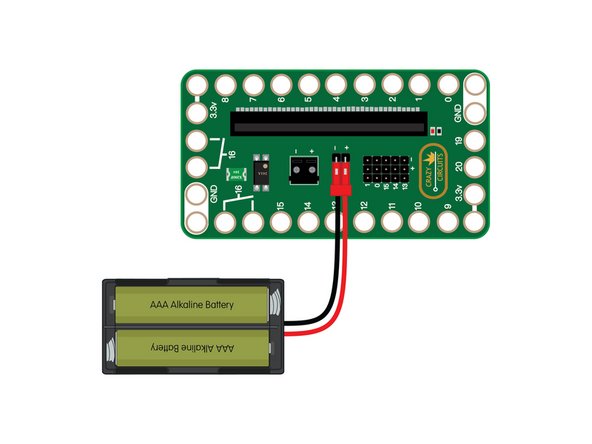
We can power our circuit using the USB cable we used to load the code, but we can also use a two AAA battery pack.
-
A pack with two AAA batteries provides just over 3 volts when using two fresh alkaline batteries. A battery pack is also ideal if you want your project to be a bit more portable.
-
-
-
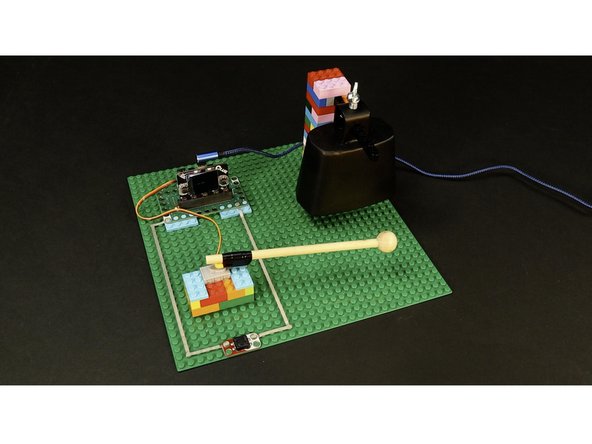
Once you've got the code loaded and your circuit is powered up you can test it out!
-
You may need to adjust the angles that are set in the code, or even adjust where the cowbell is positioned. Ours can slide forward and back on the LEGO beam we used to hold it up.
-
Enjoy that sweet sweet cowbell sound!
-
-
-
Now that you've got an Automatic Cowbell. what can you do with it?
-
Well, besides having cowbell at the press of a button, you can change the variables in the code to see how it affects the behavior.
-
You can add a sensor (we recommend our distance sensor, though a PIR sensor could work too!)
-
Maybe there's a certain Blue Oyster Cult song you like, and you could play along with it!
-
-
-
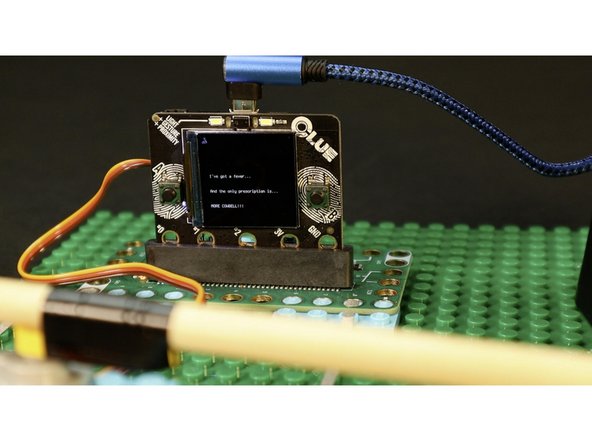
Since the Bit Board is compatible with the Adafruit CLUE, you can also swap that in place of the micro:bit if you prefer.
-
You can find the needed CircuitPython code here: https://github.com/BrownDogGadgets/Crazy...
-


Cancel: I did not complete this guide.
One other person completed this guide.
Attached Documents
