
Introduction
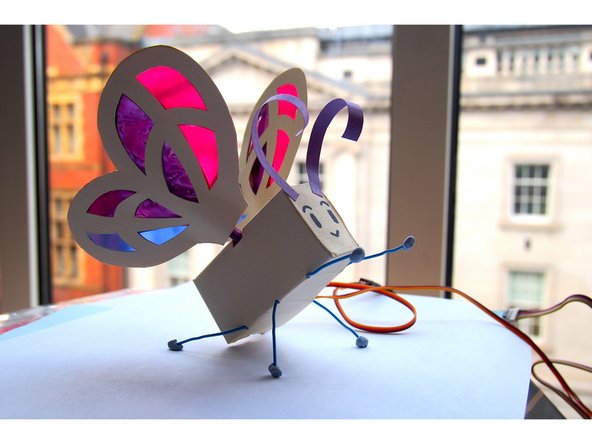
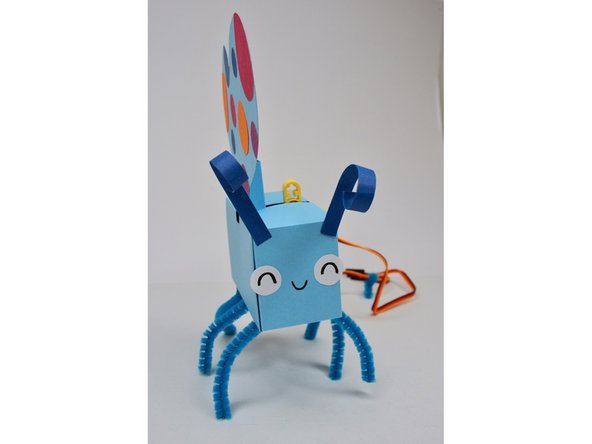
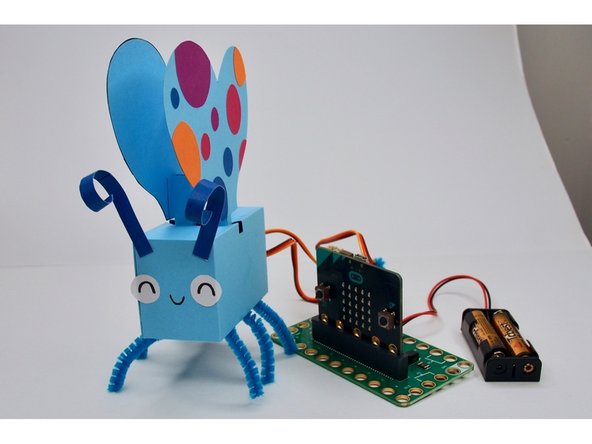
Make a shy Botterfly that flutters its wings when you come too close!
Video Overview
Featured Document
-
-
Print the template.
-
Cut the parts out. You may find it easiest to use a craft knife or small scissors for the cutouts.
-
Make sure the scale is at 100% when you print the template.
-
-
-
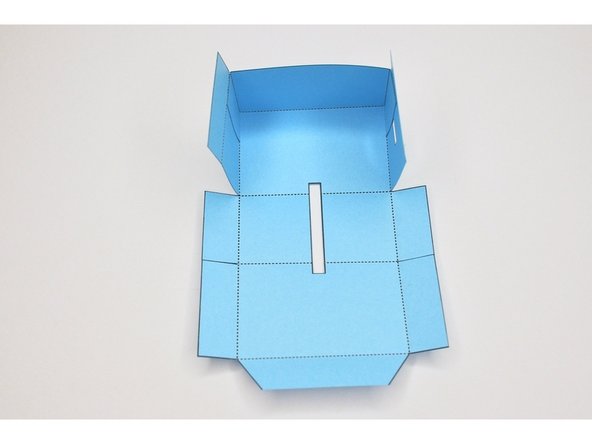
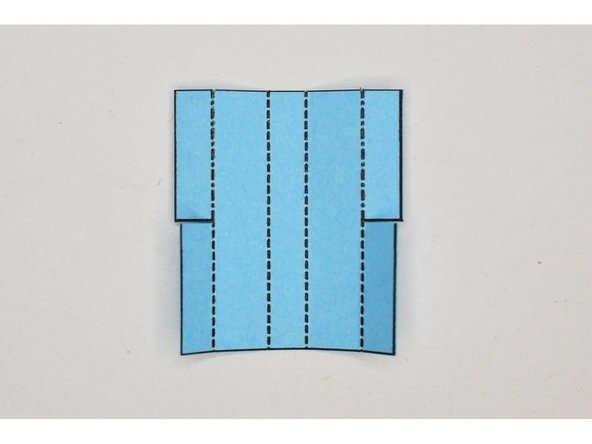
Prefold the creases on the body — this will make it easier to put together later on.
-
You can draw the face on before you assemble the Botterfly. I did it at the end, but if you're planning to draw something detailed, it'll be easier to do while everything is still flat.
-
-
-
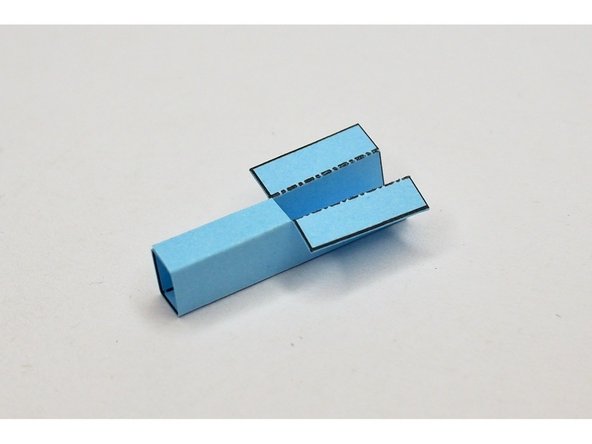
Fold and glue the section of the body WITHOUT the notched tab.
-
-
-
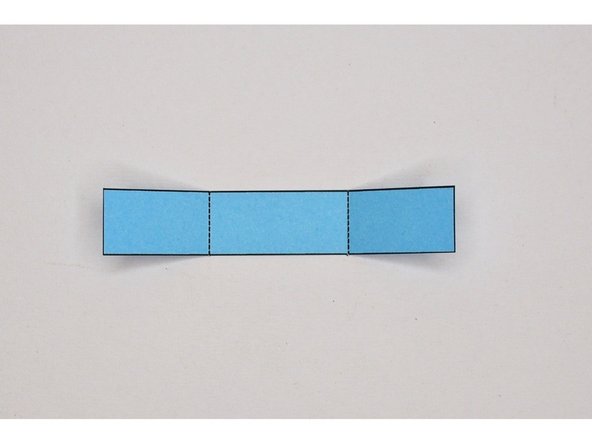
Prefold the servo holder.
-
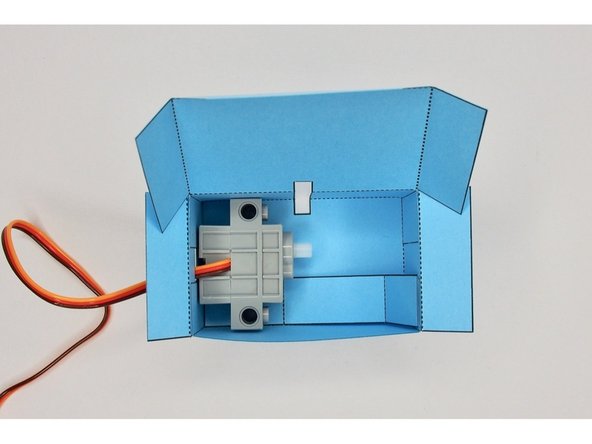
Glue the marked section of the servo holder inside the body (don't glue the rest of it just yet).
-
-
-
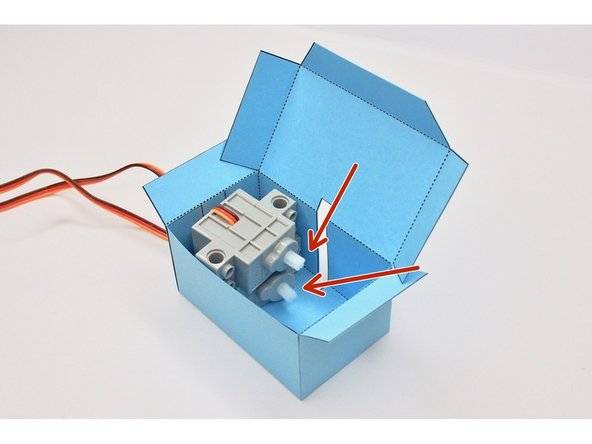
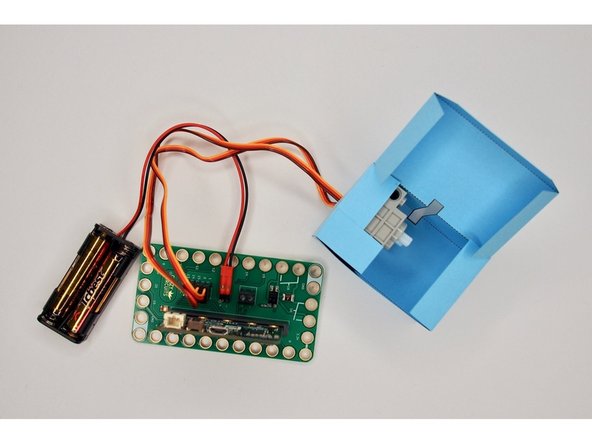
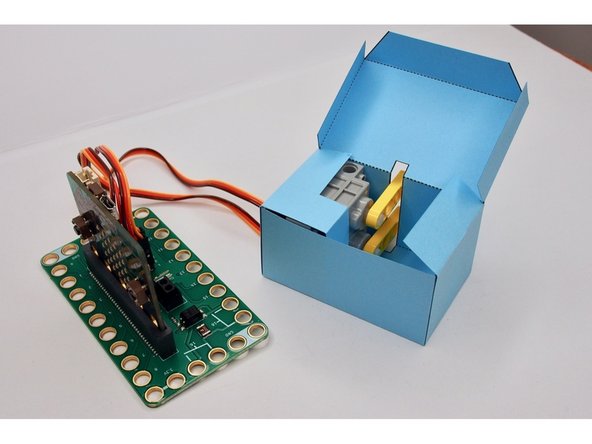
Place the servos in the body and thread the wires through the cut out.
-
The two servos should stack on top of each other.
-
Make sure the two axles are both lined up so that they're oriented towards the slot at the top of the body.
-
-
-
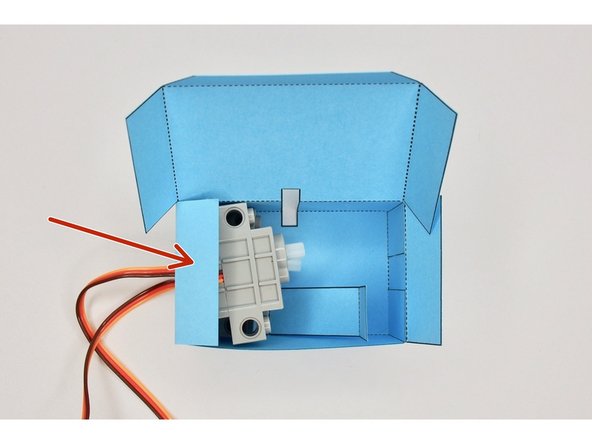
Fold the left-hand tab on top of the servos.
-
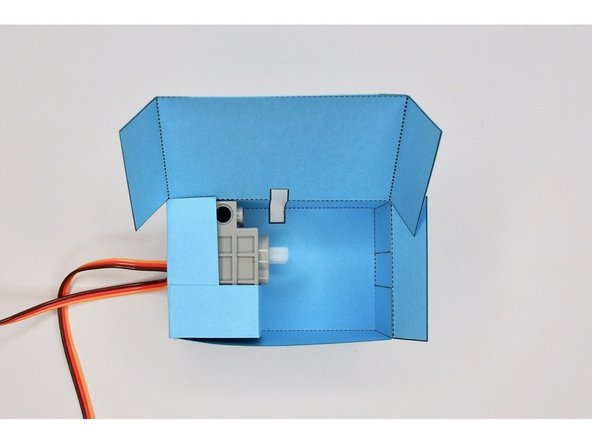
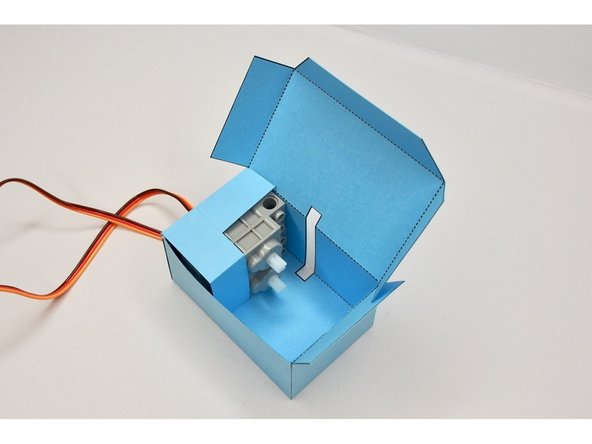
Wrap the servo holder around the two servos and glue it to the left-hand tab to hold it in place.
-
You only need to put glue on the tabs, not on the servos themselves.
-
-
-
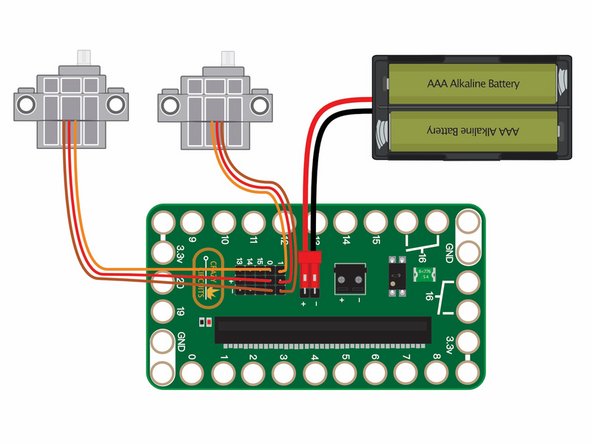
Connect the servos to the Bit Board to Servo Pins 0 and 1.
-
-
-
Upload the Code from here: Botterfly Code
-
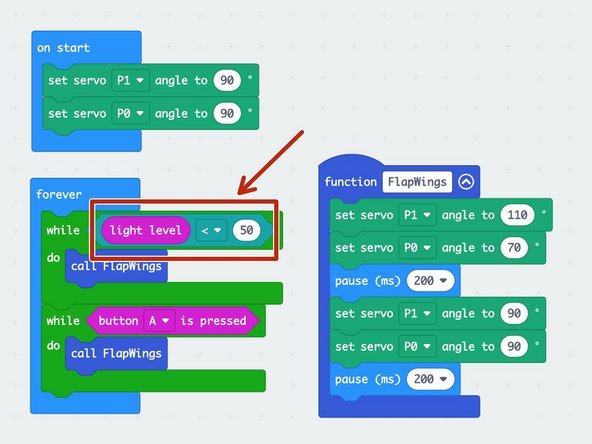
Botterfly uses the micro:bit's built-in Light Sensor as a makeshift proximity sensor by sensing if something is blocking the light.
-
You will need to adjust the threshold for the Light Level depending on your lighting conditions at home. The light level goes from 0-255, so play around with it a bit.
-
-
-
Test that the servos work by attaching the battery pack, then pressing and holding the A button.
-
Test that the Light Sensor works by moving your hand close to the micro:bit's LED screen (to block incoming light). Adjust the Light Level as needed to make sure the wings trigger.
-
One of the LEDs on the micro:bit's screen actually doubles as the Light Sensor! It's not super accurate, but it works as a rough proximity sensor for our purposes.
-
-
-
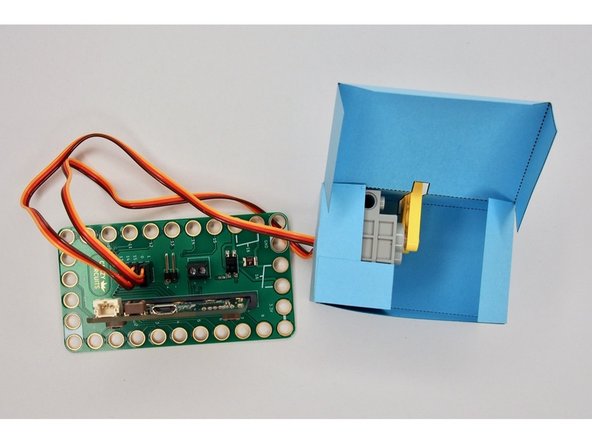
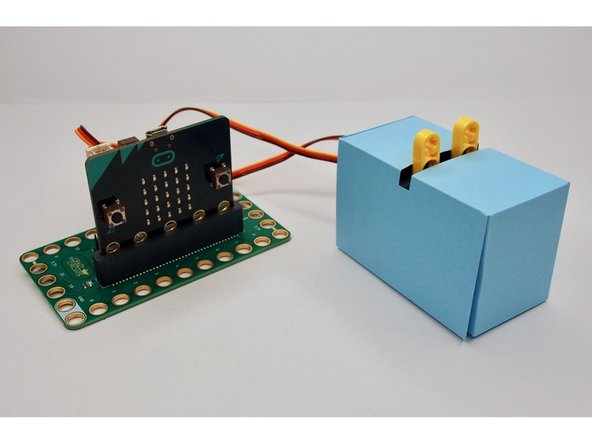
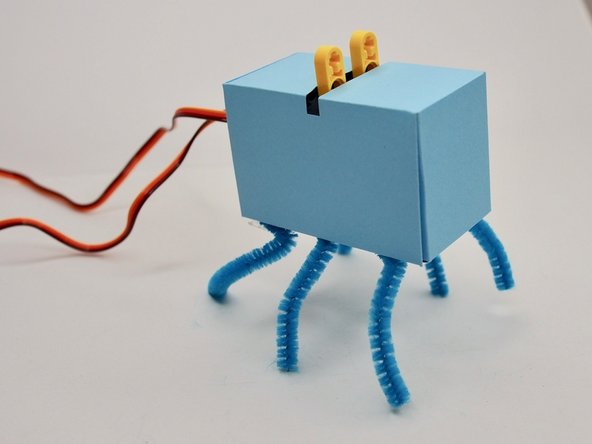
Now that you know which direction the axles on the servo are oriented, you can attach the LEGO axle mounts. (Just slide them through the slot on the top).
-
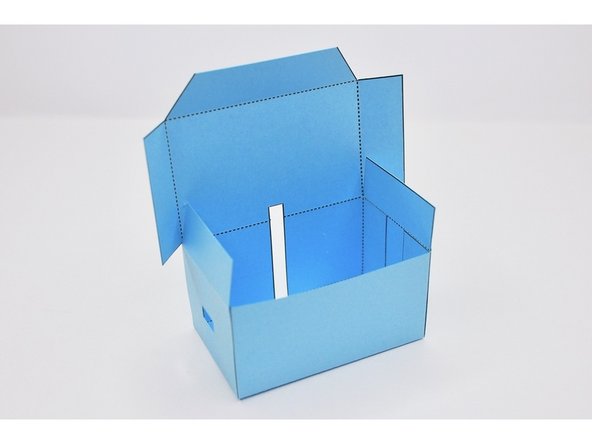
Fold the side in to close the body.
-
You can add glue if you want to keep the body permanently closed. I only added a tiny drop, just in case I needed to access the servos.
-
-
-
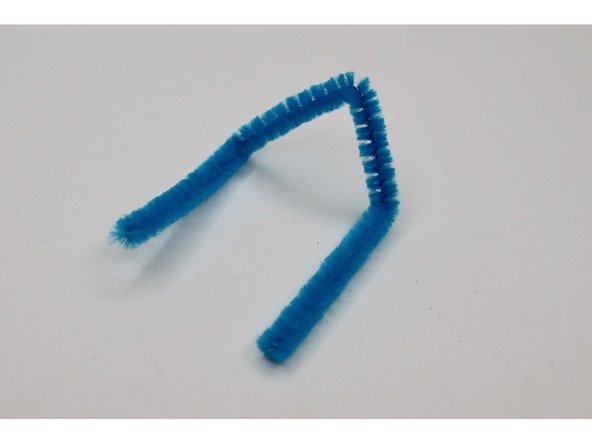
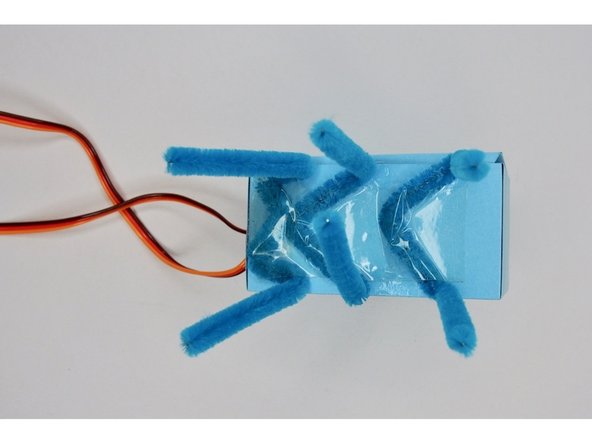
Cut three pieces of pipe cleaner approximately 4" long.
-
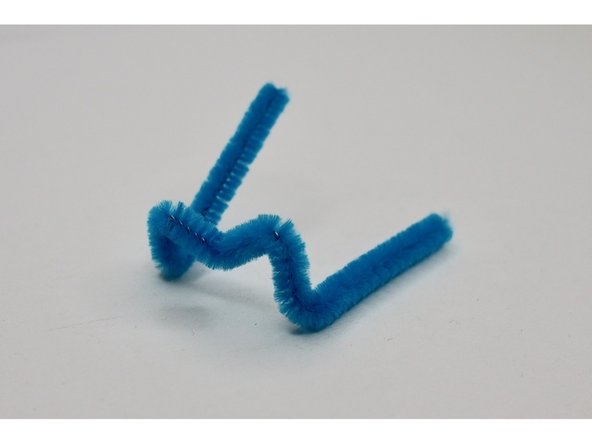
Fold two pieces in a "V" shape like in the first picture, and the last piece in an "M" shape like the second picture.
-
-
-
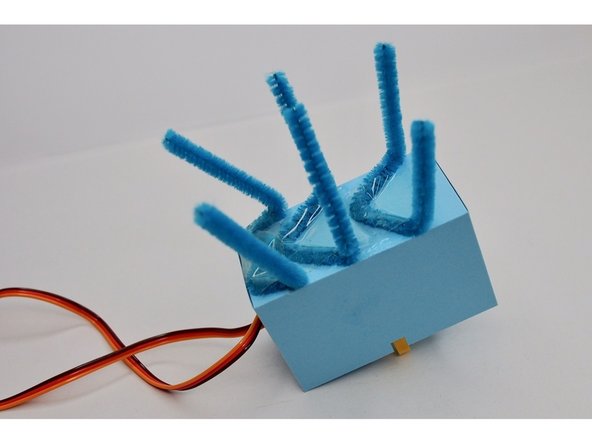
Glue or tape the legs to the bottom of the body.
-
I made the last set of legs an "M" shape so I could fit it in closer to the back of the body.
-
I found it easiest to disconnect the Bit Board while attaching the legs. If you do that, make sure to mark which servo attaches to which pin so you don't swap the connections by accident.
-
-
-
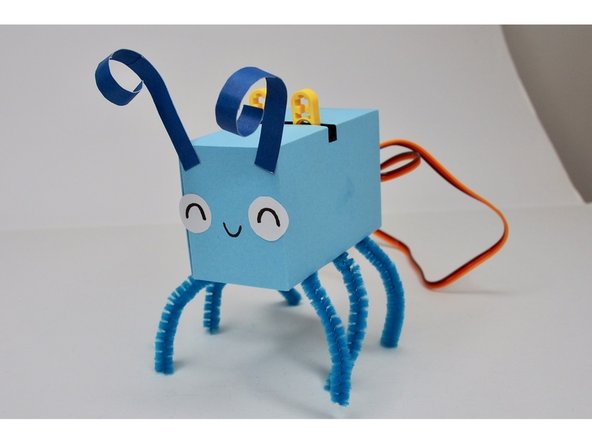
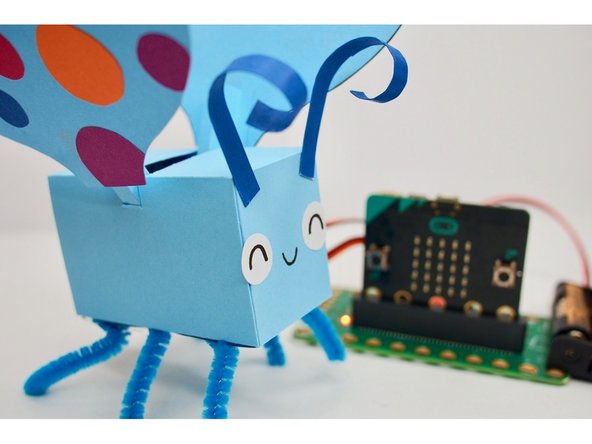
Give your Botterfly a face and some antenna!
-
-
-
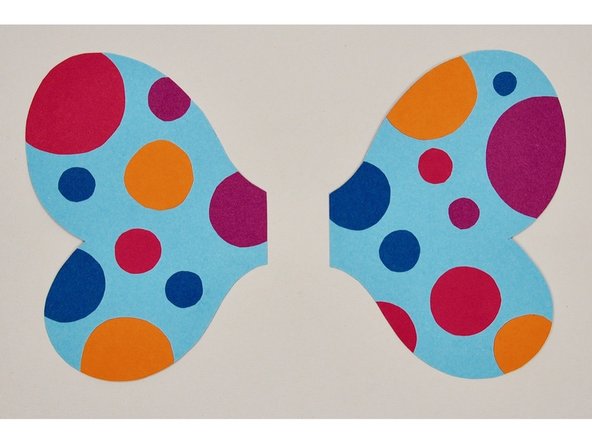
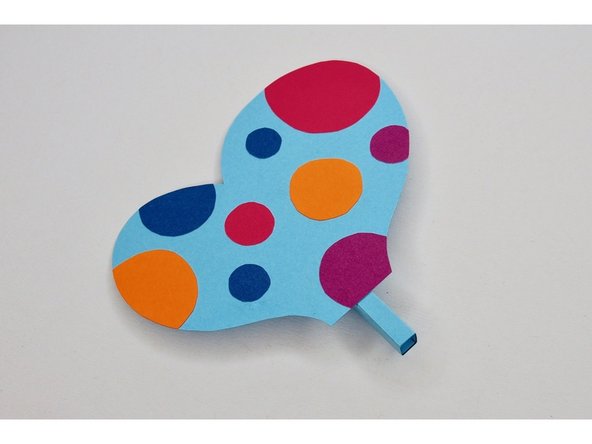
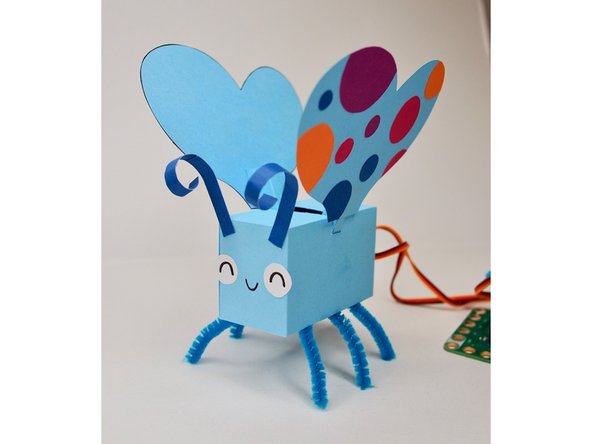
Now for my favorite part -- decorate the wings however you want!
-
I used colorful cellophane for the first version I made of the Botterfly (in the second picture), but you can also draw on the wings directly, use colorful paper, glitter glue paint, etc.!
-
-
-
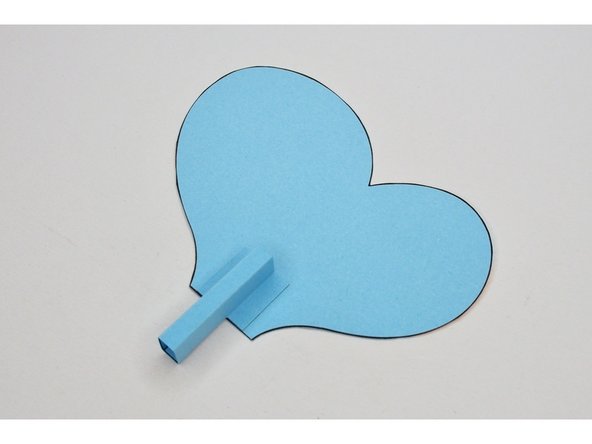
Prefold the wing holder.
-
Fold and glue the wing holder so that the bottom forms a rectangle and the top has the tabs facing outwards.
-
-
-
Glue the tabs of the wing holder onto the wing.
-
-
-
Repeat step 15 and 16 for the second wing.
-
-
-
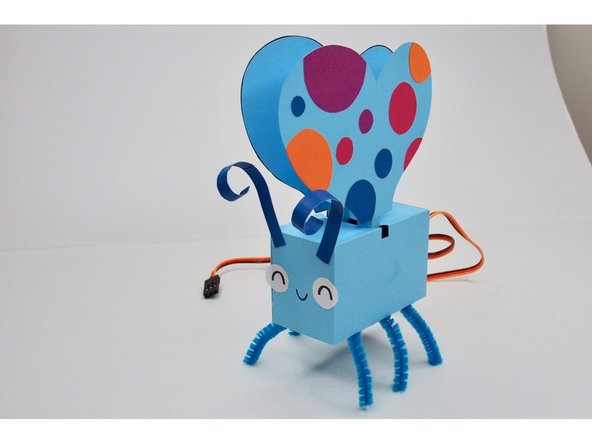
Slide the wing holder through the slot in the body and onto the LEGO axle mounts.
-
Repeat for the second wing.
-
-
-
Botterfly is friendly but a little skittish — so if you move your hand close to the micro:bit, it should flutter its wings!
-


Attached Documents
