Introduction
Use a Bit Board along with a micro:bit V2, some LEGO parts and conductive Maker Tape to build a capacitive sensing circuit that can show icons on the LED display with just the touch of a finger.
Tools
Video Overview
Featured Document
-
-
Gather your components. You will need a micro:bit V2, a Bit Board, and some 1/8" Maker Tape.
-
You do need a V2 micro:bit as it supports capacitive touch. Previous versions will not work for this project. (You might be interested in our guide to capacitive touch on the micro:bit V1 board.)
-
Once you have your components, assemble the parts onto a LEGO baseplate and use Maker Tape to connect the LEDs.
-
-
-
Normally we'd link to the code here, but as the micro:bit V2 is not released as of the time of this writing, some of the code may change before it is available to the public.
-
We will update this guide when the MakeCode editor has been updated to fully support the micro:bit V2.
-
-
-
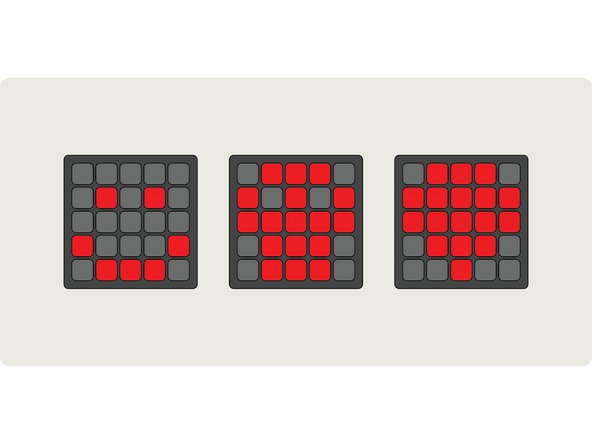
Touching the tape connected to Pin 0, 1, or 2 will show an icon on the micro:bit's built-in LED matrix.
-
On the micro:bit V2 the logo is copper plated and also serves as an additional touch point. We've set our program to play a simple animation when touched.
-
You can choose from a variety of built-in icons or you can draw your own in the MakeCode interface.
-
Cancel: I did not complete this guide.
One other person completed this guide.


