
Introduction
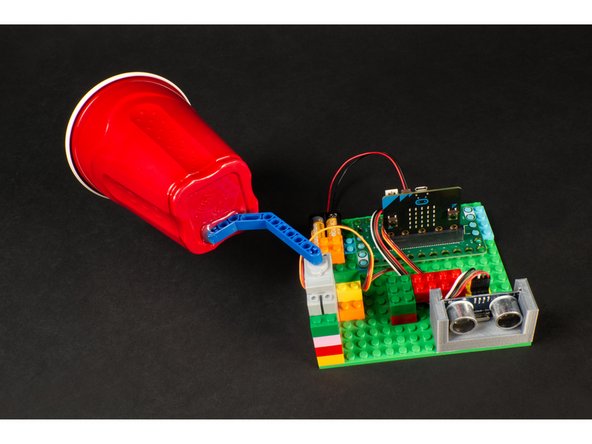
Use a Bit Board with a servo and a distance sensor to drop confetti on someone when they walk through a doorway!
Video Overview
Featured Document
-
-
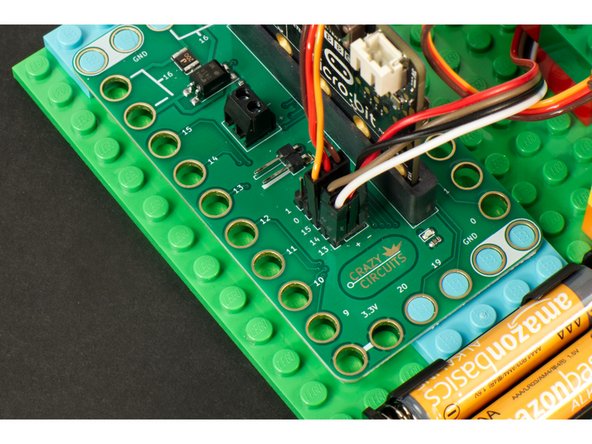
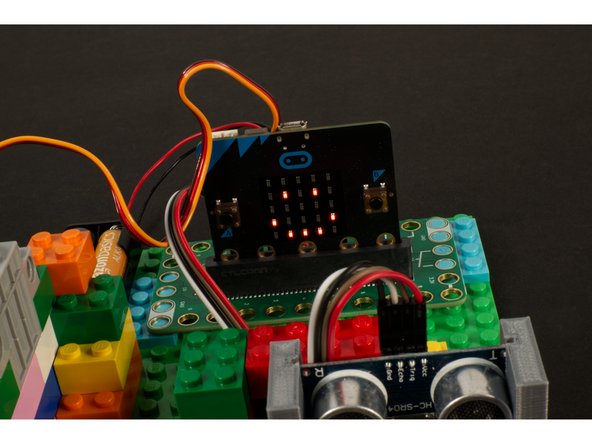
Connect the 270 Degree LEGO Compatible Servo to Pin Row 15.
-
On the servo connector the orange wire goes next to the 15 label, the red wire goes into the + (positive) column and the brown wire goes into the - (negative) column.
-
Use 4 F/F Jumper Wires connect the Ultrasonic Distance Sensor. The Echo Pin connects to 13, the Trig Pin connect to 14, the Vcc Pin goes to + (positive) and Gnd goes to - (negative).
-
Hey! We've also got a version of this project that uses our Robotics Board, in case you prefer that. See: Confetti Drop (Robotics Board)
-
-
-
You may have noticed a fancy 3D printed mount holding our Distance Sensor... We'll be releasing files for that soon, but in the meantime...
-
You can easily attach the Distance Sensor to some LEGO bricks with a rubber band. It's our quick & easy method, and most people tend to have a few rubber bands lying around.
-
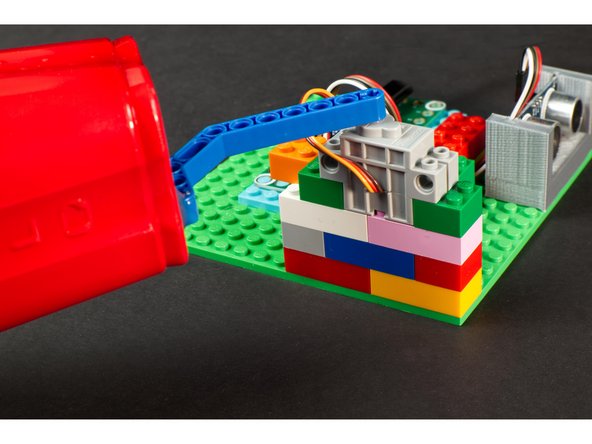
The important part of mounting the sensor is making sure it's pointed in the right direction so your victim will properly trigger it.
-
-
-
Since our LEGO Compatible Servo can attach directly to LEGO bricks it was easy to mount it.
-
You'll want to add enough LEGO pieces so it is secured in place.
-
You should also make sure there is enough clearance for the cup to move freely. Add more bricks if you need to raise the height of the servo.
-
-
-
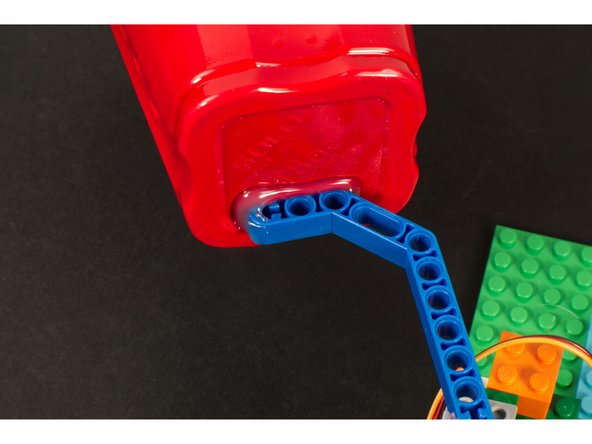
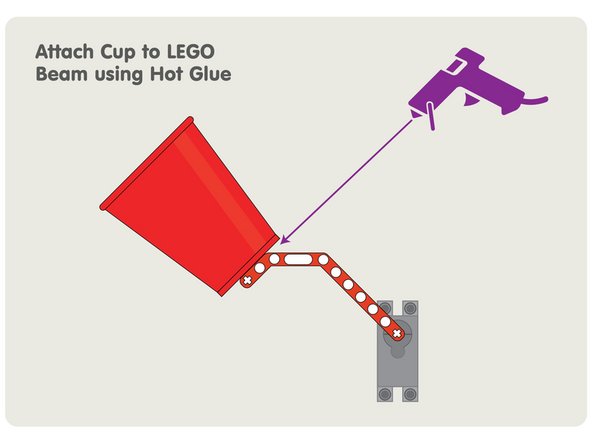
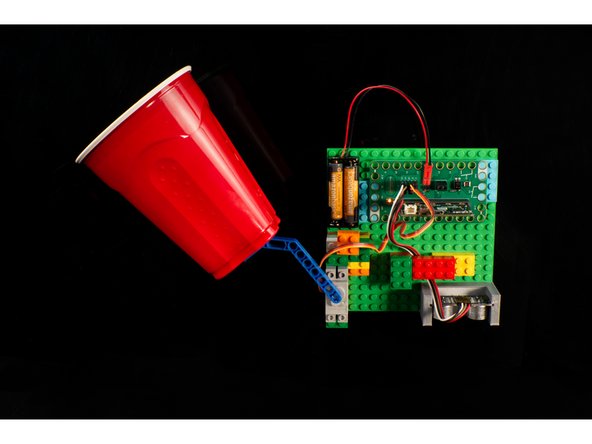
We hot glued a plastic drinking cup to a LEGO Technic Beam.
-
It's lightweight enough that even when filled with confetti it's still very little weight and the servo can easily handle it.
-
You may want to test the circuit before you attach the cup to the beam, just to make sure you know which orientation you need to place the beam on the servo, and how you want the cup glued in place.
-
If you fill the cup before you power on your circuit the servo will not be powered and may not hold in place as it does when "engaged" when power is applied.
-
Make sure your cup has enough clearance to move around. Adjust spacing of things if needed.
-
-
-
Connect a USB cable to the micro:bit and then plug it into your computer.
-
We'll be using makecode.microbit.org to program our board. It uses a simple drag and drop block interface.
-
We're going to load the following code for our Confetti Drop program: https://makecode.microbit.org/_3LLADTJAk...
-
-
-
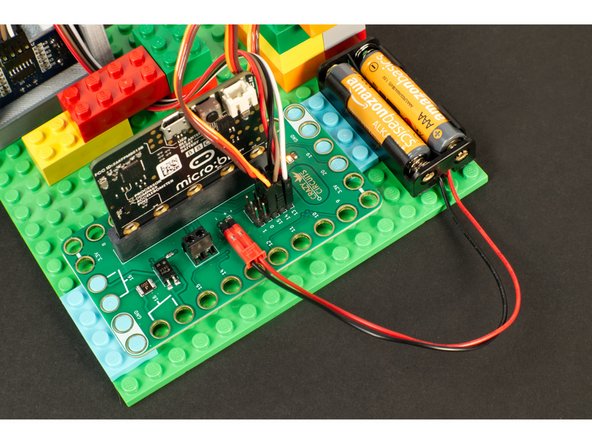
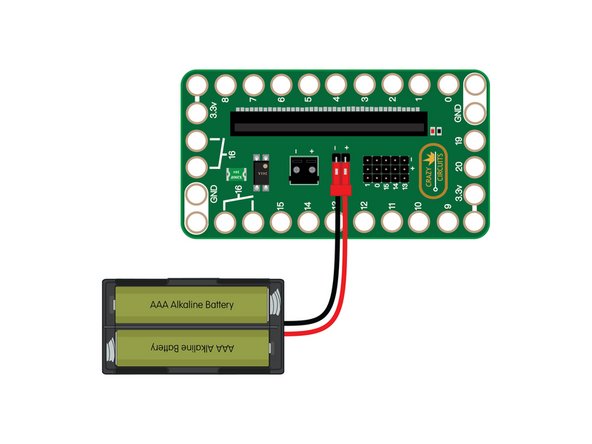
Since we're using a servo a 2 AA Battery Pack is the best way to power our circuit.
-
-
-
Once you've got the code loaded we can test it out!
-
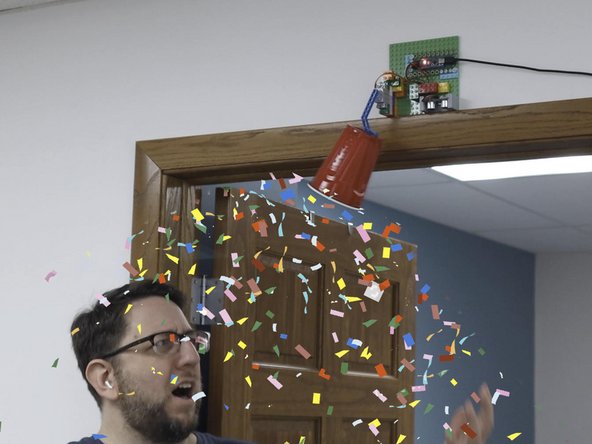
Place the circuit above a doorway, hidden on the side where a person won't see it when walking into the room.
-
Power the circuit on, fill the cup, and then get out of the way. You've got 10 seconds from the time you turn it on until it's ready to check for a person!
-
After you power up your circuit and 10 seconds have passed you'll see a smiley face on the front LED matrix of the micro:bit
-
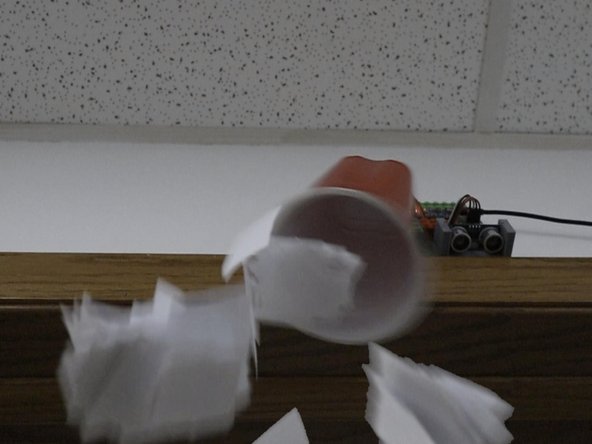
When someone walks under the sensor the servo will swing the cup down and drop confetti on them.
-
Laugh hysterically.
-
Clean up confetti and do it again.
-
-
-
Now that your Confetti Drop machine works, what else can you do with it?
-
You could add a Jumbo LED to make it easier to see when the system is "armed" and ready.
-
You could add a Slide Switch to "arm" the device instead of using the power supply.
-
Maybe you could fill the cup with cat treats and train your cat to go to a specific spot to get a treat!
-
Or maybe you could fill the cup with googly eyes or ping pong balls... or both! Either way, hilarity will ensue. Guaranteed!
-


Attached Documents
