Introduction
Add lights to any Ugly Christmas Sweater design. DJ Santa is in the house this holiday season!
You can make this project (and many more!) with our Wearables Circuits Kit.
Parts
Video Overview
-
-
Gather a roll of Maker Tape, choose some LEDs that will compliment your shirt design and one or more coin cell batteries.
-
Test the LED circuit by connecting multiple LEDs to one battery. Do they all light up? For our design, we needed one battery for the red and green LEDs and a second battery for the white LEDs. So, we made two separate circuits to complete the design.
-
-
-
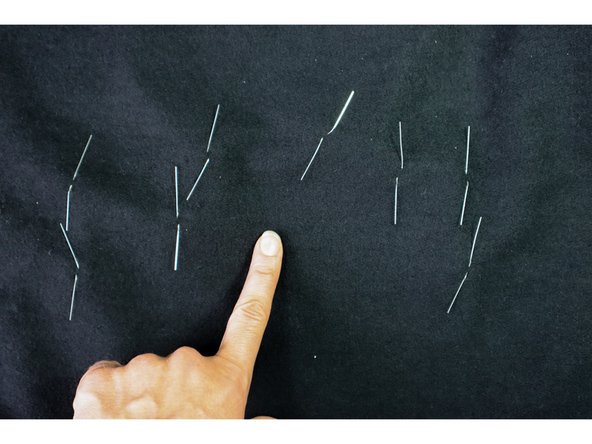
Insert the LEDs through the front of the shirt with the positive leg facing the top of the shirt and the negative leg facing the bottom of the shirt. This way, it will be easy to determine the polarity in the next step.
-
Repeat for all LEDs.
-
-
-
Turn the shirt inside out.
-
Make sure the LEDs are pulled all the way through and bend the legs flat. The top legs should be bent up and the bottom legs should be bent down as shown.
-
-
-
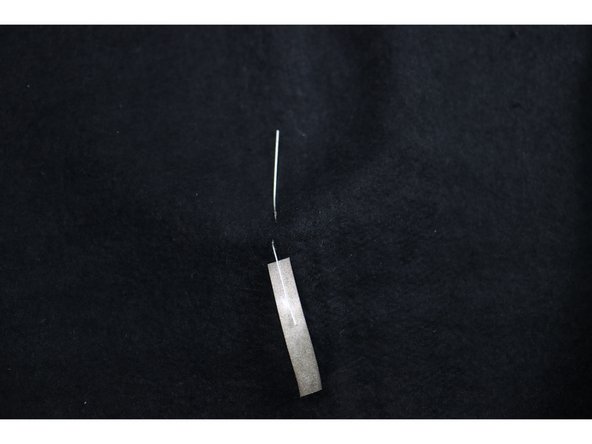
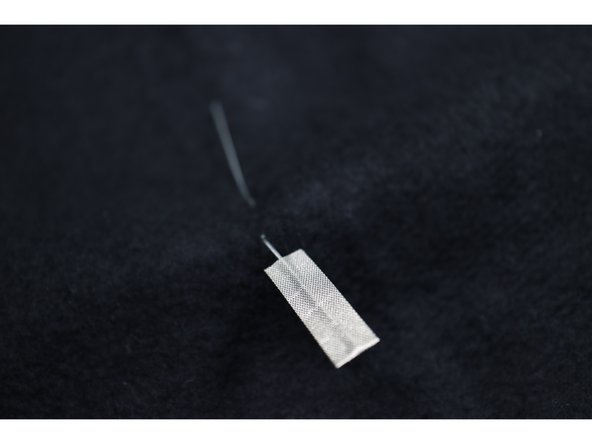
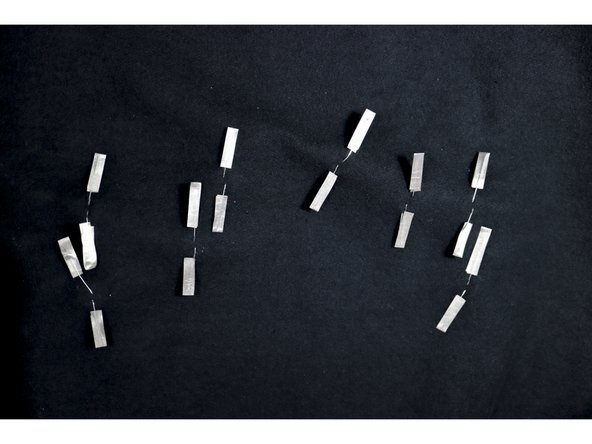
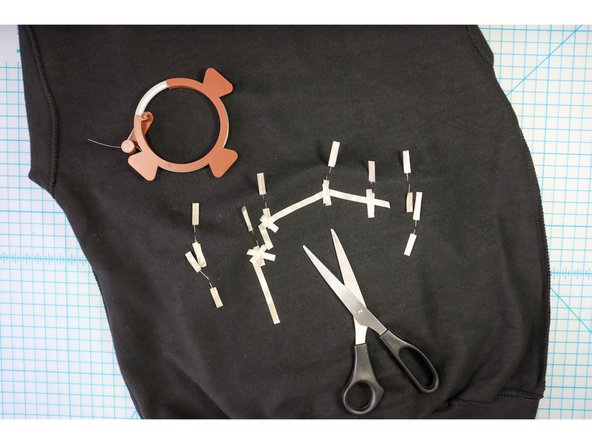
Make the LED legs easier to connect by wrapping about 1 inch of Maker Tape around each leg as shown.
-
-
-
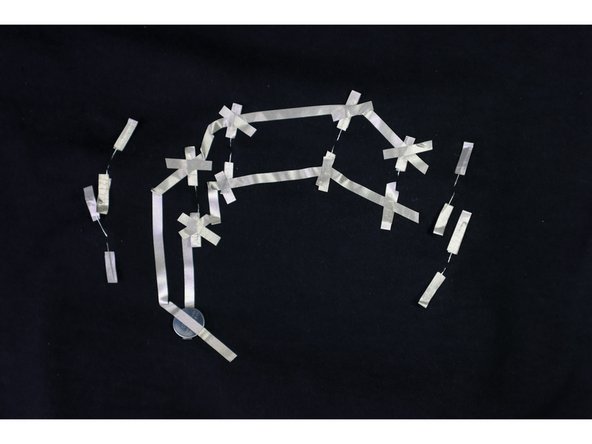
In our design, the middle 4 LEDs are one circuit (red and green).
-
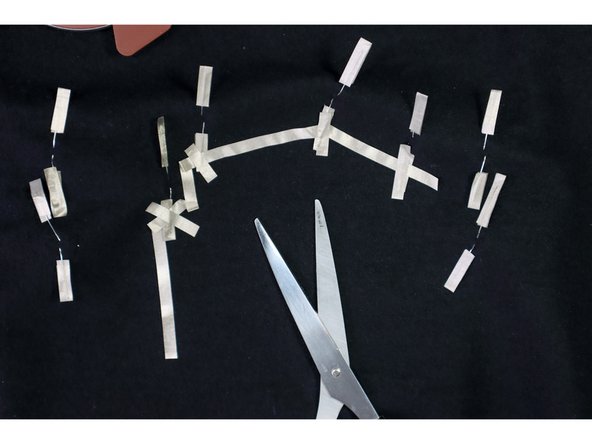
Start in the location where you'd like to place the battery, and connect the negative legs together with a long piece of maker tape.
-
Place small, 1-inch pieces of maker tape on top of these junctions to reinforce the connections.
-
-
-
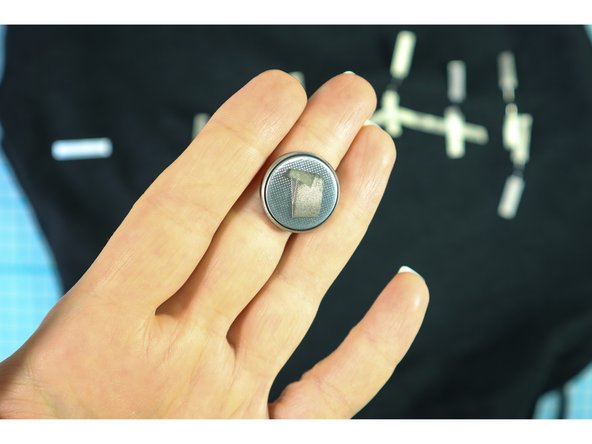
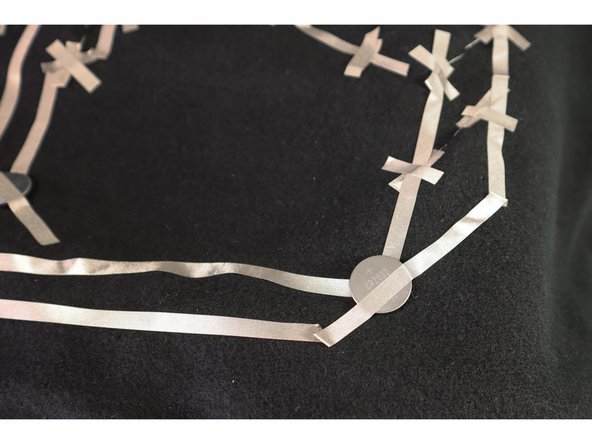
Make a small loop of Maker Tape with the adhesive facing out, and stick it to the battery on the negative side. Be sure that the loop doesn't go outside the black ring.
-
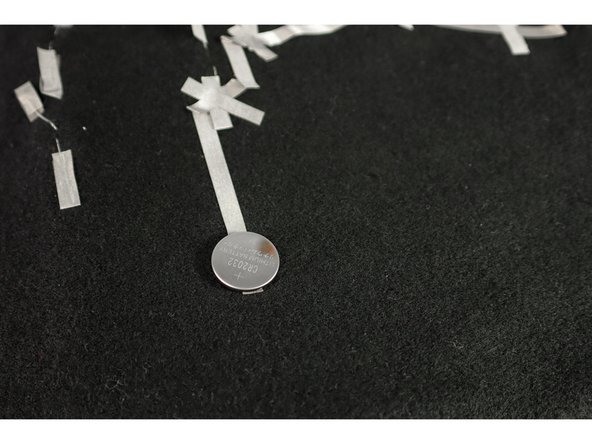
Stick the battery to the long piece of Maker Tape as shown.
-
-
-
Use another long piece of Maker Tape to connect over the top of the battery (+) and continue to all of the positive LED legs.
-
Again, place 1-inch pieces of Maker Tape on top of the connection points to reinforce them.
-
-
-
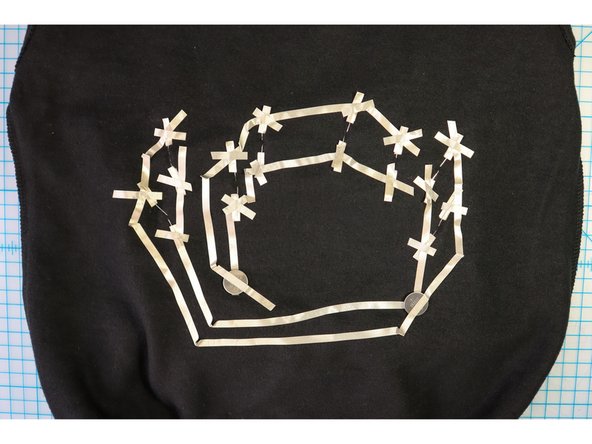
Follow the same steps to make a second circuit with the white (outer) LEDs.
-
In this circuit, the battery is placed in the middle and the LEDs are to the left and right. This made it easier to lay out, but we had to be careful that the positive and negative pieces of Maker Tape didn't touch!
-
-
-
Turn the shirt right side out and watch your design illuminate!
-
Wear this shirt to your next holiday party and everyone will be in awe of your electronic skills!
-