
Introduction
Use this set of printable trace and cut templates and create a spooky felt design to add to a host of different wearable circuitry projects!
Featured Document
-
-
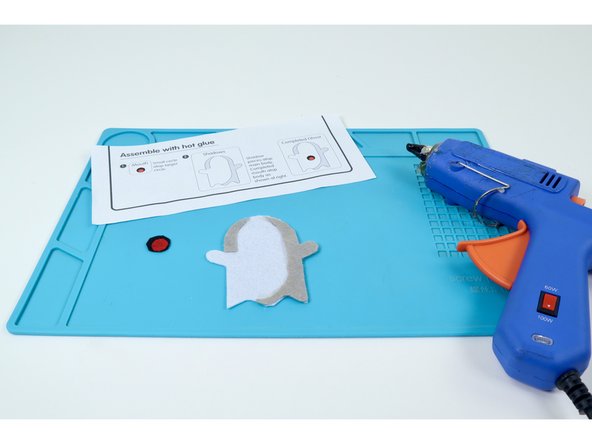
Gather all supplies shown and print the template sheet. You will use the separate pieces to either trace onto felt and cut or cut directly without tracing to create the shapes this design is made from.
-
-
-
With a scissors, cut out each piece and set aside.
-
You can either trace these shapes onto the colored felt you chose and cut them out after tracing OR use the cutting templates as shown in photo 2.
-
-
-
Use the assembly instructions found on the template sheet or these photos along with a hot glue gun to layer each piece correctly and form the final design.
-
-
-
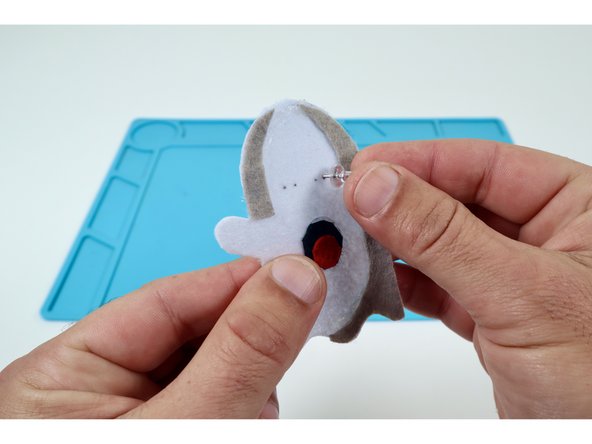
Once the glue has been allowed to cool, use a pushpin to poke two pairs of two holes side by side where you'd like the eyes to go.
-
Thread the two legs of one LED through one of those pairs of holes. The orientation of the long and short LED legs doesn't matter for the first LED.
-
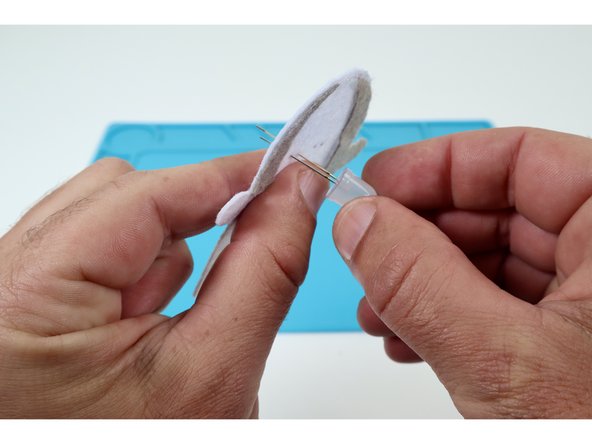
Thread the two legs of the remaining LED through the remaining pairs of holes using the same orientation of short and long legs you chose for the first one.
-
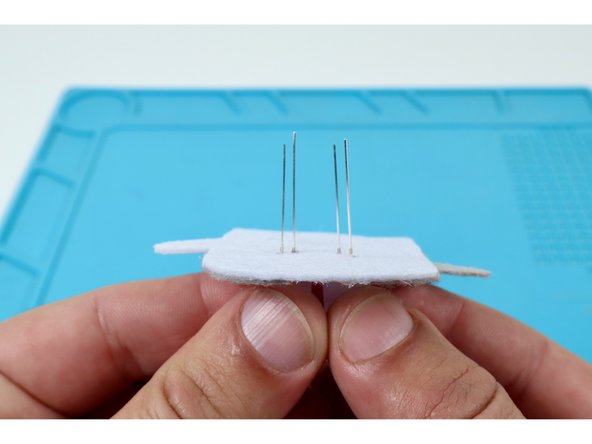
Note: In the last photo, all the long legs are on the right while all of the short are on the left. This or the opposite "same orientation" will help you keep track of this important aspect of the LEDs for later use in connecting this project to a circuit.
-
-
-
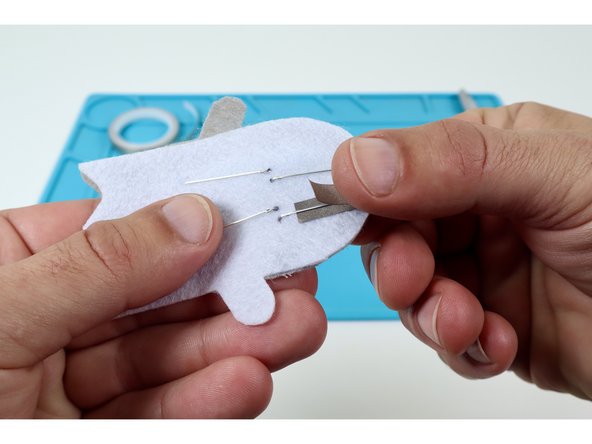
Bend both Short LED Legs flat upward against the back of the project.
-
Bend both of the Long LED Legs flat in the opposite direction as the short ones.
-
-
-
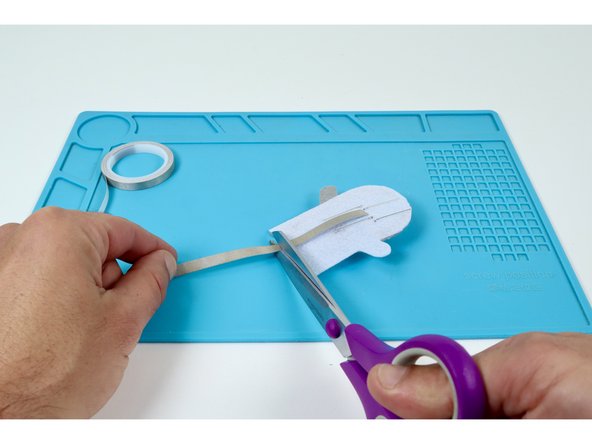
Cut 4 small pieces of 1/4" Maker Tape that are about 2x the length of each LED leg.
-
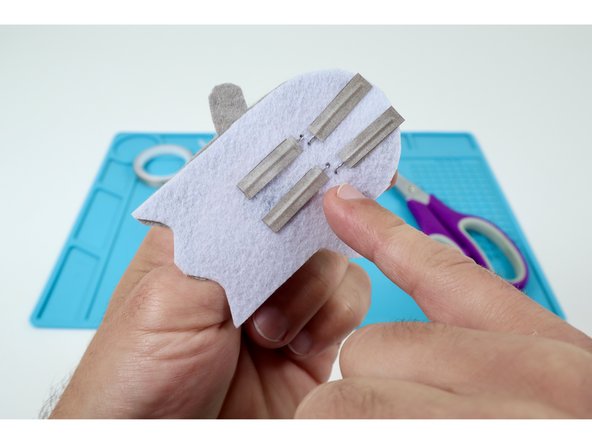
Peel and stick half of a single piece to a single LED leg as shown at left and then fold it back onto itself. This will result in the LED leg being sandwiched between the two layers.
-
Repeat this process for the remaining three LED legs so that they look like the final photo.
-
-
-
Your felt design is now ready to use as the embellishment for any wearable design! Refer to the two guides in the Wearable Circuits category beginning with "What to do with a felt embellishment" to see two different ways you can use what you've prepared here in a wearable circuit.
-


Afterward, refer to the guide "What to do with a felt embellishment" to see two different ways you can use what you've prepared here in a wearable circuit.
Afterward, refer to the guide "What to do with a felt embellishment" to see two different ways you can use what you've prepared here in a wearable circuit.