Introduction
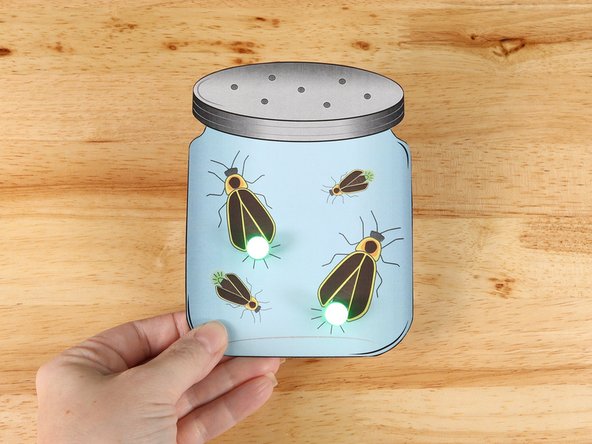
Use two LEDs, a CR 2032 battery, and Maker Tape to make fireflies in a jar
You can make this project (and many more!) with our Paper Circuits Kit.
Featured Document
-
-
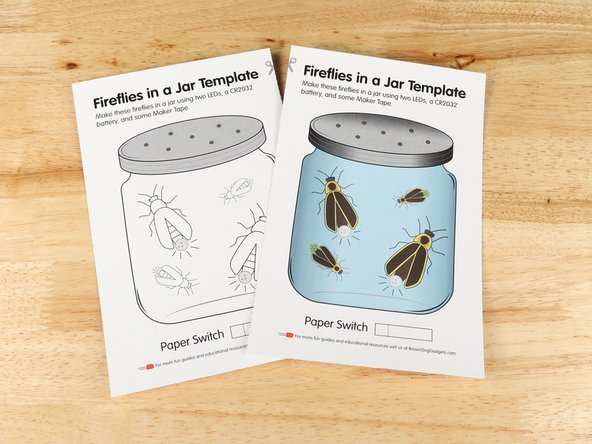
Print out the template on heavy cardstock.
-
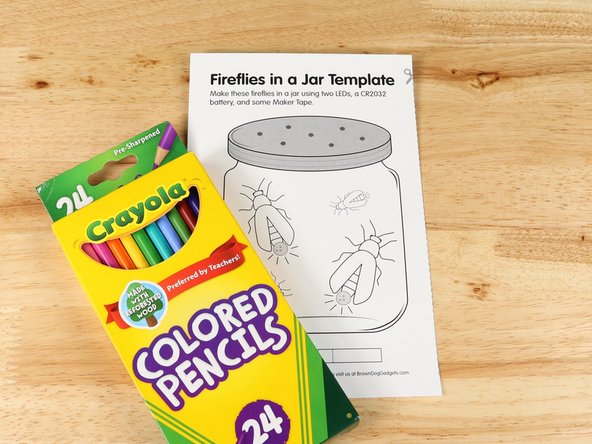
Color and cut out out the template.
-
We have included a full color template as well as a black and white template. Print the one that works better for your printing needs.
-
-
-
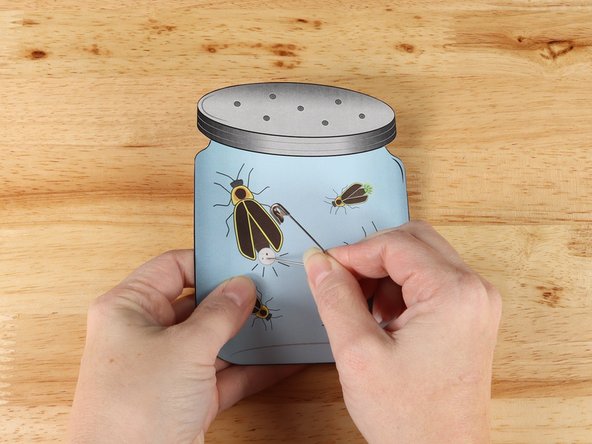
Use a safety pin or a thumbtack to poke holes for the LED legs to go through.
-
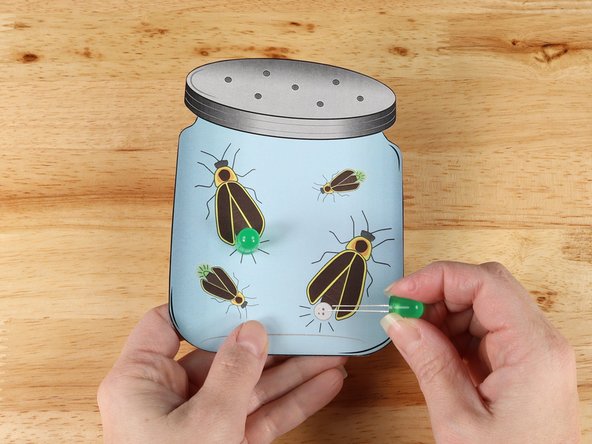
Insert LEDs into holes paying close attention to the orientation of the LED legs. Long legs are Positive and Short legs are Negative.
-
-
-
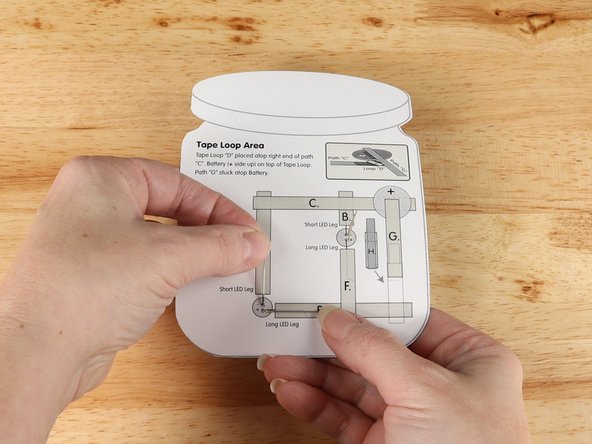
Bend the LED legs flat on the back following the diagram.
-
-
-
Add Maker Tape to tape path A. over the top of the LED leg.
-
-
-
Add Maker Tape to tape path B. over the top of the LED leg.
-
-
-
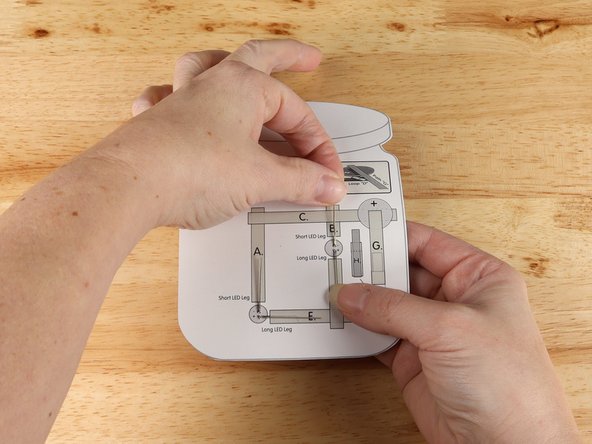
Add Maker Tape to tape path C.
-
-
-
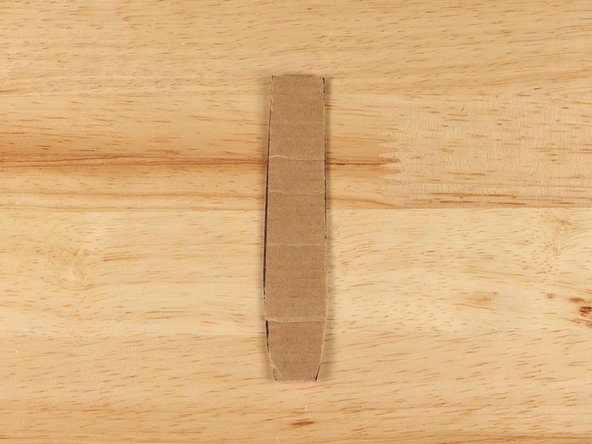
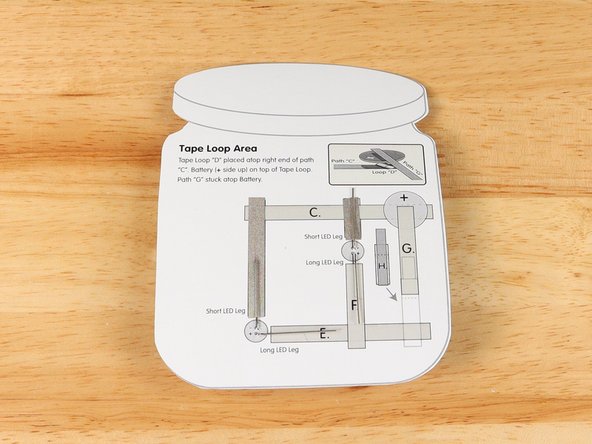
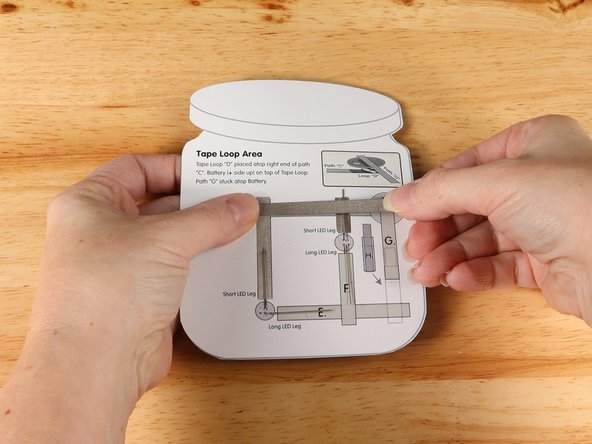
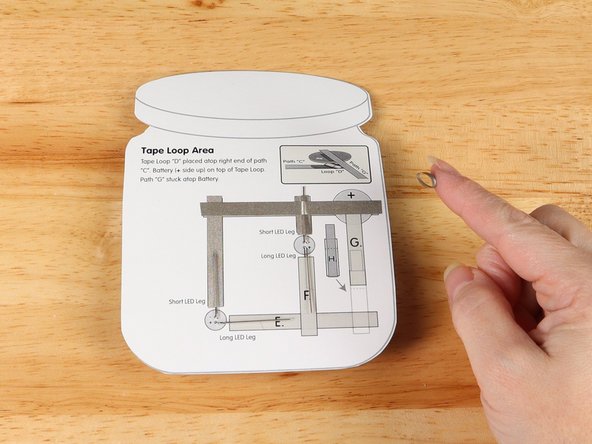
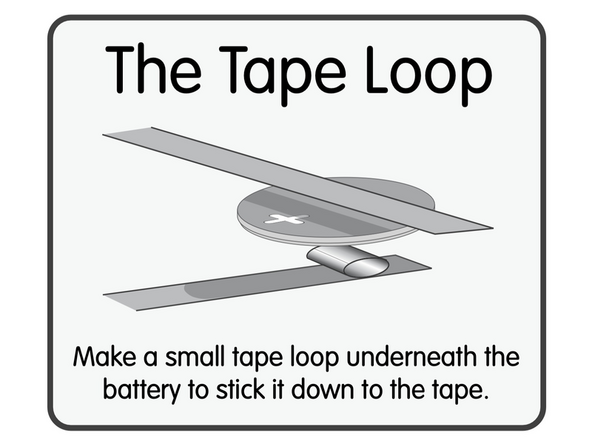
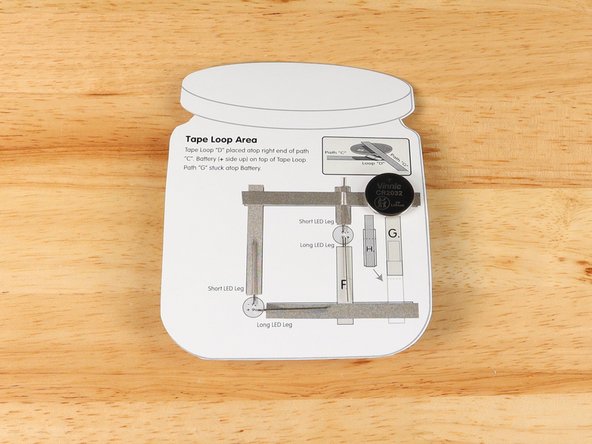
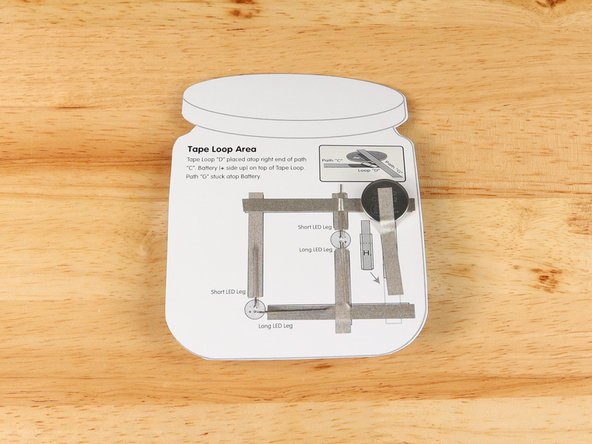
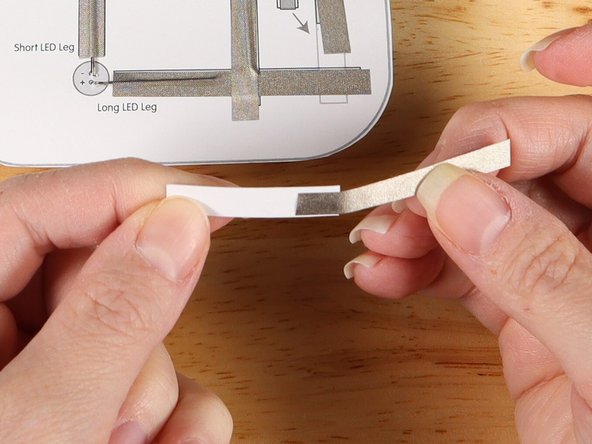
Make a loop of tape (sticky side out) using a short piece of Maker Tape, and stick it atop the end of tape path C.
-
-
-
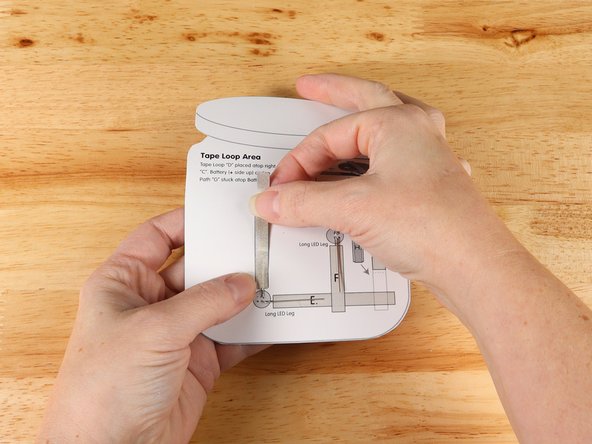
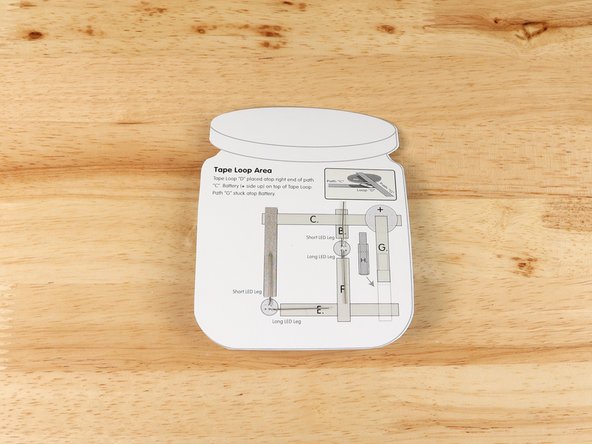
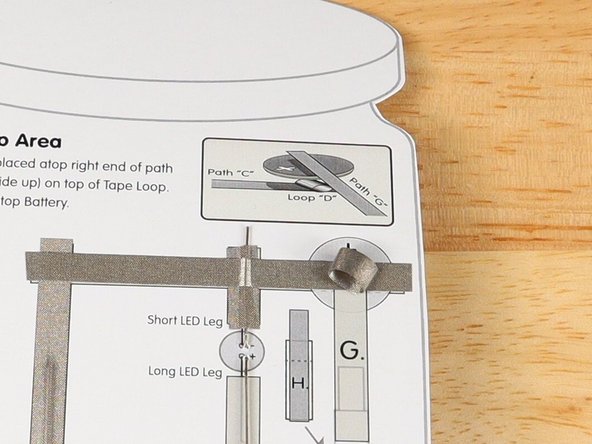
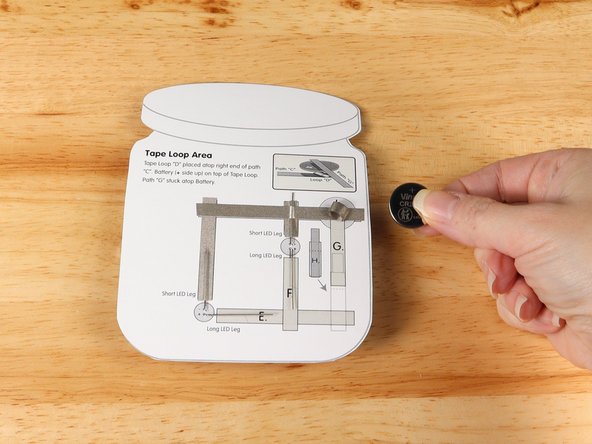
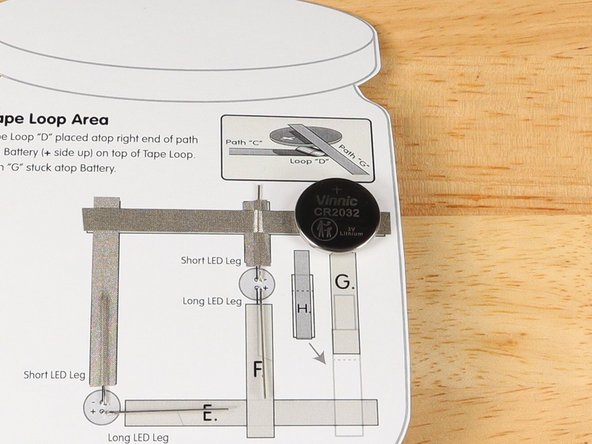
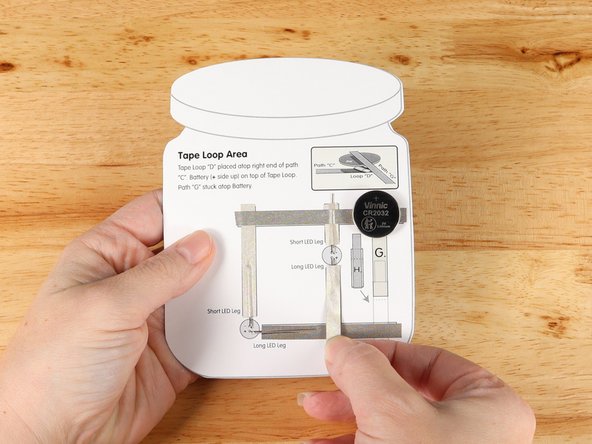
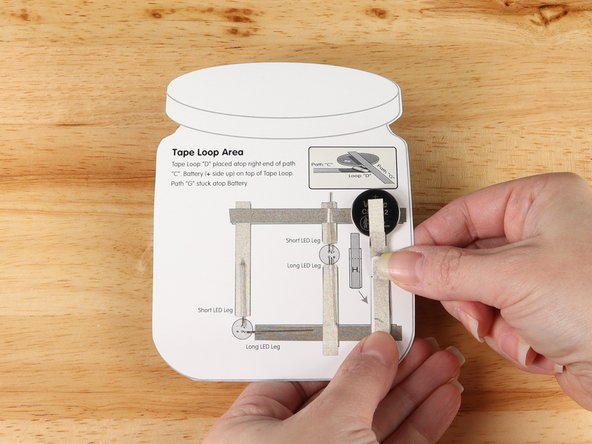
Once your Tape Loop is in place you can add the Battery to it.
-
Make sure the Positive side of the Battery is facing upwards, with the Negative side stuck down to the tape.
-
-
-
Add Maker Tape to tape path E. over the top of the LED leg.
-
-
-
Add Maker Tape to tape path F. over the top of the LED leg.
-
-
-
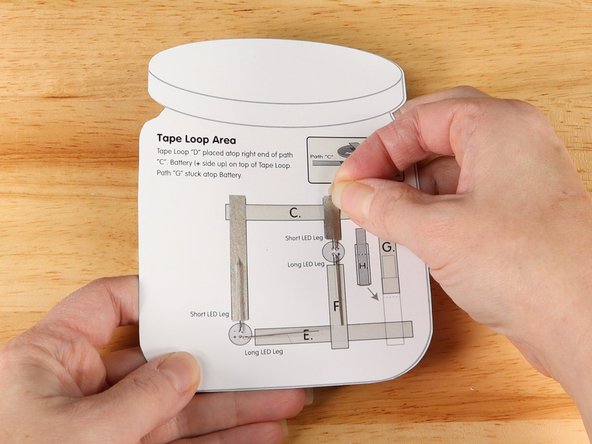
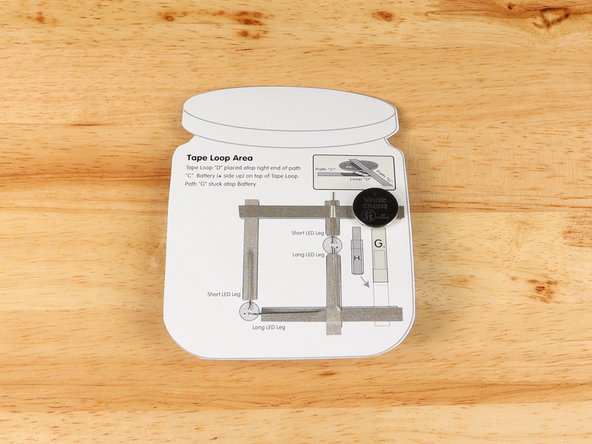
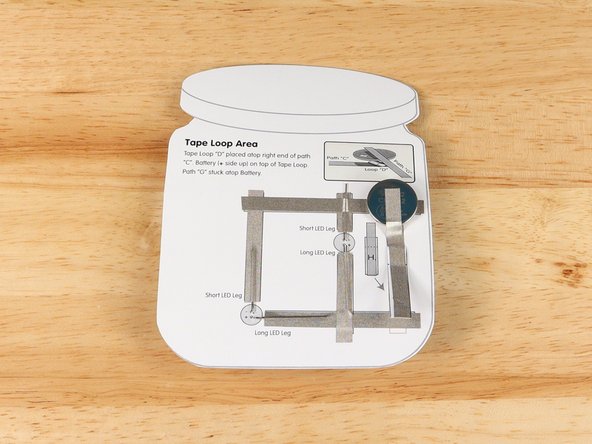
Add Maker Tape to path G connecting the top (Positive) side of the battery to the diagram.
-
This path should not connect with path E. We will add a switch to control the project.
-
-
-
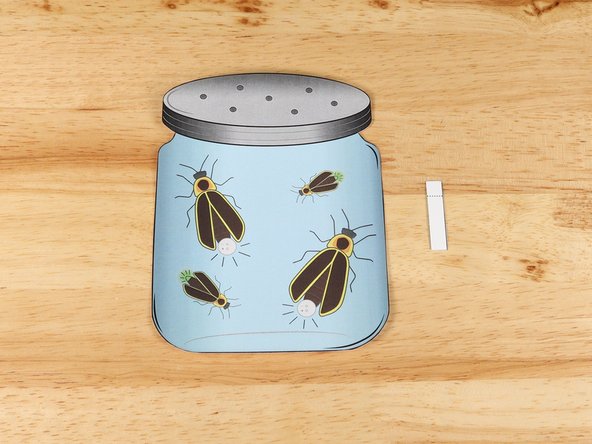
If you haven't made a paper lever switch yet see the guide: Switch - Lever Switch
-
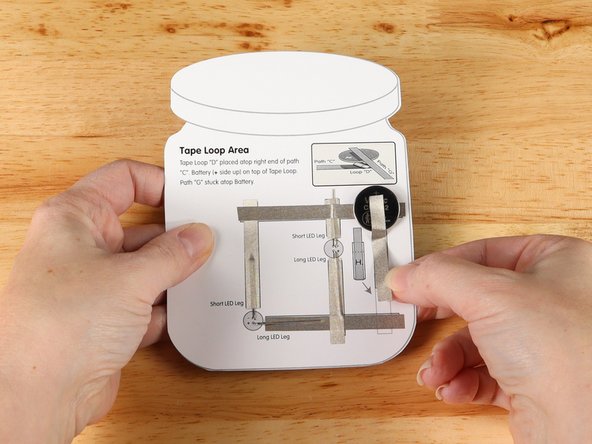
Add the paper switch to the end of tape path G. The other end of the switch should come in contact with tape path E.
-
If the switch does not reach you can adjust and add more Maker Tape as needed.
-
-
-
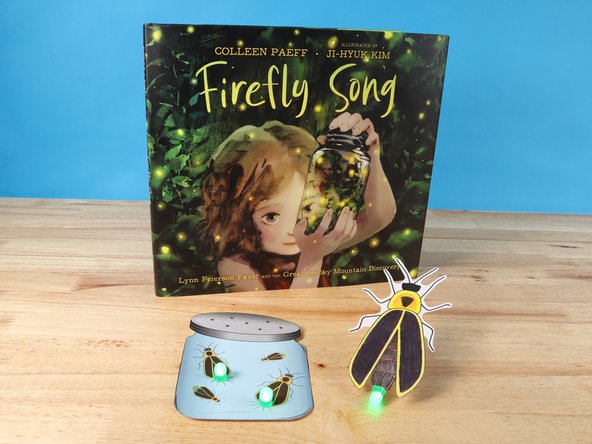
Your Fireflies in a Jar craft is assembled and ready to light up the night sky!
-
-
-
Check out Firefly Song for a great read-aloud to connect to this project!
-

Attached Documents