Introduction
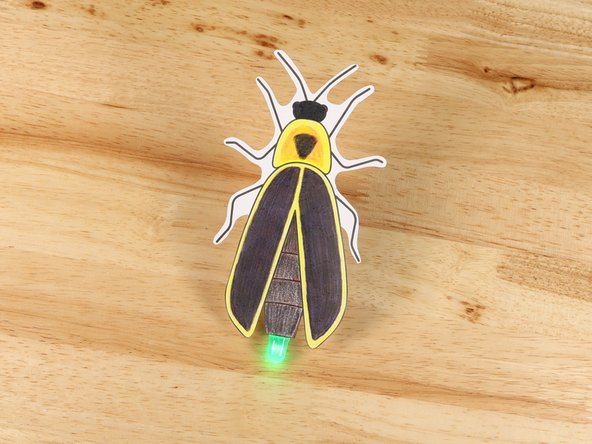
Use cardboard, an LED, a CR 2032 battery, and Maker Tape to make a firefly that can flash!
You can make this project (and many more!) with our Paper Circuits Kit.
Video Overview
Featured Document
-
-
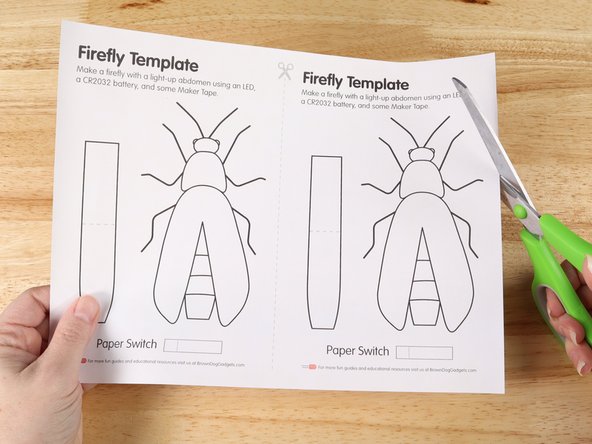
Print out the template on regular copy paper. While most of our guides specify printing on heavy cardstock, this guide doesn't need that since the circuitry will be on the cardboard.
-
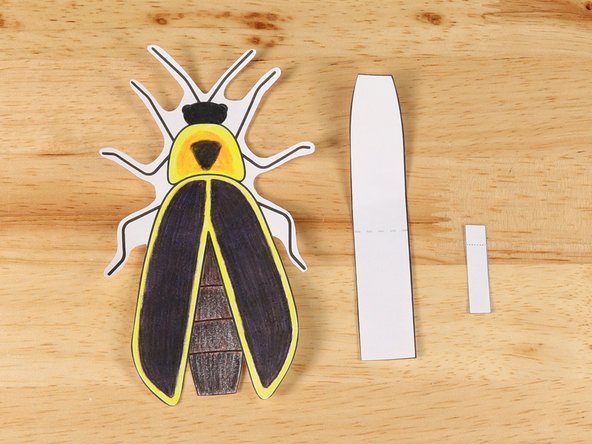
Cut out each part of the template.
-
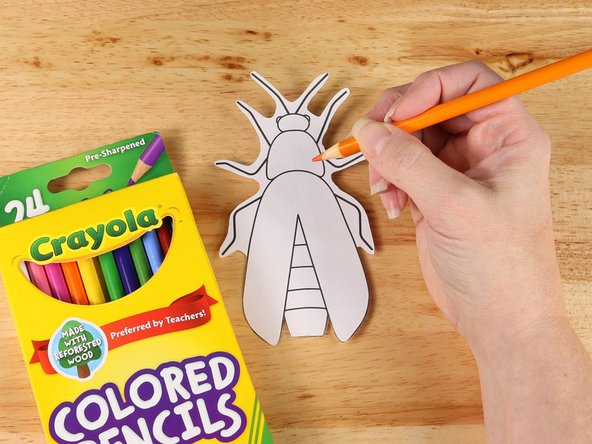
Color the firefly.
-
-
-
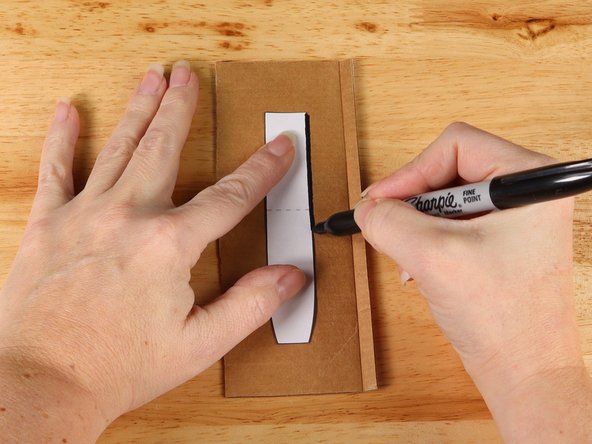
Use the template to trace the handle onto a piece of cardboard.
-
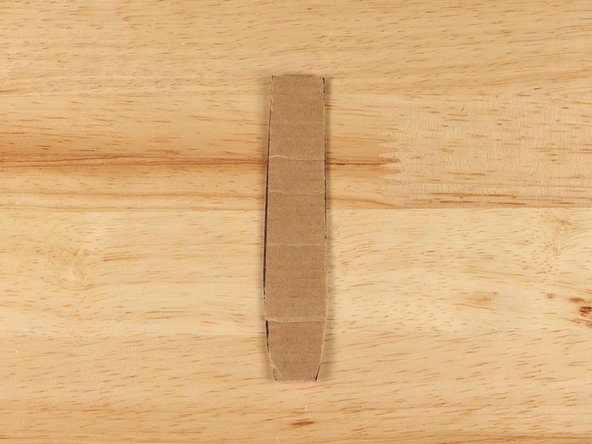
In this guide we used the lid to a box of paper (that's why one side is brown and the other is white.) You can use any cardboard you have around. Cereal boxes would also work.
-
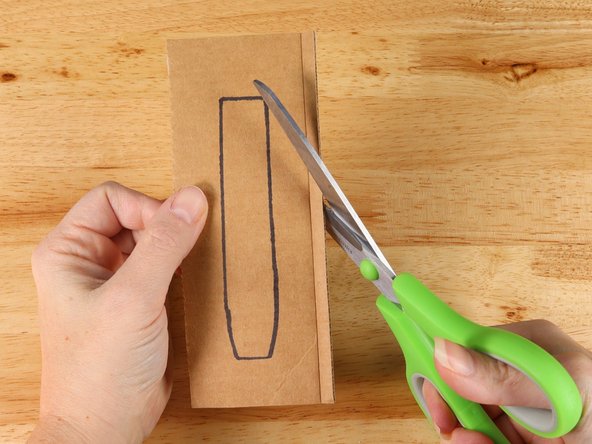
Cut out the handle.
-
-
-
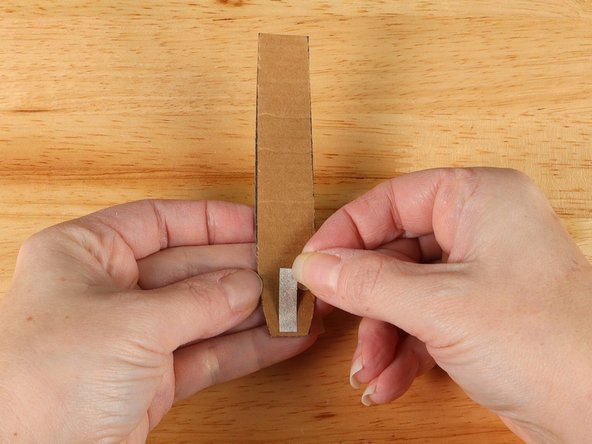
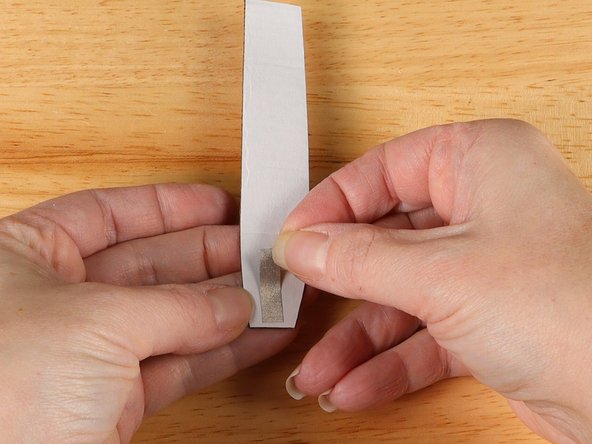
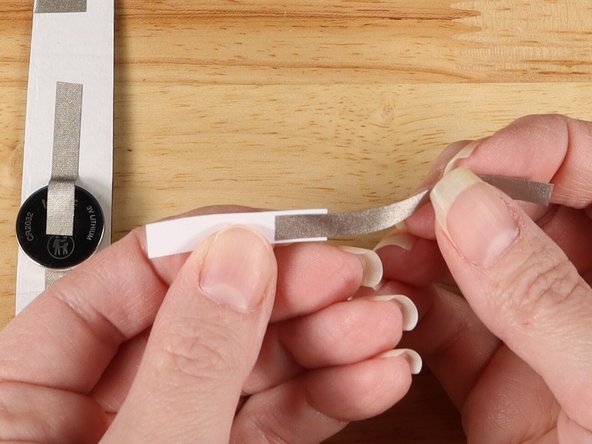
Add a small piece of Maker Tape to the front of the handle at the bottom on the end that curves inward slightly.
-
The tape does NOT wrap around the bottom edge of the cardboard.
-
This tape will be underneath one of the LED legs to ensure a good connection.
-
-
-
Flip over the handle and add a small piece of Maker Tape to the back of the handle at the bottom.
-
The tape does NOT wrap around the bottom edge of the cardboard.
-
This tape will be underneath the other LED leg to ensure a good connection.
-
-
-
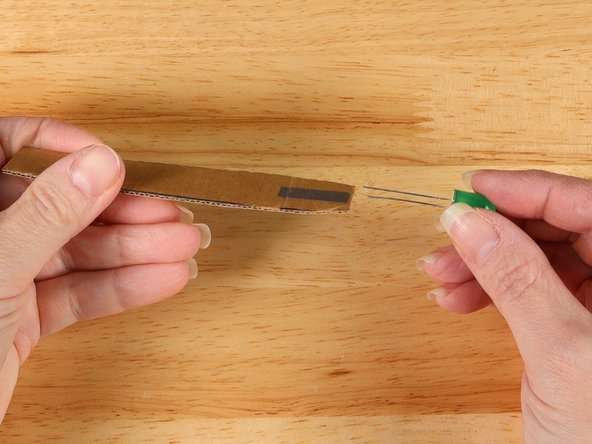
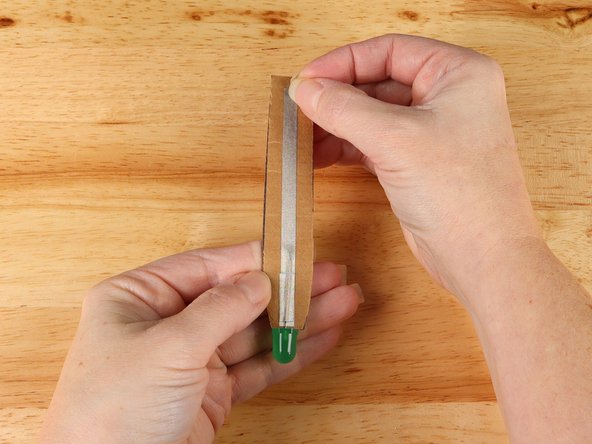
Slide an LED onto the handle so the cardboard goes in between the two LED legs.
-
The Long Leg (Positive +) should be on the front of the handle and the Short Leg (Negative -) should be on the back side of the handle.
-
The LED legs should be on top of the Maker Tape that was added in steps 3 and 4.
-
-
-
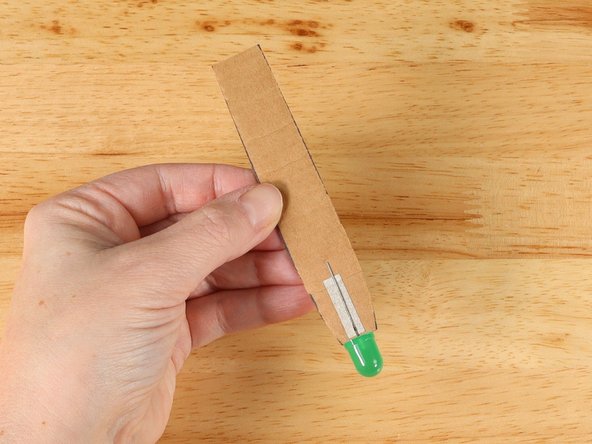
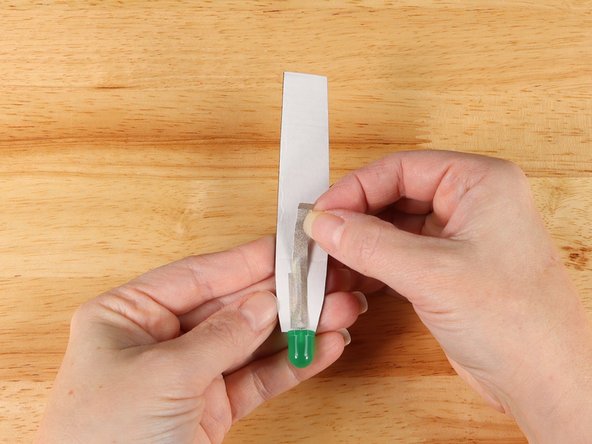
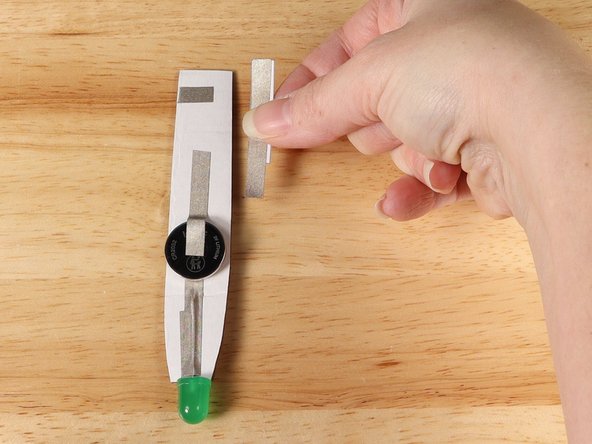
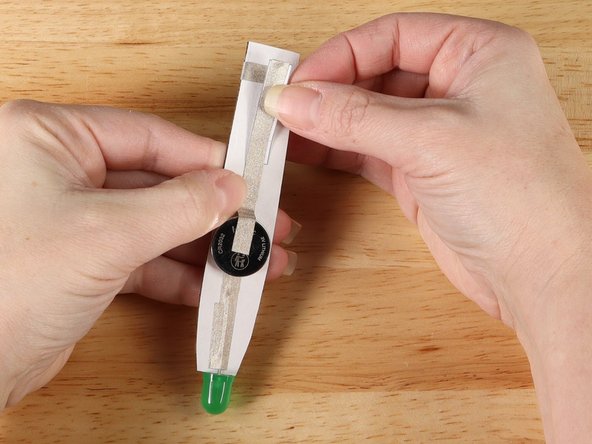
Add a long piece of Maker Tape to the front of the handle. The strip of Maker Tape should cover the LED and go all the way to the opposite end of the handle.
-
-
-
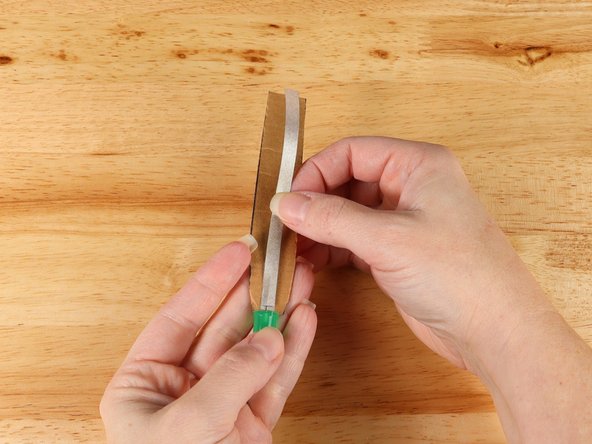
Flip the handle over and add a small strip of Maker Tape on top of the LED leg.
-
-
-
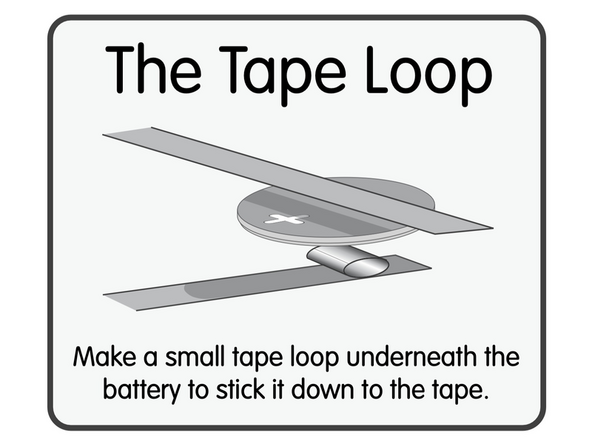
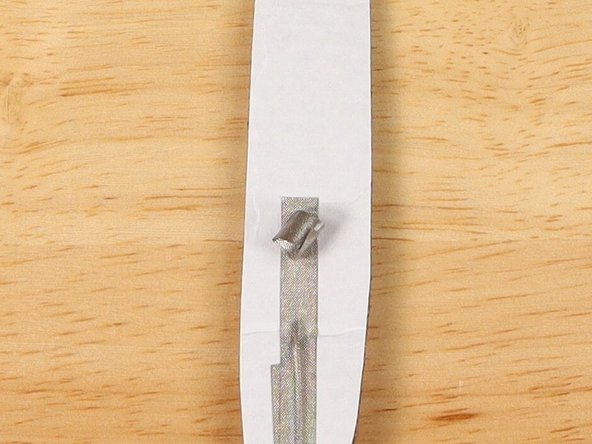
Make a loop of tape (sticky side out) using a short piece of Maker Tape, and stick it atop the end of the path coming from the short (Negative) LED leg.
-
-
-
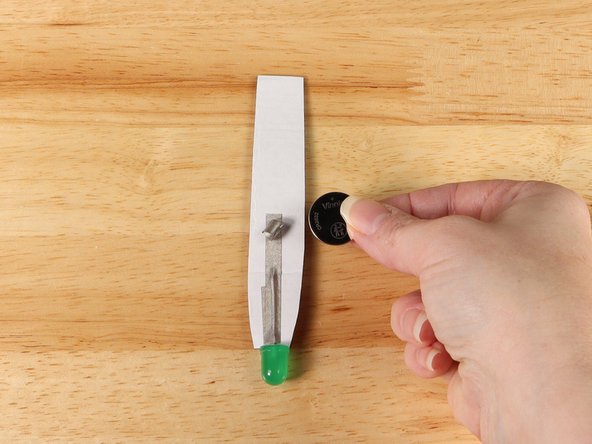
Once your Tape Loop is in place you can add the Battery to it.
-
Make sure the Positive side of the Battery is facing upwards, with the Negative side stuck down to the tape.
-
-
-
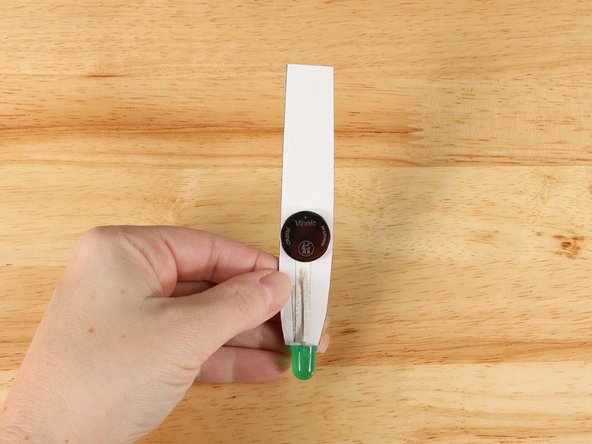
Add Maker Tape to connect the top (Positive) side of the battery to the handle.
-
This path should not go to the end of the handle. We will add a switch to control the firefly.
-
-
-
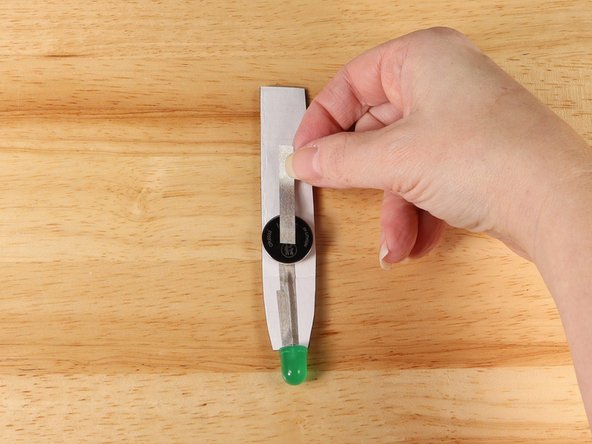
Add a piece of Maker Tape that starts on the back of the handle and wraps around to the front of the handle.
-
The strip of tape should NOT touch the path of Maker Tape on the back of the handle, but it SHOULD overlap with the piece of Maker Tape on the front side of the handle.
-
-
-
If you haven't made a paper lever switch yet see the guide: Switch - Lever Switch
-
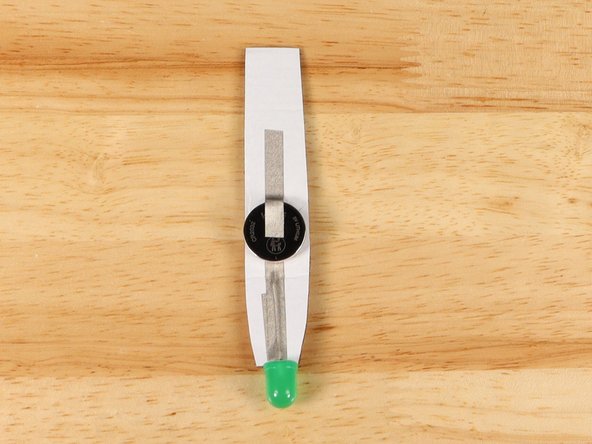
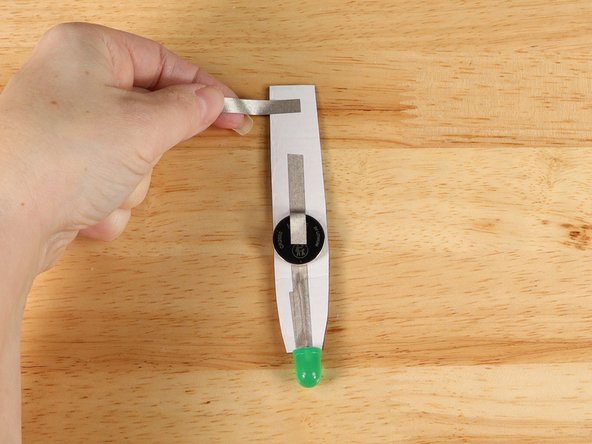
Add the paper switch to the end of the path coming from the battery. The other end of the switch should come in contact with the strip of Maker Tape that wrapped around to the front from step 11.
-
If the switch does not reach you can adjust and add more Maker Tape as needed.
-
-
-
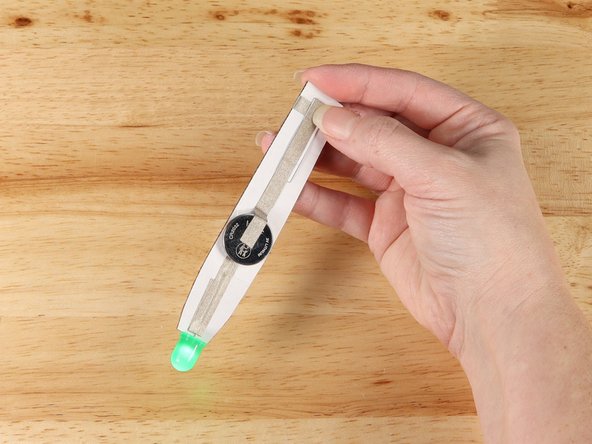
At this point you should test the circuit to make sure it works. When you press down on the switch the LED should light up.
-
If it does not light up...
-
Make sure that your switch is making contact.
-
Make sure the polarity of your LED is correct with the Short Leg (Negative -) leading to the Negative side of the battery and the Long Leg (Positive +) is leading to the Positive side of the battery. You may need to peel back the tape paths and flip your LED orientation.
-
-
-
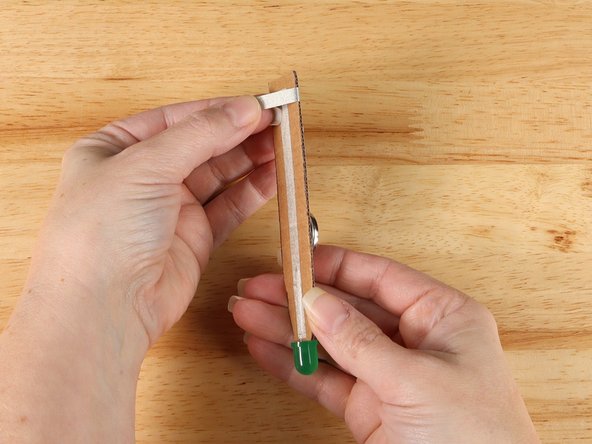
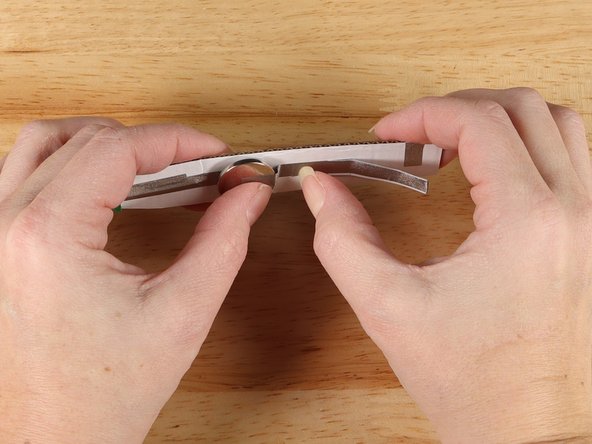
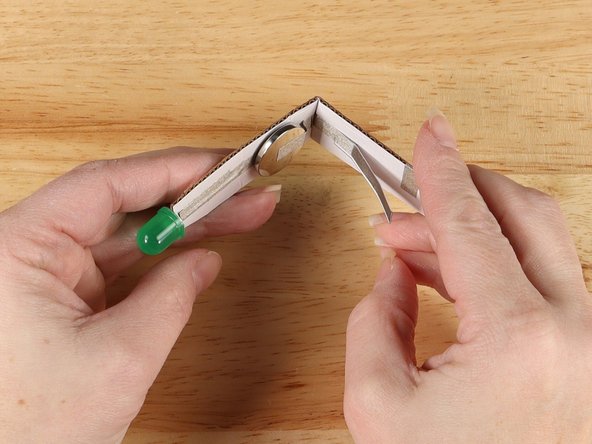
With the battery facing you, gently bend the cardboard somewhere between the battery and the switch.
-
-
-
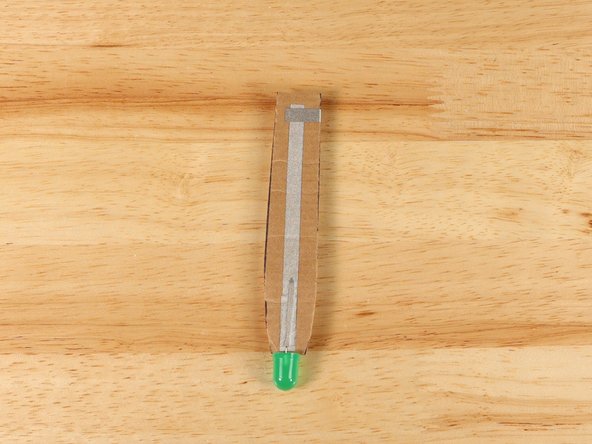
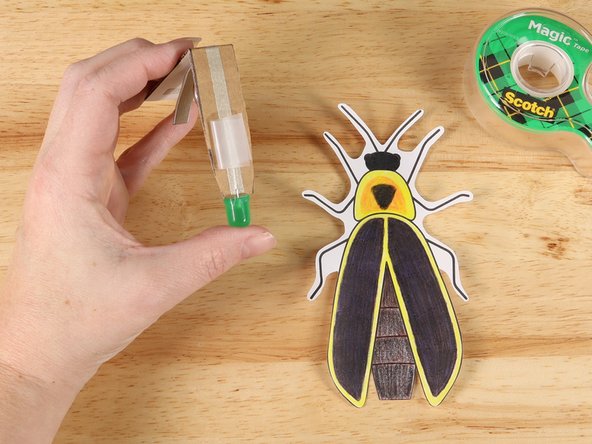
On the front of the handle, add a tape loop of clear tape right above the LED.
-
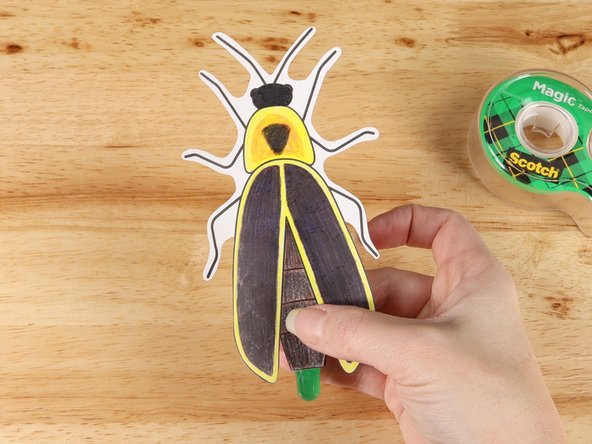
Add the Firefly template onto the clear tape loop, lining up the LED and the bottom of the Firefly.
-
-
-
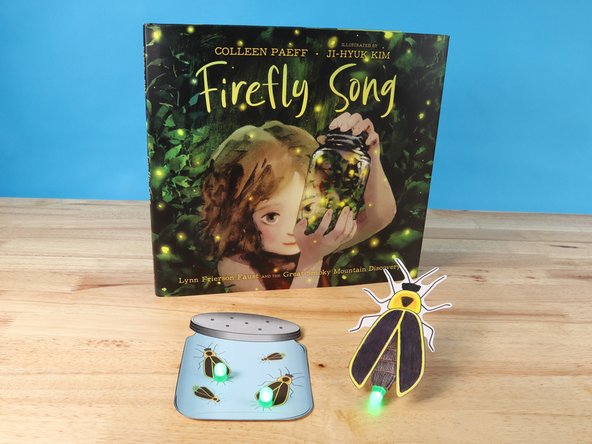
Your Firefly craft is assembled and ready to light up the night sky!
-
-
-
Check out Firefly Song for a great read-aloud to connect to this project!
-

Attached Documents