Introduction
Use an LED, a CR2032 battery, and Maker Tape to make a folding shamrock paper circuits project.
You can make this project (and many more!) with our Paper Circuits Kit.
Featured Document
-
-
Print out the template on heavy cardstock.
-
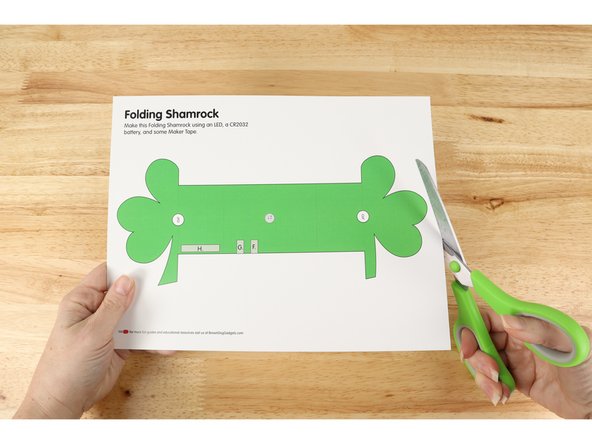
Color and cut out out the template.
-
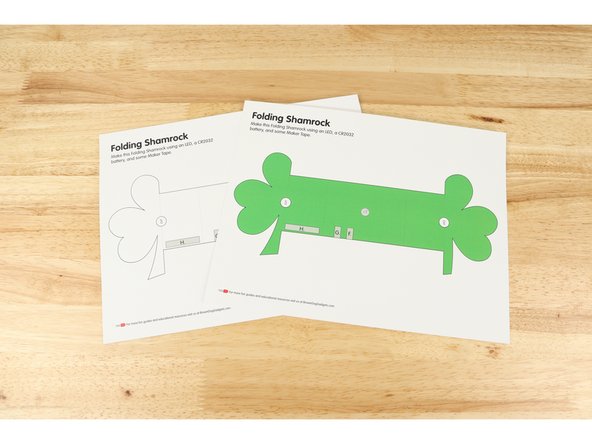
We have included a full color template as well as a black and white template. Print the one that works better for your printing needs.
-
-
-
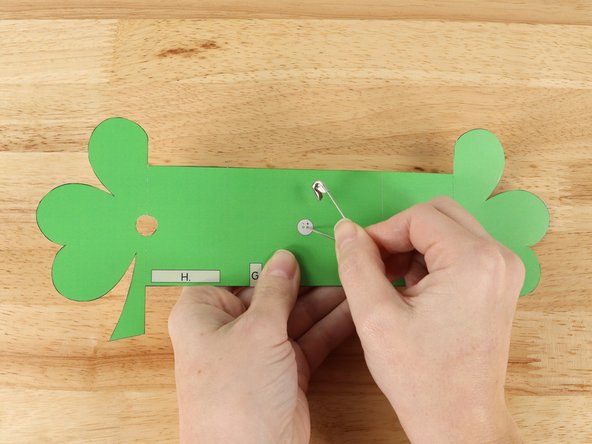
Use a safety pin or a thumbtack to poke holes for the LED legs to go through.
-
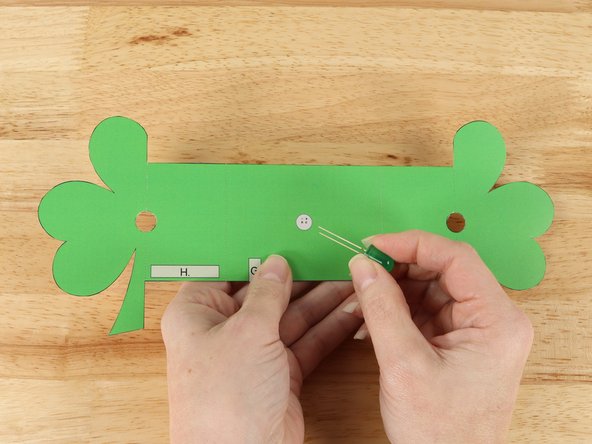
Insert LED into holes paying close attention to the orientation of the LED legs. The Long leg is Positive and Short leg is Negative.
-
-
-
Bend the LED legs flat on the back following the diagram.
-
-
-
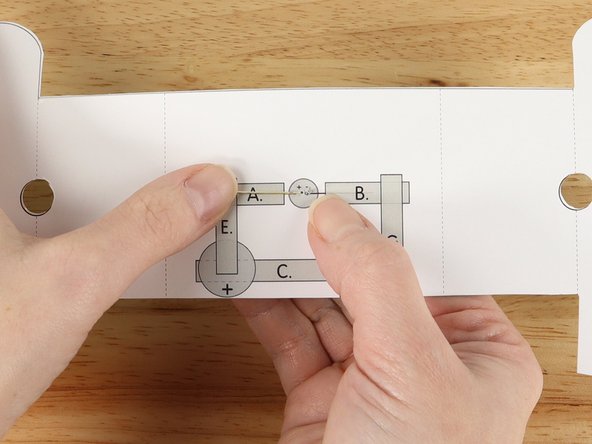
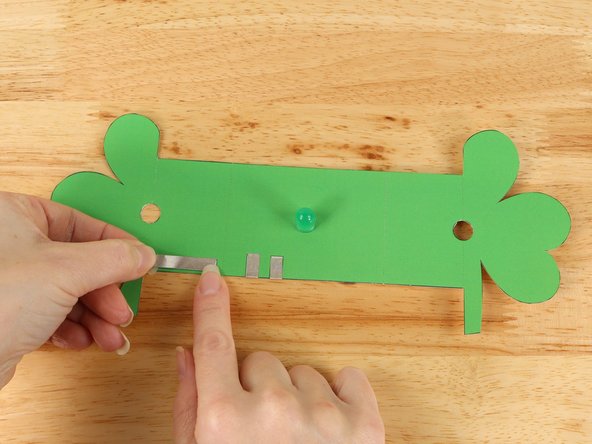
Add Maker Tape to tape path A. over the top of the LED leg.
-
-
-
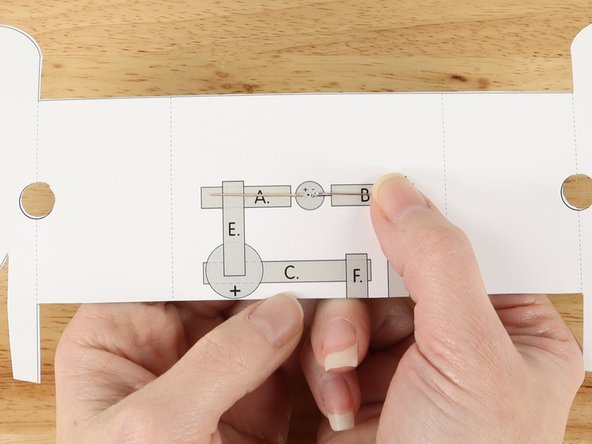
Add Maker Tape to tape path B. over the top of the LED leg.
-
-
-
Add Maker Tape to tape path C.
-
-
-
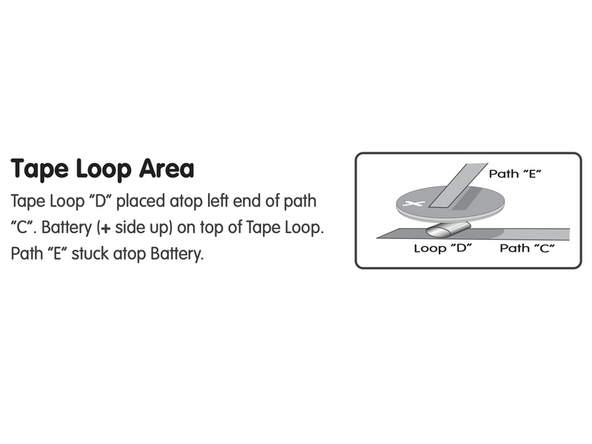
Make a loop of tape (sticky side out) using a short piece of Maker Tape, and stick it atop the left end of tape path C.
-
-
-
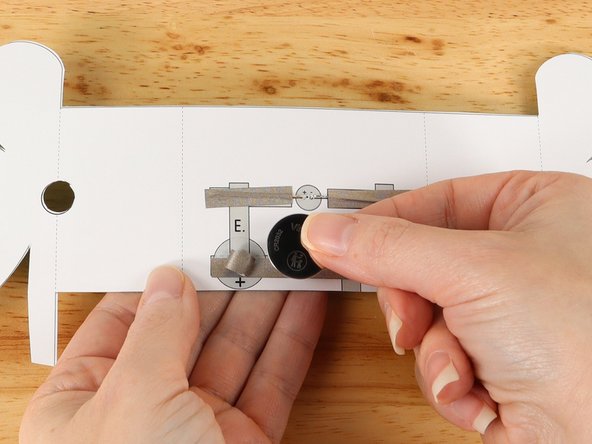
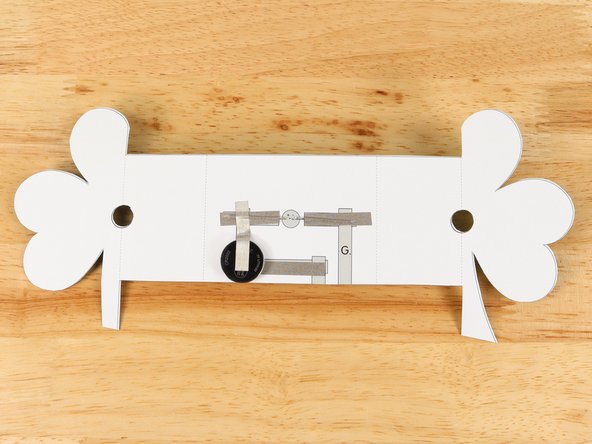
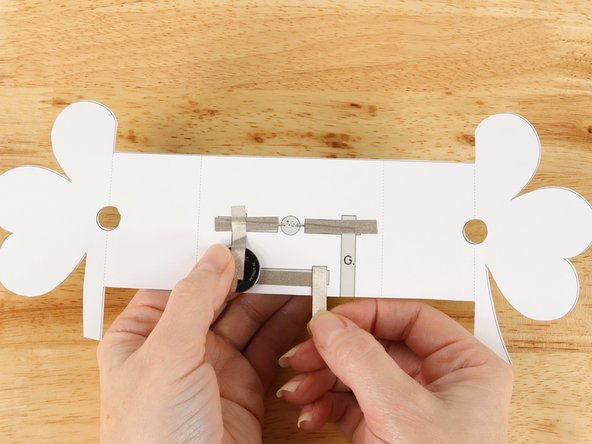
Once your Tape Loop is in place you can add the Battery to it.
-
Make sure the Positive side of the Battery is facing upwards, with the Negative side stuck down to the tape.
-
-
-
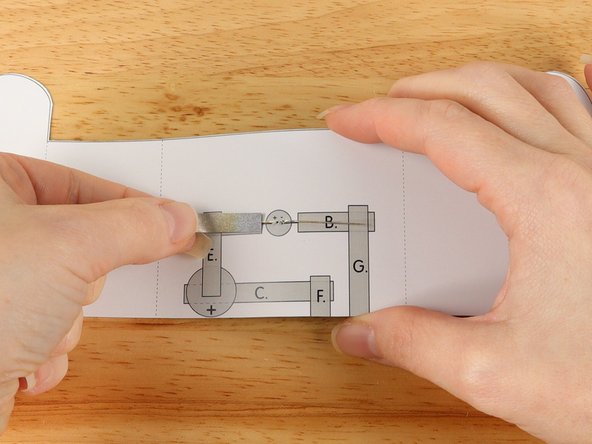
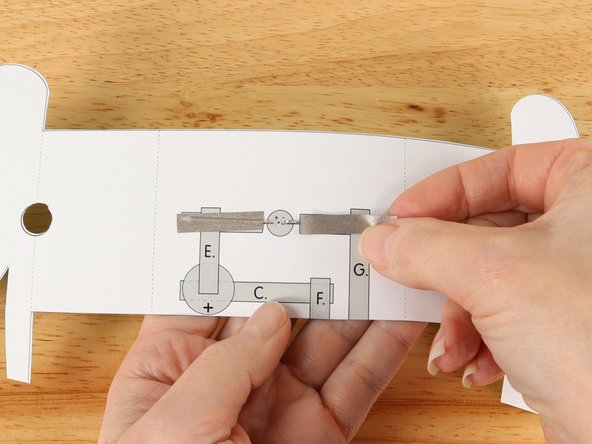
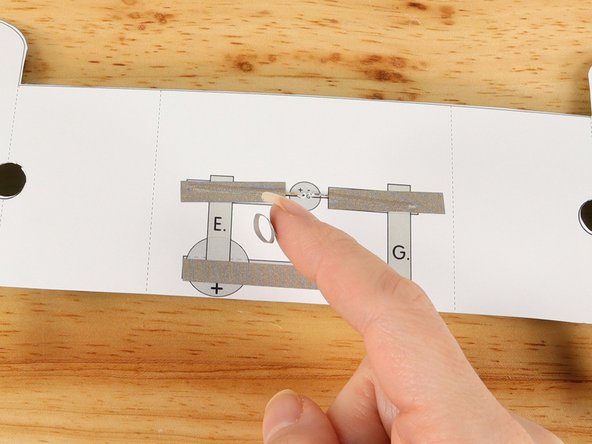
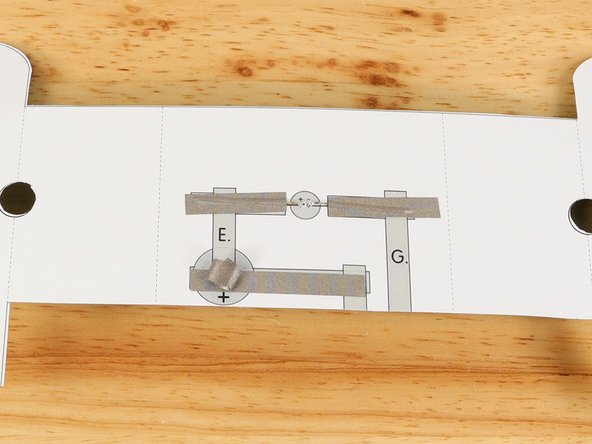
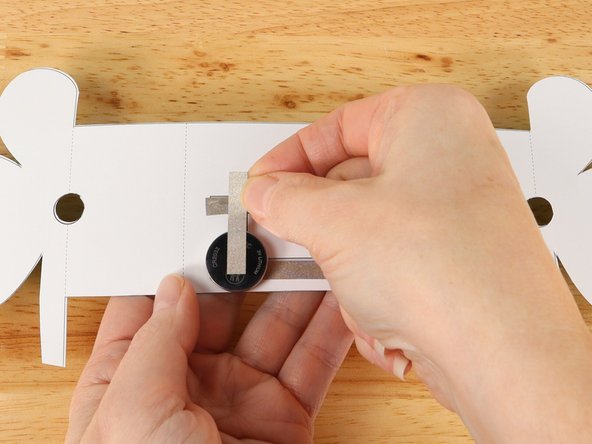
Add Maker Tape to tape path E.
-
-
-
Add Maker Tape to tape path F. This piece of Maker Tape will overlap with the right end of tape path C and wrap around the bottom of the project to the front side.
-
-
-
Add Maker Tape to path G. This piece of Maker Tape will overlap with the right end of tape path B and wrap around the bottom of the project to the front side.
-
This path should not connect with path F. We will add a switch to control the project.
-
-
-
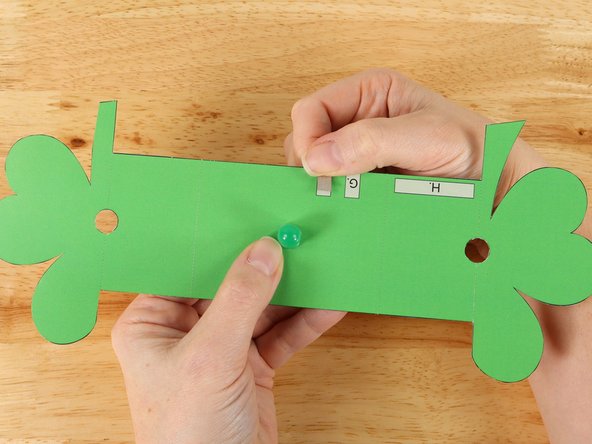
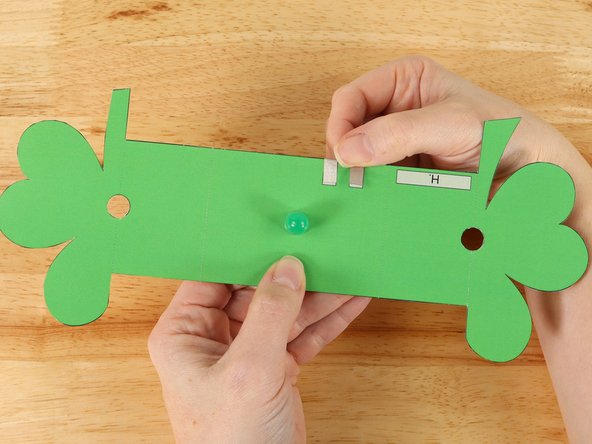
Add Maker Tape to path H. This path does not connect with any other pathway until the project is folded up.
-
-
-
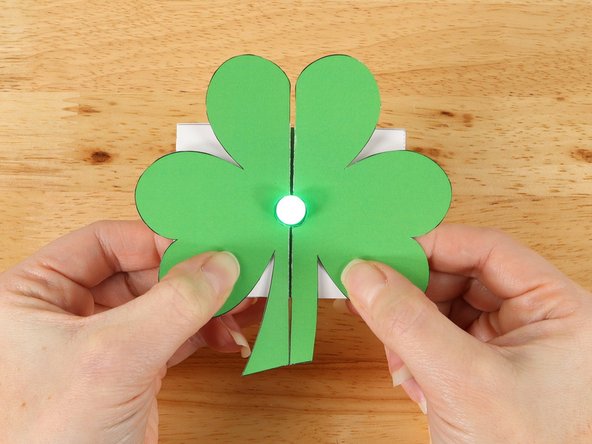
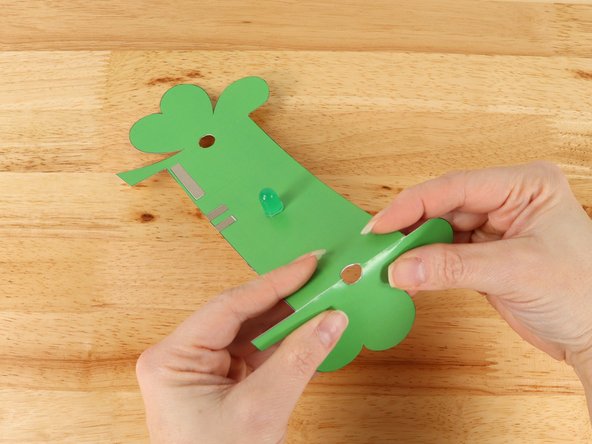
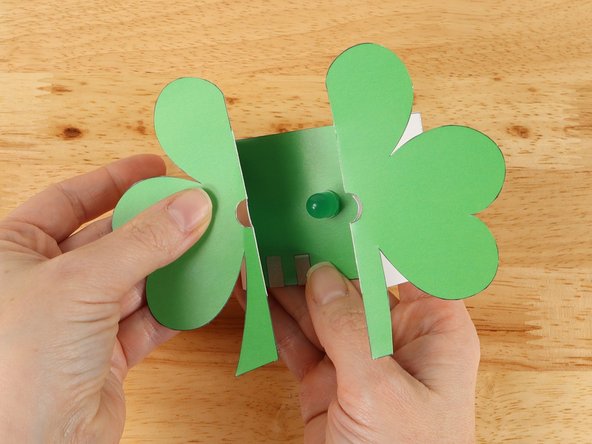
To fold the shamrock into the correct shape, using a mountain fold as pictured, fold along the two outermost dotted lines.
-
The two innermost dotted lines should be folded with a valley fold. When done correctly, the two halves of the shamrock will line up with each other around the LED.
-
-
-
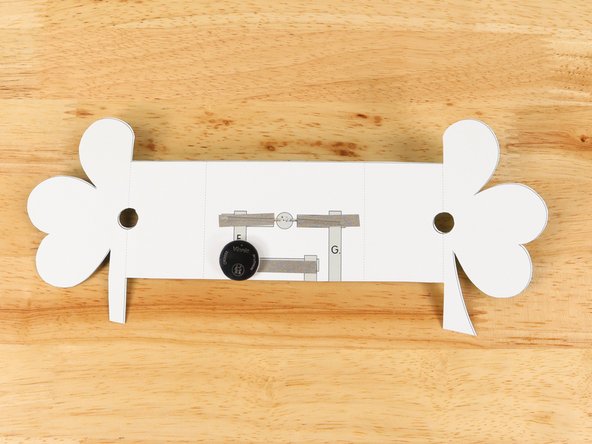
Your Folding Shamrock craft is assembled and ready to celebrate the holiday in style!
-


Attached Documents