Introduction
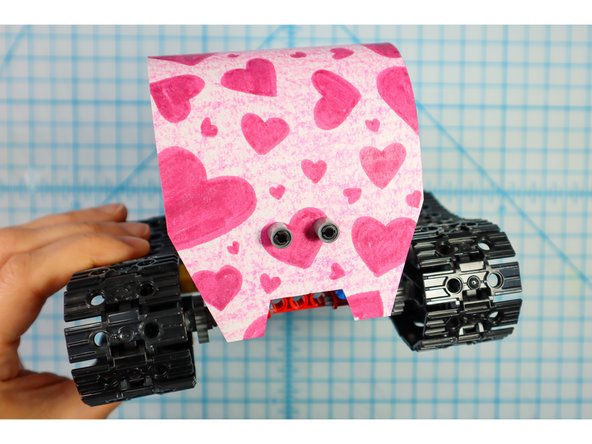
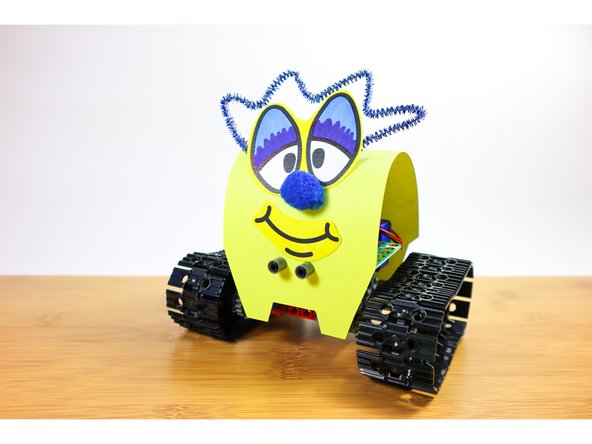
Give your Bit Board Rover Tank some personality with this fun-to-customize template.
Video Overview
Featured Document
-
-
If you haven't built the Tank's Main Body yet, follow this tutorial first.
-
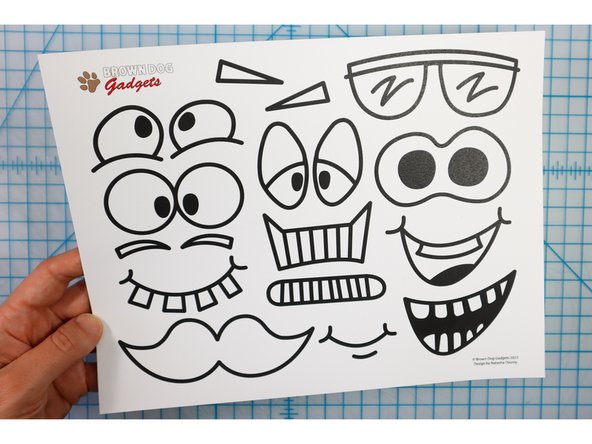
Print the template on Cardstock. Use white cardstock to color it in, or colored, patterned, or even glitter cardstock to add more pizazz!
-
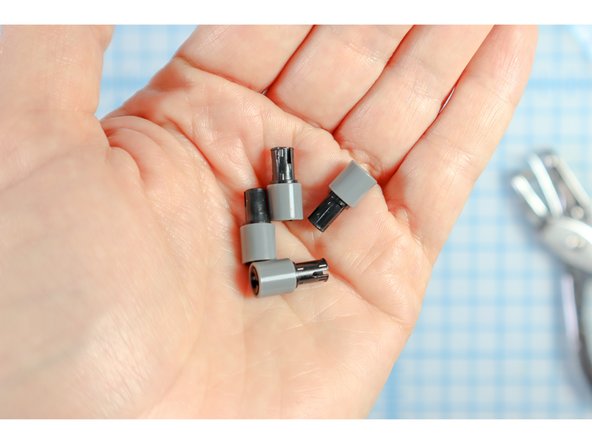
You will also need scissors, a hole punch, 4x LEGO pins (black) and 4x LEGO round beams (grey), double-sided tape or glue, and other optional embellishments like pipe cleaners, googly eyes, pompoms, etc.
-
-
-
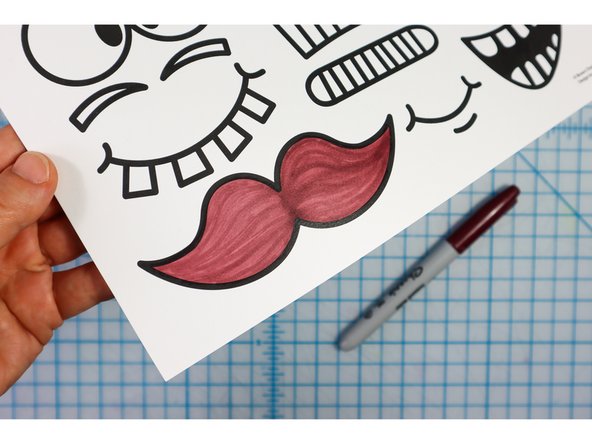
Color the template with markers. (optional)
-
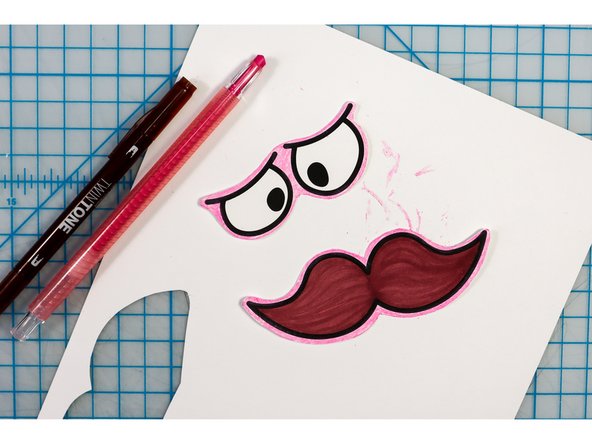
Then cut along the solid lines.
-
-
-
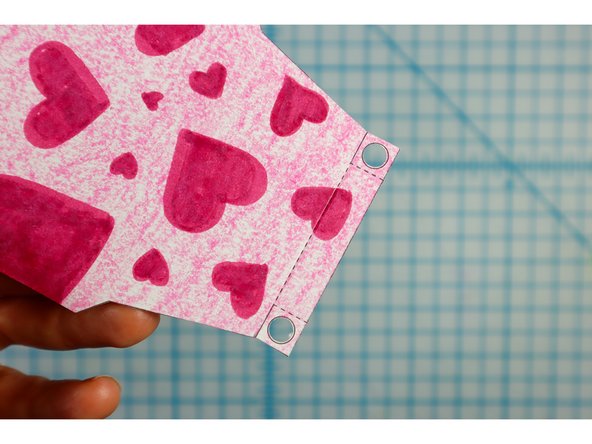
Use a standard hole punch to punch out the circles where shown.
-
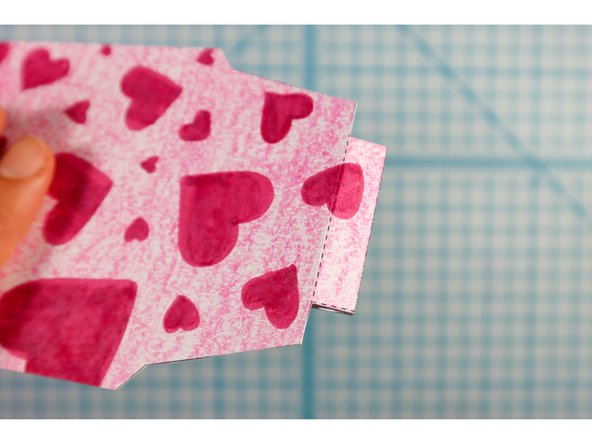
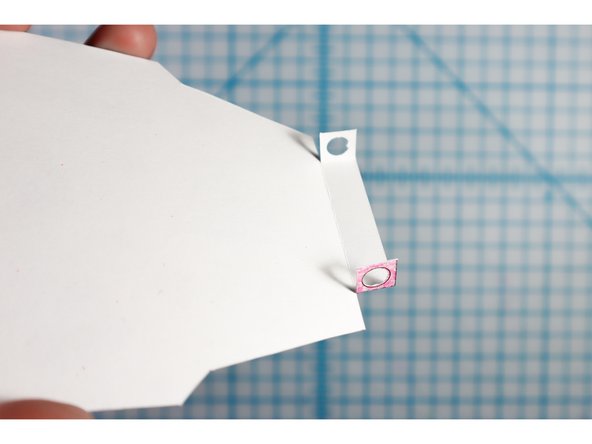
Fold the template on the dotted lines, with the holes facing each other as shown.
-
-
-
Connect each LEGO pin to a LEGO round beam as shown.
-
-
-
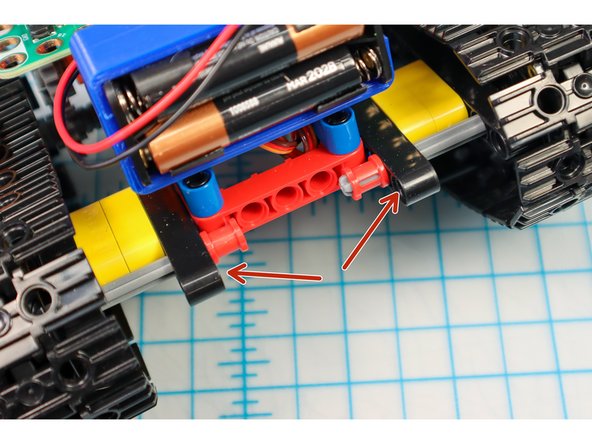
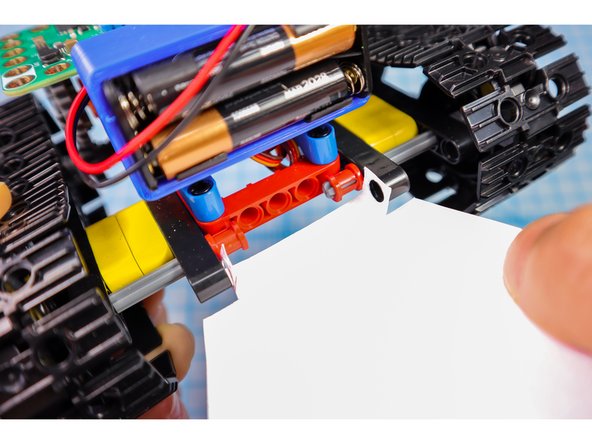
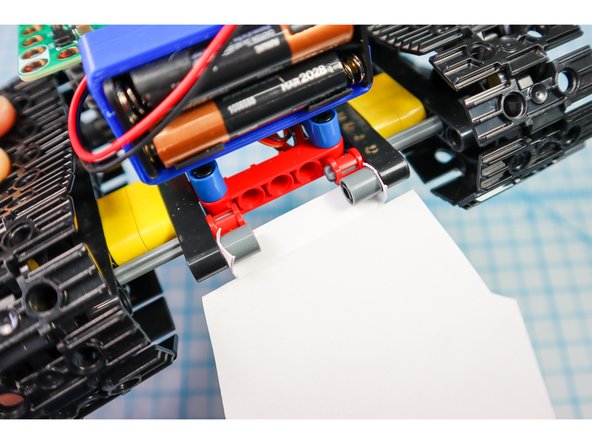
Use two pin/beam sets to connect the paper to the back of the tank under the battery pack where shown.
-
-
-
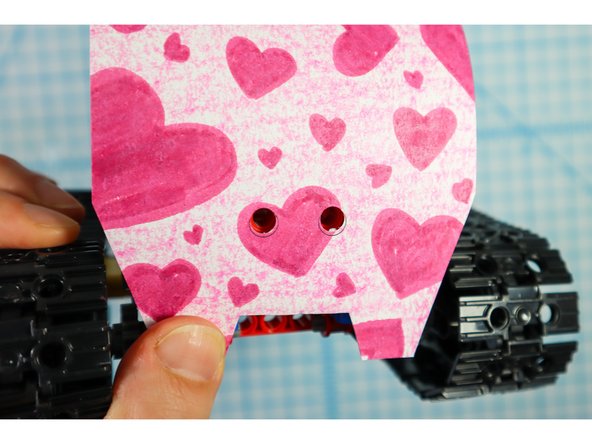
Wrap the paper over the body and use two more pin/beam sets to secure the front as shown.
-
-
-
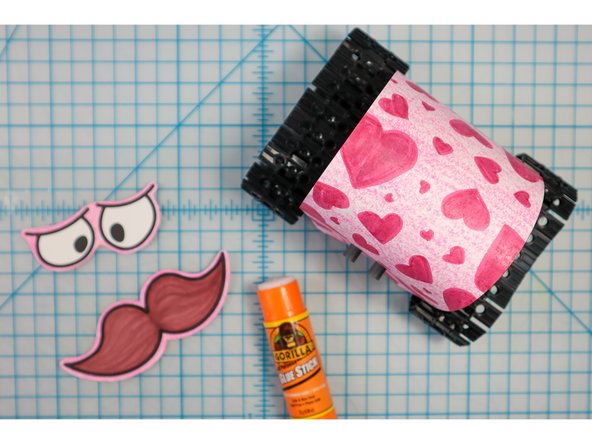
Choose funny face features from the template and color in the ones you pick, then cut them out.
-
-
-
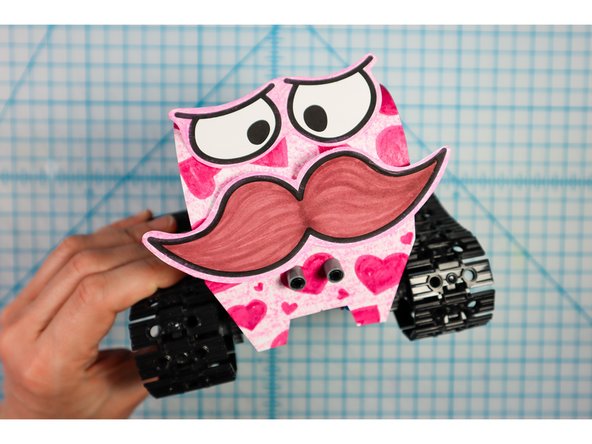
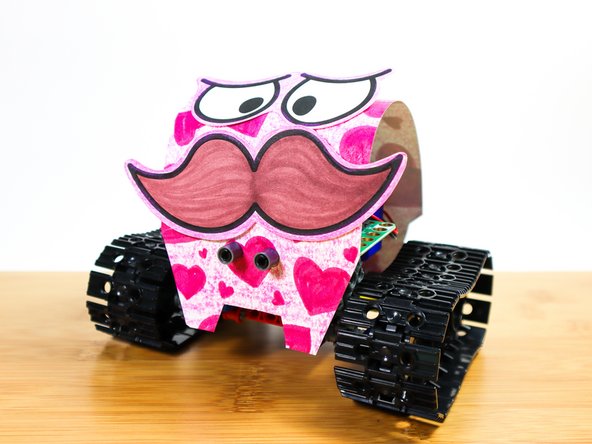
Use glue or tape to attach the face pieces to the body.
-
-
-
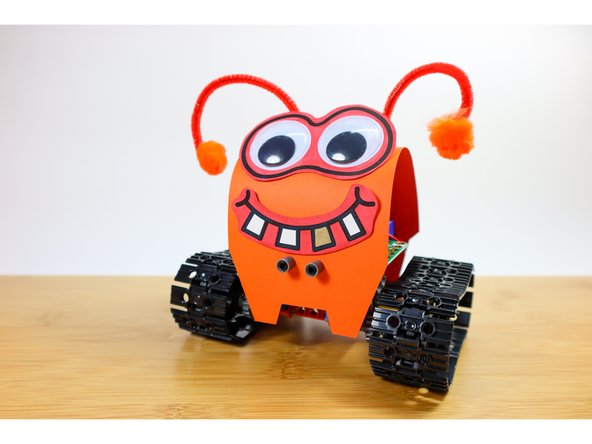
Go Further! It's also fun to add craft embellishments like googly eyes, pipe cleaners, pompoms, ribbons, or anything else you can dream up.
-
-
-
You now have a Tank with some personality - set them loose to frolic and play!
-
Share your design with #BrownDogGadgets
-


