Introduction
Use the printable template and instructions to make a customizable turkey to show off what you are grateful for!
You can make this project (and many more!) with our Paper Circuits Kit.
Tools
Optional Tools
Parts
Video Overview
Featured Document
-
-
If you are using the black and white template, color in the turkey body.
-
Cut out the turkey body and feather template.
-
-
-
Using a push pin or safety pin, poke holes through the front of the template and put the LED legs through the holes.
-
Make note of where the longer Positive and shorter Negative legs go. Polarity matters!
-
Turn the template over and bend the LED legs flat against the paper to match the diagram.
-
-
-
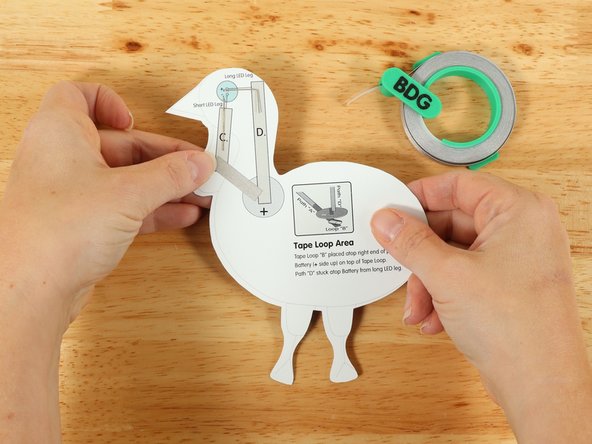
Add Maker Tape to tape Path A.
-
-
-
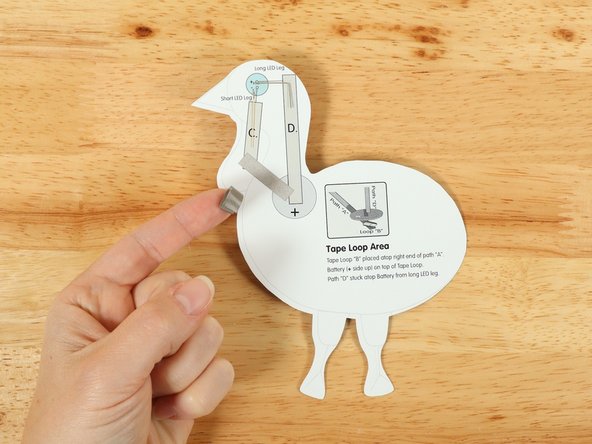
Make a loop of tape (sticky side out) using a short piece of Maker Tape, and stick it atop the end of Path A.
-
-
-
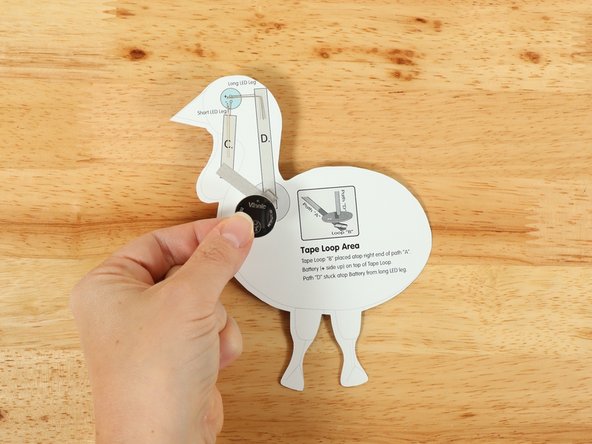
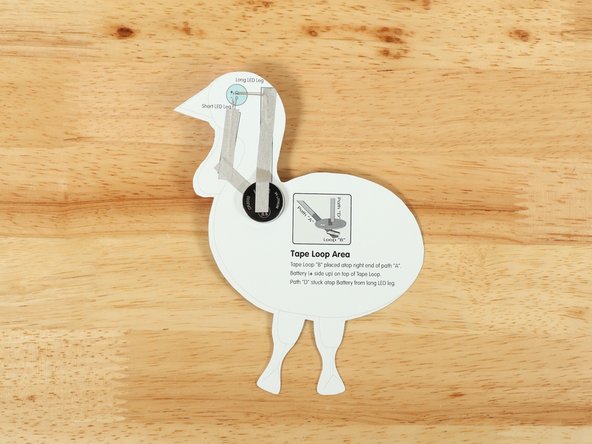
Once your tape loop is in place you can add the Battery to it.
-
Make sure the Positive side of the Battery is facing upwards, with the Negative side stuck down to the tape.
-
-
-
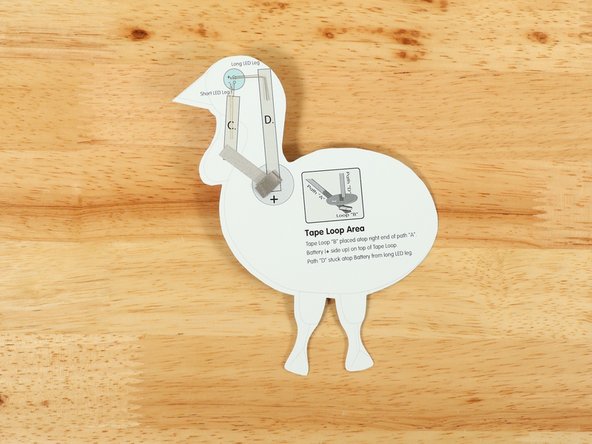
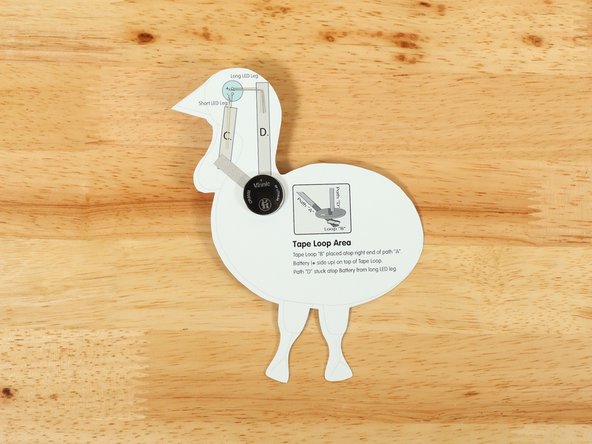
Add tape Path C. over the short LED leg holding it in place.
-
-
-
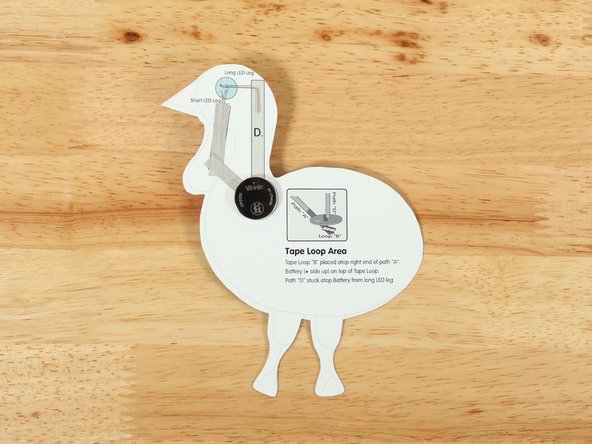
Add tape Path D. over the top of the long LED leg holding it in place.
-
Tape Path D should connect the long LED leg to the top of the battery.
-
-
-
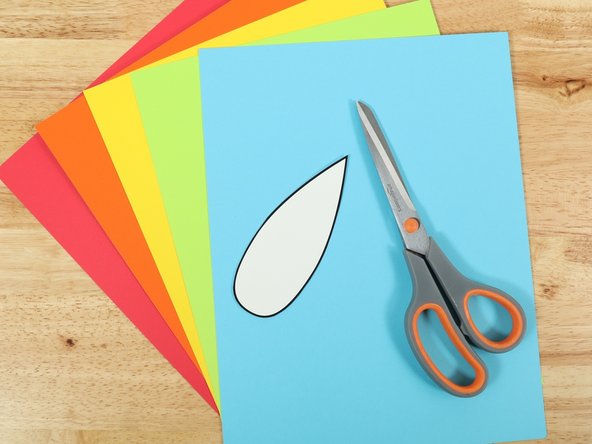
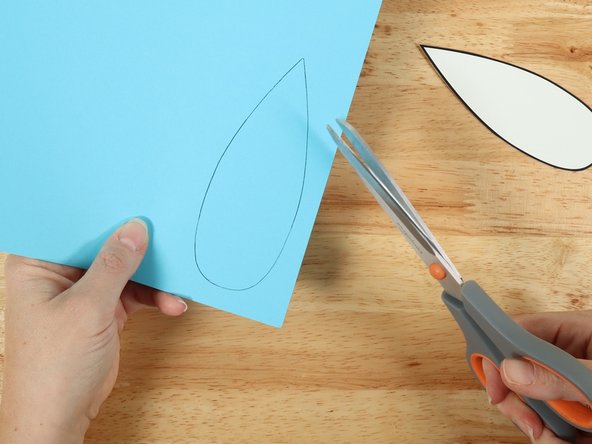
Using your feather template, trace and cut out the amount of feathers you want for your turkey.
-
4-5 feathers is an ideal amount to give it a finished look.
-
You can cut the feathers out of colored cardstock, colored construction paper or white paper and color your own.
-
-
-
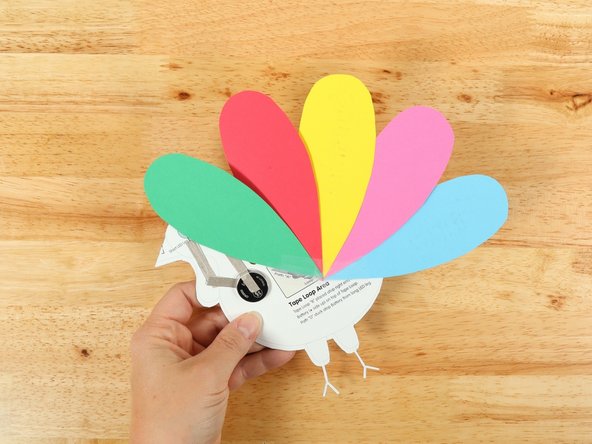
Using a piece of clear tape, line up the feathers with the points touching and tape them together.
-
Make a tape loop of clear tape and attach the feathers to the back of the turkey.
-
-
-
You can now use a marker to write something you are grateful for on each feather!
-
-
-
Show off your turkey and talk about all the things you are grateful for!
-


Attached Documents