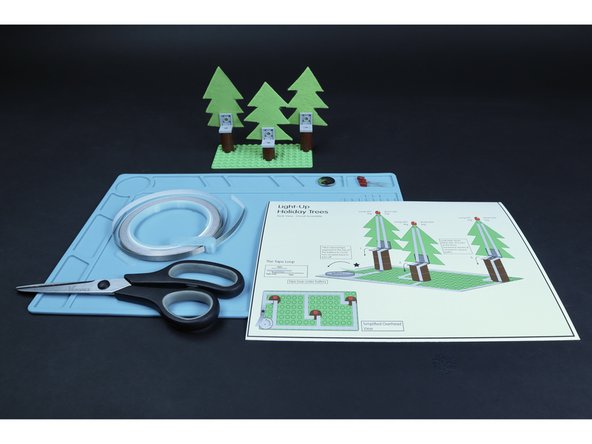
Introduction
Use some simple circuitry and this guide to add blinking lights to a fun felt and LEGO holiday project!
Video Overview
Featured Document
-
-
Gather the materials listed. We used green felt for our trees but this project can also be made using heavy cardstock or 1mm craft foam.
-
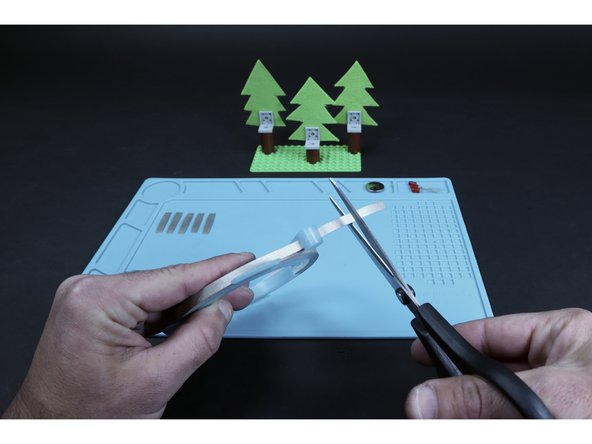
Print your template sheet found in the docs section at the bottom of this guide and use a scissors to cut out your chosen tree size.
-
Trace this template onto your chosen material three times (one for each tree) and then cut each tree out with a scissors.
-
-
-
Prepare the LEGO hole punch template and follow the illustration in the docs section to help you first trace 2x2 hole clusters onto the trees where indicated.
-
Use a standard hole punch to then punch out the (3) 2x2 hole clusters that you should now have traced onto the middle point of each tree base.
-
-
-
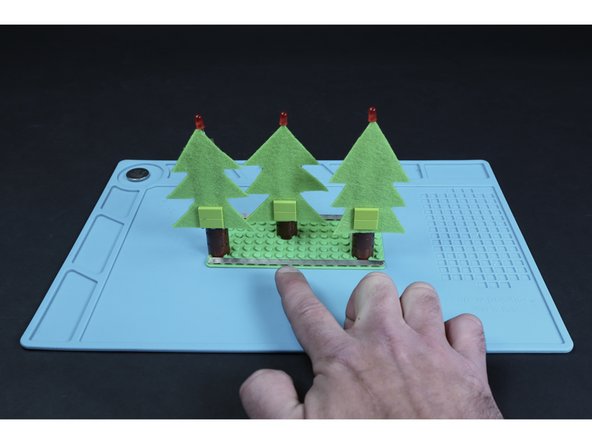
Use the Physical Build Guide found in the docs section to assemble the three tree trunks/baseplate portion of the project.
-
-
-
Attach each of the three trees to their respective trunks using the LEGO pieces indicated on the Physical Build Guide.
-
-
-
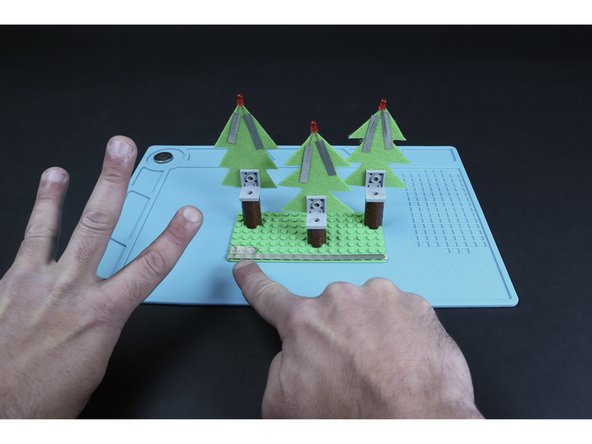
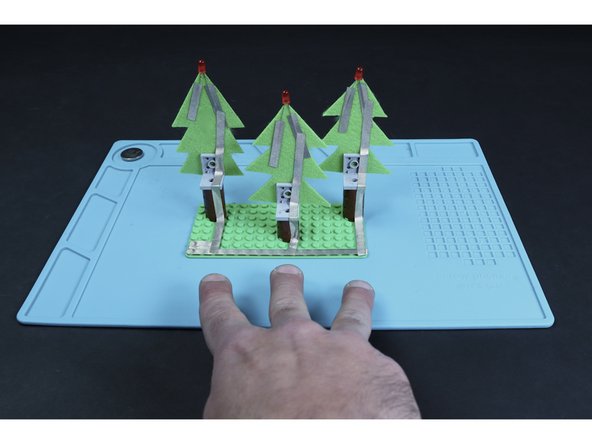
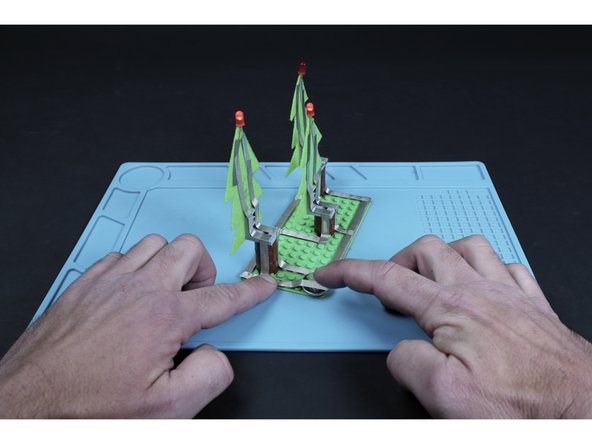
Use the Circuit Assembly Guide and the remainder of the parts you gathered to add the circuitry to the Physical build you just completed.
-
Begin by cutting (6) 2" long Maker Tape segments that you will use to secure each LED in place with atop each of the three trees. These pieces of Maker Tape also begin the pathway system that will bring voltage to and from each LED.
-
Taking care to orient the LED legs as shown on the guide, peel and stick a piece of Maker Tape over each leg and then TO the backside of the felt. Make sure to bend the legs outward slightly so that the two tape paths do not touch one another.
-
-
-
Now, create a single path on the last row of LEGO posts behind the trees from edge to edge. Then overlap (3) 3-post long segments atop the leftmost side of that first path. This will be where your battery connects to the circuit.
-
Create a single path that connects to the tape from each of the 3 short LED legs (they should be on the right hand side of each tree when viewed from the back), down the right half of each tree/trunk and to the long path you first laid down.
-
Create single shorter paths that connect to the tape leading from each of the 3 long LED legs (they should be on the left when viewed from the back), down the tree and to the edge of the 90 degree LEGO pieces.
-
NOTE: We realize that it's a tight squeeze but the two paths leading from each LED must have a gap between them along their entire lengths. Take your time and work carefully!
-
-
-
Turn your project around. Measure, cut, peel and stick another long path atop the single row of posts in front of the trees. This path should reach from edge-to-edge like the first long path.
-
Measure/cut 3 small tape segments and press them into place where shown in image 2 so that they connect to the long path you just made and lead to/end at the right side of each of the three trunks (when viewed from the front).
-
-
-
Measure, cut, peel and stick tape paths that lead from the ends of the existing left LED leg paths, down their respective trunks and to their corresponding short segments from the previous step.
-
-
-
Cut a small piece of Maker Tape and make a tape loop.
-
Place that tape loop atop the area indicated in photo 2.
-
Stick the battery atop the tape loop with the positive (+) side facing UP.
-
-
-
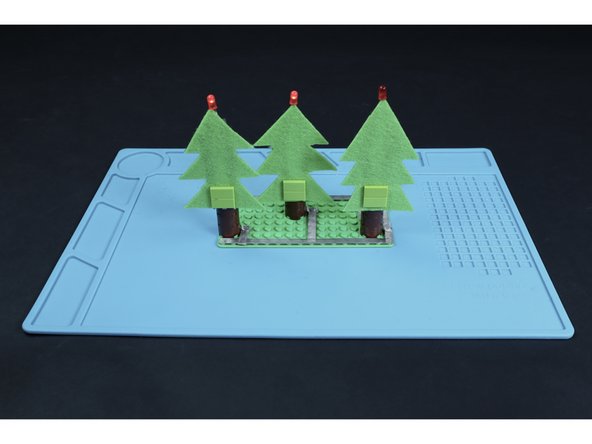
Measure, cut, peel and stick one final tape length where shown so that it can be stuck to the top of the battery. This will complete the circuit and turn on all three of your blinking LEDs. Peeling it away from the top of the battery will turn the circuit off.
-