
Introduction
Use the template found at the bottom of this guide and instructions to help you create a fun winter-themed topper for use in a light-up wearable.
Video Overview
Featured Document
-
-
Print out your topper template sheet and gather the pictured materials and tools. You'll need a scissors, something to trace with and the felt you've chosen to complete the design with. A little later, you'll also need a hot glue gun.
-
Use your scissors to carefully cut out each of the three template pieces.
-
-
-
Trace each of the three template pieces onto your chosen felt.
-
Use your scissors to carefully cut out each of the pieces.
-
-
-
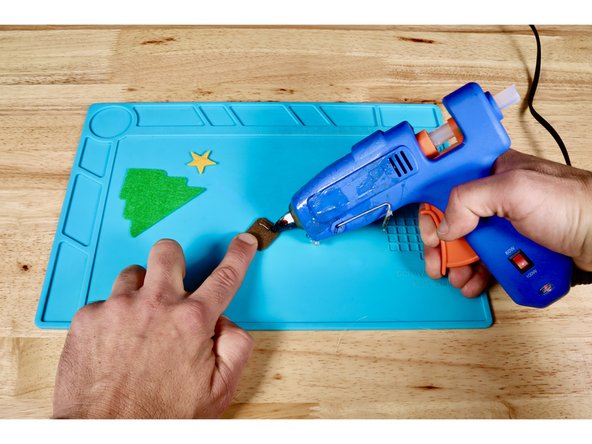
Using a hot glue gun and photo one for reference, squeeze a bead of hot glue onto the top edge of the tree trunk.
-
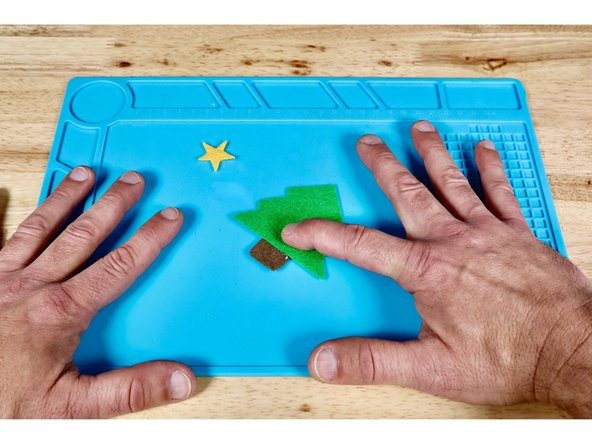
Press the foliage piece into place atop the hot glue on the trunk.
-
-
-
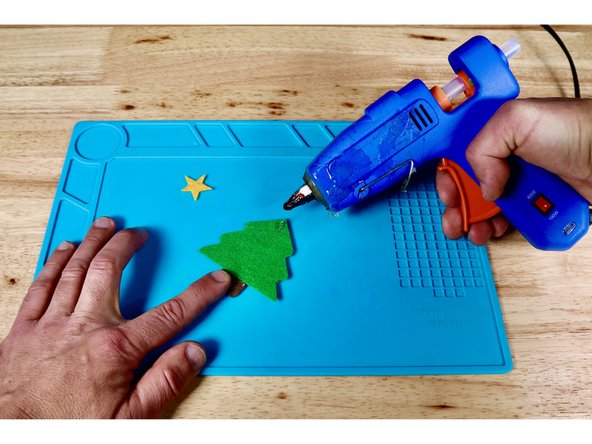
Squeeze a small dot of hot glue onto the top of the foliage piece where the star should go and press that piece into place as shown.
-
Your Holiday Tree is nearly complete!
-
-
-
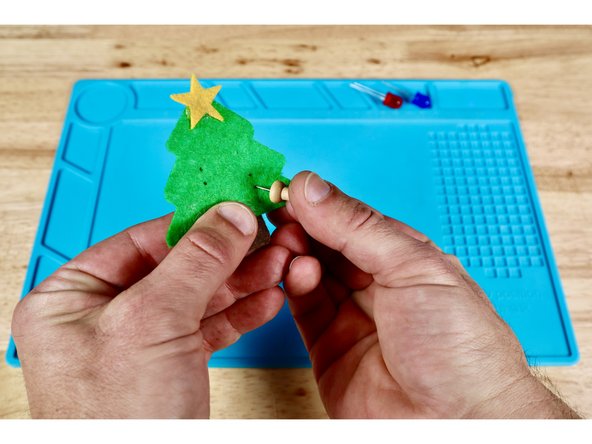
Each LED will have two wire "legs" that are difficult to push through the felt by themselves. To make this easier, make two dots for each LED where you want them to be; oriented vertically as shown in photo one.
-
Use a pushpin to make a hole where each marked dot is located. There will be four holes in total.
-
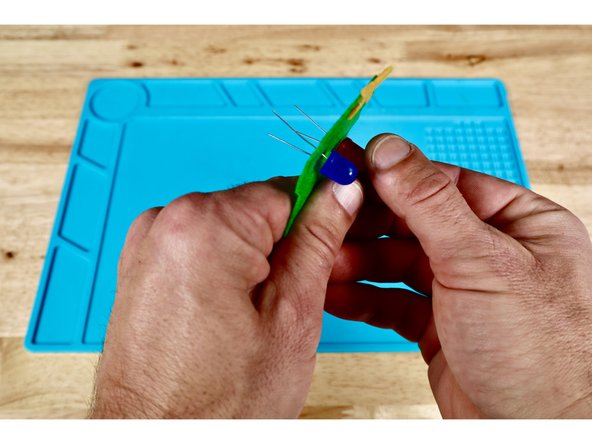
Notice that the LED legs are not the same length. For ease of use with our other instruction sets, thread each LED through a give pair of vertically oriented holes from the front to the back. Take care to orient the LEDs so that the LONG (+) legs are in the UPPER holes and the SHORT (-) legs are in the LOWER holes.
-
On the back, fold the top two legs flat toward the top of the shape and the two lower legs flat toward the bottom of the shape.
-
Your felt design is now done and ready to be added to a wearable project of your choice! Use the QR code cutaway to link to guides on how to integrate this tree into a bracelet or badge circuit!
-


Now you have the topper created. Decide whether you'd like to use it for a bracelet, badge or ornament and find the guide in this category that will take you the rest of the way!
Now you have the topper created. Decide whether you'd like to use it for a bracelet, badge or ornament and find the guide in this category that will take you the rest of the way!