Featured Document
-
-
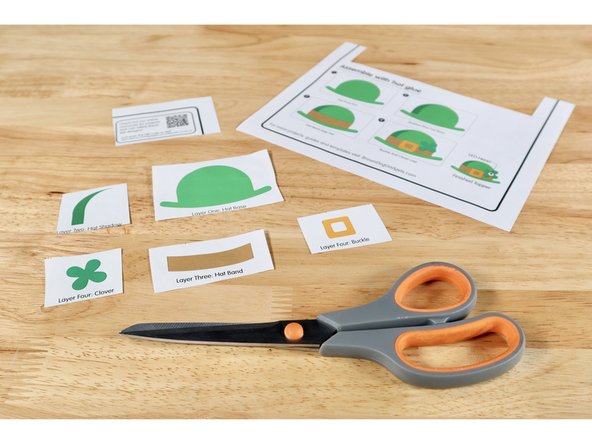
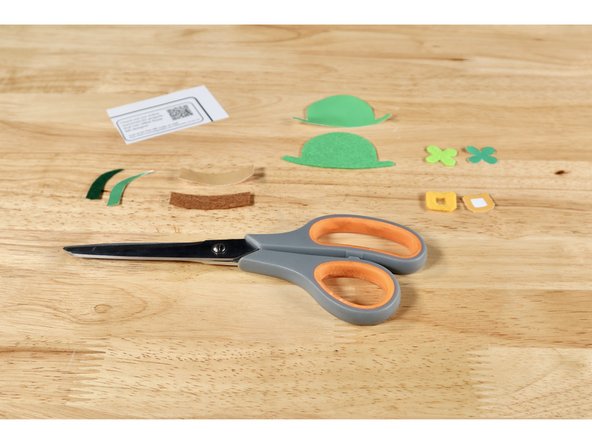
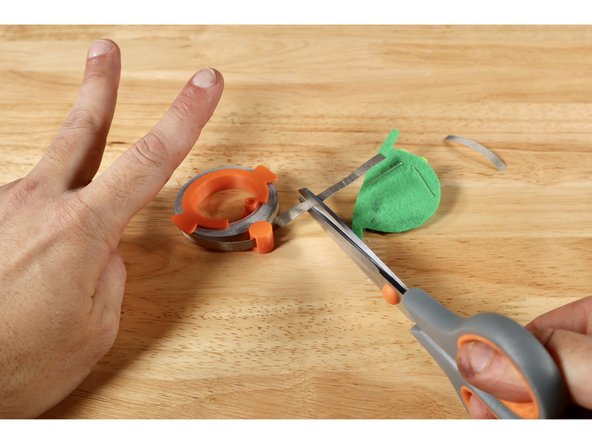
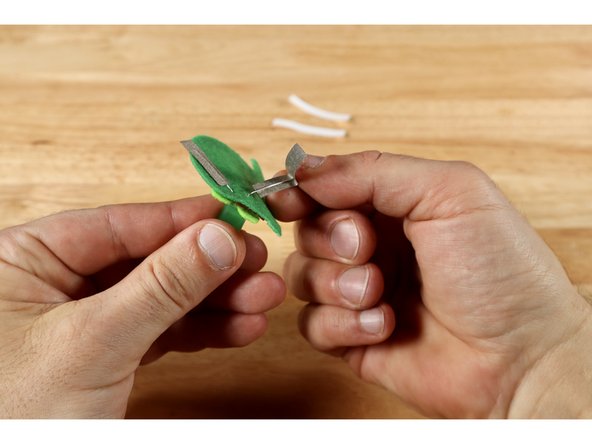
Roughly snip out the templates for each of the five parts of the hat design. All we are doing right now is separating the parts so they can be used to help cut the felt. It is fastest and easiest to leave some white space around each part.
-
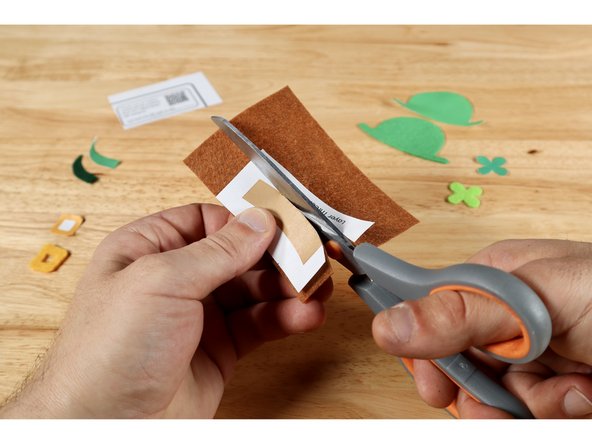
Lay each template piece atop the felt. Pinch both together and cut through both. You CAN also cut each template first (on the borders), trace them onto felt and cut just the felt afterward if it's easier for you.
-
-
-
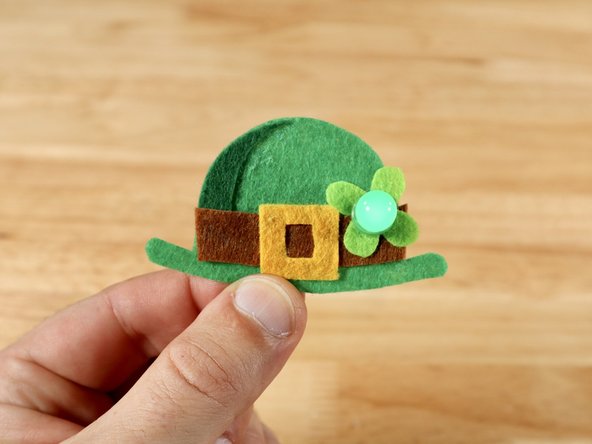
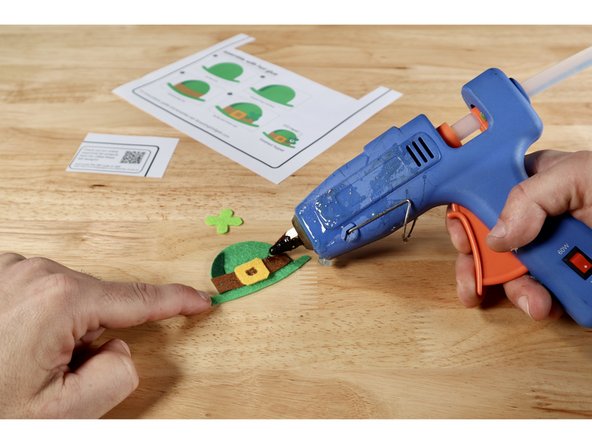
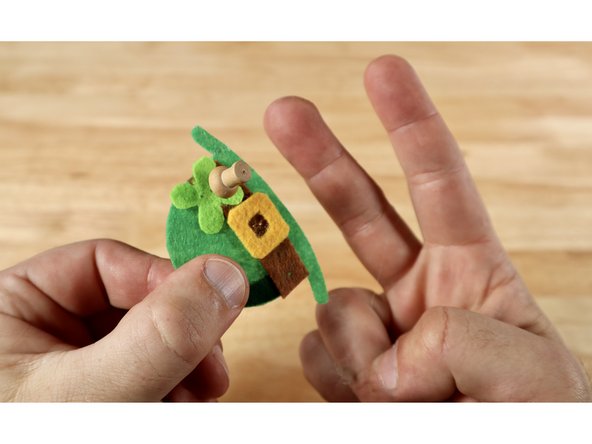
Using the step-by-step pictures on the template sheet OR these photos as a guide, glue the layers together to form the final design. The shadow goes atop the hat. The hat band goes on top of the hat and shadow. The buckle and shamrock are the topmost pieces.
-
-
-
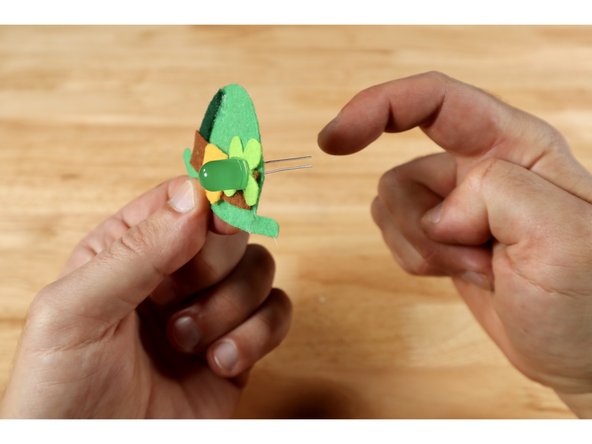
Use the push pin to poke two holes through the center of the shamrock (clover) in a vertically oriented column. Be careful not to poke yourself on the opposite side! These are holes that you will thread the LED legs through.
-
Thread the legs of the LED through the holes so that the shorter Negative (-) LED Leg goes through the upper hole and the longer Positive (+) LED Leg goes through the lower hole.
-
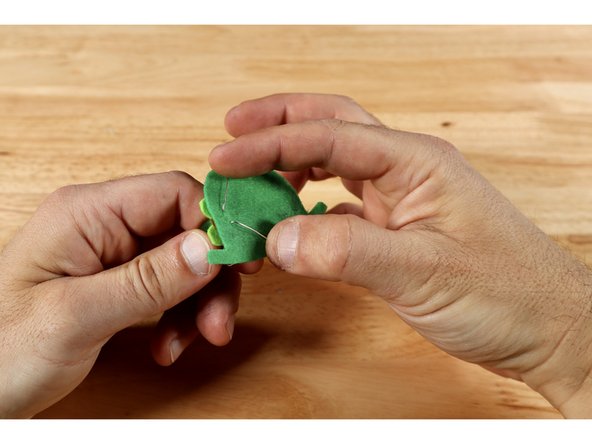
On the back side of the felt topper fold each leg flat and away from one another as shown.
-
-
-
Measure and cut two pieces of Maker Tape that are approximately 2x the length of each of the legs.
-
Peel and stick half of each piece of Maker Tape to a single LED leg and then fold the remaining halves back onto themselves to effectively sandwich each leg between a single folded piece of Maker Tape.
-
This step will make the now completed felt topper easy to integrate into a larger project. Use the links provided in the conclusion section of this guide to see how to turn your Leprechaun Hat into either a light-up bracelet or badge!
-


Now that your topper is complete use the link to see how to wire it into a bigger wearable project!
Now that your topper is complete use the link to see how to wire it into a bigger wearable project!