
Introduction
Show your support for team USA with this interactive light-up circuit hat.
You can make this project (and many more!) with our Wearable Circuits Kit.
Tools
Video Overview
Featured Document
-
-
Print out the template and cut the shapes from stiff felt.
-
-
-
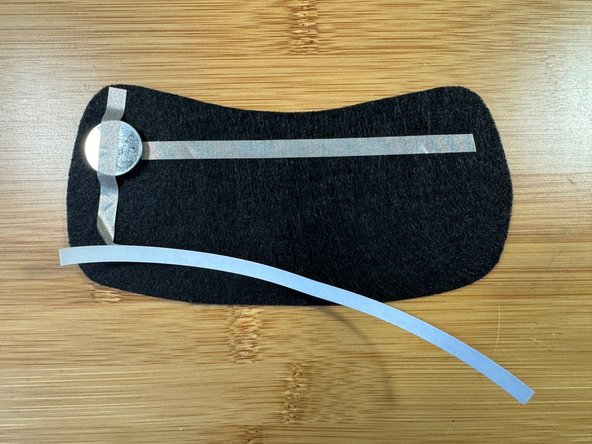
Add a piece of Maker Tape across the top of the large felt piece.
-
Make a loop of Maker Tape and place it on the negative side of the battery, then place the battery on the left side of the Maker Tape strip as shown.
-
-
-
Add a long piece of Maker Tape on top of the battery as shown. Leave the backing on the tape tail for now so it doesn't curl up.
-
-
-
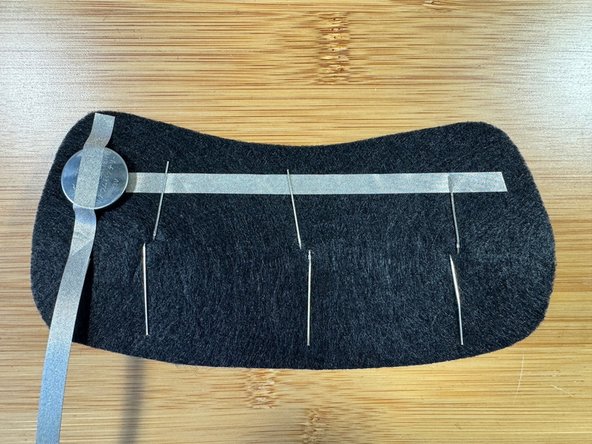
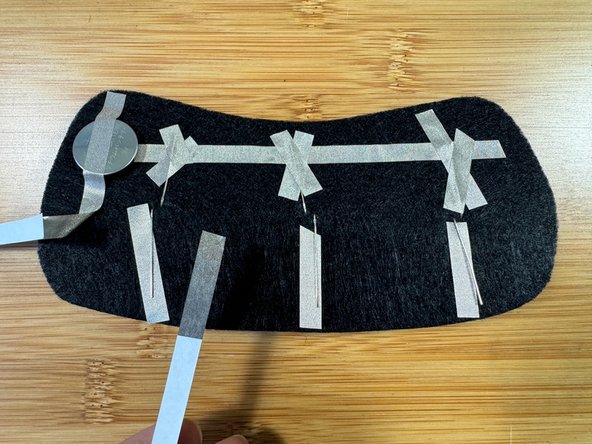
Insert a red, white, and blue LED through the felt from the front.
-
Fold the legs flat with the shorter, negative leg touching the top row of Maker Tape.
-
Fold the longer, positive legs down toward the bottom of the big piece.
-
Secure the top legs with a few pieces of Maker Tape, and place one piece of Maker Tape under the bottom legs. (This will make more sense in the next step!)
-
-
-
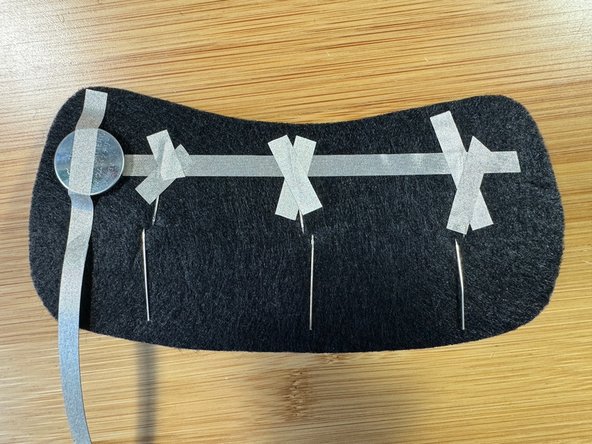
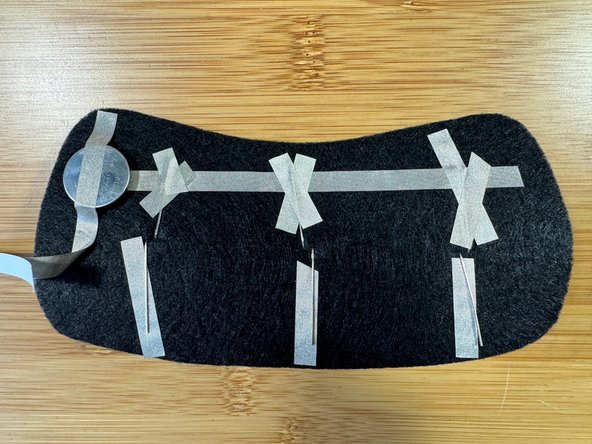
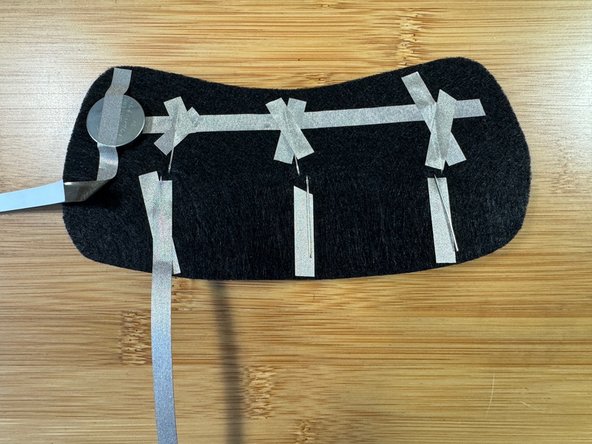
Add a "tail" of tape to each of the three LED legs by removing the backing from only the first inch of tape and sticking it in place on top of the LED leg.
-
Then, twist it so that the adhesive is facing up instead of down. (photo 3)
-
-
-
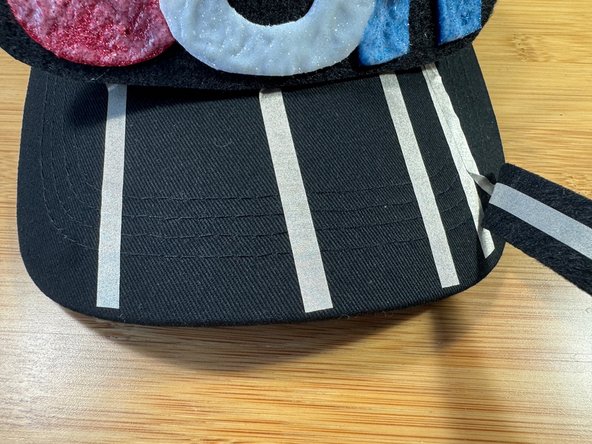
Add velcro dots to the back of the felt piece and to the front of the hat.
-
-
-
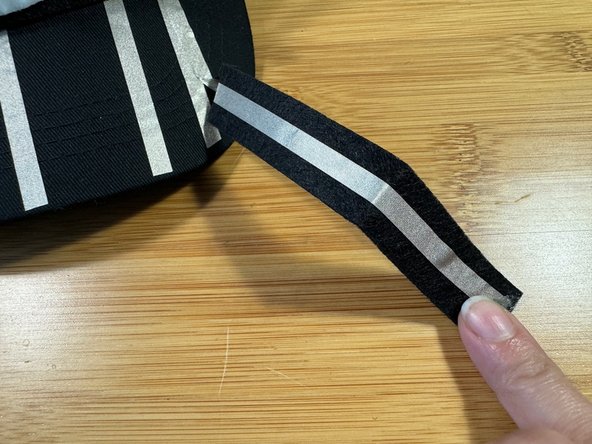
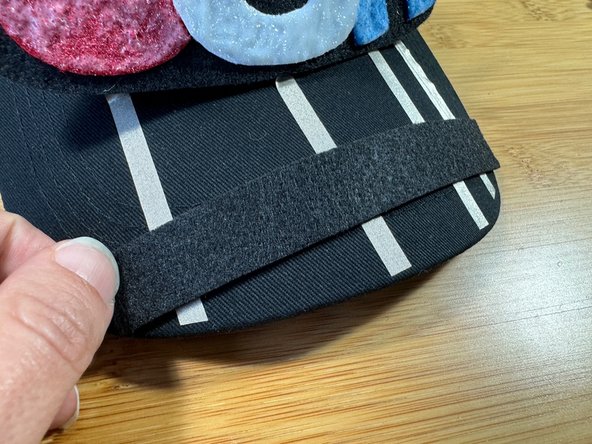
Stick the Maker Tape tails coming from "U", "S", and "A", to the hat as shown and trim any excess.
-
The fourth piece of Maker Tape is touching the positive side of the battery. Cut a strip of felt and stick a piece of Maker Tape to it as shown, then attach that piece to the positive piece.
-
Glue the piece of felt with a dab of glue on the left side to create a slider switch.
-
-
-
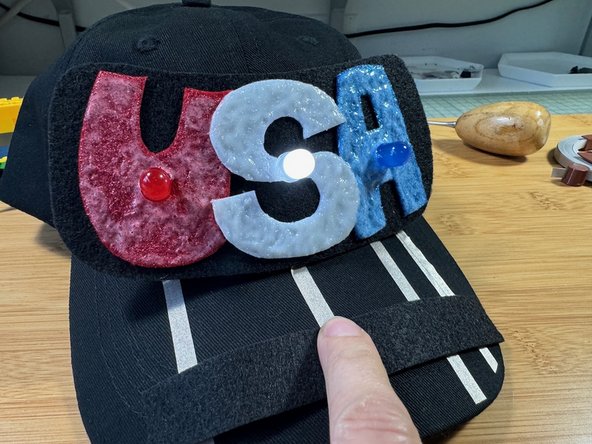
Slide your finger over the piece of felt on the brim - when you are near the "U" the red LED will light, the "S" the white LED will light, and the "A" the blue LED will light.
-
-
-
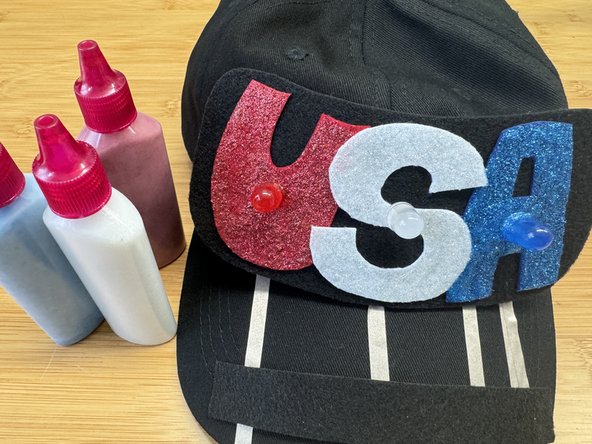
Glitter always looks great with LEDs, so we suggest decorating the hat with some glitter glue for some extra spirit!
-
-
-
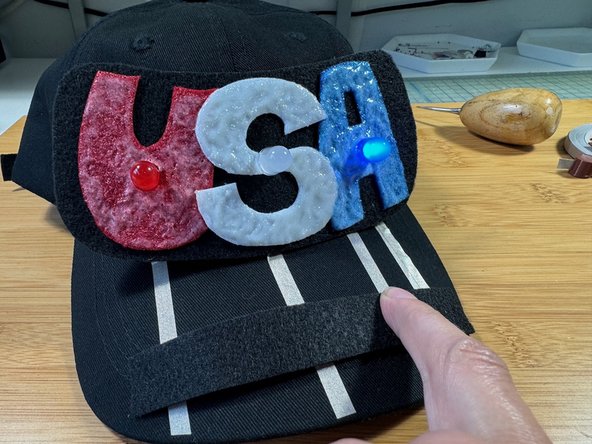
Wear your hat to support Team USA or for 4th of July.
-
Optional: Chant "USA! USA!"
-
Have fun wearing your hat!
-


Attached Documents
