
Introduction
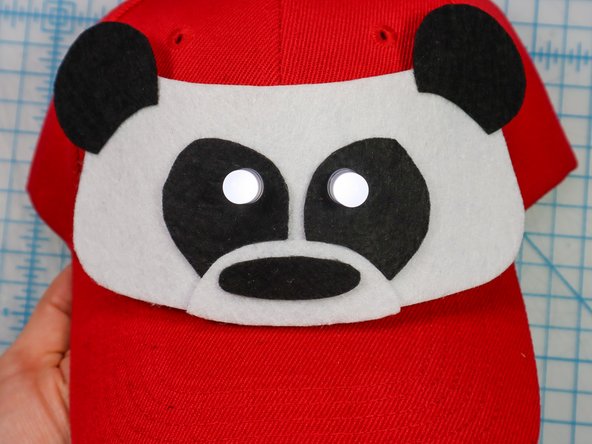
Make a light-up baseball hat with a panda design.
You can make this project (and many more!) with our Wearable Circuits Kit.
Video Overview
Featured Document
-
-
Print out the template and gather these supplies:
-
Baseball Hat
-
Maker Tape
-
10mm LEDs (2)
-
CR2032 Battery
-
Hook and Loop Dots (2)
-
-
-
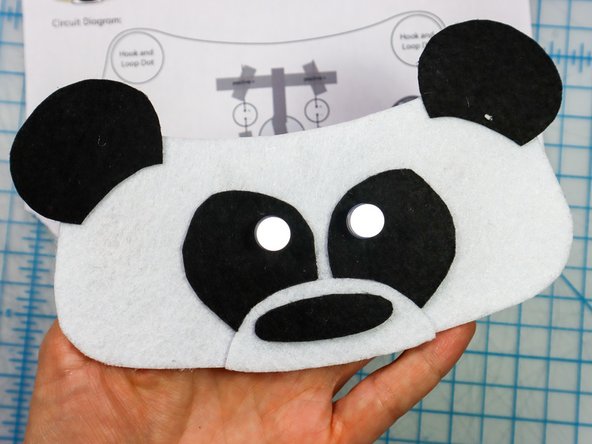
Use scissors or an X-Acto knife to cut the template shapes out of felt as shown.
-
Then, hot glue the shapes together.
-
-
-
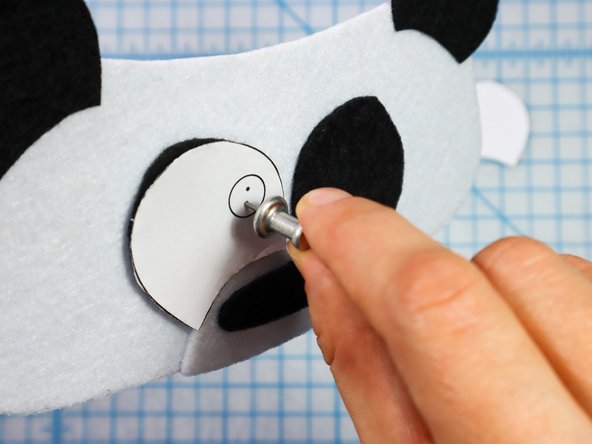
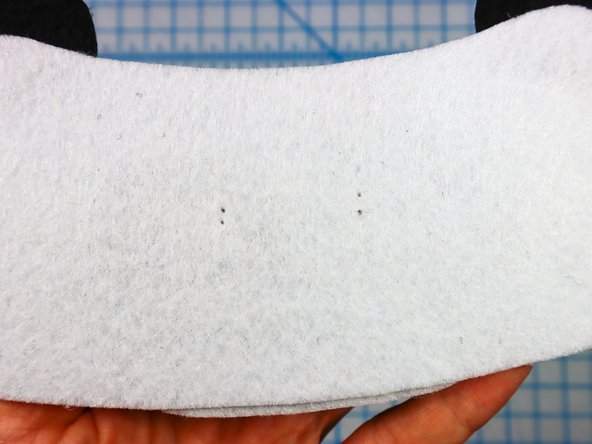
Use a push pin to make two holes for the LED's legs. When the push pin is inside the felt, rotate it around a bit to make the hole larger and easier to see.
-
-
-
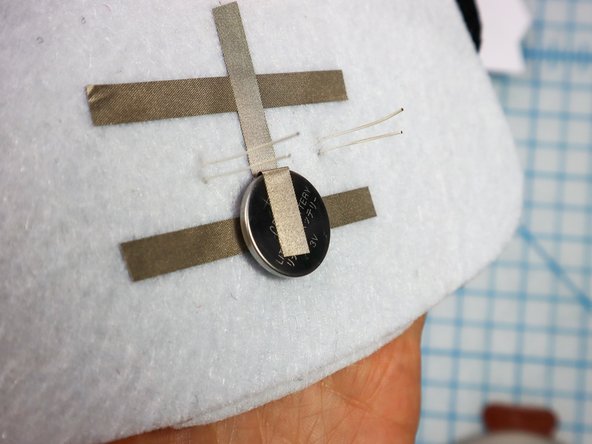
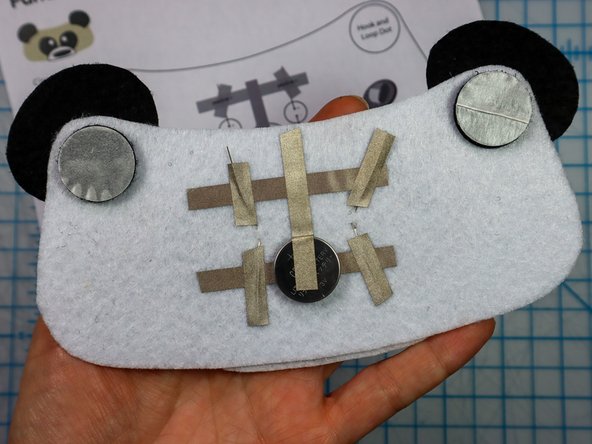
Follow the circuit diagram on the template, starting with the piece on the bottom.
-
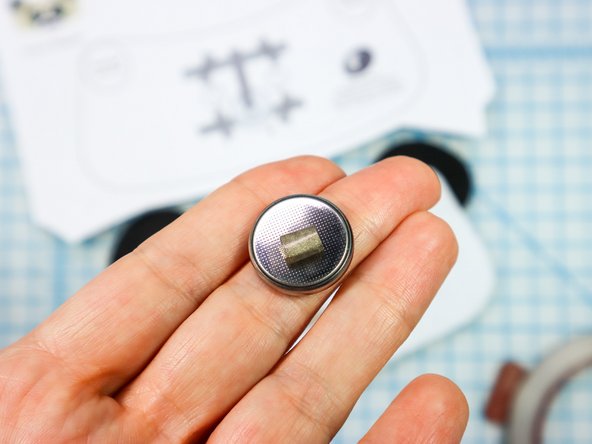
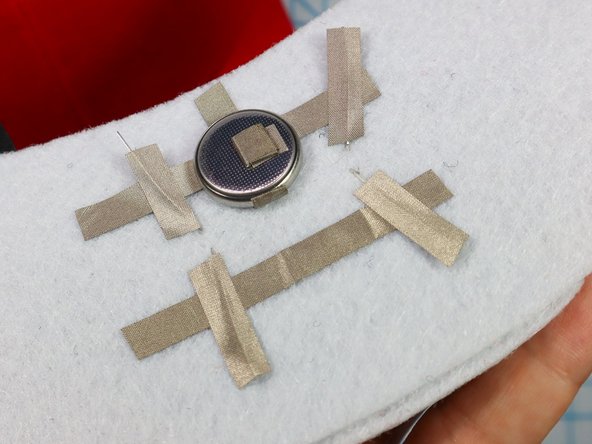
Make a loop of Maker Tape with the adhesive side out and place it on the negative side of the battery.
-
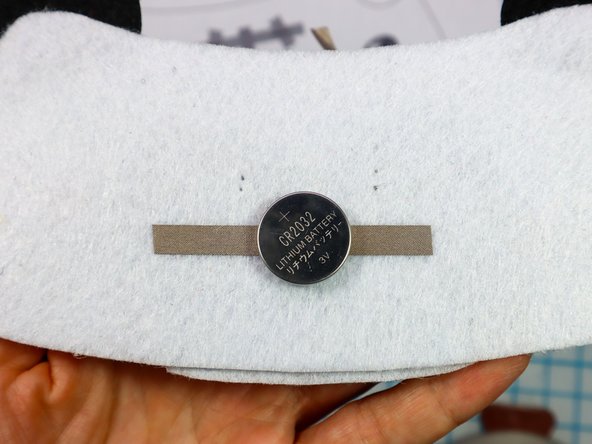
Place the battery on top of the Maker Tape as shown, and add the "T" shaped pieces on top.
-
-
-
Insert each LED through the holes with the longer, positive leg in the top hole.
-
-
-
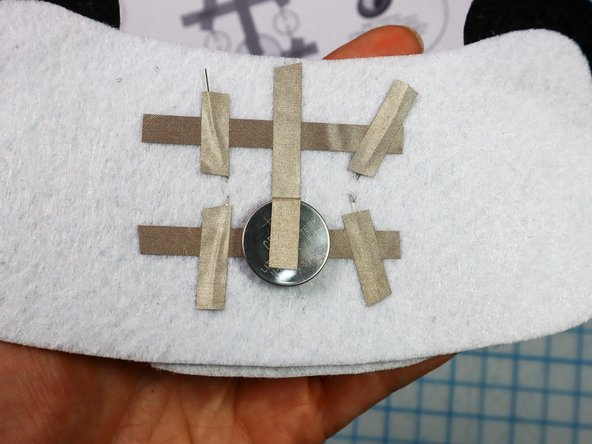
Fold each LED leg down flat against the felt, making sure the longer, positive legs touch the "T" and the shorter, negative legs touch the horizontal piece on the bottom.
-
Place a piece of Maker Tape on top of each leg to make a secure connection.
-
The LEDs should light up!
-
-
-
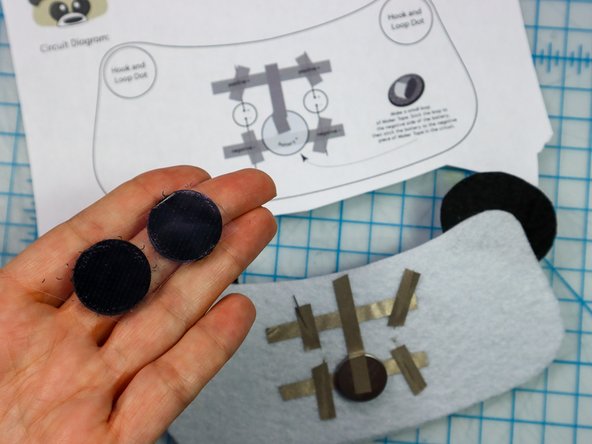
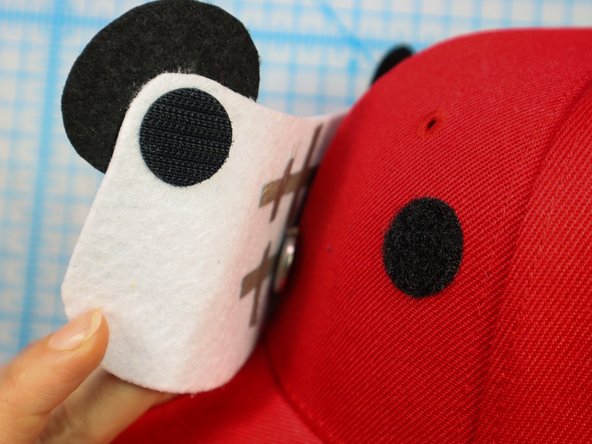
Peel the paper backing off of each hook and loop dot and place it where shown on the template.
-
Then, peel the paper backing off of the other side and stick the design to the hat.
-
Carefully peel the hook and loop apart and squeeze each dot separately to set the adhesive.
-
-
-
Put it on and let everyone admire your new fashion accessory.
-
-
-
To turn off the LEDs, disconnect the battery by pulling apart the connection as shown.
-
Store it in a way that prevents it from connecting.
-


Attached Documents
