
Introduction
Make a light-up baseball hat with a unicorn horn.
You can make this project (and many more!) with our Wearable Circuits Kit.
Video Overview
Featured Document
-
-
Print out the template and gather these supplies:
-
Baseball Hat
-
Maker Tape
-
10mm LED
-
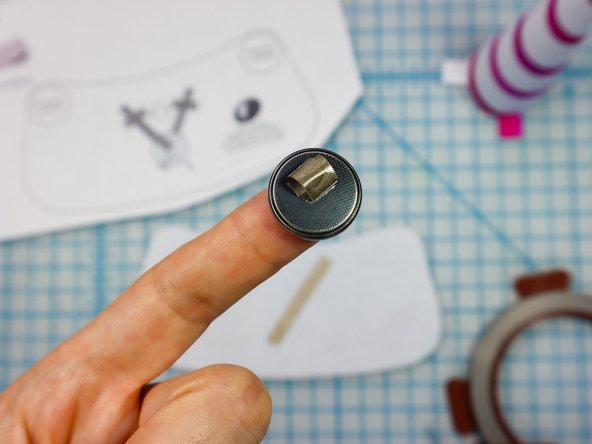
CR2032 Battery
-
Hook and Loop Dots (2)
-
-
-
Use markers or colored pencils to color the horn stripes. It's best to leave some white space so the light shines through!
-
-
-
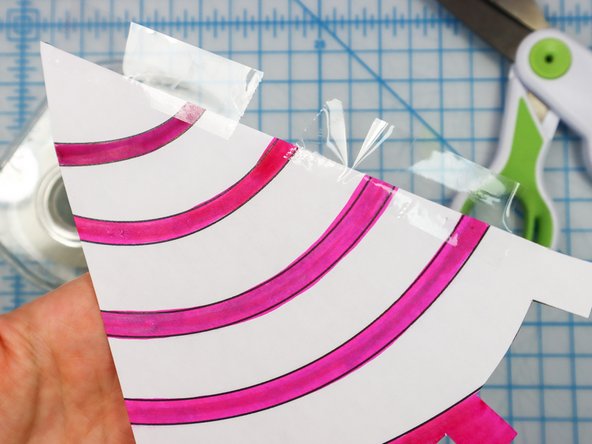
Add tape to one side of the horn piece so that it goes off the edge as shown.
-
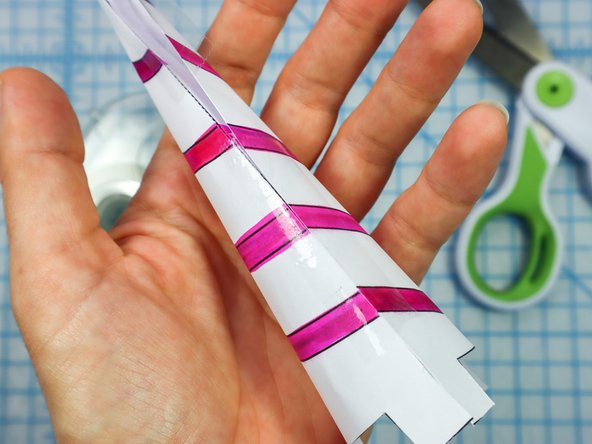
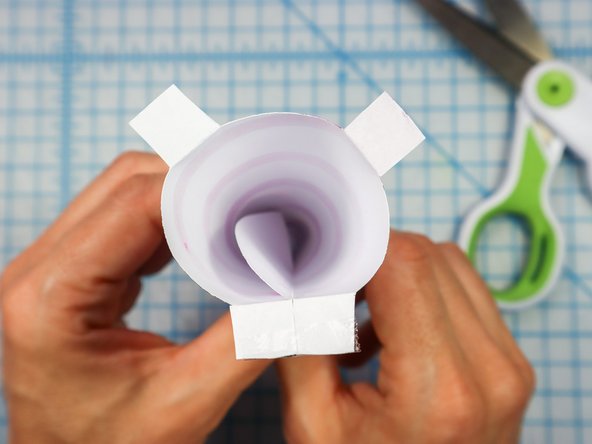
Starting at the bottom, roll the horn piece into a cone and align the edge, taping it together.
-
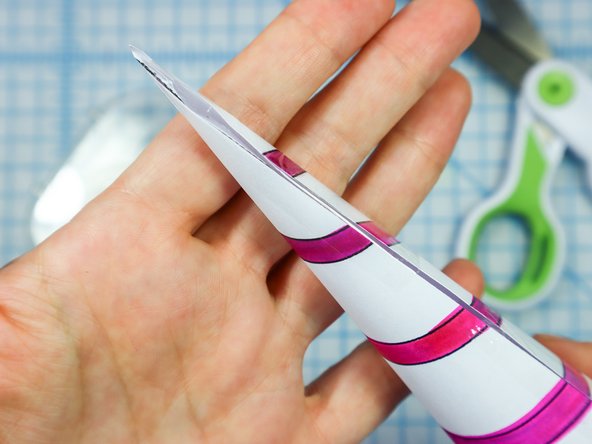
Keep going until you reach the tip. *This is a difficult step that may need an adult to help.
-
-
-
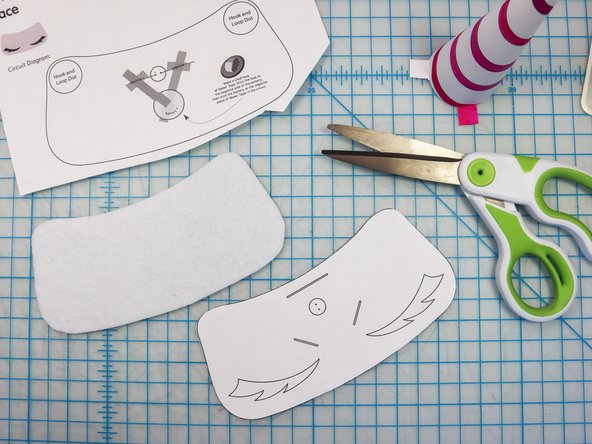
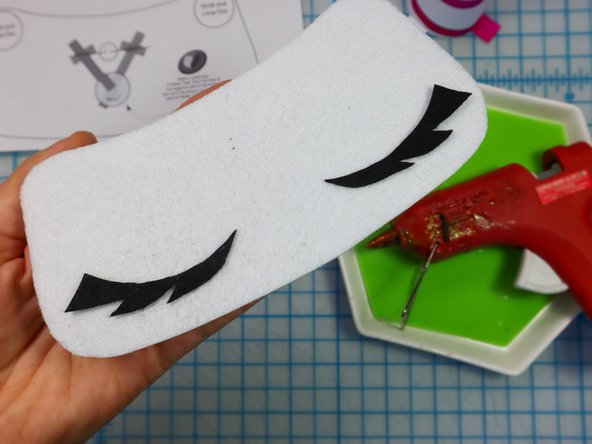
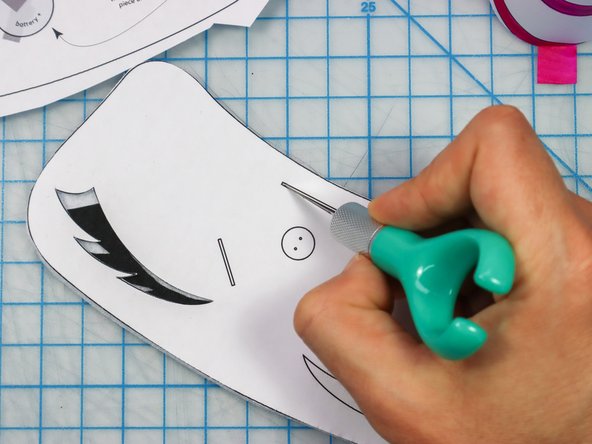
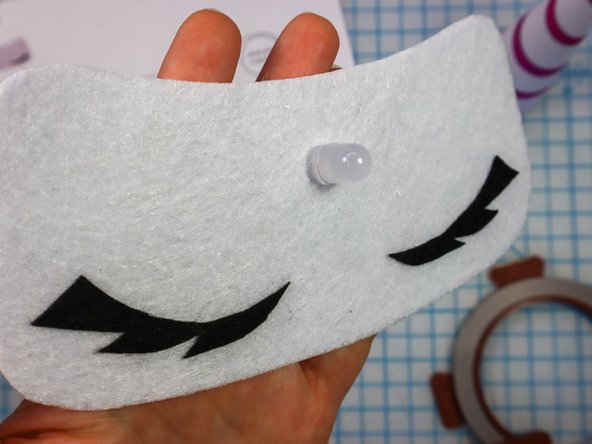
Use scissors or an X-Acto knife to cut the template shapes out of felt as shown.
-
Then, hot glue the shapes together.
-
Be sure to cut the slits in the base piece along the template lines as shown.
-
-
-
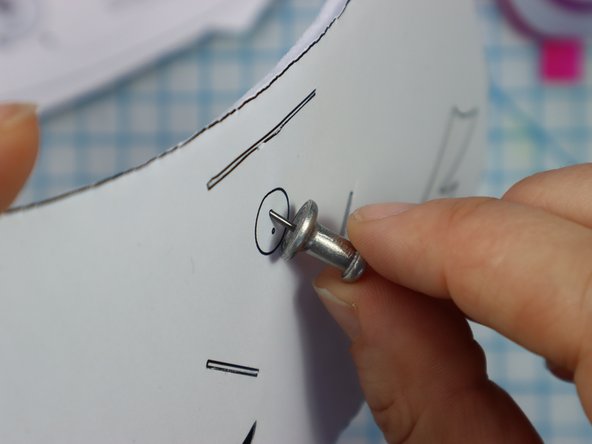
Use a push pin to make two holes for the LED's legs. When the push pin is inside the felt, rotate it around a bit to make the hole larger and easier to see.
-
-
-
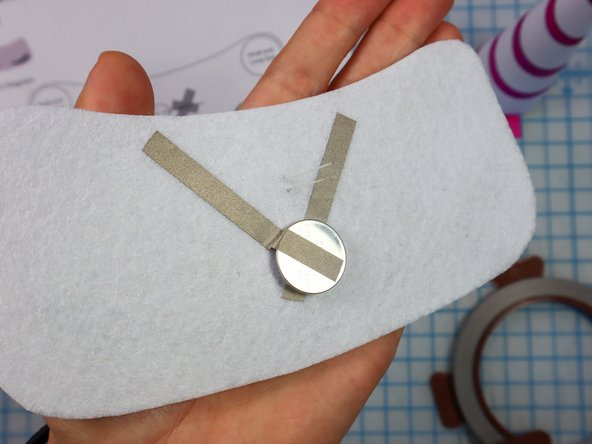
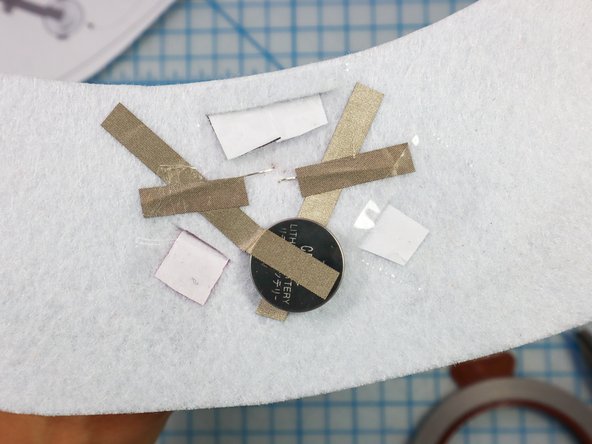
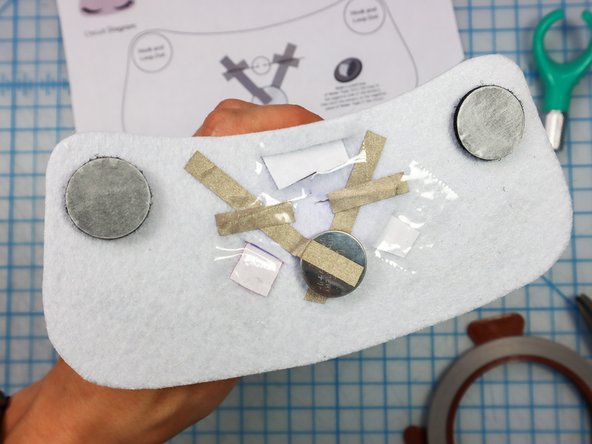
Follow the circuit diagram on the template, starting with the piece on the right.
-
Add a small loop of Maker Tape with the adhesive side out on the negative side of the battery, then place it on top of the Maker Tape.
-
Add a piece of Maker Tape on top as shown.
-
-
-
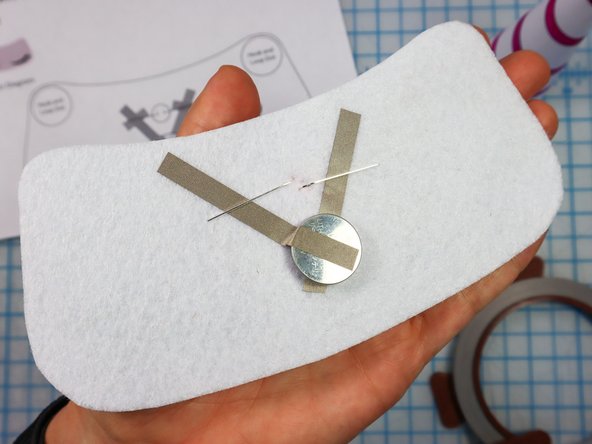
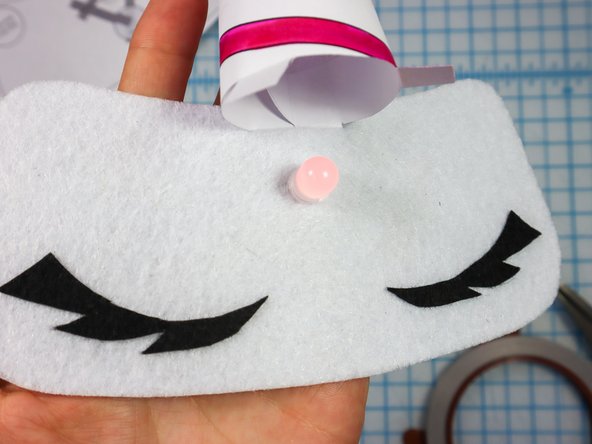
Insert the LED through the holes.
-
-
-
Fold each LED leg down flat against the felt, making sure the longer, positive leg touches the piece on the left, and the shorter, negative leg touches the piece on the right.
-
Place a piece of Maker Tape on top of each leg to make a secure connection.
-
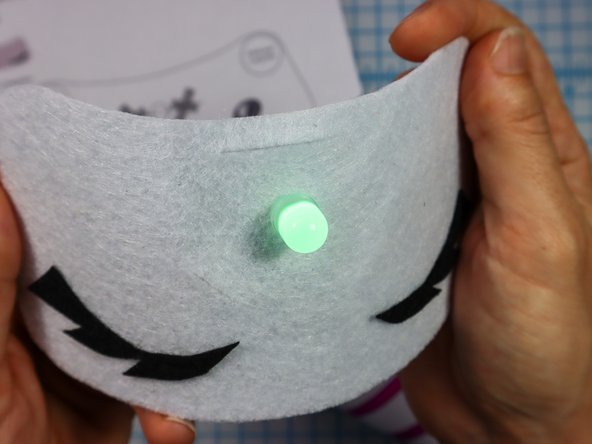
The LED should light up!
-
-
-
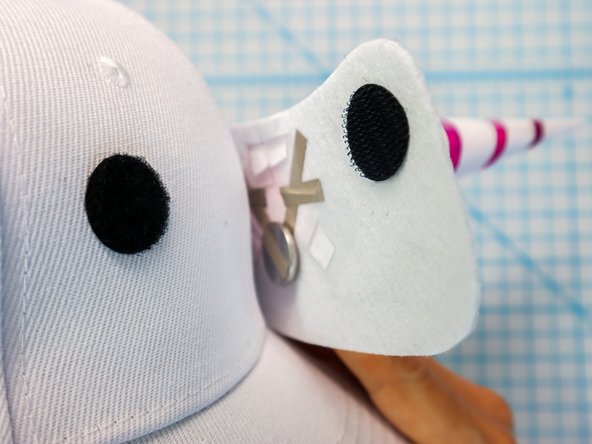
Fold the 3 flaps down as shown.
-
Insert the wide flap through the top slit, and the smaller flaps through the bottom two slits.
-
Fold the flaps flat against the felt on the back side, and secure them with tape.
-
-
-
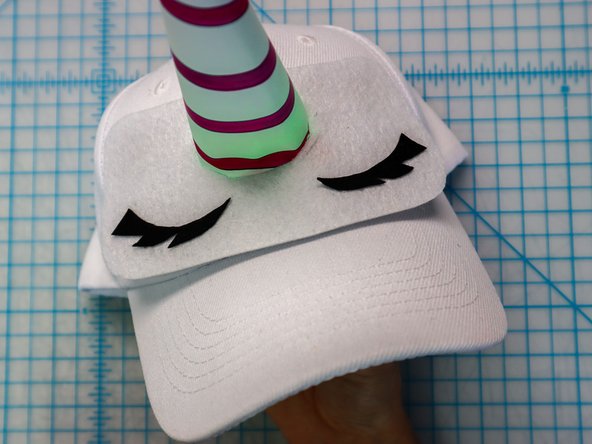
Peel the paper backing off of each hook and loop dot and place it where shown on the template.
-
Then, peel the paper backing off of the other side and stick the design to the hat.
-
Carefully peel the hook and loop apart and squeeze each dot separately to set the adhesive.
-
-
-
Put it on and let everyone admire your new fashion accessory.
-
-
-
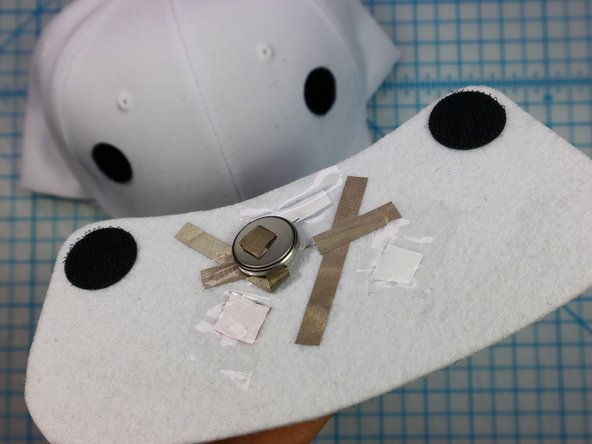
To turn off the LEDs, disconnect the battery by pulling apart the connection as shown.
-
Store it in a way that prevents it from connecting.
-


Attached Documents
