
Introduction
Make your own glasses that light up! Just add two LEDs, a CR2032 battery, and some Maker Tape.
You can make this project (and many more!) with our Paper Circuits Kit.
Tools
Optional Tools
Parts
Video Overview
Featured Document
-
-
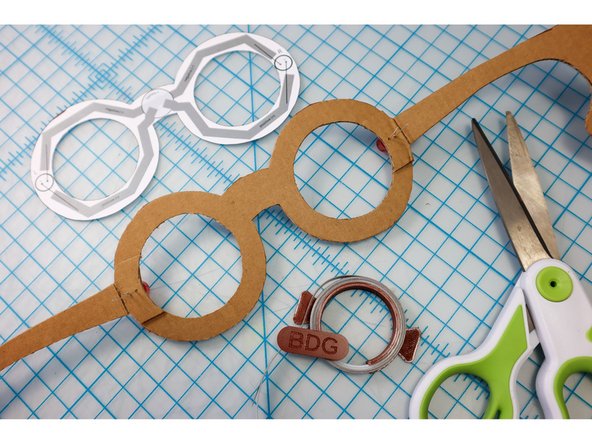
Choose a frame shape and print the template. We'll use the "Round Glasses Template" for this tutorial, but the steps are the same for all frame shapes.
-
-
-
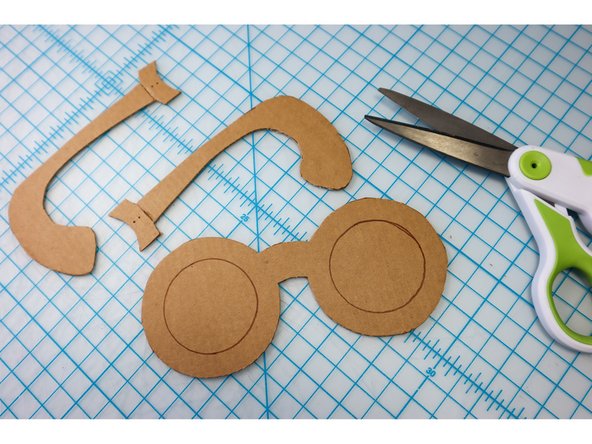
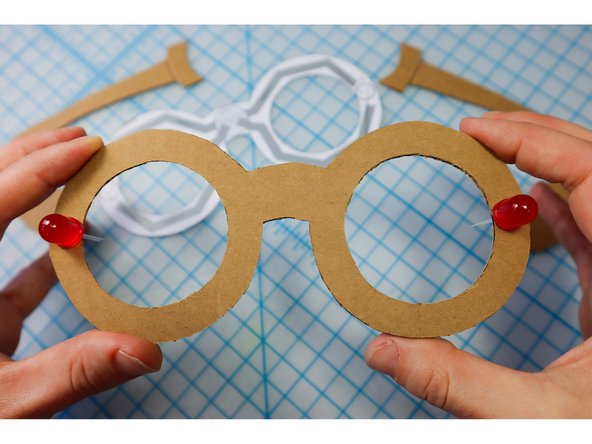
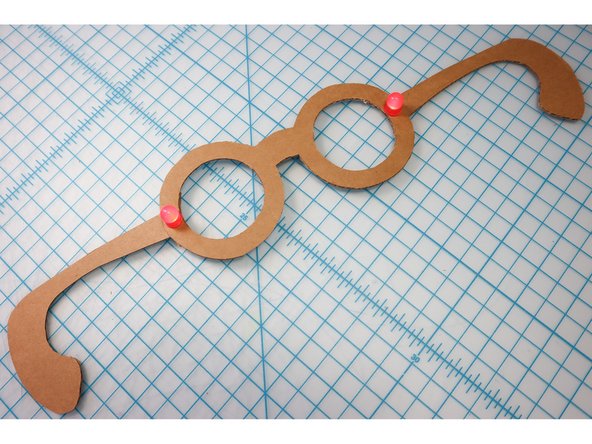
Cut out the template frames and temples (the arms that go over the ears).
-
Use a craft knife to cut out the interior lenses.
-
-
-
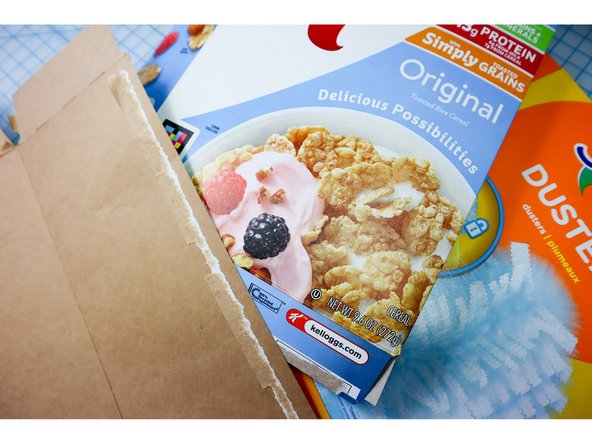
To the recycling bin!
-
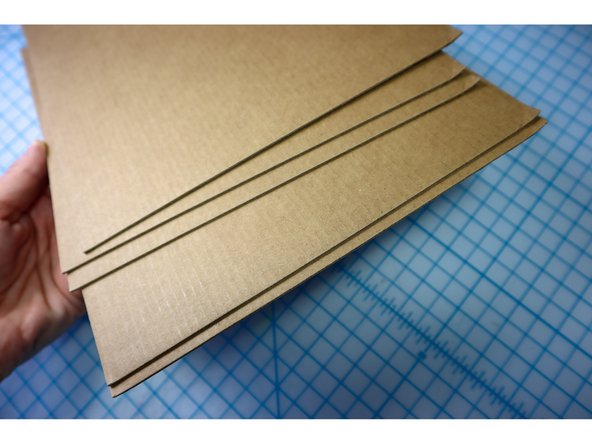
We've found that the best material for this project is cereal boxes (also look for similar household packaging like swiffers or soda 12 pack containers.)
-
If your recycling bin is empty, use thin sheets of cardboard (available to purchase online).
-
-
-
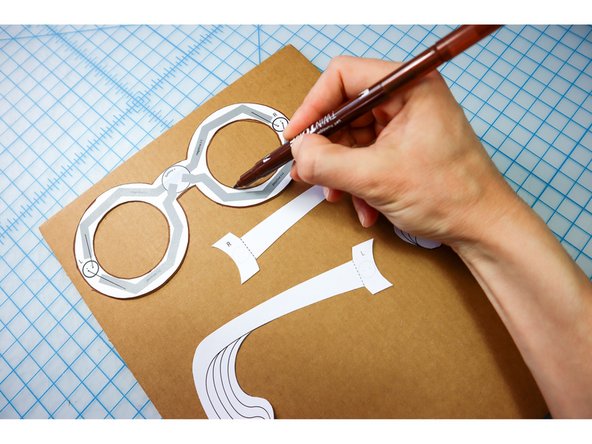
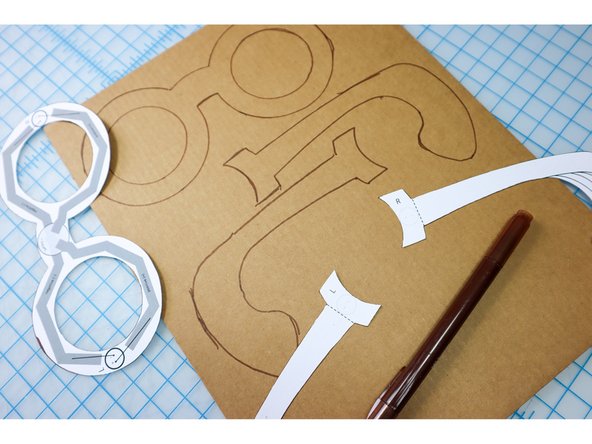
Trace the template onto the back of your material with a marker.
-
-
-
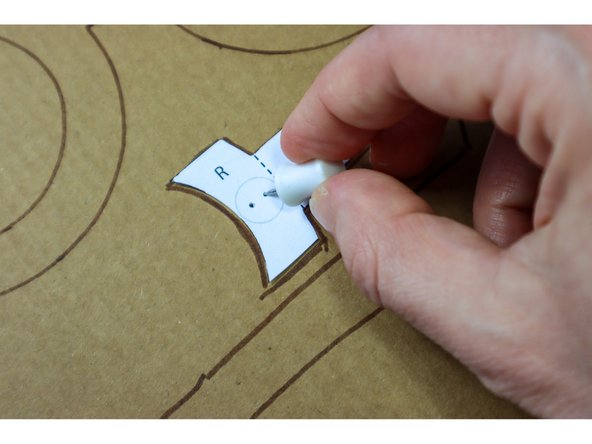
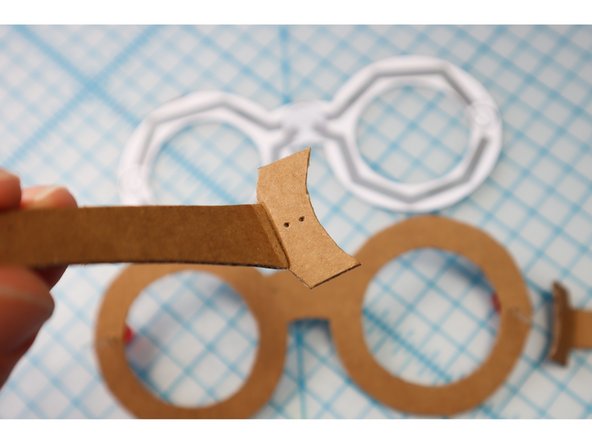
Use a push pin or awl to make holes through the cardboard as shown on the template, where the LEDs will go.
-
Mark the fold lines as well.
-
-
-
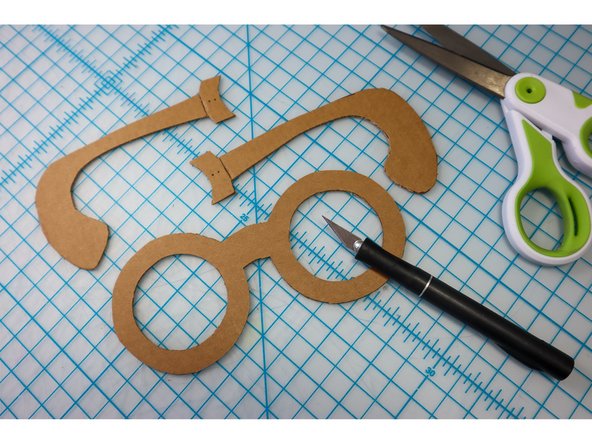
Use scissors and/or a craft knife to cut out the shapes.
-
-
-
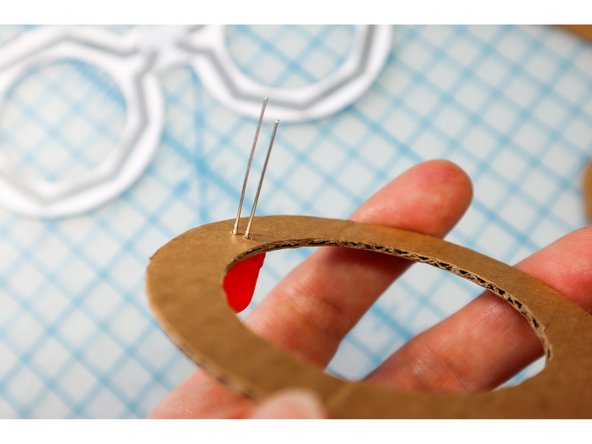
Push the LEDs through the holes on the frames, with the Positive (Long Leg) facing away from the center.
-
-
-
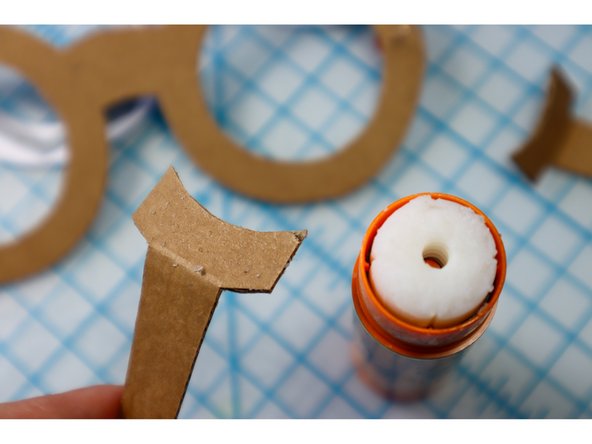
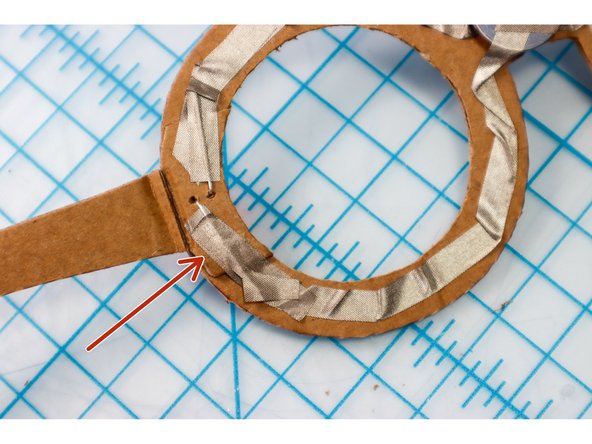
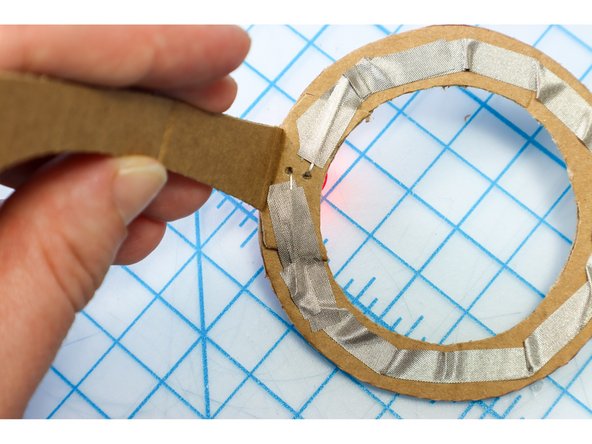
Fold the temples along the line.
-
Add glue to the bottom of the connector piece as shown.
-
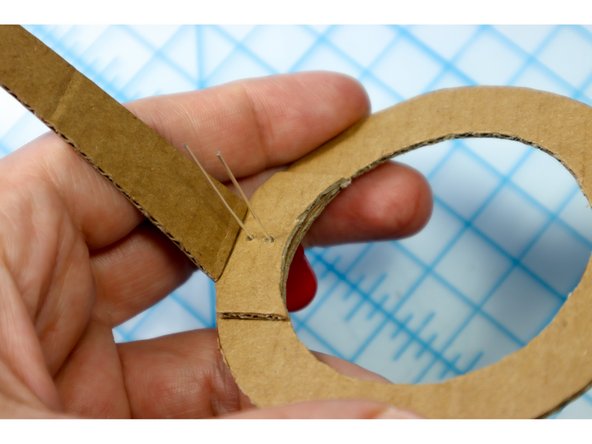
Thread the LED through the holes, aligning it with the frames to glue the temples in place.
-
-
-
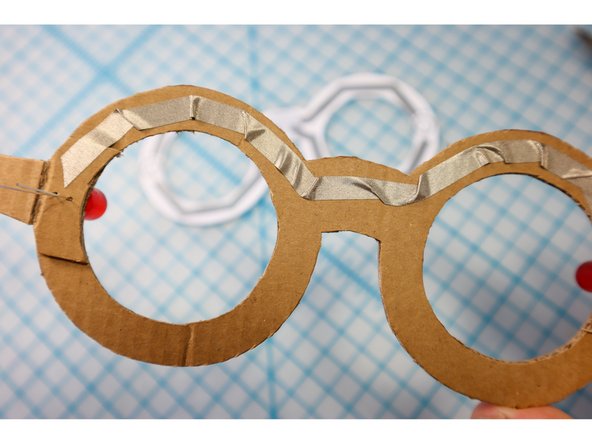
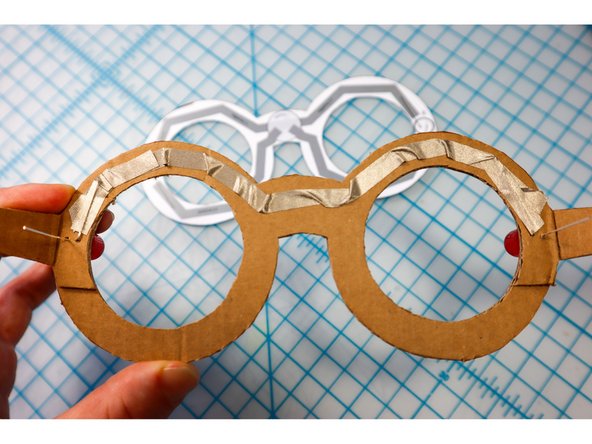
Use the template as a guide to add a piece of Maker Tape across the top of the frames, connecting the shorter, Negative legs of the LEDs.
-
Fold the shorter, innermost legs down flat against the Maker Tape.
-
Secure them in place with another piece of Maker Tape on top as shown.
-
-
-
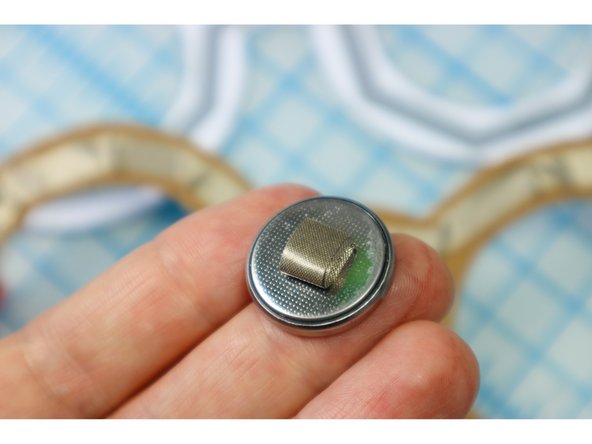
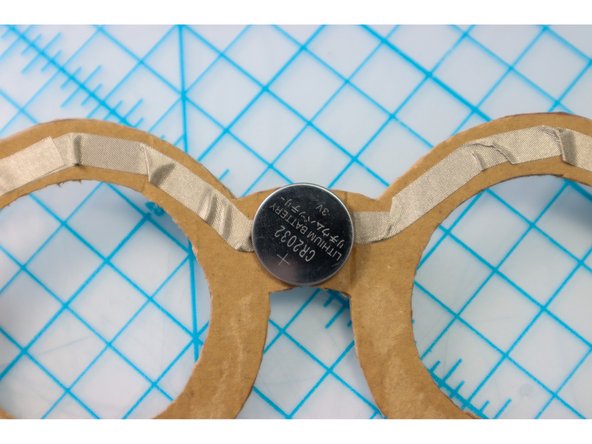
Make a small loop of Maker Tape with the adhesive side out as shown, and place it on the Negative side of the battery.
-
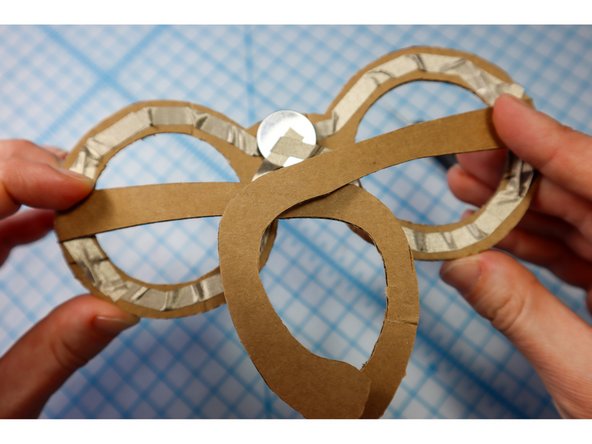
Place the battery on top of the piece of Maker Tape, making sure it is centered on the bridge of the frame.
-
-
-
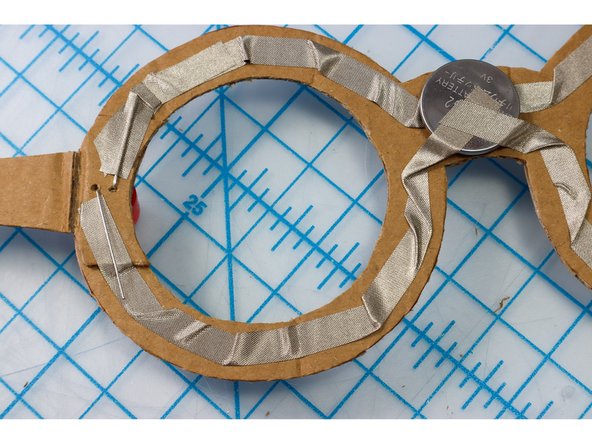
Repeat the same on the bottom, connecting the piece of Maker Tape to the top of the battery as shown.
-
Use a second piece of Maker Tape to connect the LED, and add a piece of Maker Tape on top of the LED's leg, just like the previous step.
-
-
-
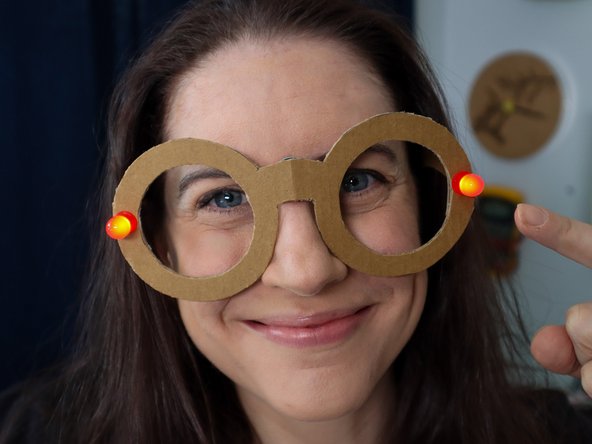
With the circuit connected, it should light up! Check that both LEDs are illuminated, and if not, check the circuit connections on each side.
-
-
-
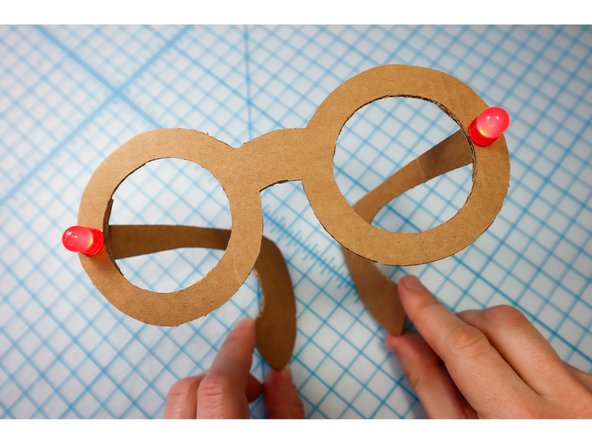
Try on the frames - chances are, they are too small!
-
Reference the sizing guide on the temple tips and choose the appropriate size for your head (start small, you can always go bigger!)
-
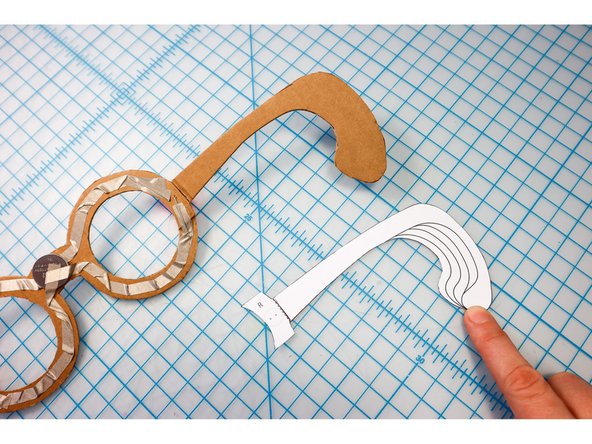
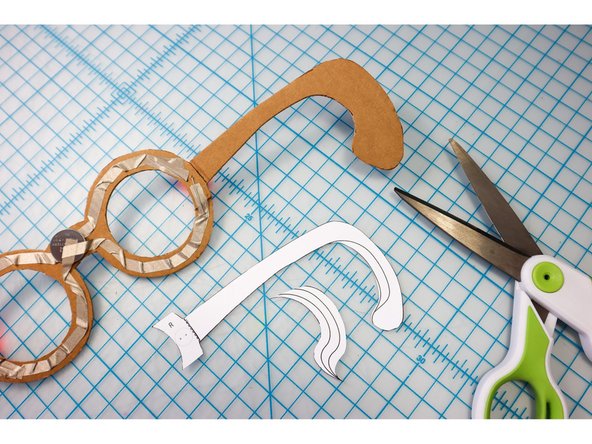
Cut the template to size, trace the new line onto the temples, and cut away the extra material.
-
-
-
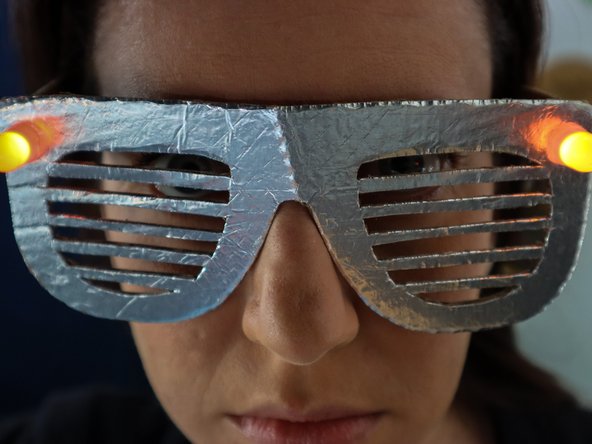
Your new frames are ready to wear!
-
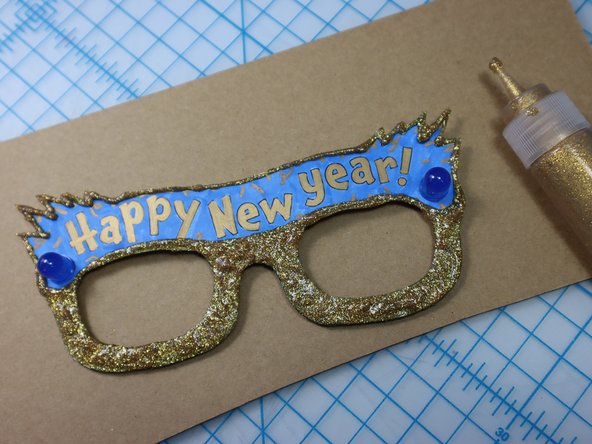
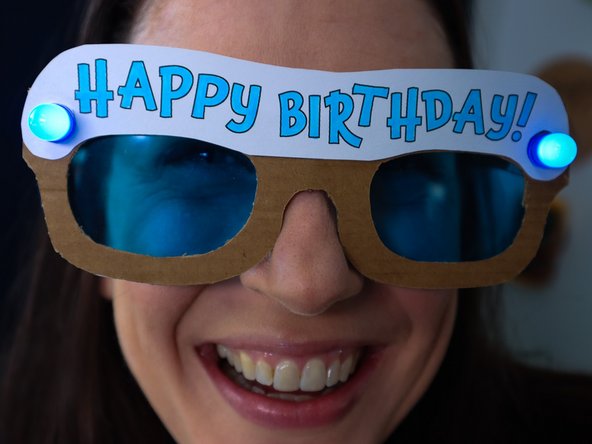
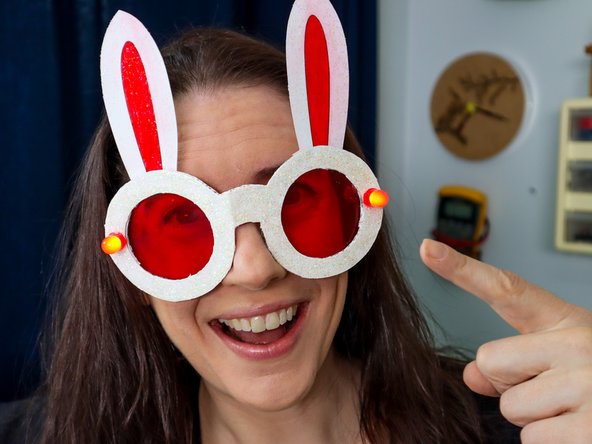
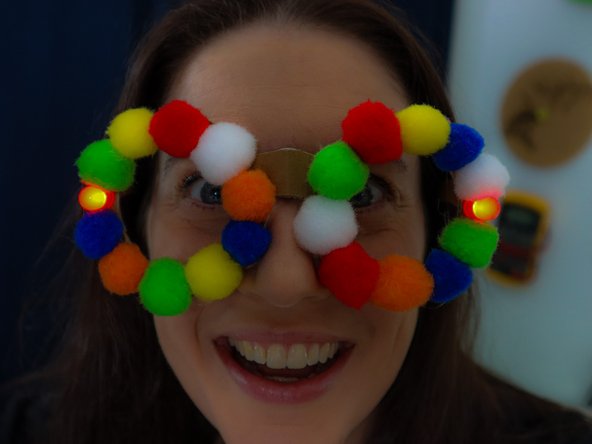
But wait, there's more! This project gets even more fun when you decorate your frames to express your unique style.
-
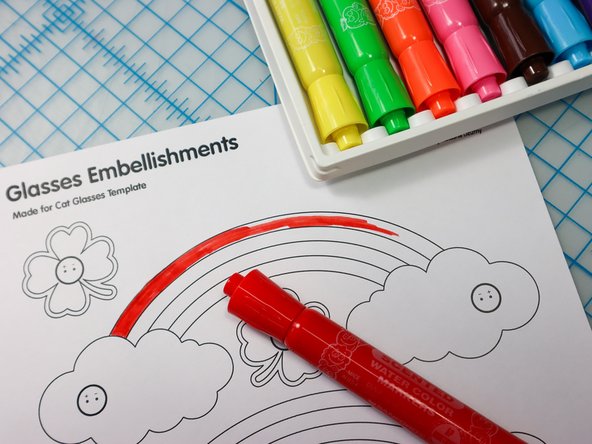
Decorate the frames with common craft supplies, or use our embellishment templates to create party wear for holidays throughout the year.
-
-
-
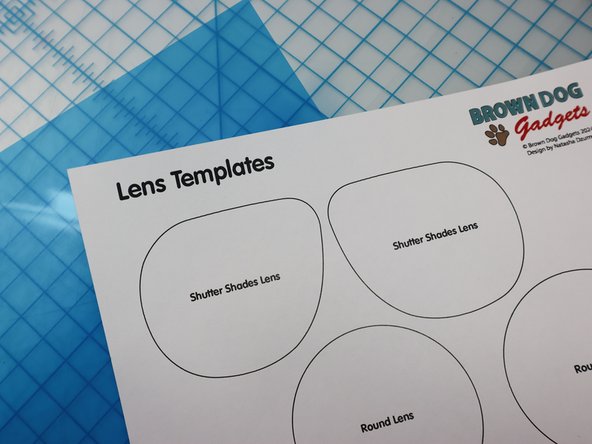
As an optional step, use the lens templates to add lenses to your glasses.
-
We used hot glue to attach colored acetate sheets to make these glasses extra cool!
-
-
-
After you've decorated, wear your glasses for all to see!
-
More on these designs:
-
-
-
-
-
-


Attached Documents
