
Video Overview
Featured Document
-
-
Print the circuit diagram, or follow along on the screen.
-
-
-
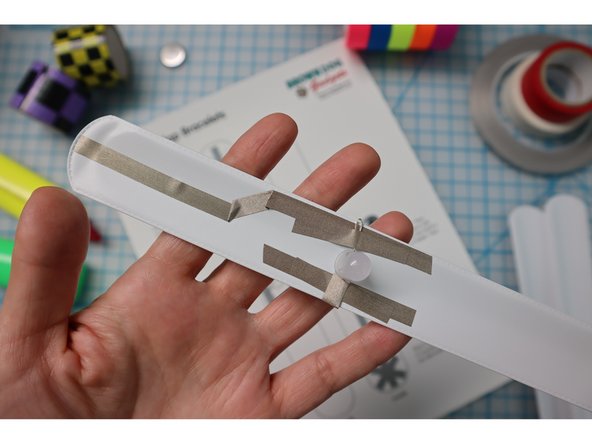
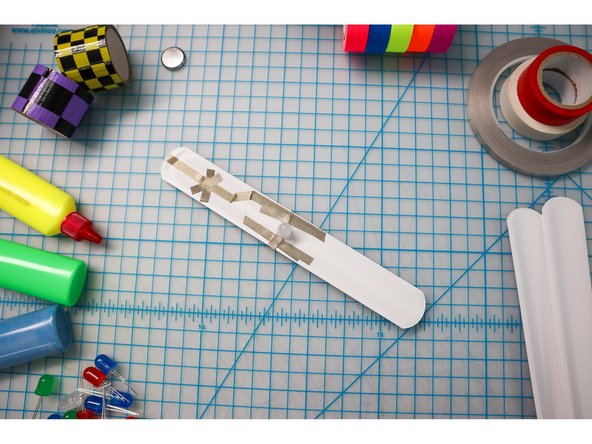
Follow the diagram on the template to place Maker Tape onto the bracelet. Start on the outside of the bracelet first and add the two pieces of Maker Tape as shown.
-
Tip: Press the tape carefully! Pushing down hard can make the bracelet curl up/slap!
-
-
-
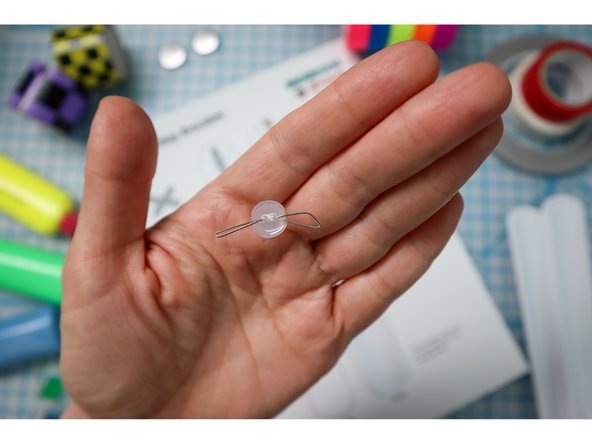
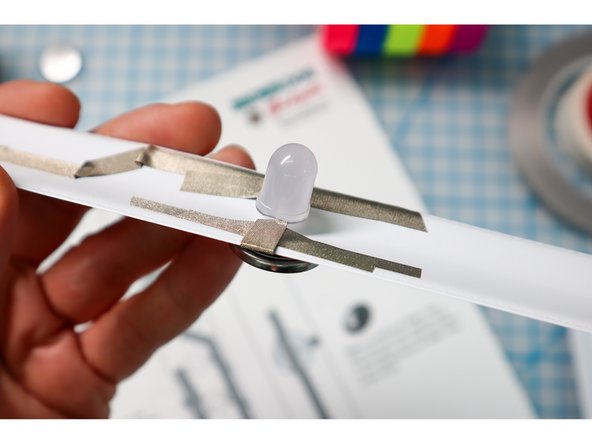
Add the LED(s) by folding the legs in half and attaching them with Maker Tape.
-
-
-
Follow the template to wrap a piece of Maker Tape around the edge to the inside of the bracelet as shown.
-
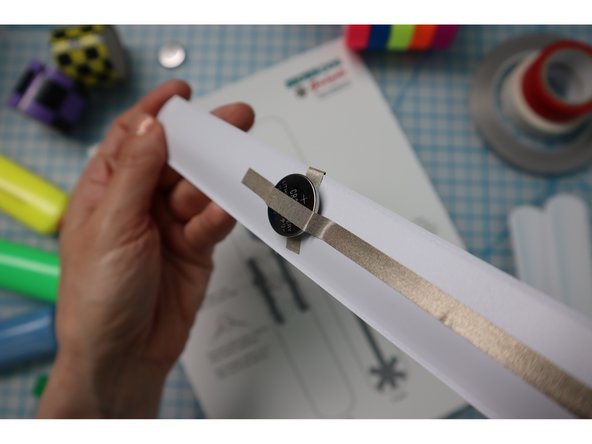
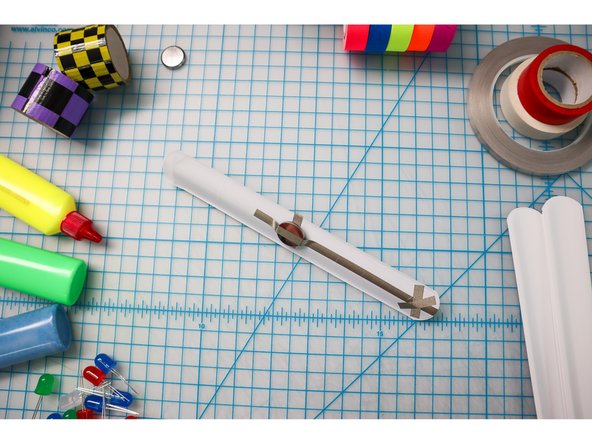
Follow the instructions on the template to add a small loop of maker tape to the Negative side of the battery, then place it on top of the piece that was wrapped over the edge.
-
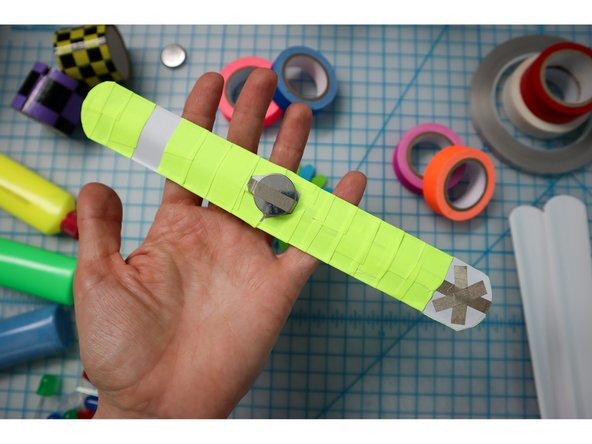
Connect the Positive side of the battery with a long piece of Maker Tape as shown.
-
-
-
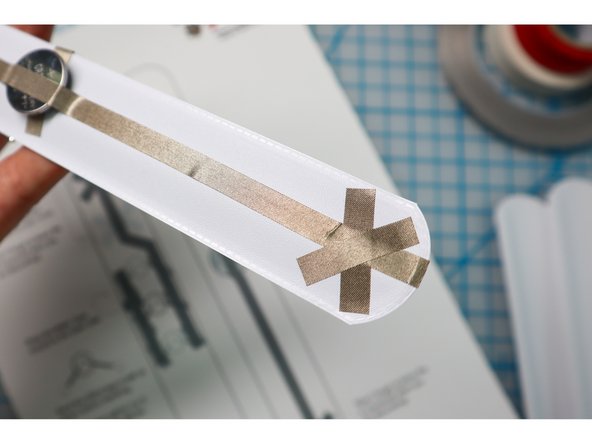
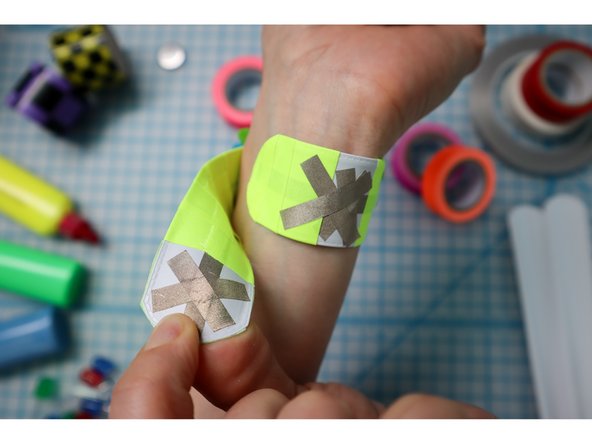
Add an X of Maker Tape to the inside of the bracelet as shown.
-
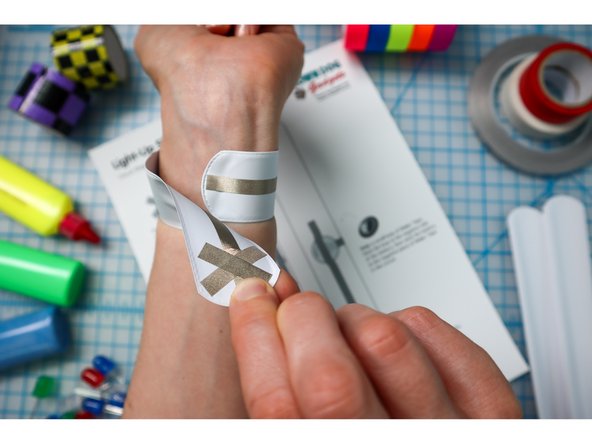
Then SLAP! Slap it onto your wrist.
-
Since every wrist is a different size, you'll need to find the best place to make the connection.
-
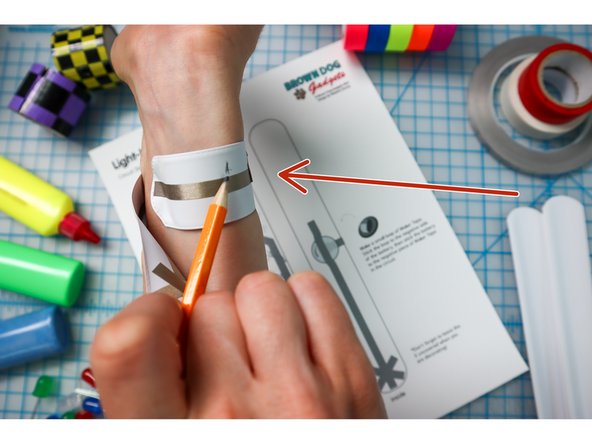
Use a pencil to mark the location of the "X" on the other side of the band.
-
-
-
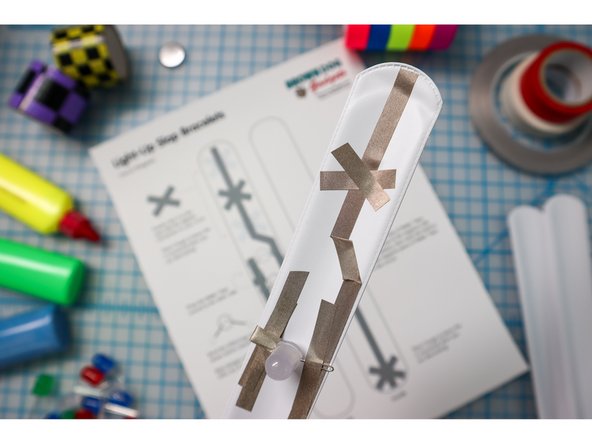
Add a second X where you marked the band.
-
Slap! Test your bracelet. When the bracelet is closed around your wrist, the circuit should complete and the LED should light up!
-
If the LED isn't lighting up consistently, make a note of where the tightest connection point is on your wrist and add more Maker Tape to reinforce the connection.
-
-
-
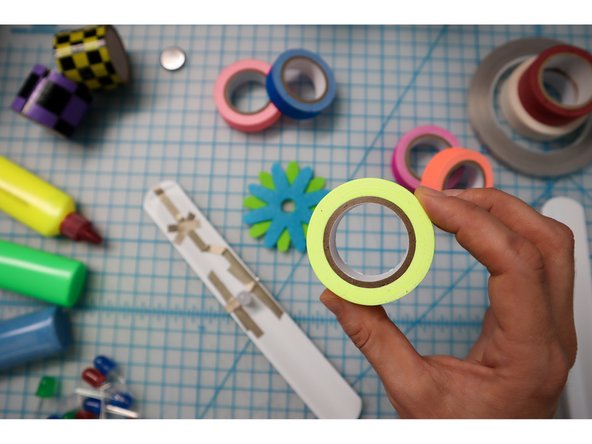
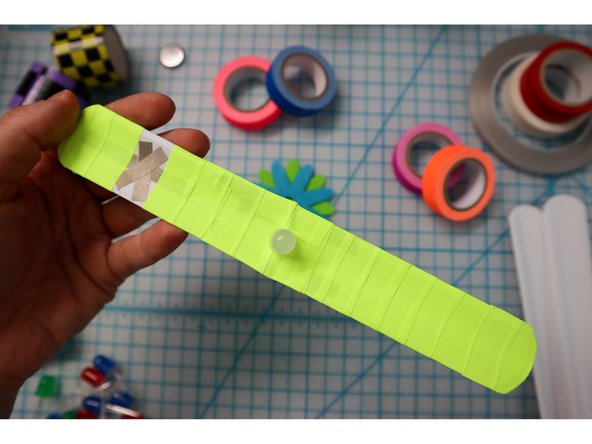
To embellish the band, wrap colorful tape around it, but don't cover the Xs!
-
-
-
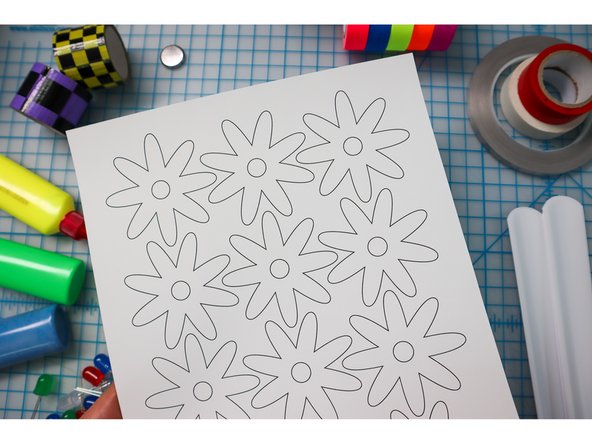
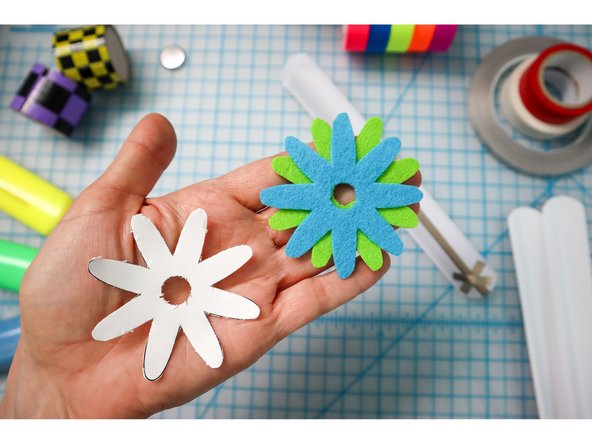
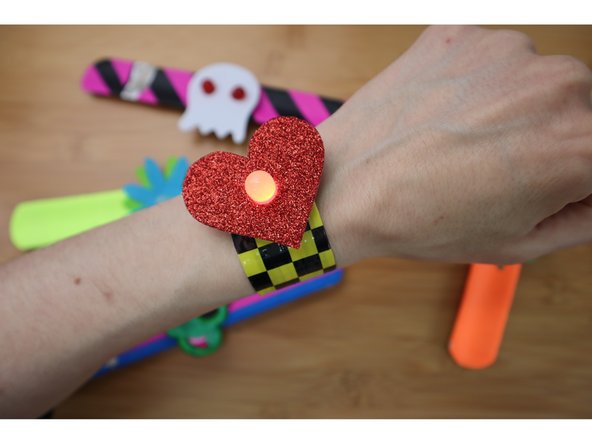
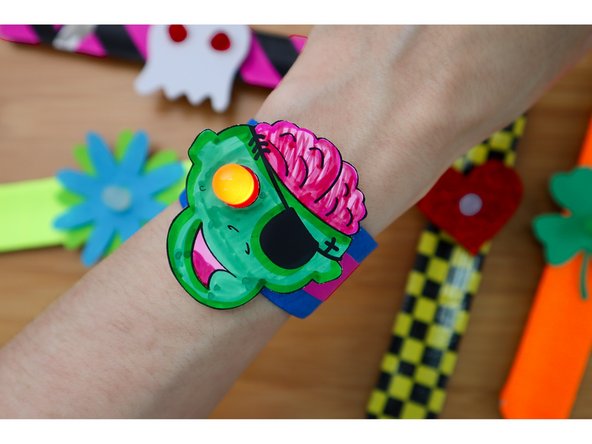
Choose an embellishment from the template and cut it out of foam, felt, paper, or fabric. Glue it over the LED(s).
-
-
-
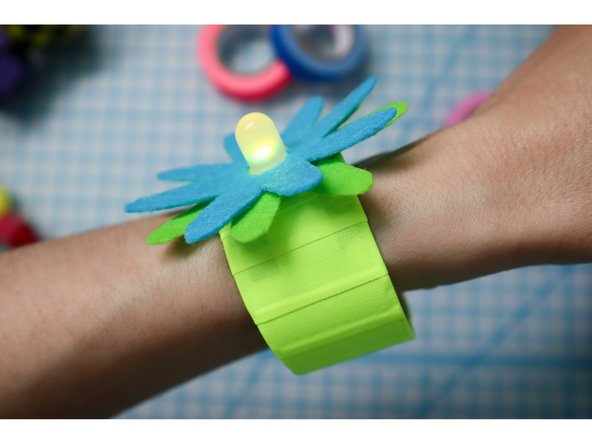
Slap it on and watch it glow!
-
Tips:
-
If the tape made the connection less reliable, add another Maker Tape X on top of the tape.
-
To store the bracelet, make sure it is open to preserve the battery.
-
Now you've got the coolest bracelet in town. :D
-
-
-
Repeat this project for many holidays, or create your own design for unlimited glowy fun!
-


Attached Documents
