
Introduction
Make your own light-up shoe embellishments with this template and tutorial.
Tools
Parts
Video Overview
Featured Document
-
-
Download and Print the Template.
-
Optional: If you would like to make a shoe that turns on and off as you step using a tilt sensor, download and print the template linked here instead.
-
-
-
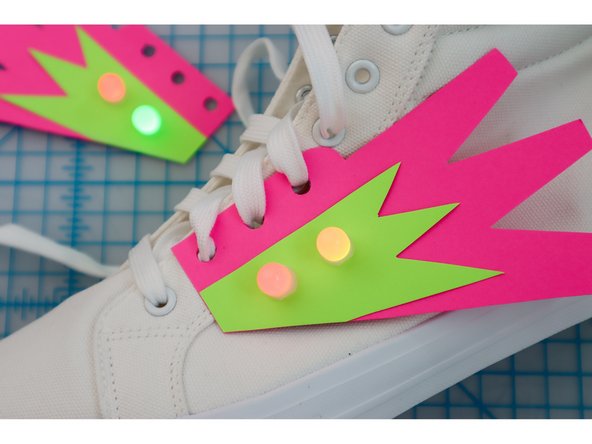
Use the template to cut out the burst shape.
-
-
-
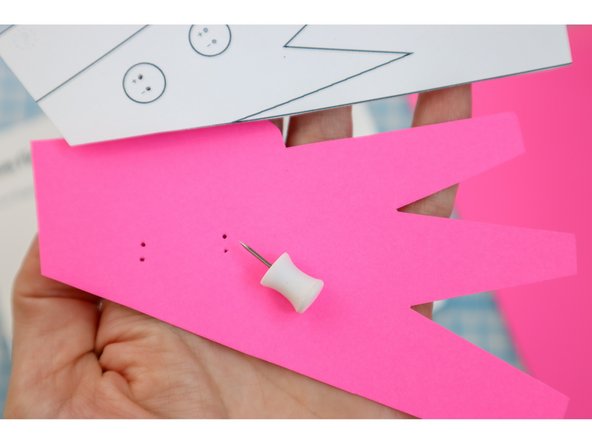
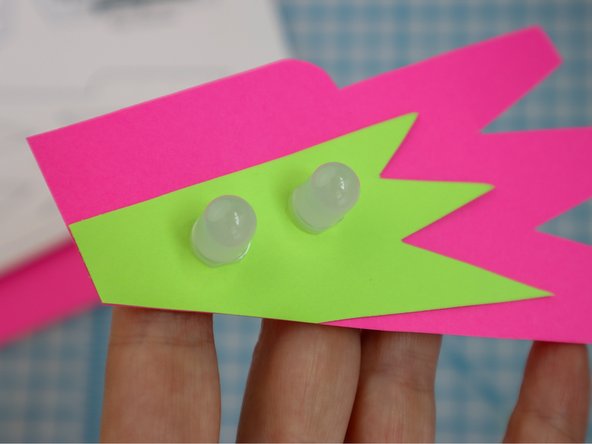
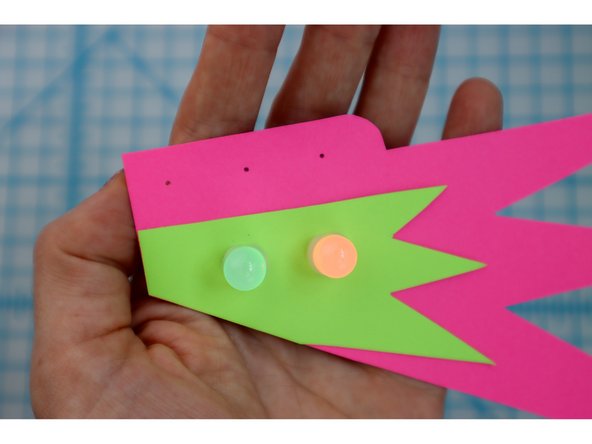
Use the template and a push pin to poke holes for the LED legs.
-
-
-
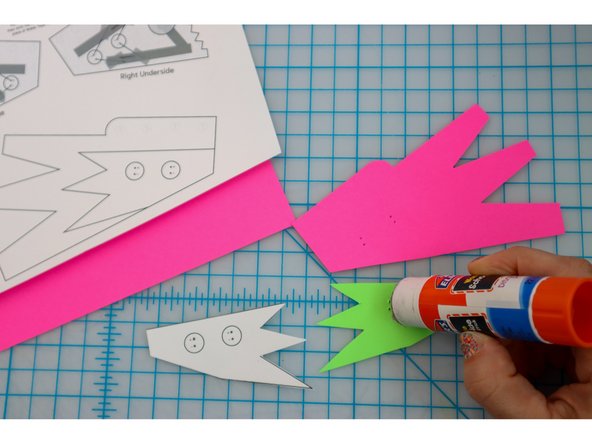
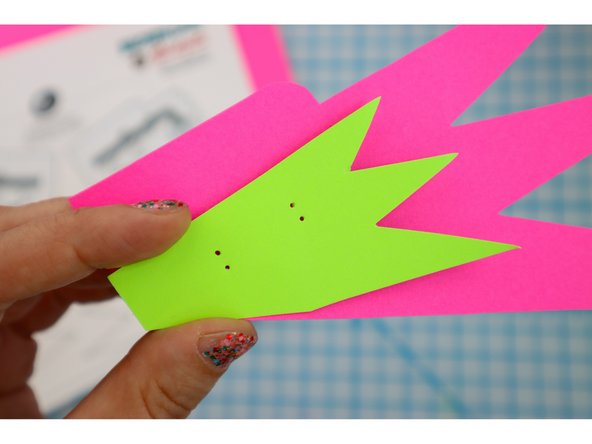
Cut out and poke holes using a second accent color for the center of the burst.
-
-
-
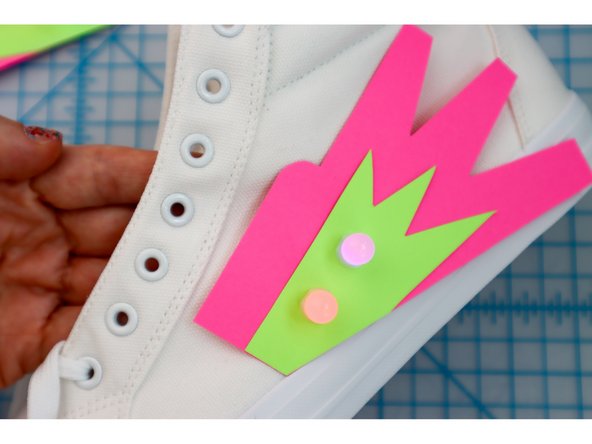
Glue the two pieces together, aligning the holes.
-
-
-
Align the project with the circuit diagram.
-
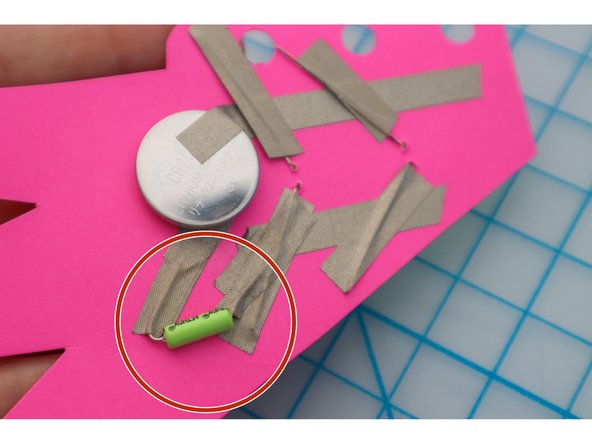
Optional: If you would like to make a project that turns on and off as you step, follow the template linked here to add a tilt sensor.
-
-
-
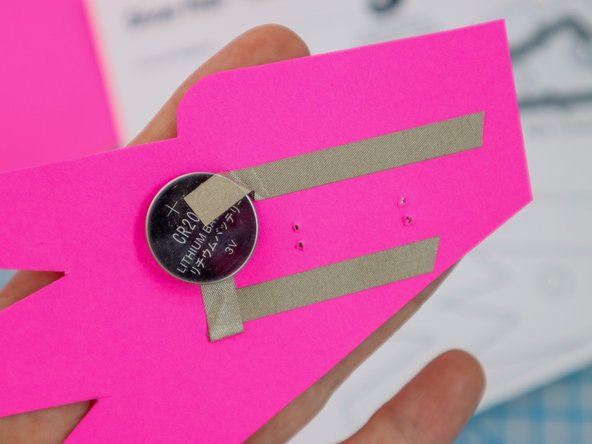
Follow the diagram on the template to build the circuit.
-
Tip: Make sure the polarity of the LEDs is correct: The long leg is positive and goes through the hole on top!
-
-
-
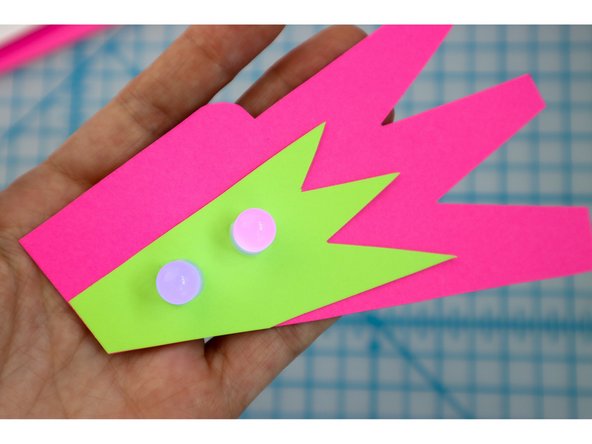
Flip over the project - the LEDs should light up!
-
Is it not working? Check for a short circuit or loose connection.
-
-
-
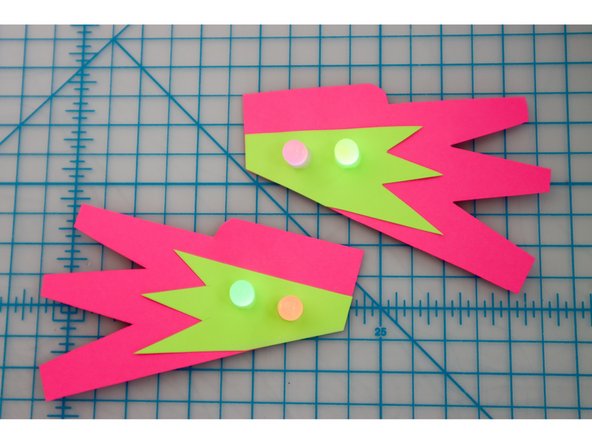
Repeat the previous steps to make a second burst for the other shoe.
-
-
-
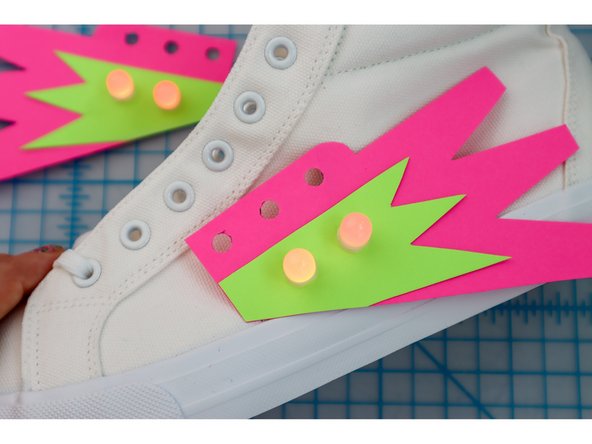
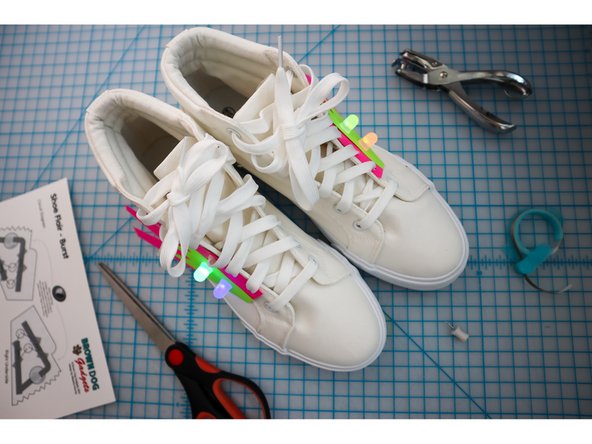
Hold the project up to the shoes and mark the hole locations.
-
-
-
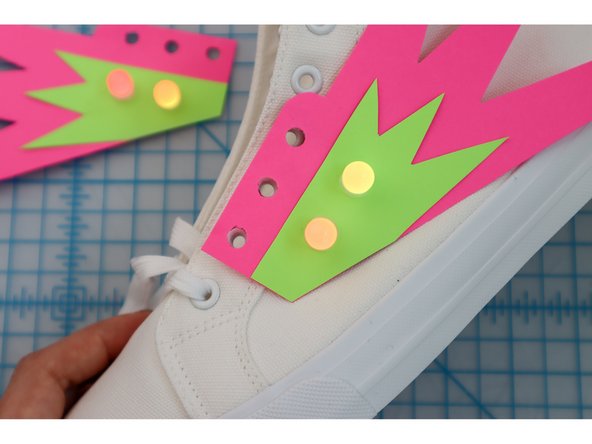
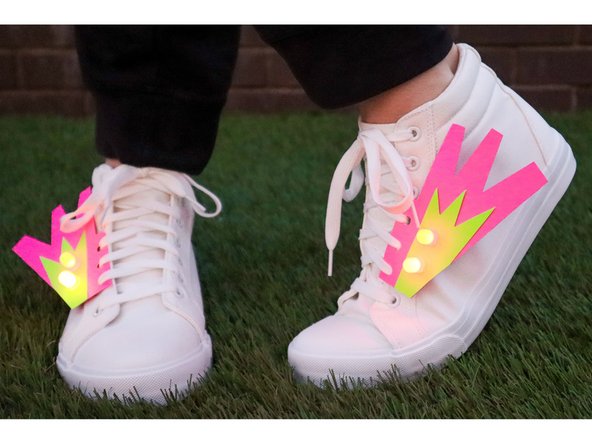
Unlace the shoes, then lace the shoes back up through the holes.
-
-
-
Walk around and show off your new shoe bling!
-


Attached Documents
