
Tools
Video Overview
Featured Document
-
-
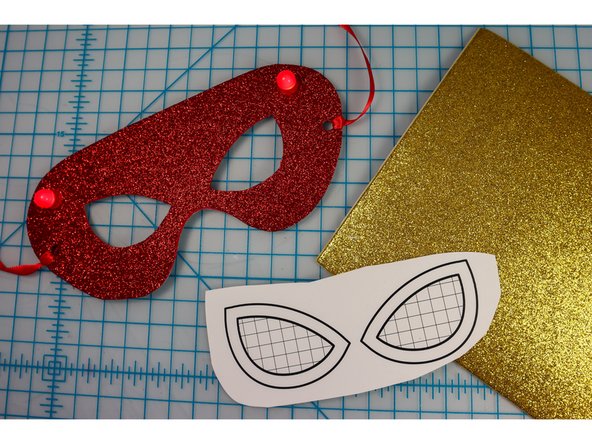
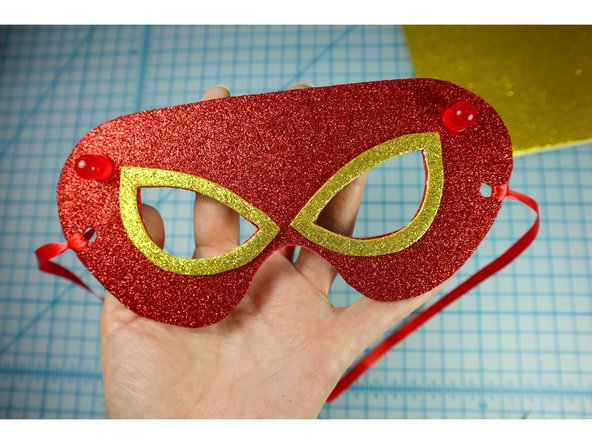
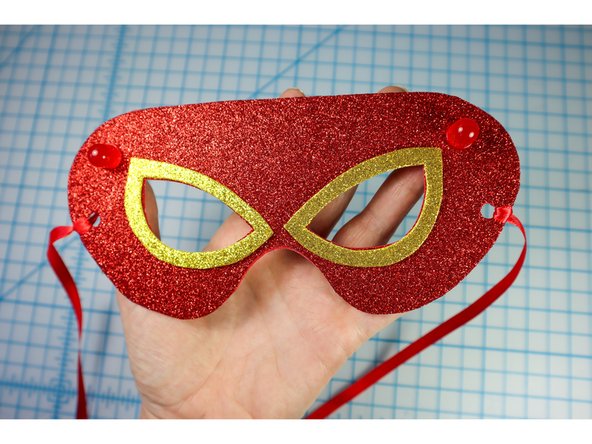
Choose an eye shape and the base material for your project.
-
We recommend using craft foam, stiff craft felt, or heavy paper. For this example, we found some glitter craft foam that gives it a lot of pizzazz!
-
-
-
If you are using paper, print out the template on the paper, cut it out, and complete the project on top of the template.
-
If you are using other craft materials like foam or felt, staple the template to the material to keep it in place.
-
Use a craft knife to cut out the eyes.
-
Use a craft knife or scissors to cut out the mask shape.
-
-
-
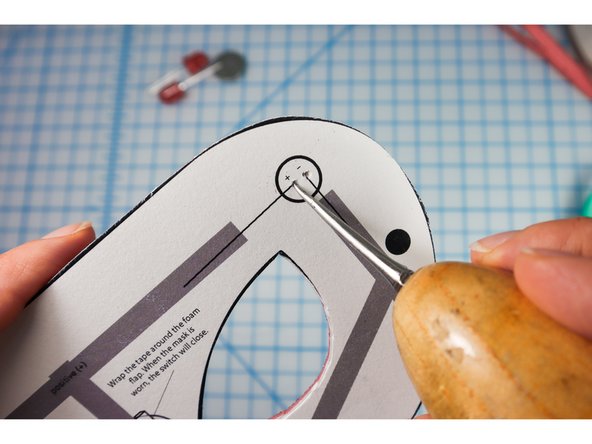
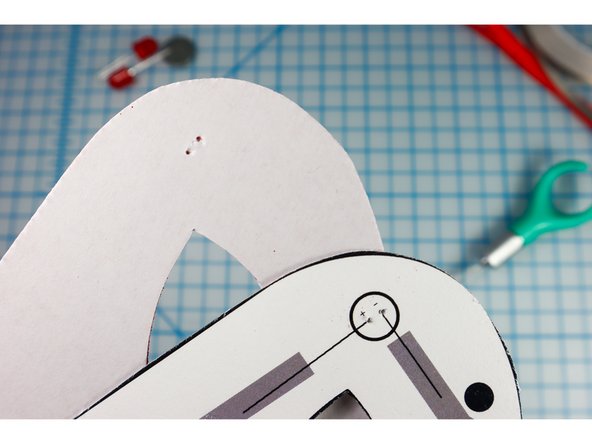
Use an awl, push pin, safety pin, or other pointy tool to make holes for the LED legs to stick through.
-
-
-
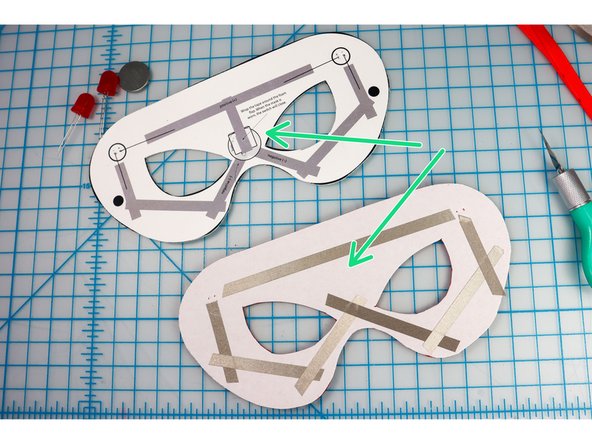
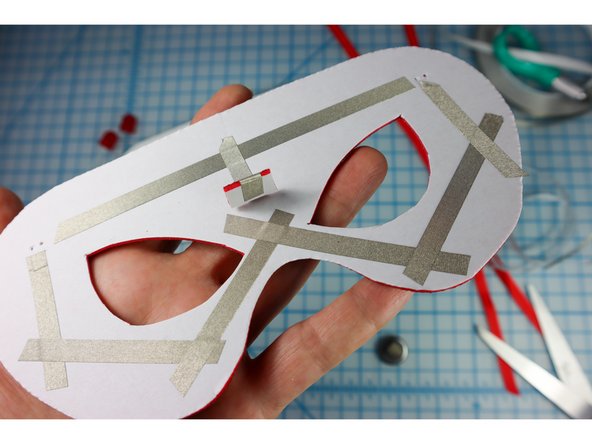
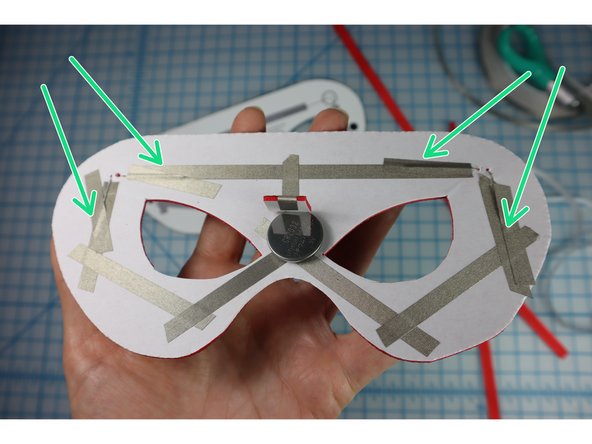
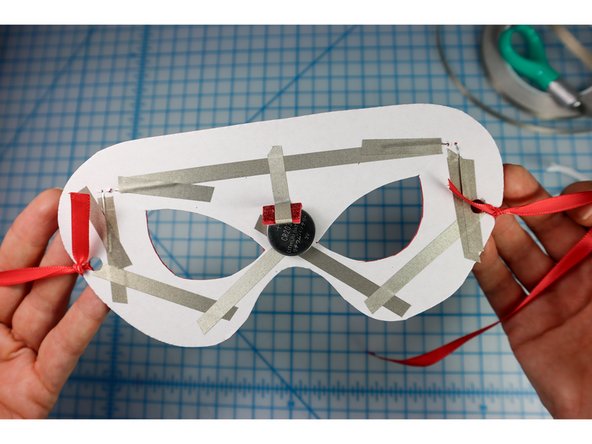
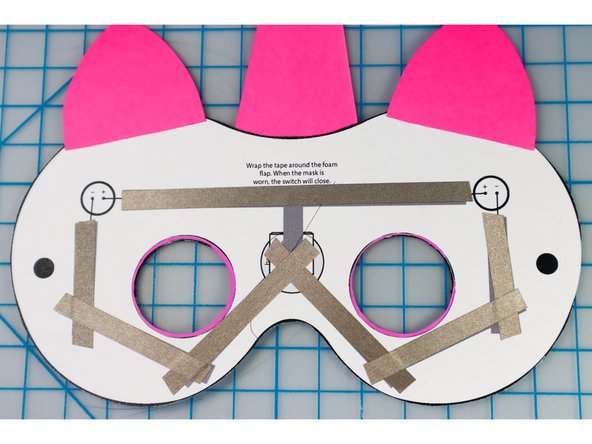
Using the template as a guide, add Maker Tape to the mask as shown, except for the piece at the center -- that will be added in the next step.
-
-
-
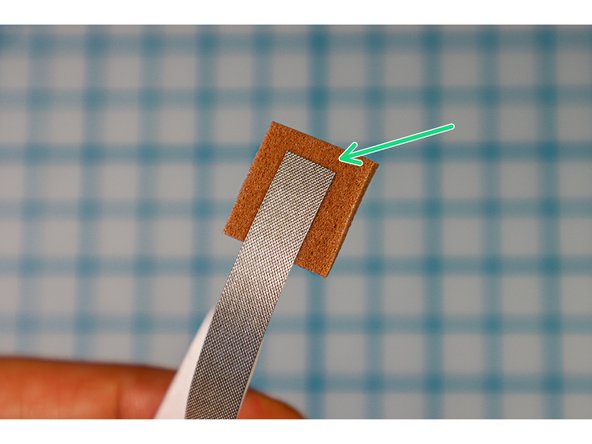
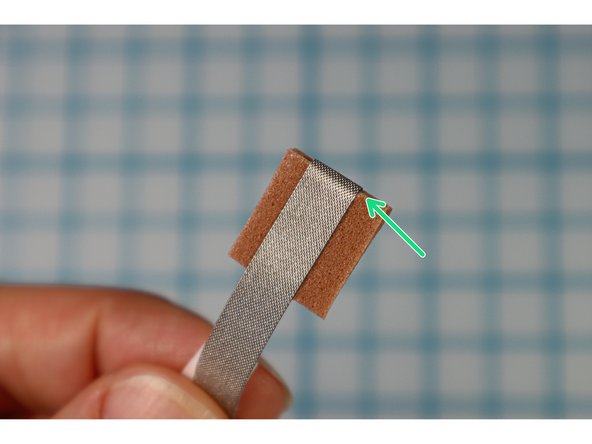
Cut a small square of craft foam. If you are using paper for your project, we still recommend using craft foam for this piece.
-
Start by placing Maker Tape on one side of the foam, then wrap it over the edge to the other side so that there is Maker Tape on both sides of the piece.
-
-
-
Add the piece to the mask where shown.
-
-
-
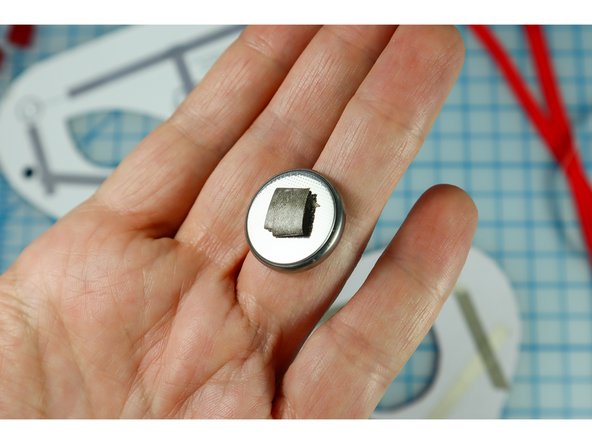
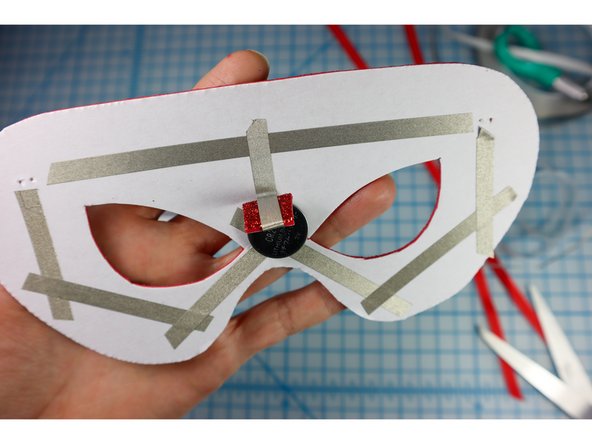
Make a small loop of Maker Tape with the adhesive side out.
-
Place the loop on the Negative side of the battery as shown.
-
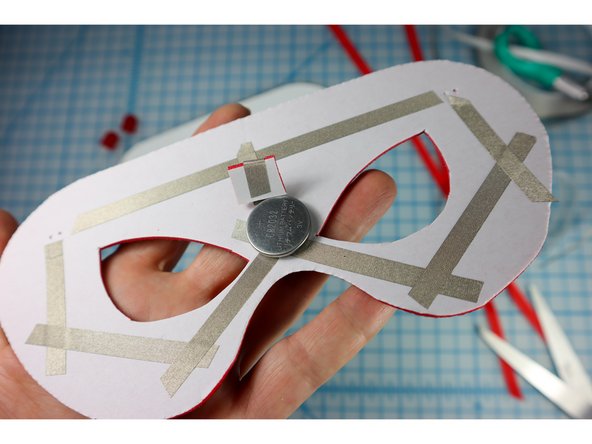
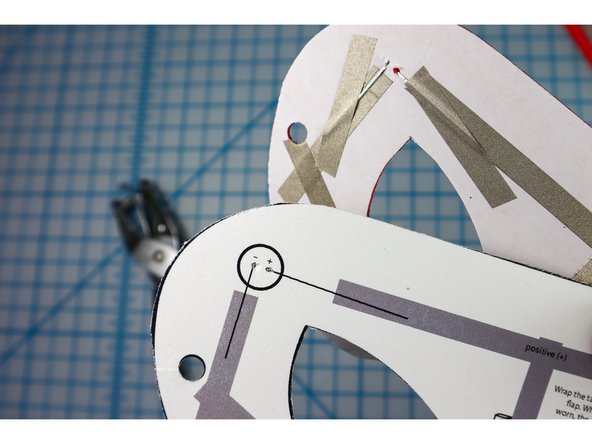
Stick the tape to the Negative side of the circuit as shown (between the eyes).
-
-
-
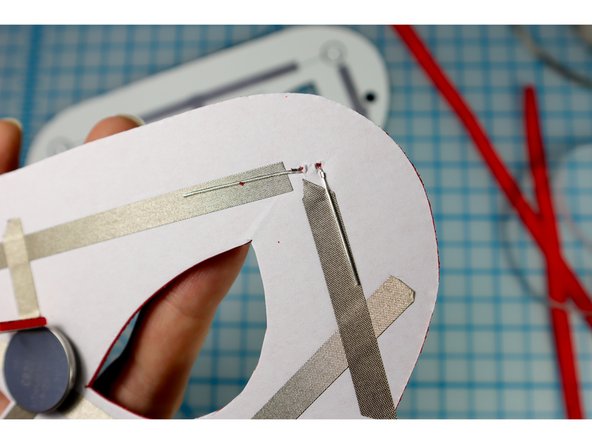
Insert the LEDs through the holes from the front side of the project.
-
Make sure that the longer, Positive leg is facing the center of the mask.
-
Push the LEDs all the way through, then bend the legs flat along the paths of the Maker Tape as shown.
-
-
-
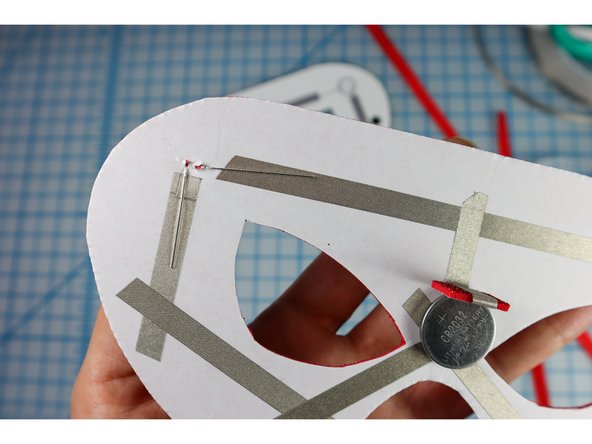
Add a piece of Maker Tape on top of the LED legs as shown.
-
-
-
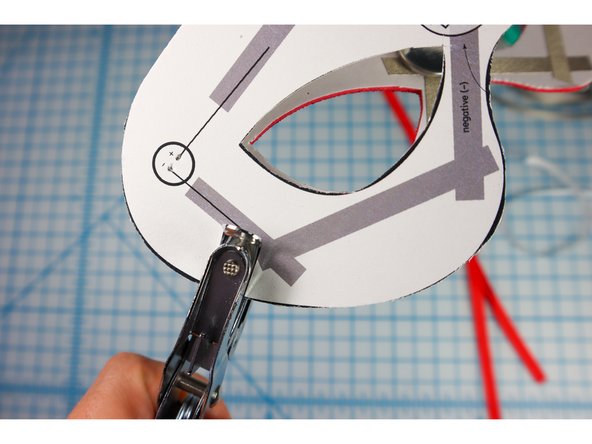
If you plan to add a ribbon to tie the mask to the wearer's face, punch the hole where shown.
-
If you are using felt or foam, place the paper template on top of the project and punch the hole through both materials.
-
-
-
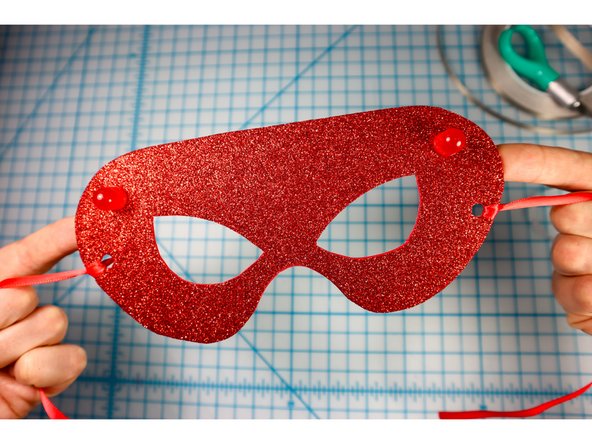
Tie a ribbon that's long enough to tie behind the wearer's head to the hole on each side.
-
-
-
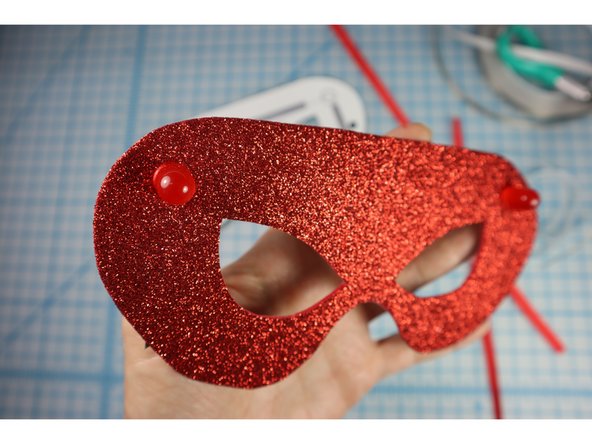
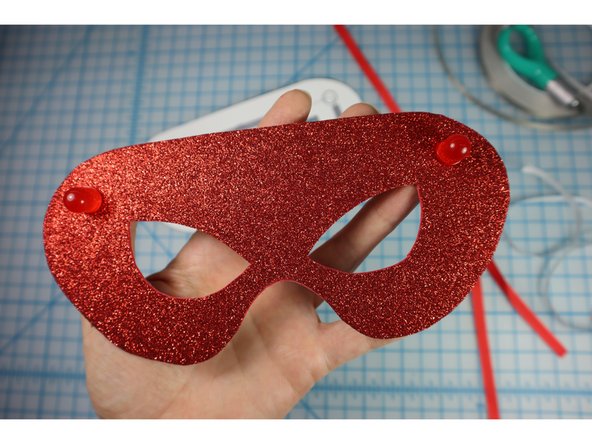
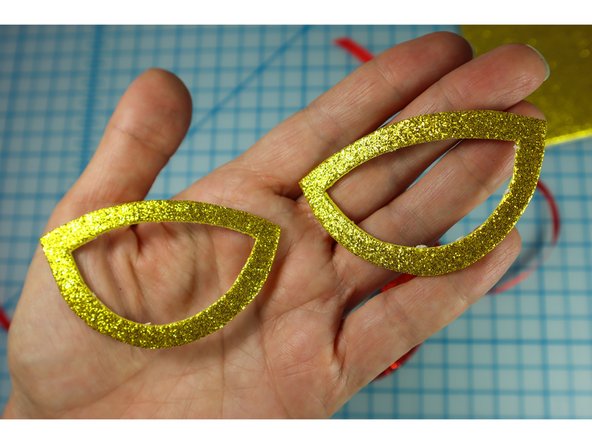
If your design calls for it, use the eye template to cut the shapes out of a contrasting color.
-
Glue the shapes around the eyes.
-
Tip: We've had a lot of success using adhesive-backed foam. This makes the project quick and easy without using hot glue or waiting for long glue dry times.
-
-
-
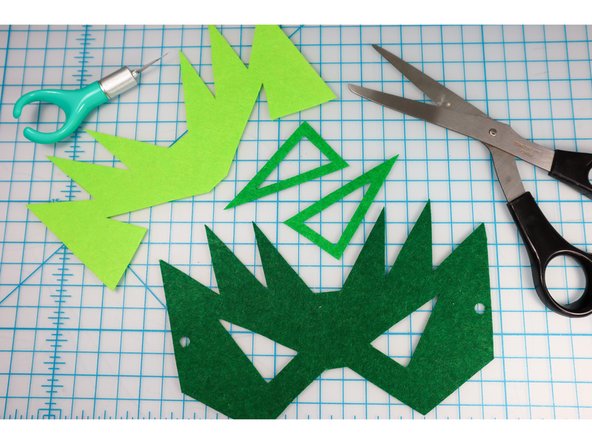
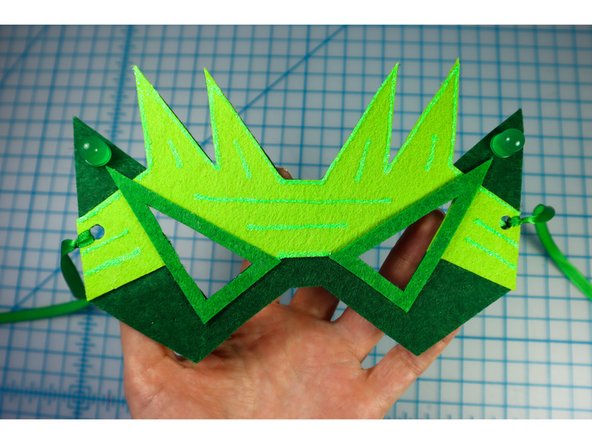
Here are some examples of using other materials. The first photo shows felt shapes. Look for stiff felt so that it is strong enough to hold the heavy battery and LEDs easily. The felt that is similar to fabric will be too flimsy.
-
The second photo shows 65 lb cardstock. You can print the template on the back and decorate the front.
-
The third photo shows 3D embellishments! Use glitter, pom poms, pipe cleaners, or even small toys or lace to make the character and mask all your own.
-
-
-
Other materials mask designs. What will you make?
-
Read more about how to make the Unicorn Mask here.
-
Read more about how to make the Goblin Mask here.
-
-
-
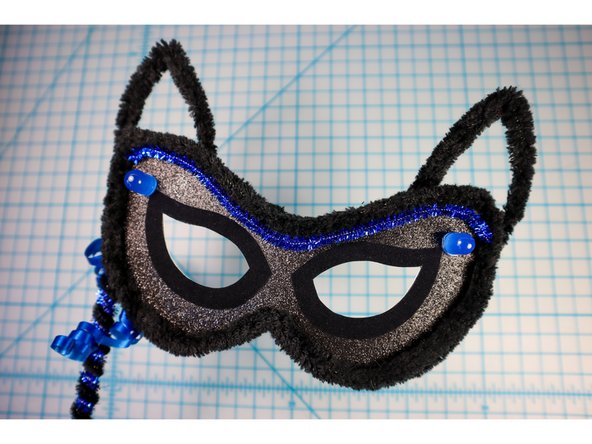
Instead of using ribbon, decorate a wooden dowel and glue it to the back of the mask to make a masquerade style stick mask.
-
Read more about how to make the Black Cat mask here.
-


Cancel: I did not complete this guide.
One other person completed this guide.
Attached Documents
