Introduction
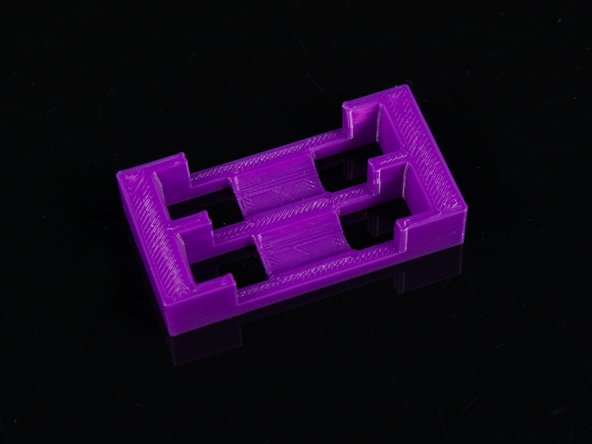
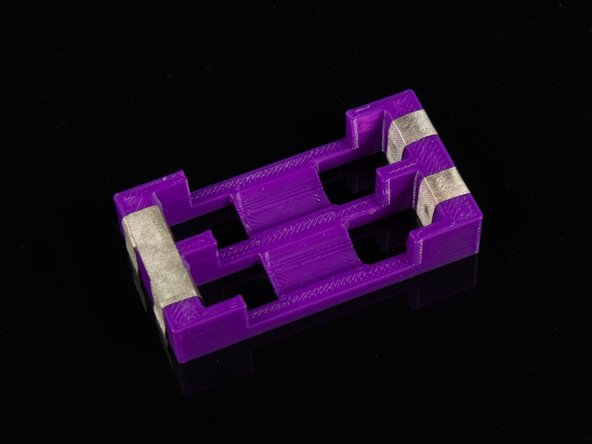
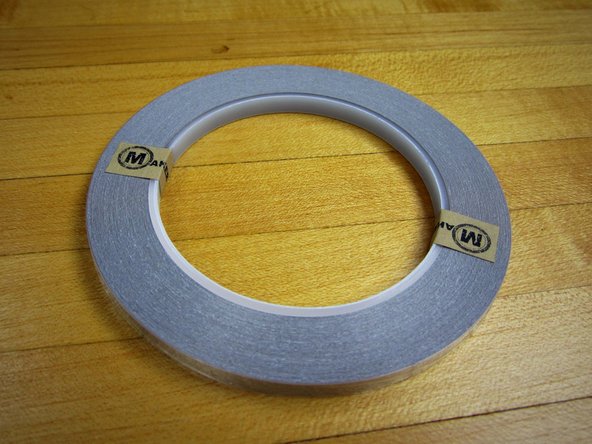
Make your own battery holder with 3D printing and some Maker Tape. This can be a fun project if you've got a 3D printed in your classroom and some of our Maker Tape on hand.
Tools
Parts
Video Overview
-
-
Circuits need power, and if you need a battery pack, or a convenient holder for a single AA or AAA battery, you can make your own as long as you've got a 3D printer and some Maker Tape.
-
This project will provide files and demonstrate how to create your own battery pack, including how to create a conductive path for multiple batteries.
-
Note! Like any project utilizing batteries there is some danger. Please read Step 2 for some warnings about working with these battery holders.
-
-
-
While this project is safe if done properly, it can also cause batteries to overheat, tape to burn, and plastic to melt.
-
These battery packs are mean for educational purposes and should not be used permanently or without proper supervision.
-
For safety it is recommended to remove the batteries from the holder when not being used in a circuit. Store them safely when not in use.
-
Do not stack battery holders while batteries are inserted!
-
Do not put battery holders into a bag or box when batteries are inserted!
-
Do not place battery holders on conductive surfaces such as a metal table.
-
While Maker Tape is designed (and works perfect) for low-power circuits, it can only handle so many amps of power.
-
Check out this video for more info: Conductive Tape Destructive Testing
-
-
-
You can download the file and print it on your own 3D Printer.
-
Find it in our GitHub repository: https://github.com/BrownDogGadgets/3D-Pr...
-
You can also find the files on Printables: https://www.printables.com/model/232721-...
-
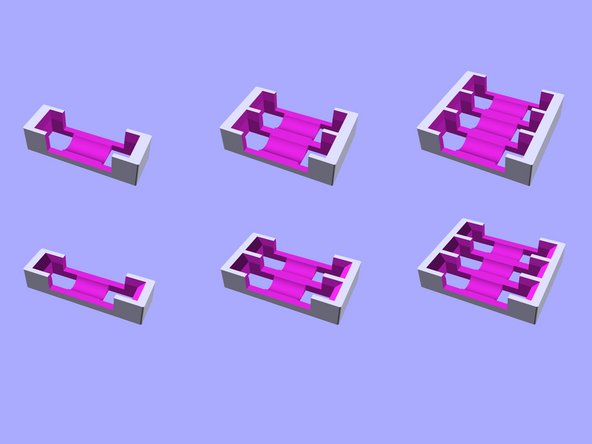
You'll find ready-to-print STL files for one, two, and three AAA and AA batteries.
-
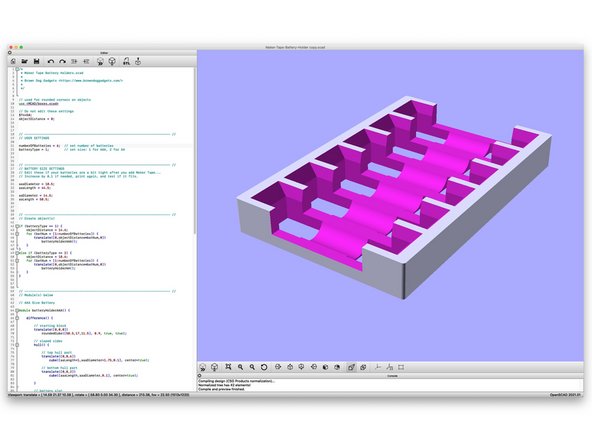
There's also a .scad file so if you're comfortable editing OpenSCAD code you can also easily create versions that hold 4, 5, 6 or more batteries!
-
-
-
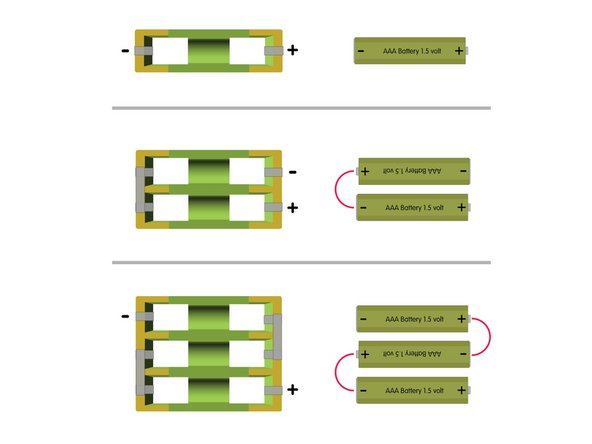
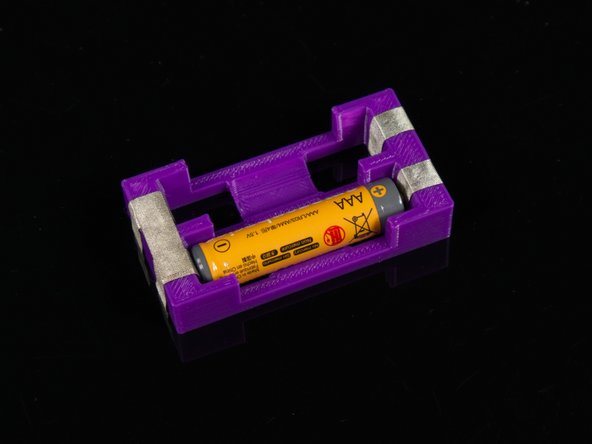
For the single battery holder you just need to add a piece of tape looped around each end so the positive and negative side of the battery will make contact with the tape when pressed in place.
-
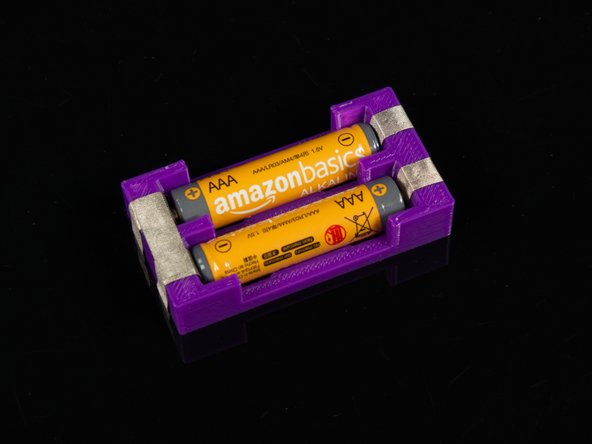
For multiple batteries you'll need to connect the negative of one battery to the positive of the next battery. This connects the batteries in series.
-
Tip! If your battery fits a bit too loose you can just add another layer of Maker Tape around the end of the holder for a tighter fit.
-
-
-
Once you have your tape (or tape paths) in place you can add the batteries.
-
They should fit in snug so that the ends are touching the Maker Tape. (If they do not, you can just add another layer of tape.)
-
Remember, Maker Tape is conductive on both sides and all the way through, so layering it works just fine. (This is not the case with most copper tapes.)
-
-
-
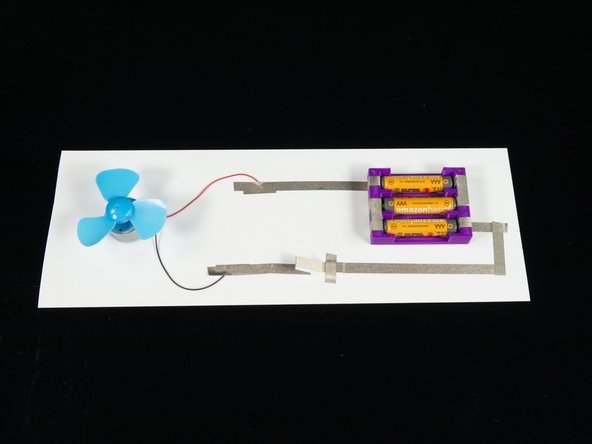
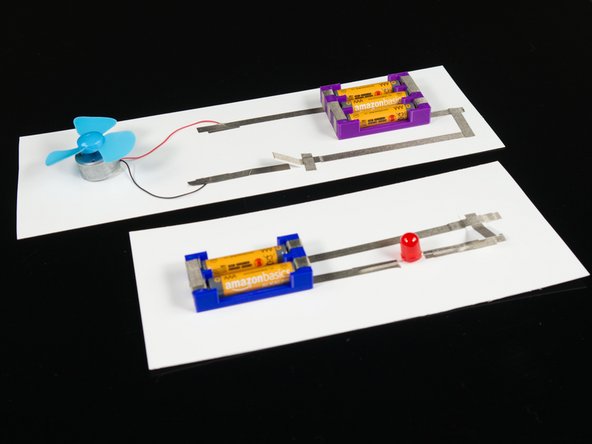
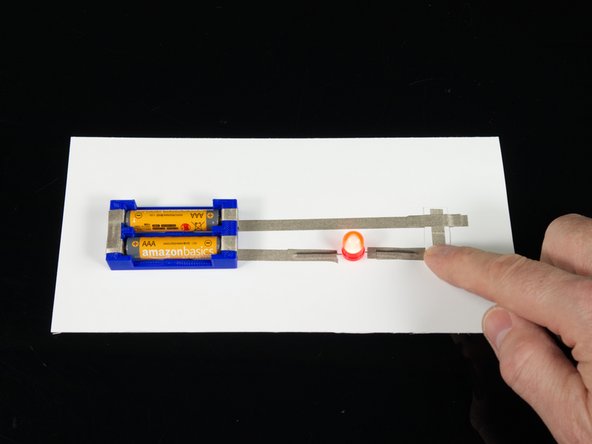
You can use these battery packs in a circuit the same way you would use any battery pack.
-
You can even use a tape loop to stick the battery pack right down to your Maker Tape pathways.
-
-
-
Maybe you'll come up with some new ways to use these battery packs.
-
Got some batteries that are down to just one volt? Put three of them in a holder together and you've got a 3 volt battery pack which is equal to a battery pack with two fresh batteries. A great way to get a bit more use out of old batteries.
-
Could you connect the packs in parallel? Sure! It's just a matter of running Maker Tape for a specific pathway.
-
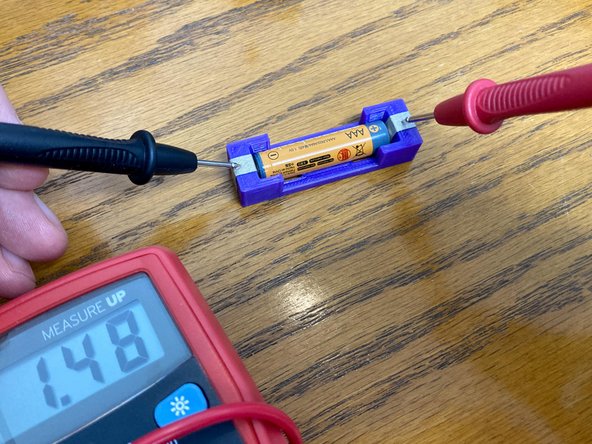
One of our favorite uses is to pop one battery into a holder to check it with a multimeter. This solves the problem of trying to hold the battery and the meter probes at the same time.
-


