
Introduction
Use this guide along with some easy to acquire craft materials and basic components to make a fun Halloween bucket hat that lights up! A printable template is located at the bottom of the guide.
Video Overview
Featured Document
-
-
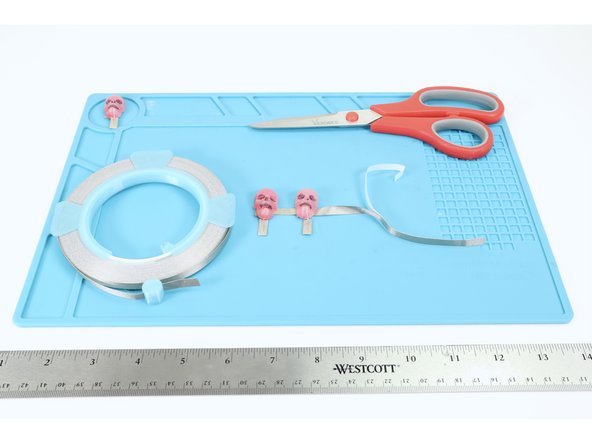
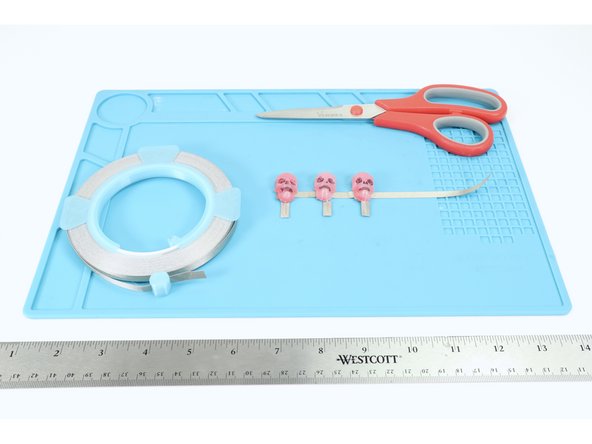
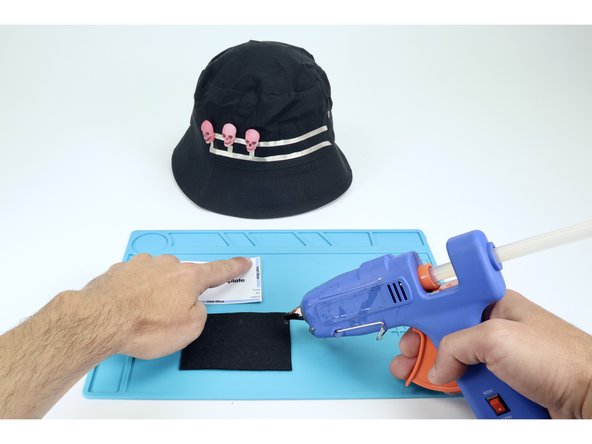
Gather the materials and tools listed as pictured here. Print the template/circuit diagram that can be found linked at the bottom of this guide.
-
Prepare an area that you will use when molding the LEDs with hot glue. It's fairly common for glue to drip onto surfaces from the glue gun when it's not in use; we recommend resting it atop something you don't care about (cardboard, scrap plywood etc).
-
-
-
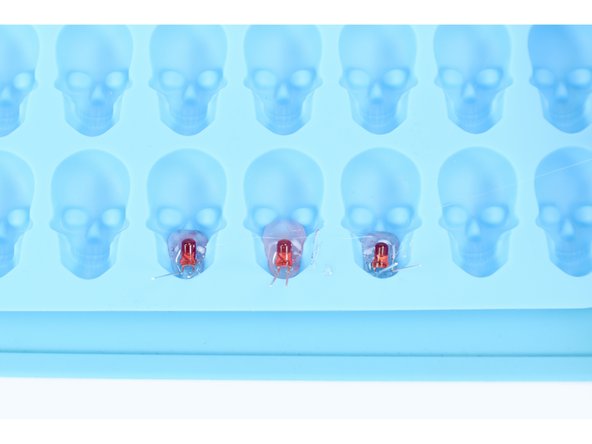
NOTE: LEDs, like any light source, project their light forward and outward through the material in front of it. The material we want the light to travel through but be trapped by is hardened hot glue of a certain thickness. We must consider this when preparing our LEDs for molding.
-
Because small candy molds aren't that DEEP, we don't want to the light to shine through from the back to the front of the mold because there will be so little hardened glue in front of the LED to trap and disperse the light. Instead we want the light to shine from the bottom of a finished object to the top as we see mocked up in photo 1
-
To accomplish photo 1, let's start by selecting 3-4 LEDs and arranging them in front of you with the short legs all on the right and the long legs all to the left as shown in Photo 2. Now, bend the two legs of each LED in the same direction at a 90 degree angle as shown in Photo 3.
-
-
-
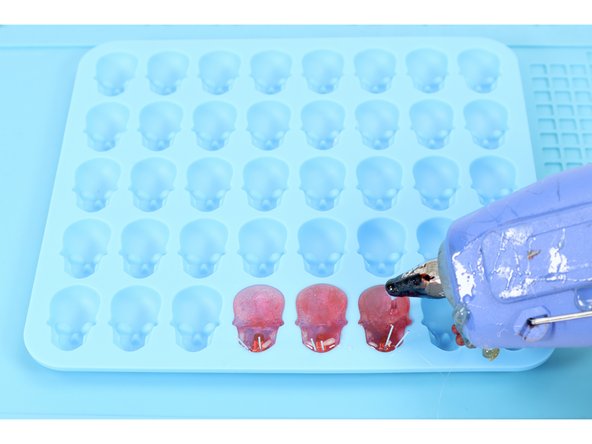
Plug your hot glue gun in and load a glue stick of choice. When the glue is hot enough to flow, squeeze a small amount into your mold cavity near what will be the bottom of the object when you pop it out of the mold as shown in photo 1.
-
Now take an LED with legs bent and place it atop that glue as shown, holding it in place for 30 seconds. This allows this small amount of glue to harden BELOW the bulb (actually the front of the FINISHED object) and holds the LED in place before final filling. Repeat this process one-by-one for each remaining LED in your project.
-
Now, with the lower portion of glue hardened, squeeze glue into the each of the mold cavities until they are filled to the top.
-
Set the mold tray aside and allow for the glue to harden. If you want to speed this part up, simply place the tray on a flat surface in your refrigerator.
-
-
-
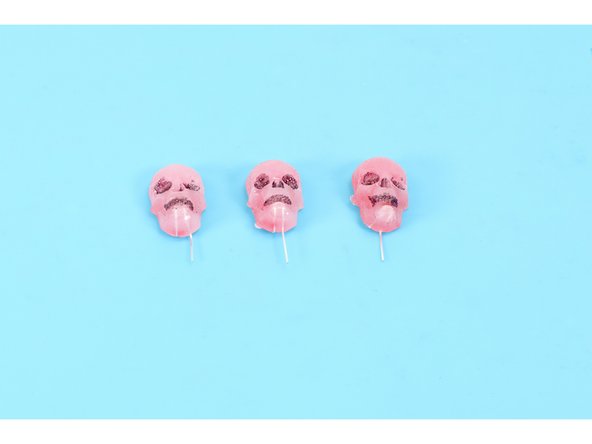
When the glue has hardened, pop those LED ghosts, skulls and/or pumpkins out of the mold.
-
Optional: Use a fine tipped black permanent marker to color in the recessed details!
-
The LED legs will be sticking straight out of the back of the newly molded object. Identify all the short legs and bend them upward toward the top of the molded object (this means that they should be laying flat against the back of the hardened hot glue). Now bend the longer legs in the opposite direction.
-
-
-
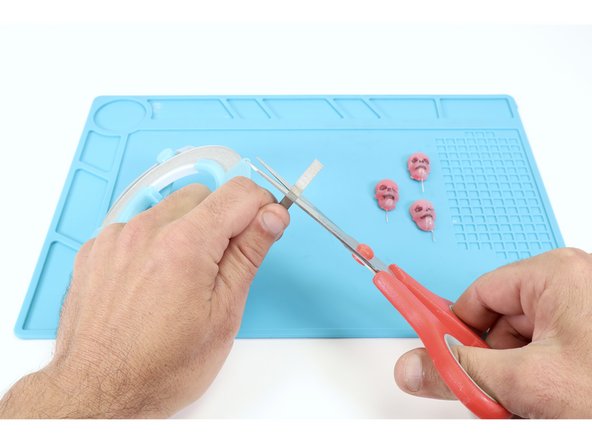
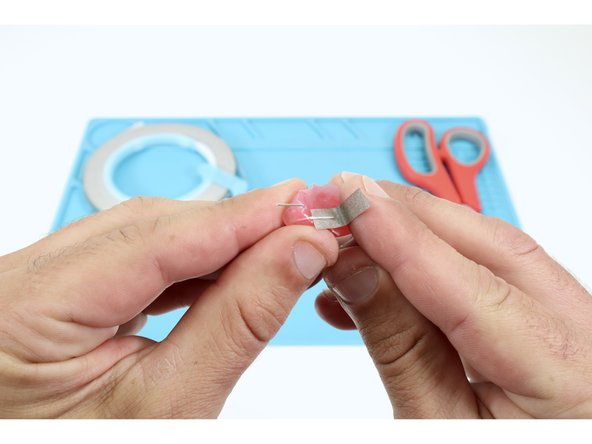
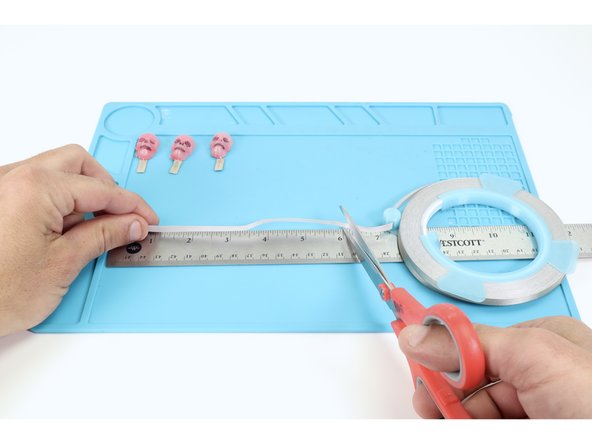
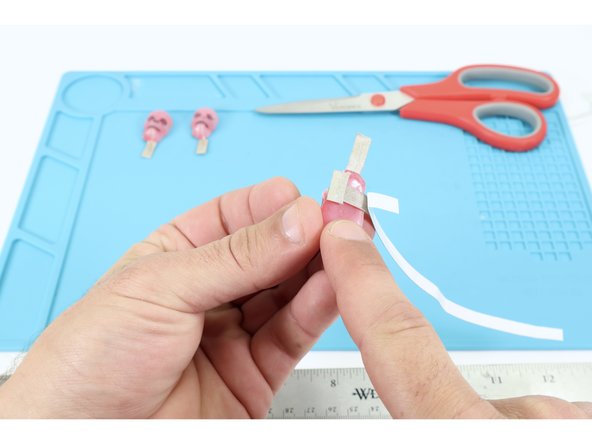
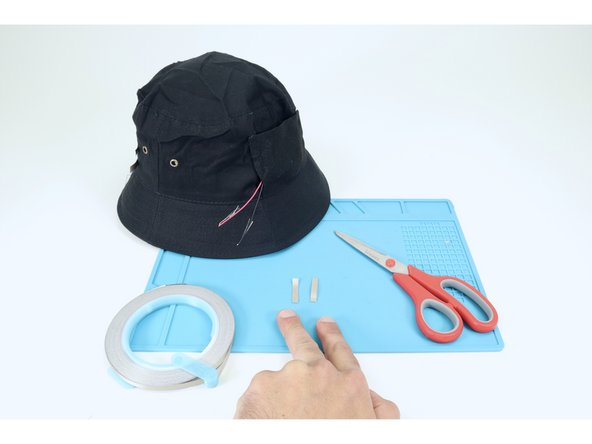
Cut a piece of Maker Tape that is approximately 2" long.
-
Use photo 2 as a reference and stick half of the length of the Maker Tape segment to the under side of one of the LED legs (this puts the sticky side up). Then fold the remaining half back over the top of the first half. The result should be that the LED leg is now sandwiched between Maker Tape.
-
Cut more pieces of Maker Tape of the same length and repeat this process for each of the remaining LED legs.
-
Note: The reason you are doing this is to create a better set of contact points for the remainder of the circuit.
-
-
-
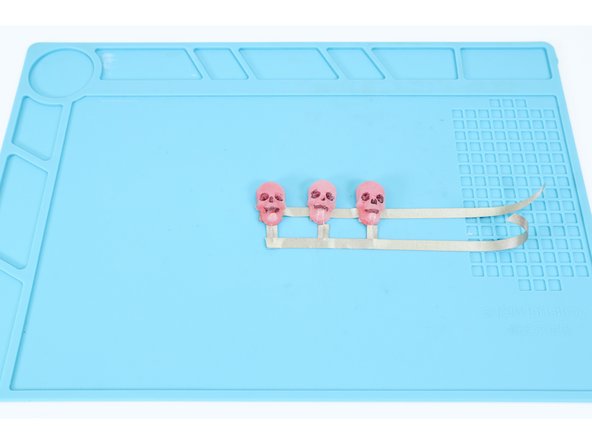
Next, we will need to arrange the molded LEDs in a row and connect them in a specific way. We found it easiest to prepare this arrangement off of the hat first, transferring it to the hat afterward.
-
First measure and cut a 6-7" long section of Maker Tape and peel one end of it back enough to stick it to the top part of the pad for the short, negative leg of one of your molded LEDs. The new path will be BETWEEN the surface of the glue on the back of the object and the LED leg, sticky side down if looking at the front of the molded object.
-
Lay this LED down on a table and peel enough of the Maker Tape back to stick a little bit of on the table to the right of the LED. Now, with the first LED held in place, slide the next molded LED into place just to the right of the first and connect the long Maker Tape path to ITS upper negative leg in the same way.
-
-
-
Repeat the previous step until all 3-4 of your molded LEDs have their short, negative legs connected by this horizontal piece and the whole arrangement is stuck to the table.
-
Now cut another 6"-7" section of Maker Tape and lay it over the top of the lower positive LED legs, connecting THEM in the same way you had connected the upper legs.
-
-
-
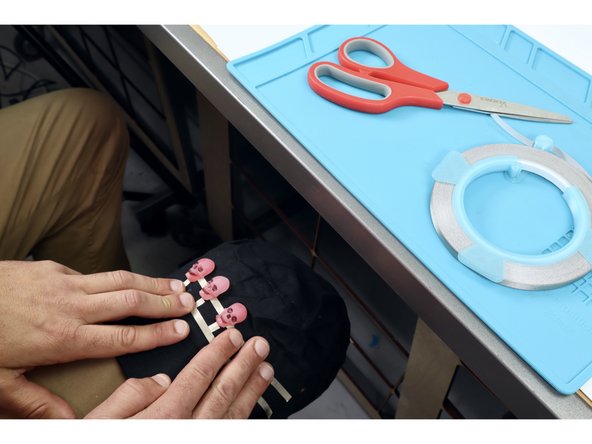
Arrange yourself so you can stretch the hat over your knee with the area you want to make the "front" of the hat facing up at you. You should be near the portion of the circuit you just stuck to the table.
-
Now, peel the connected LED array carefully off the table and transferring it to the front area of the hat. You can either a) simply press/stick it atop the hat OR, for a firmer mount on some fabrics b) flip the connected arrangement over, apply a layer of hot glue to the back of paths and LEDs/then stick.
-
-
-
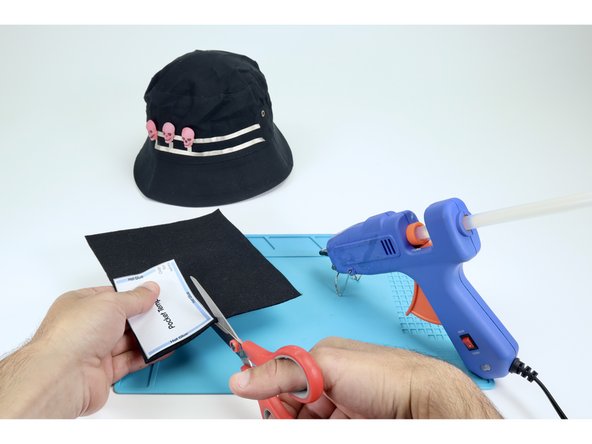
Now, with a scissors, cut out the simple pocket template included on the circuit diagram. Use it to cut a rectangle out of felt that is 3.5" wide and 2.5" tall. This will be fashioned into a simple pocket to hide the battery pack for this project.
-
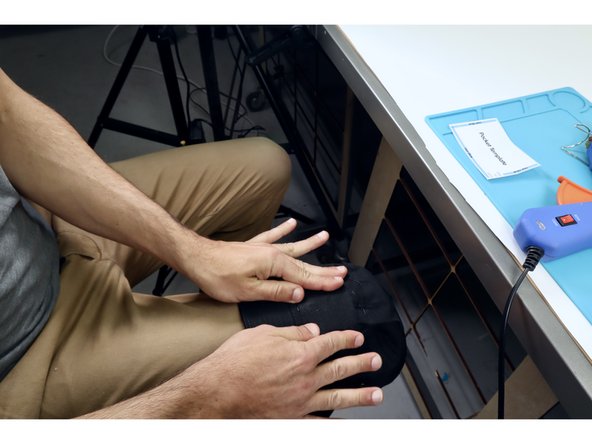
Arrange yourself so you can stretch the hat over your knee with the area you want to make the "back" of the hat facing up at you. You should also be near enough to the hot glue gun to operate it safely.
-
Use the template to see where to place hot glue and then flip over/press into place. Make sure that the only completely glueless side is facing UPWARD to ward the top of the hat and that there is a gap in the glue at the bottom left corner when pressed into place.
-
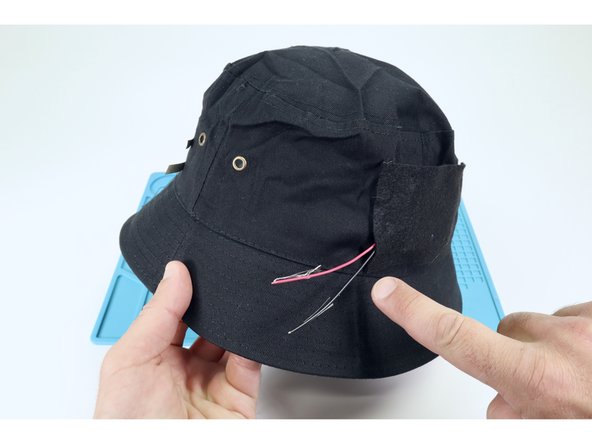
Now you have a pocket that you can slip the battery pack into.
-
-
-
Now that you have a pocket, slip the battery pack into it! Make sure you orient the battery pack so the two wires are facing the side of the pocket with the unglued gap near the bottom left corner. This will allow you to thread the wires through to the outside of the pocket.
-
We're using unmodified 3mm LEDs in this project that work well at 3.6V or below. When using rechargeable batteries you can use 3 to get 3.6V. If you're using standard alkaline batteries, AAA or AA, only use 2 of them to get 3V. Theres a minor voltage difference between rechargeable and regular batteries which adds up if you use multiple batteries.
-
-
-
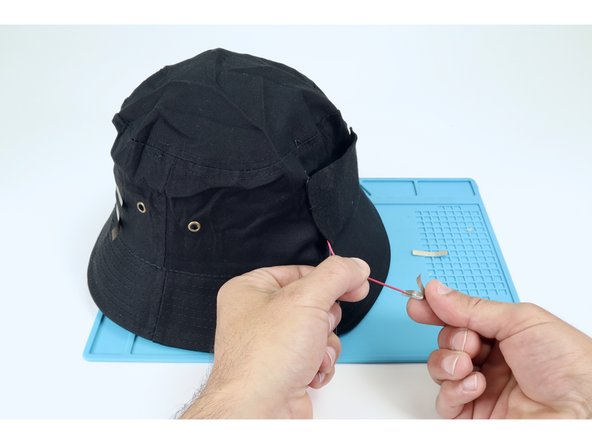
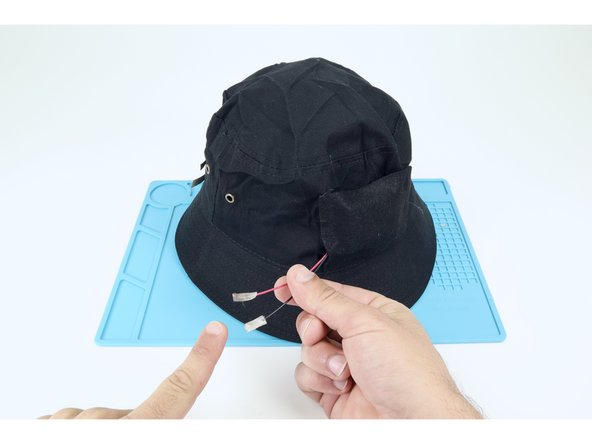
Cut two small pieces of Maker Tape and sandwich the metal ends of each of the two wires leading from the battery pack just as you had each of the individual LED legs earlier. The black wire is negative and the red wire is positive.
-
-
-
Recall that the Maker Tape path on TOP connects to a row of LED legs that are all short, negative legs while the BOTTOM tape path connects to a row of longer, positive LED legs.
-
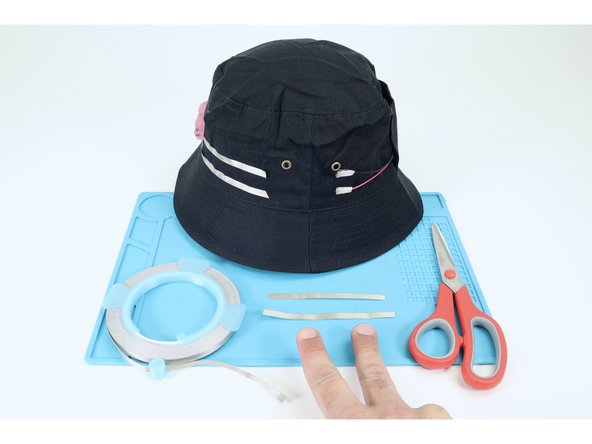
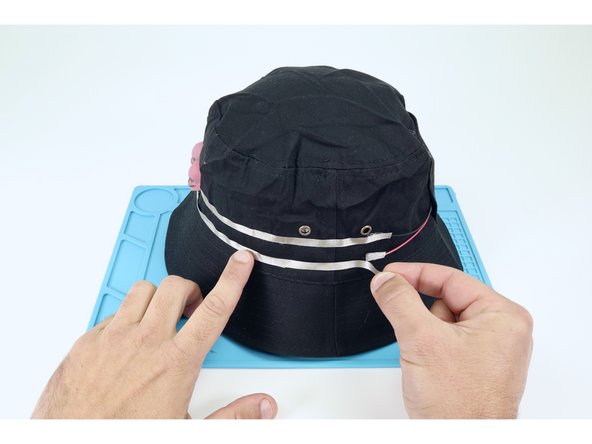
As shown in photos 2 and 3 measure/cut/ peel/stick a Maker Tape path that connects the upper negative path of the LED portion of your circuit to the black negative pad of the battery pack. Then connect the remaining lower path from the LEDs to the red positive pad of the battery pack.
-
-
-
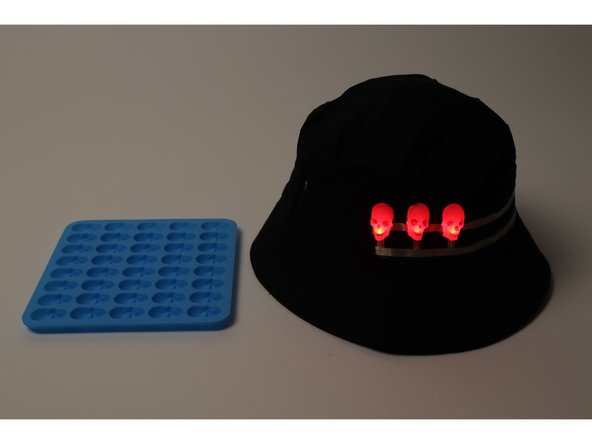
And, you're done you spooky hipster. Now you've got tricks AND treats!
-
-
-
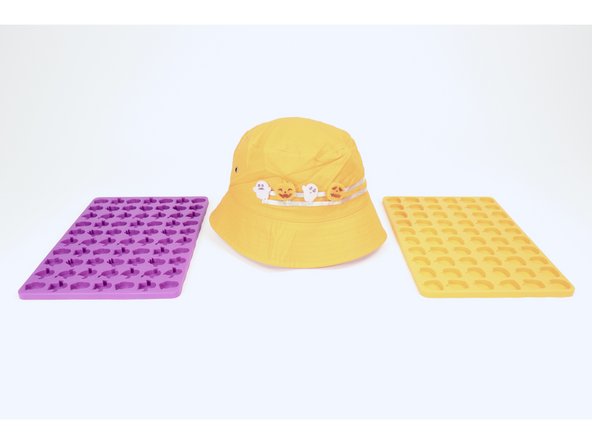
Pumpkin and ghost hat used molds A. and B.
-
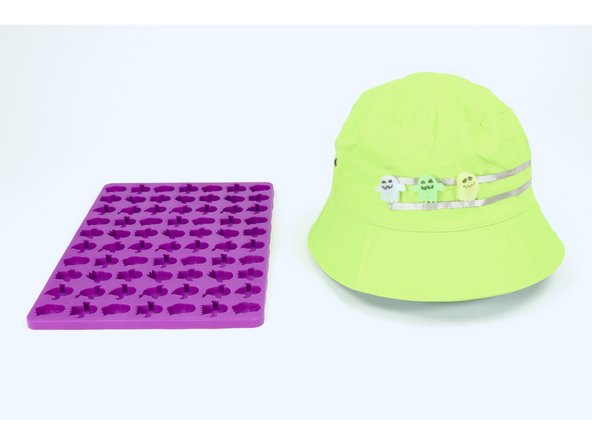
The ghost hat used mold A.
-
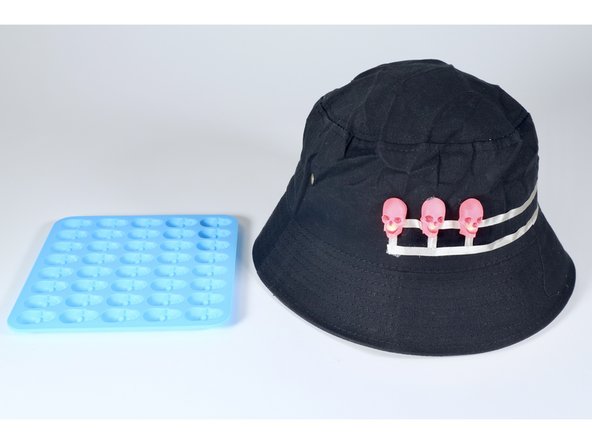
The skull hat used mold C.
-


Whether you rock it at a party, as part of a costume or while you trick or treat...you'll be sure to stand out at your next Halloween event with this cool hat!
Whether you rock it at a party, as part of a costume or while you trick or treat...you'll be sure to stand out at your next Halloween event with this cool hat!