Introduction
This project can be completed with a regular LED. However, as pictured, it uses a Molded LED. If you've never done it before, take a look at the Molded LEDs for small candy molds guide.
You can make this project (and many more) with our Wearables Circuits Kit.
Video Overview
Featured Document
-
-
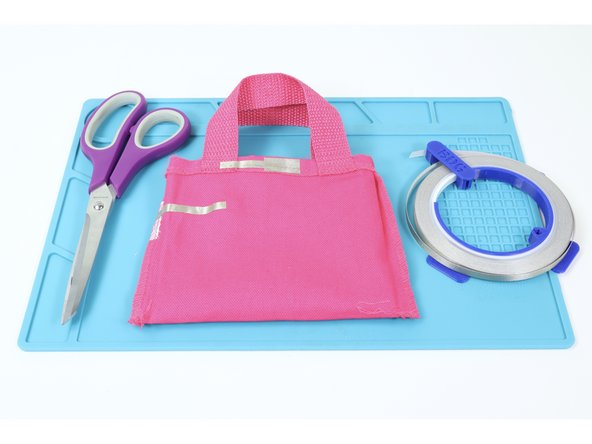
Gather the materials and tools listed in this guide.
-
Select an LED. Use hot glue and a heart-shaped candy mold to create a single molded LED. If you’ve never made a molded LED before, use the step-by-step guide linked to both the introduction of this guide and a QR code on the featured document.
-
NOTE: Ordinarily, when molding an LED, you don't need to worry about which way you orient the LED in the mold. For this one make sure the short leg is on the right when looking the two round humps of the heart shape. Doing so ensures the circuit diagram will match your own setup.
-
-
-
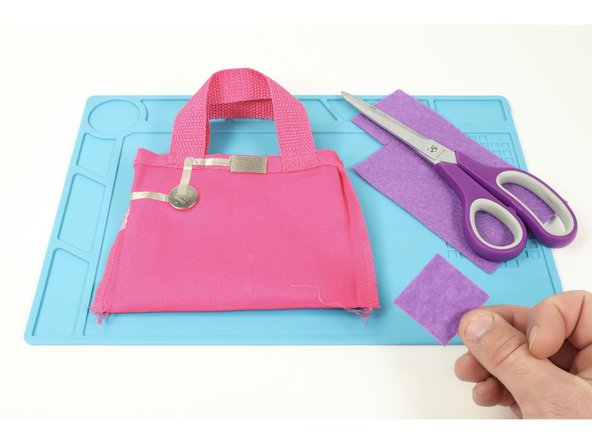
Cut a couple hearts out of felt and hot glue them into place atop the outside of your bag where shown.
-
Use a pushpin to make 2 holes all the way through to the inside of the bag.
-
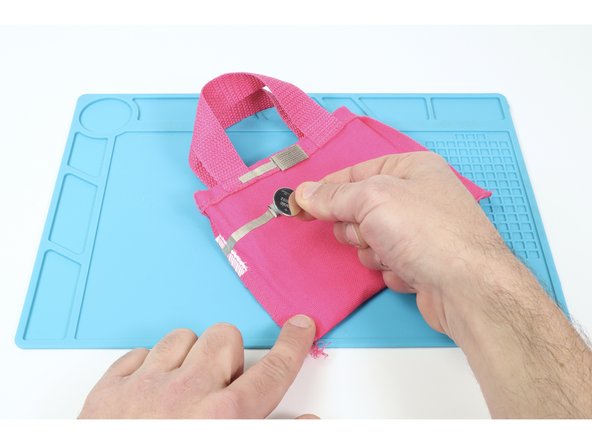
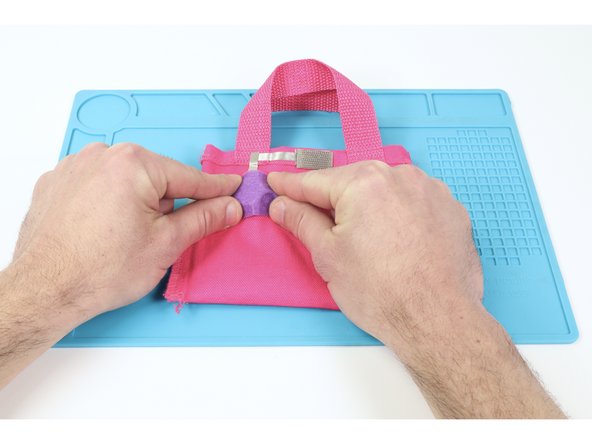
Thread your LED (we molded a heart shape around ours first) legs through the holes. Take care to orient the long and short legs as indicated on the featured document.
-
-
-
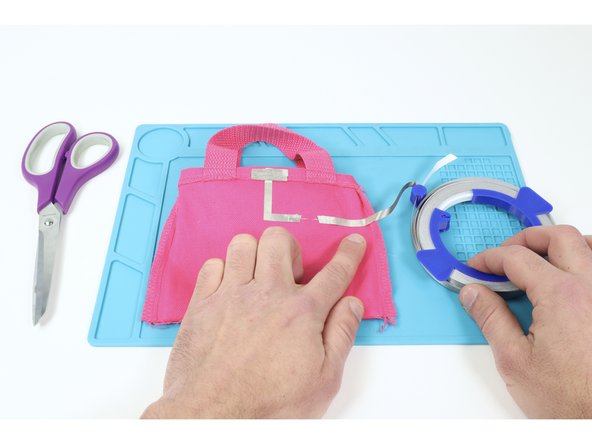
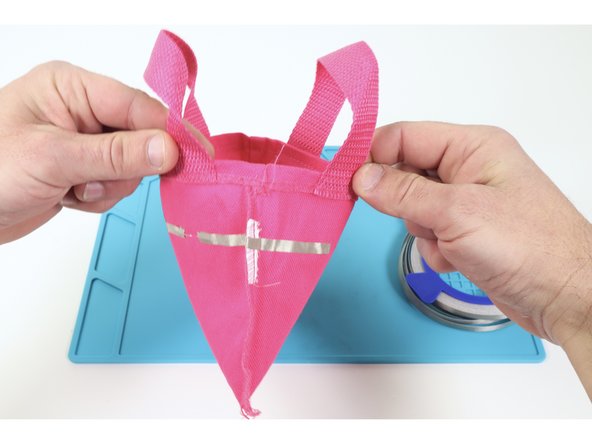
Turn your bag inside out.
-
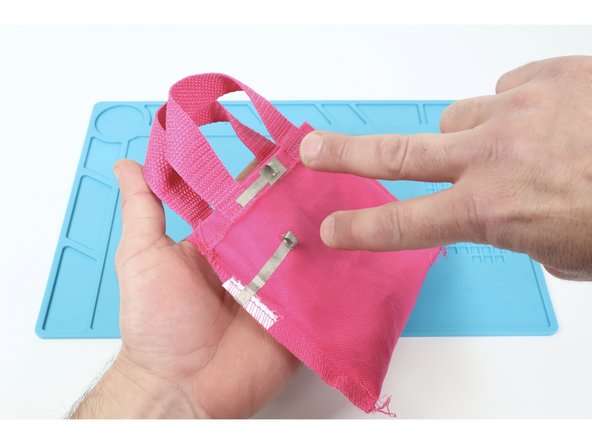
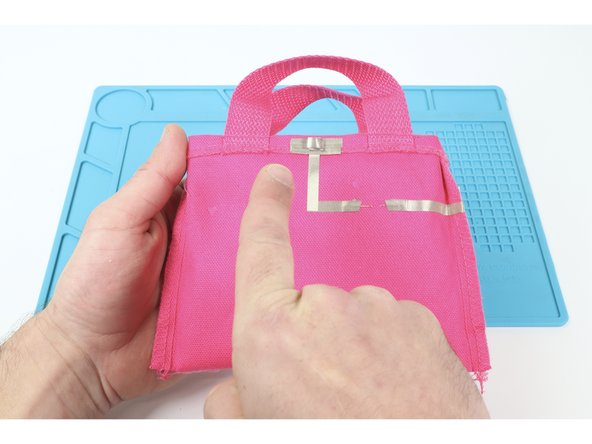
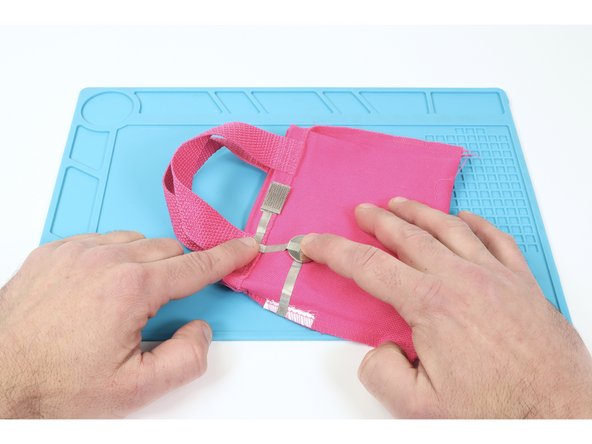
Follow the diagrams on the featured document or the photos at left to create Maker Tape paths where shown. Take note that there is an LED Side and a Battery Side of the bag.
-
-
-
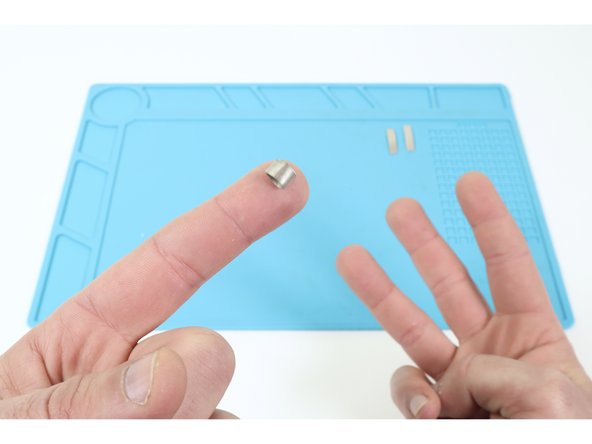
Cut three small pieces of Maker Tape and turn them into three tape loops, placing them afterward atop your existing Maker Tape paths where shown at left and in step 6 of the featured document.
-
-
-
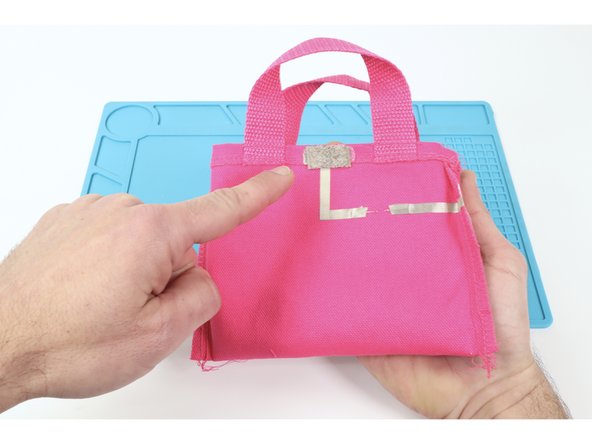
Using one of the three methods described in our Conductive Hook & Loop guide (included at the end of the featured document), attach Conductive Hook on one side atop one of the upper Tape Loops and the Conductive Loop atop the remaining upper tape loop.
-
-
-
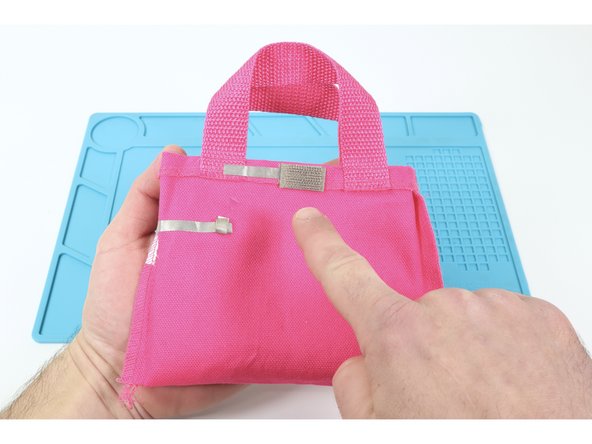
Stick a CR2032 battery positive (+) side UP atop the remaining lower tape loop. Then measure, cut, peel and stick a final Maker Tape path connecting the top of the battery to the Maker Tape path above the battery as shown.
-
-
-
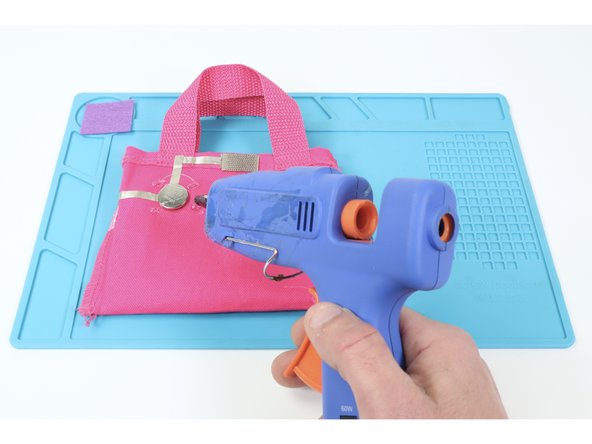
So that your battery doesn’t get knocked loose when putting things in your bag, cut and hot glue a small square of felt just a little bit bigger than your battery where shown.
-
-
-
Oooh La La! Your Valentine Bag is now complete. When the Hook and Loop is connected, the circuit is complete and the LED will turn on. When the bag is open, the circuit is also open/incomplete and the LED will turn off!
-