
Introduction
Make a NeoPixel Star Tree Topper that syncs to music with this tutorial.
Video Overview
Featured Document
-
-
Print the template and get out some tape, sculpture wire, and pliers.
-
-
-
Tape the template to the table.
-
Lay the sculpture wire so that a piece starts below the star and meets it at the bottom. Tape it in place.
-
For every bend, hold the wire on the corner with the pliers, and redirect the wire to follow the line on the paper. Put a piece of tape on the wire after each turn to hold it in place.
-
-
-
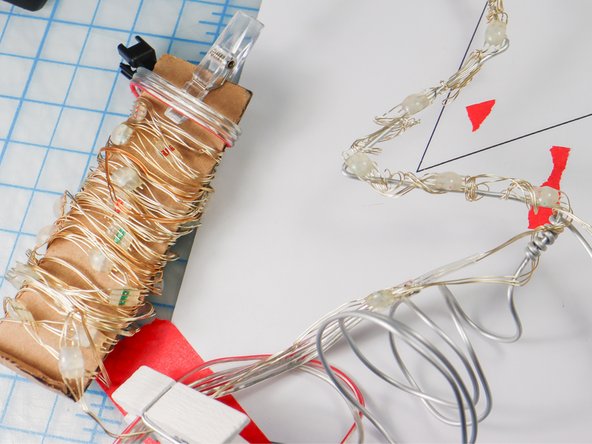
Remove the tape and leave a tail of about 12 inches.
-
Wrap the extra wire from the start around the long tail to finish it. Cut off any excess wire.
-
-
-
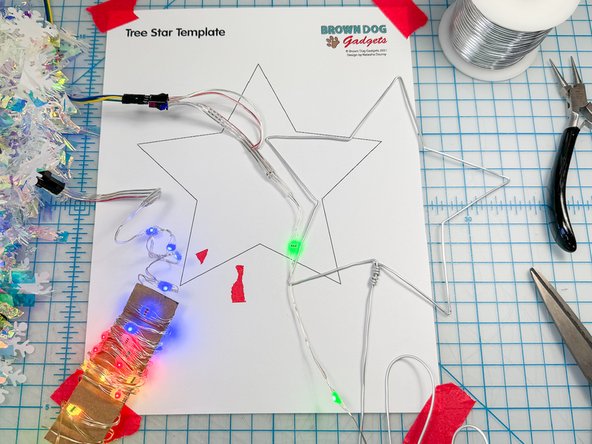
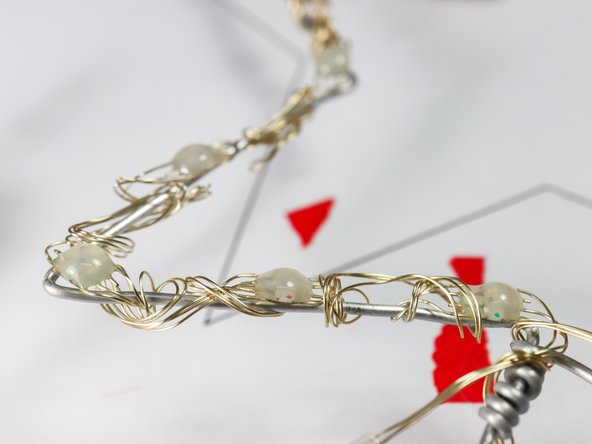
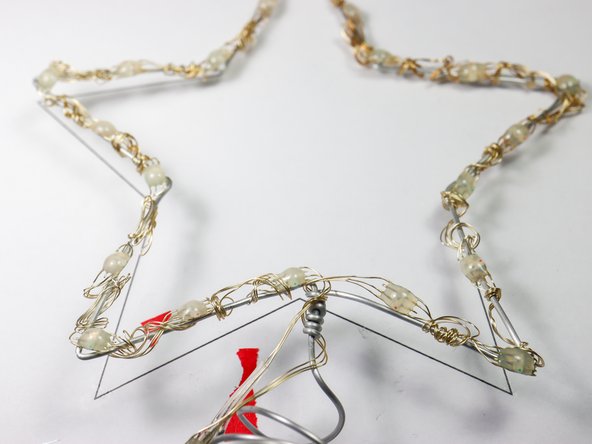
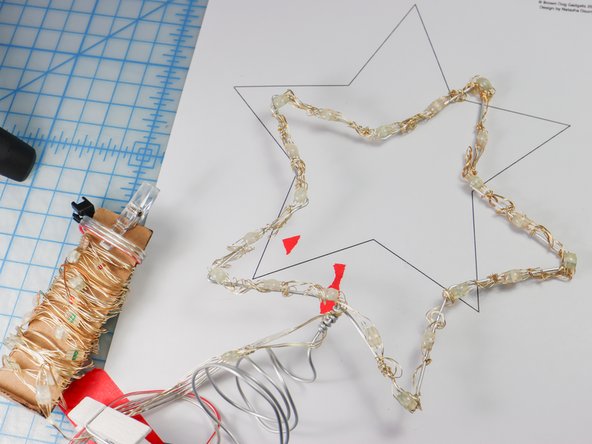
Carefully place each NeoPixel pixel around the star on every point, inner bend, and one in between on each starburst as shown. Wrap the excess wire around the sculpture wire to secure it.
-
Tip: Wrap the NeoPixel strip onto a piece of cardboard before starting so they don't get tangled.
-
WARNING: These types of pixels are very fragile. Don't pull them to reposition the pixels or you may pull the wires apart from the pixel, ruining the strip. Carefully push the wires into place, only bending them gently.
-
-
-
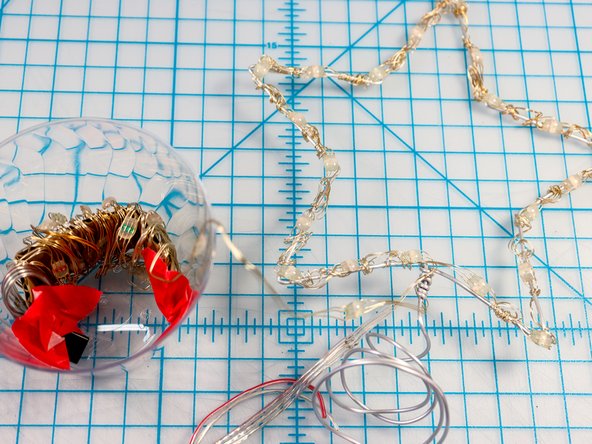
Wrap the tail around in a circle to make a cone-like spiral. If you are placing this project on a live tree, you can slip this cone over the topmost branch to attach it to the tree.
-
To continue with the NeoPixel Tree tutorial, tape the spiral cone to the top of a plastic cup. This will cover the micro:bit at the top of the tree!
-
-
-
You could trim the NeoPixel strip and remove the unused pixels. However, since they could be unwrapped and reused, hiding the extra pixels inside the cup or in the tree gives you options for later!
-
-
-
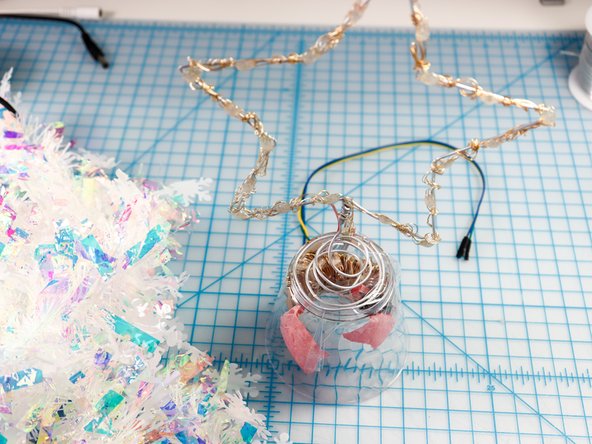
Wrap the garland around the cup and tape it in place.
-
-
-
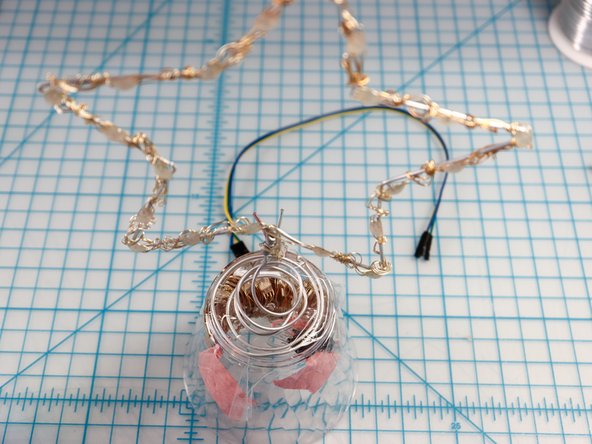
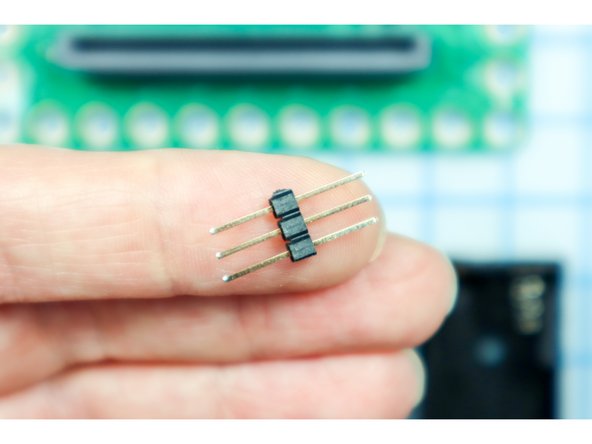
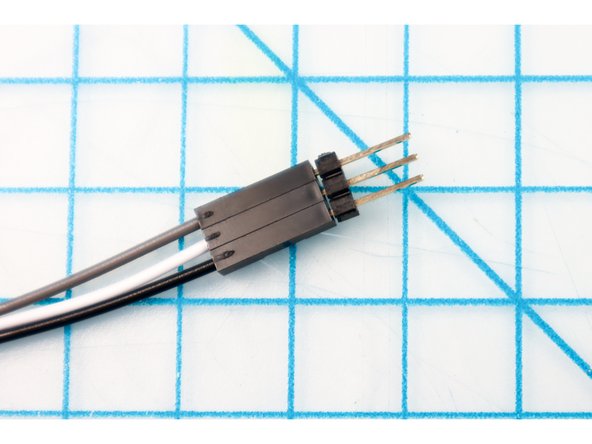
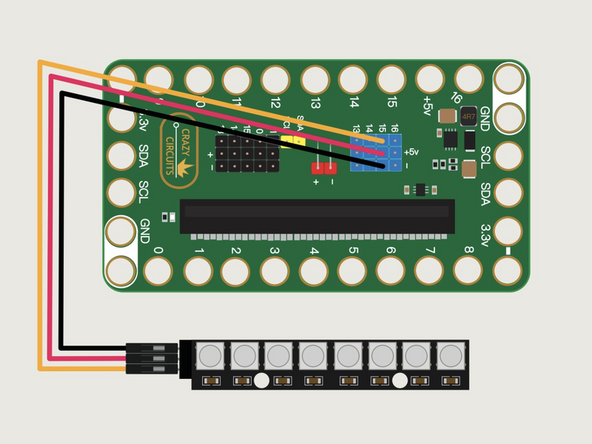
Plug the jumper wires into the NeoPixel string using three long headers as shown.
-
-
-
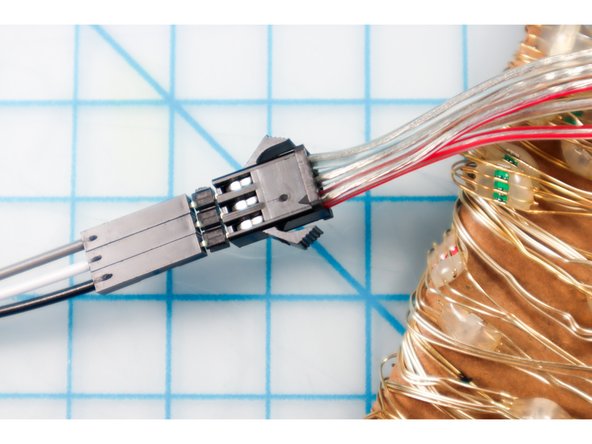
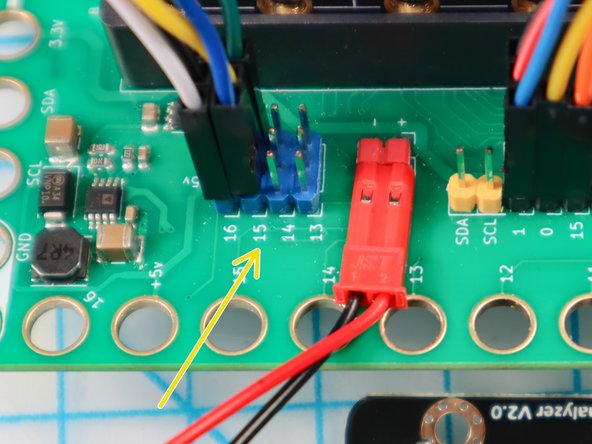
Plug the other end of the jumper wires into the Bit Board at Pin 15 as shown, matching the power, ground, and signal pins.
-
Note: On the NeoPixel string, one wire typically has a red line on it to indicate power, and the signal wire is typically in the center. However, that may be different depending on the brand, so experimentation may be necessary.
-
-
-
Download this simple code to turn the NeoPixels white.
-
You can create your own code for the star, or download the code from the Animated LED Christmas Tree - Syncs to Music! tutorial to make it glow!
-
-
-
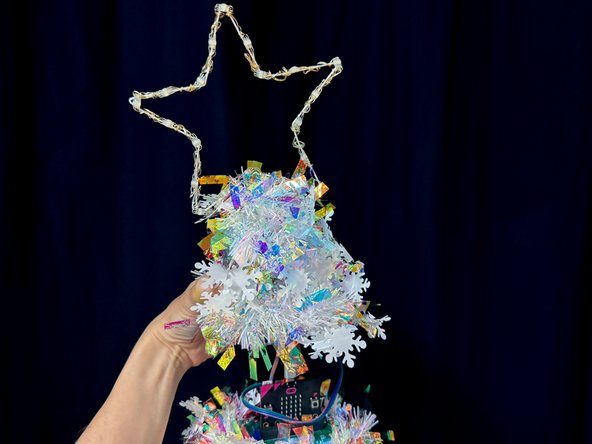
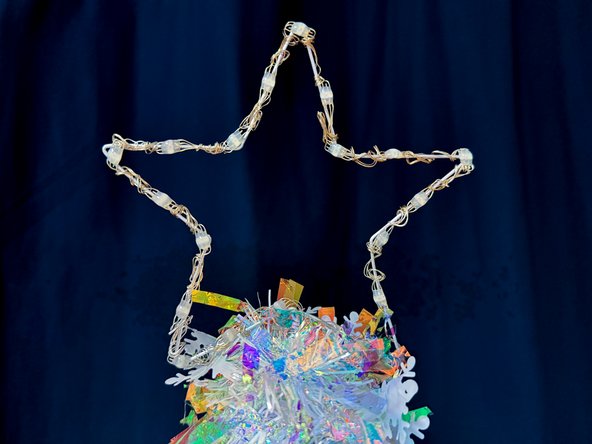
Place the star on top of your tree and watch it shine! (If you're placing the star on a real tree, hide the Bit Board in the branches of the tree. )
-
Have a very Merry Holiday!
-


Attached Documents
