
Introduction
Use this guide to help you make a sweet jewel-encrusted, no-sew LED bracelet.
We made ours using stiff felt, but you can also make a paper version using construction paper or regular paper that you color yourself!
You can make this project (and many more) with our Wearable Circuits Kit or our Paper Circuits Kit.
Video Overview
Featured Document
-
-
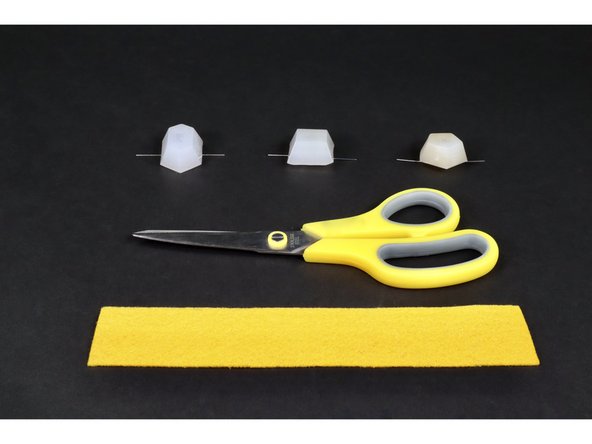
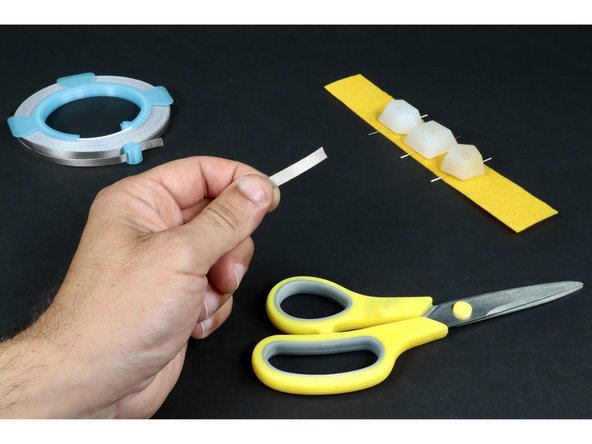
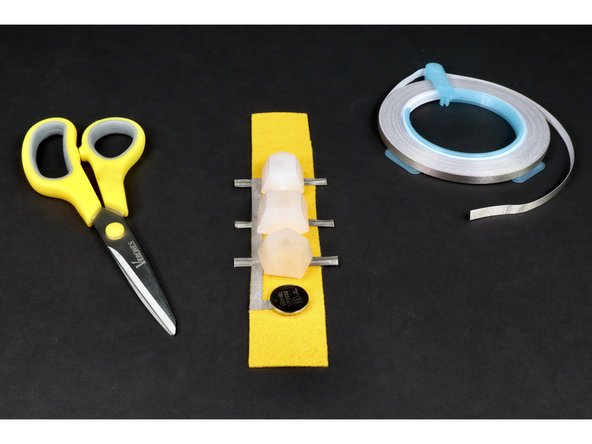
Gather the materials and tools shown.
-
Print the template and circuit diagram file found at the bottom of this guide if you think you need templates for the felt and cardboard rectangles pictured.
-
-
-
Cut a small rectangular piece of cardboard as pictured (about 1"x4") and stick a piece of double sided foam tape to the middle of it. If you don't have foam tape, a masking tape loop should work but may need to be refreshed as you create all three jewels.
-
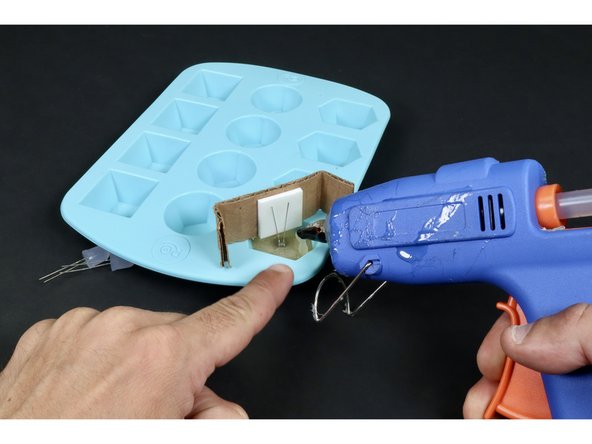
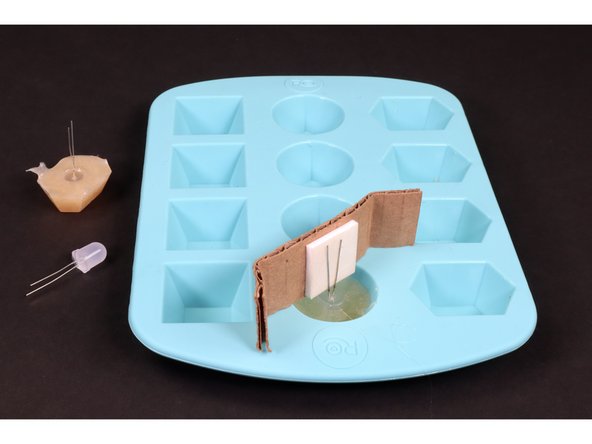
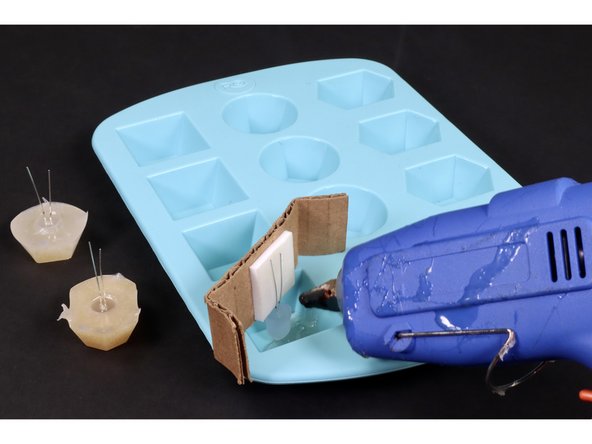
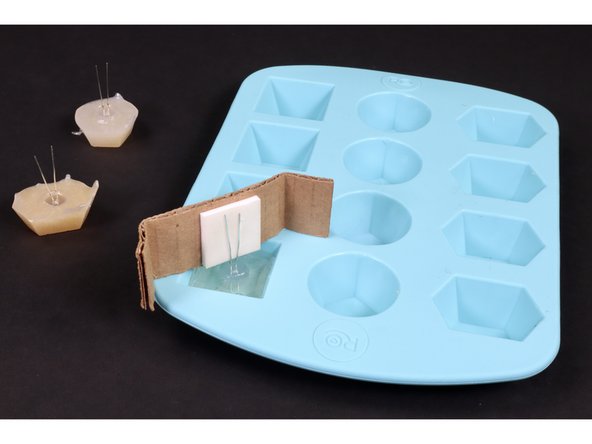
Stick a single led to the foam tape by the legs (about 1/8") from the bottom of the LED bulb. Bend/fold both of the edges of the cardboard as shown in photo 2. You will use this setup to hold each LED upside down within a mold during the hot glue application and hardening.
-
These jewel LEDs work best when the LED bulb is COMPLETELY encased in hot glue. The most likely spot this may NOT occur is at the tip. To avoid this, make sure that when you position the cardboard/foam tape/LED combo in the mold, that the tip of the LED bulb does NOT touch the bottom. If it does, pull the LED off of the tape and reposition.
-
-
-
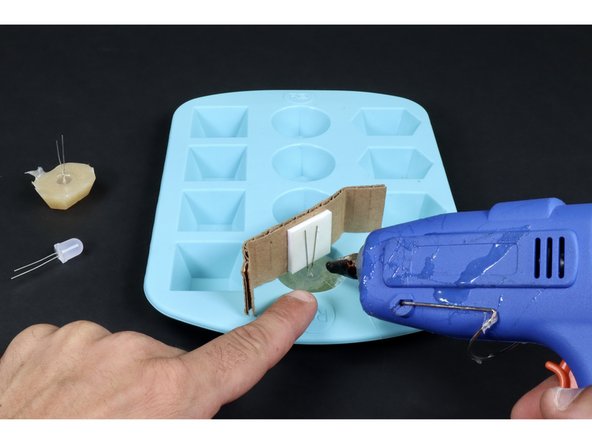
Using clear hot glue and a hot glue gun, squirt liquified hot glue into the mold until the glue covers the entire bulb.
-
If your LED positioning got jostled around during the mold-filling, now's the time to adjust while the glue is still liquified.
-
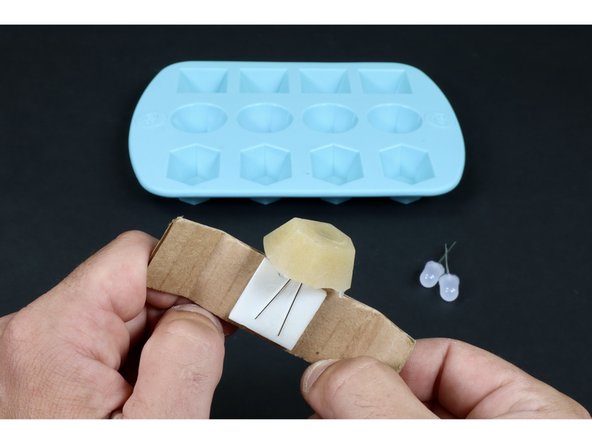
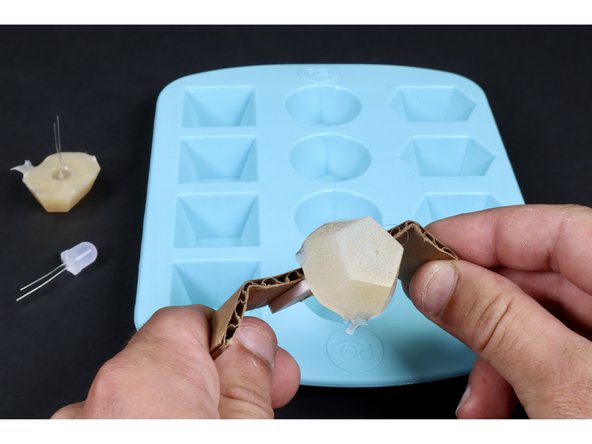
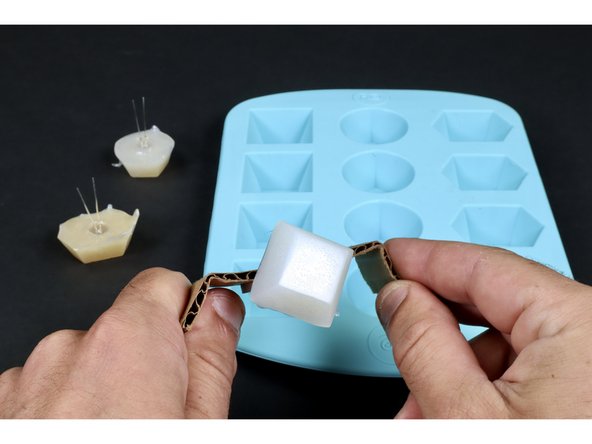
Allow the glue to cool and harden before removing from the mold. If you wish to accelerate this process, simply put the mold tray in the refrigerator. When you no longer feel any heat conducting through the mold tray from below, remove your uncut gem by pushing up on the underside of the mold.
-
NOTE: Trying to pull the LED out of the mold by the legs may break or damage the LED. This is not the preferred way of removing it from the mold. Push UP from the underside of the mold until you feel the shape release. THEN pull it out.
-
-
-
Attach a new LED to the cardboard/tape and make/remove a second jewel using the same process that you did for the first one.
-
-
-
Attach the last LED to the cardboard/tape and make/remove a third & final jewel using the same process that you did for the first two.
-
-
-
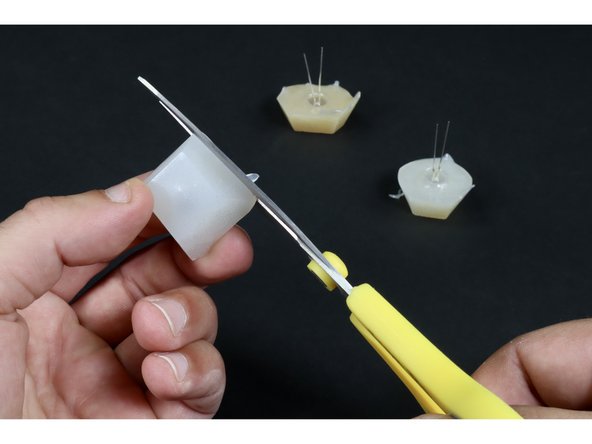
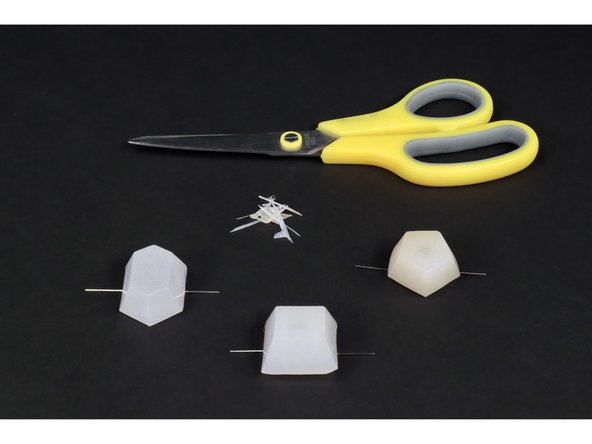
Use a scissors to remove any weird excess making the jewel edges nice straight and enabling the jewels to lay flat!
-
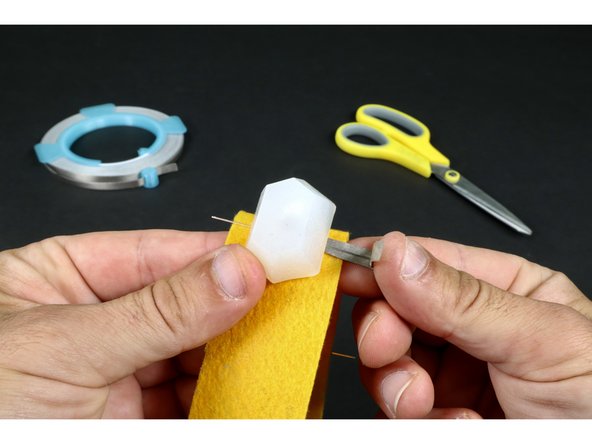
Notice that, for each LED, there is a short leg and a longer leg. Bend the legs of each outward in opposite directions and note which are the short and which are the long. You will need to orient the LED jewels on the felt with all short legs on one side and all long legs on the opposite side.
-
-
-
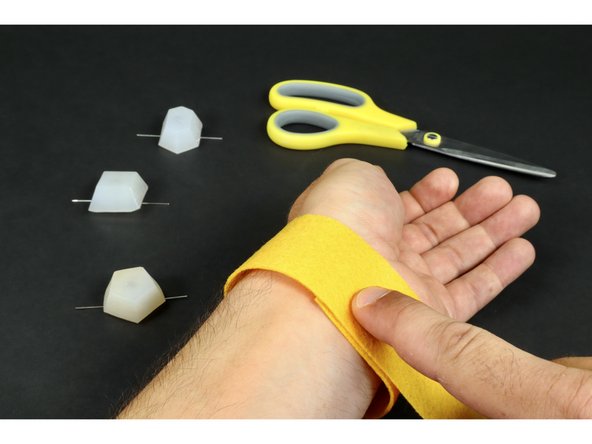
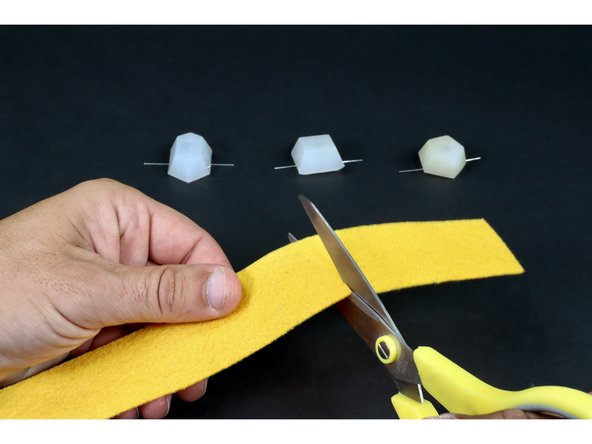
Measure and trim your 1.5" wide bracelet felt to fit your wrist or ankle.
-
-
-
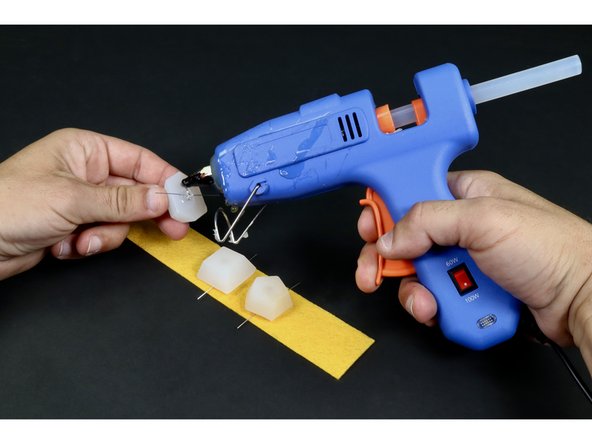
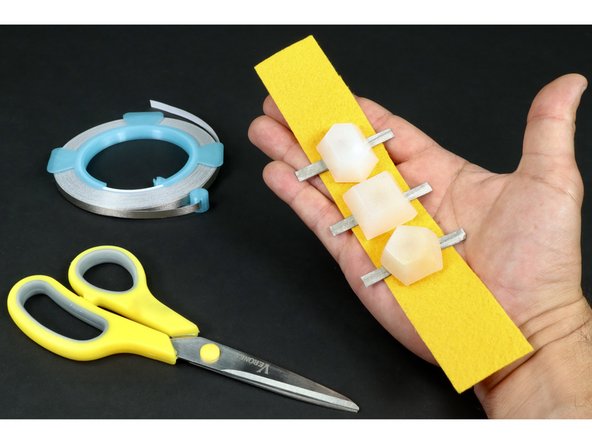
Put a dab of hot glue on the round bottom of the first LED and stick it in place to the felt. Note the position of the short LED leg and the long leg.
-
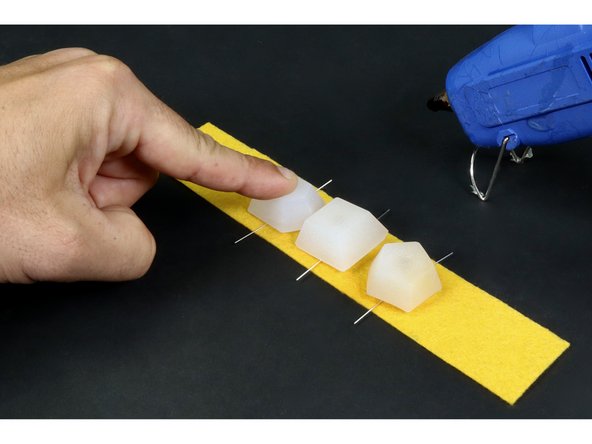
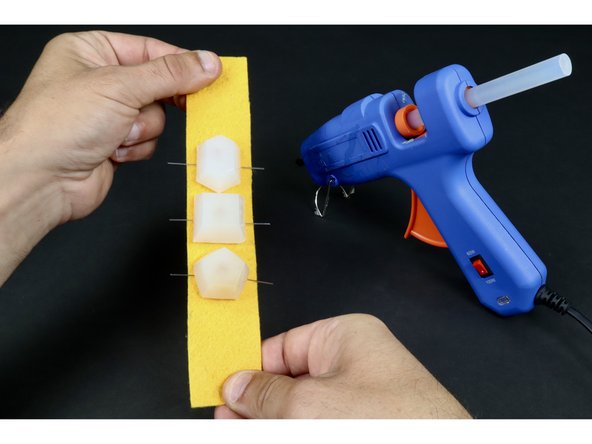
Repeat this process for the remaining two LED jewels taking care to keep all short LED legs on one side of the felt and all the long legs on the opposite side.
-
-
-
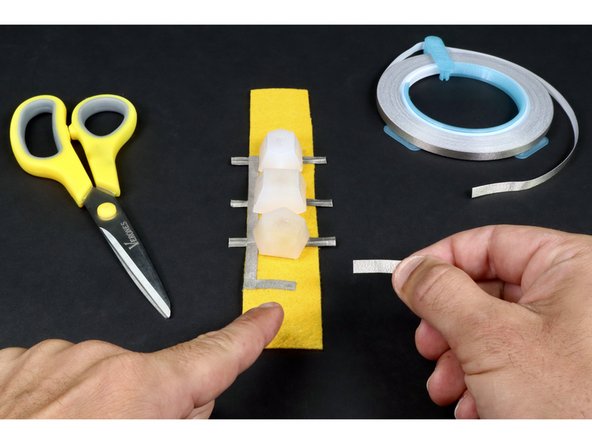
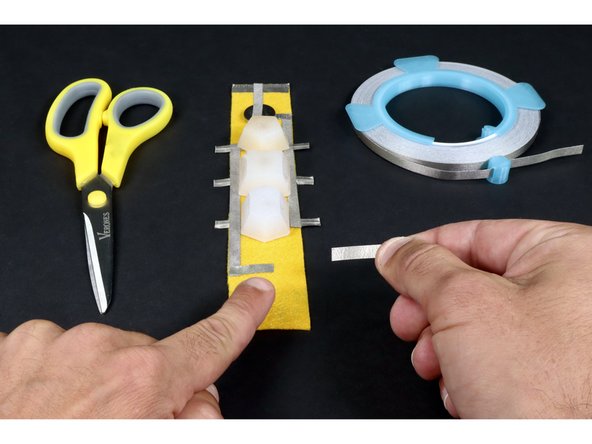
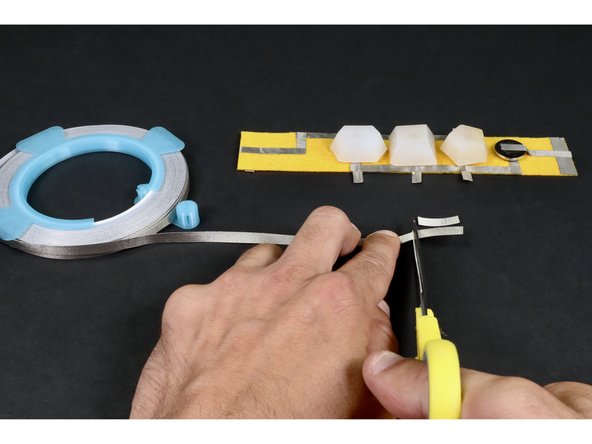
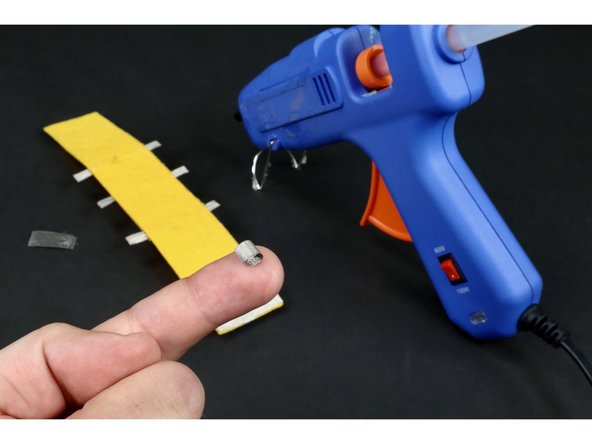
Cut a piece of Maker Tape that it approximately 2" long.
-
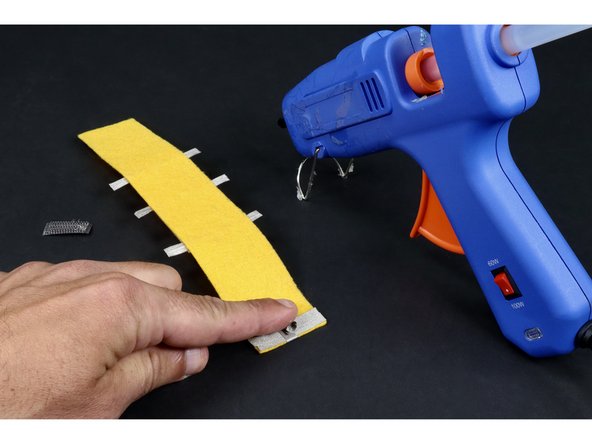
Use photo 2 as a reference and stick half of the length of the Maker Tape segment to the under side of one of the LED legs (this puts the sticky side up). Then fold the remaining half back over the top of the first half. The result should be that the LED leg is now sandwiched between Maker Tape.
-
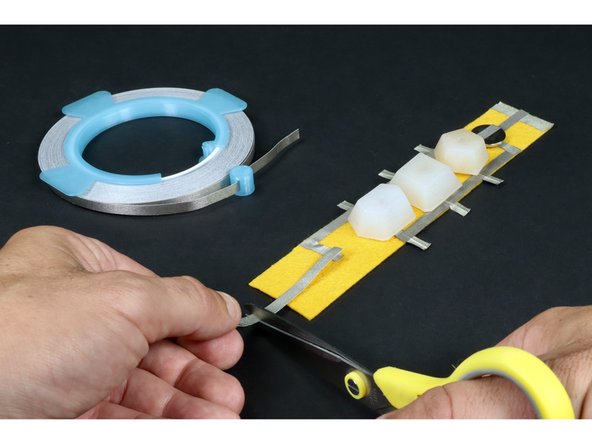
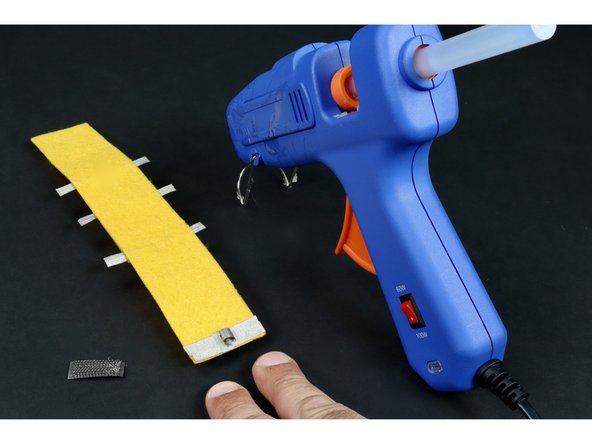
Cut 5 more pieces of Maker Tape of the same length and repeat this process for each on the remaining 5 LED legs.
-
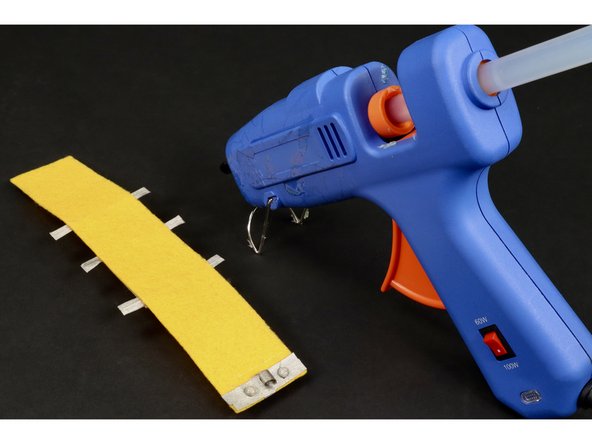
Note: The reason you are doing this is to create a better set of contact points for the remainder of the circuit. If done correctly, your project should look like photo 3.
-
-
-
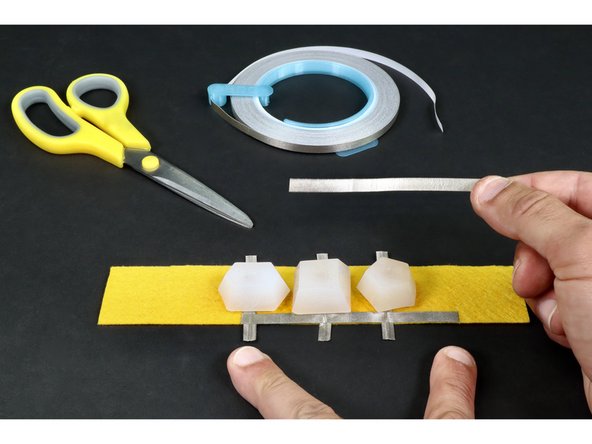
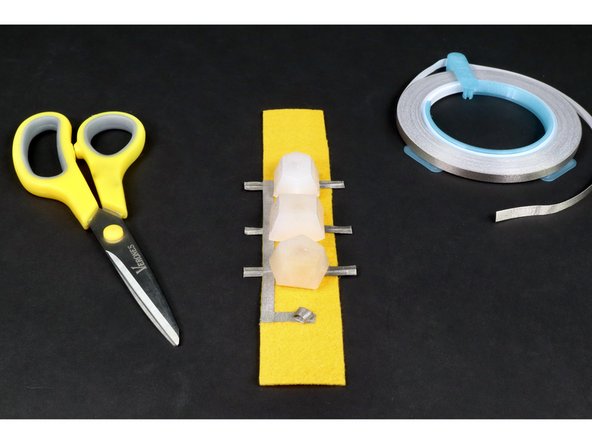
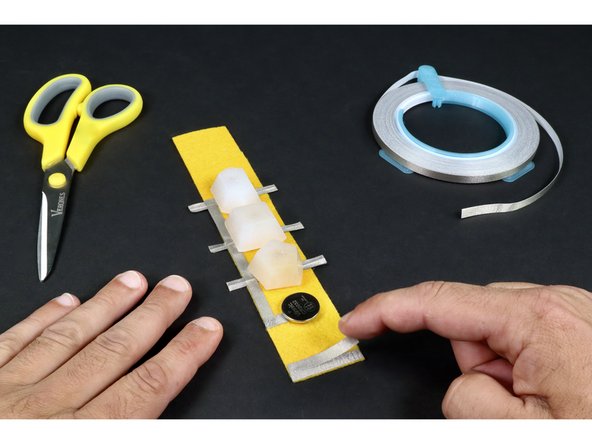
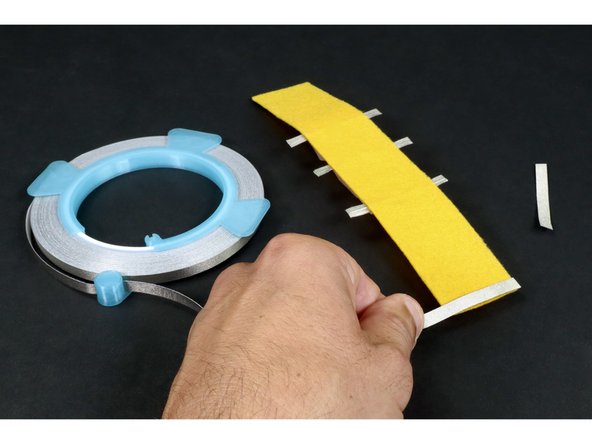
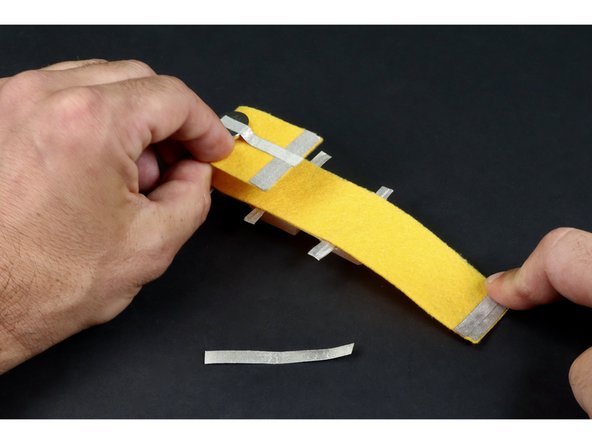
Now, cut a piece of Maker Tape that can reach across/atop all three LED legs on a single side plus about 1/2" beyond . Peel and stick it atop/across the shorter negative legs as pictured in photo 1.
-
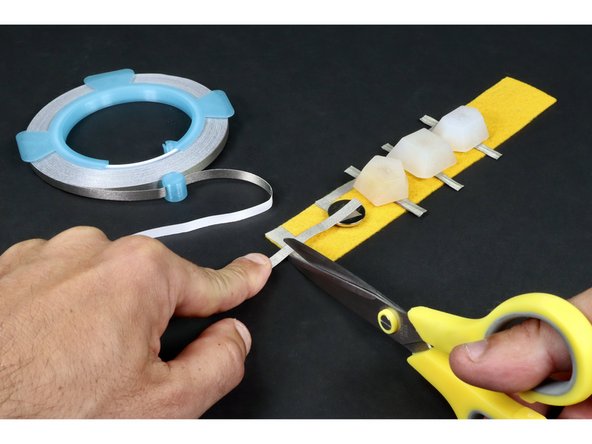
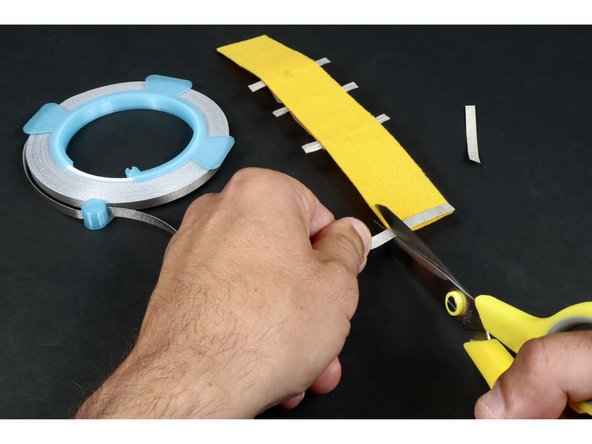
Cut another small piece of Maker Tape that is about half the width of the felt and stick it where shown in photo 2. If done correctly, it should contact the longer path you just laid down and stop where shown.
-
-
-
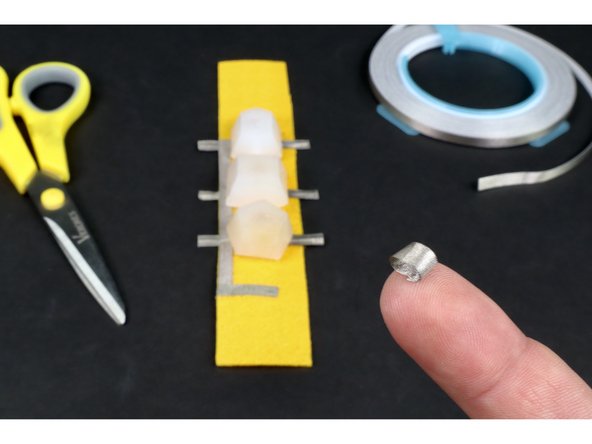
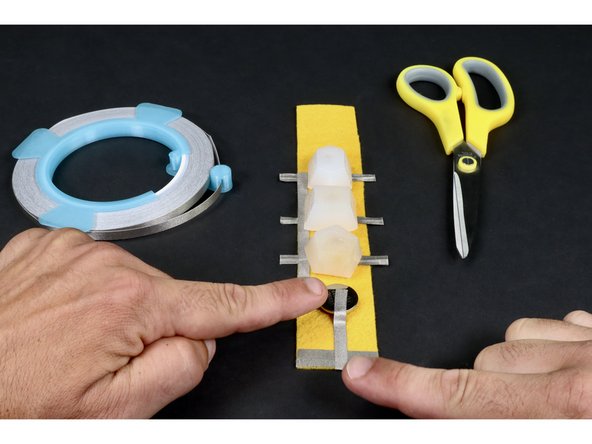
Snip another small piece of Maker Tape and roll it into a tape loop as shown in photo 1.
-
Stick the tape loop to the end of the small tape segment. If done correctly, your project should look like photo 3.
-
-
-
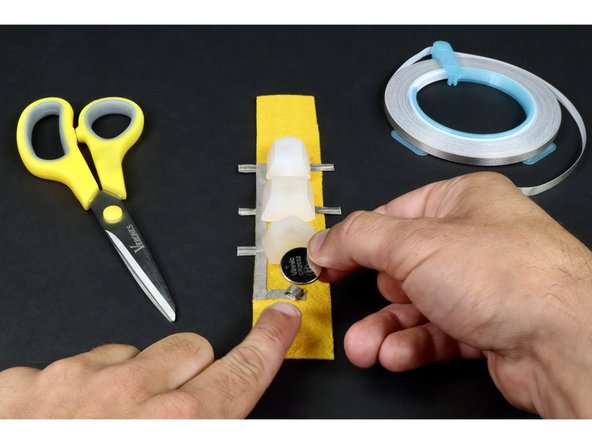
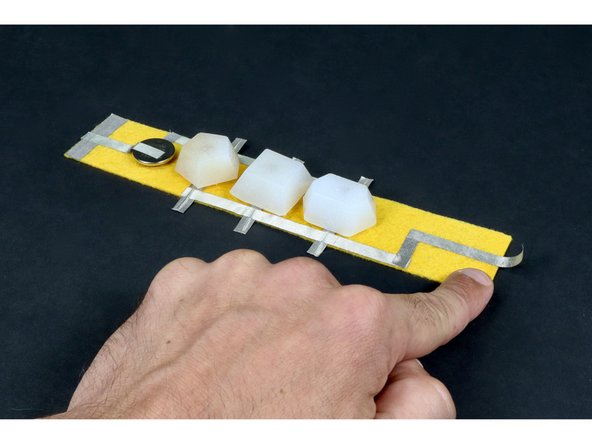
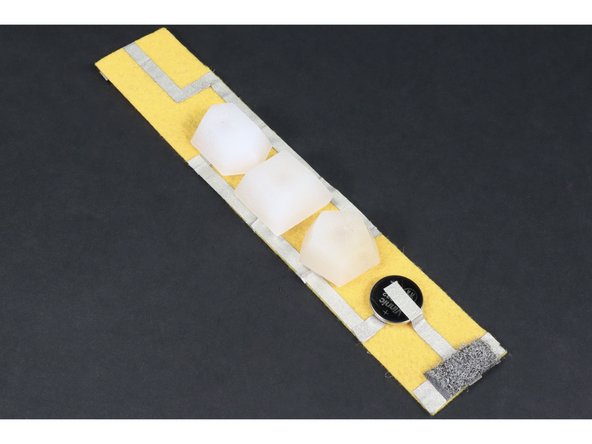
Stick your CR2032 battery to the tape loop with the positive side of the battery faced UP.
-
Now the negative LED legs are electrically connected to the negative (bottom) side of the battery by the tape loop.
-
-
-
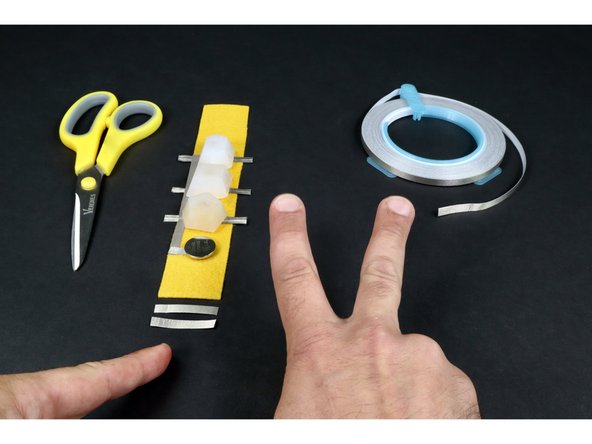
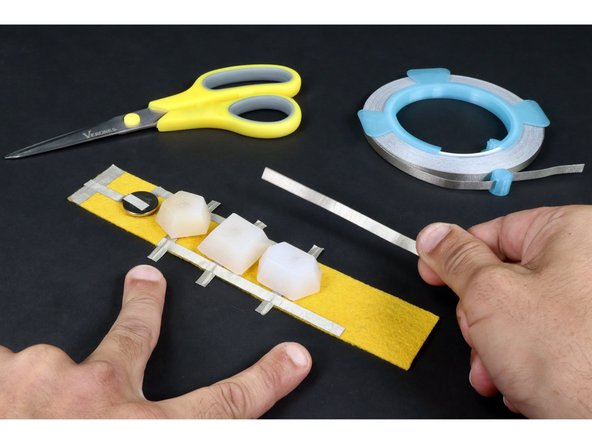
Measure and cut two Maker Tape paths that are the width of the felt.
-
Peel and stick these two pieces where shown so that they overlap a little bit.
-
-
-
Measure, cut, peel and stick another Maker Tape segment that reaches from the top of the battery all the way to the two overlapping pieces from the previous step.
-
-
-
Turn your project around and focus on the three LONG LED legs that have not been connected to anything yet.
-
Measure cut peel and stick another longer piece of Maker Tap that reaches across/atop all three long LED legs and about 1/2" beyond in the direction of the bracelet end without the battery.
-
Measure, cut, peel and stick another small piece of Maker Tape that connects to the end of the path that connects all of the long LED legs and reaches to the middle of the felt. When done correctly, it should look like photo 2.
-
Measure and cut a piece of Maker Tape that reaches from the end of the previous piece to a point just beyond the end of the felt (between 1/4" and 1/2"). Set this aside for future use.
-
-
-
Flip your project over. Measure and cut two more pieces of Maker Tape that are the width of the felt.
-
Now you should have three pieces of Maker Tape ready to stick into place: 2 matching small ones and 1 longer.
-
-
-
Peel and stick the two smaller pieces so that they overlap and are located on the UNDERSIDE of the end opposite the battery.
-
Flip your project back to the jewel side.
-
Peel and stick the remaining long Maker Tape path so it connects to the end of the last piece placed on this side and goes toward the edge opposite the battery.
-
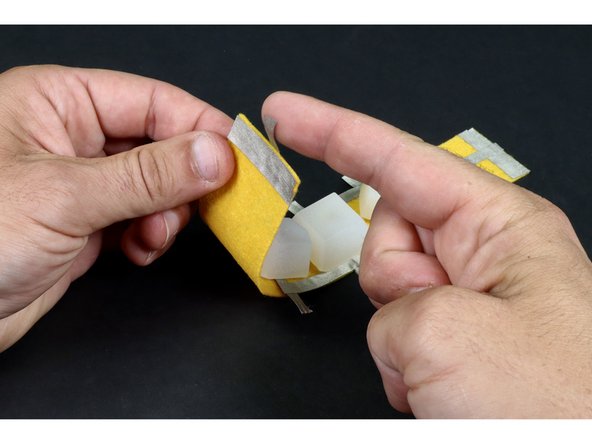
If done correctly, this should leave a little bit hanging off the edge. Wrap this tag end around the edge to the back so that it contacts the 2 strip "pad" on the underside.
-
-
-
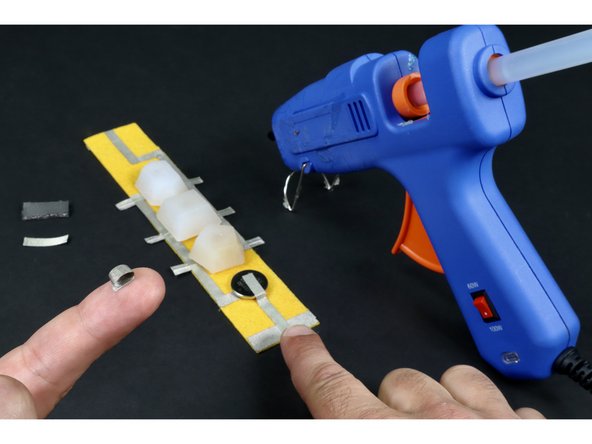
Cut two (final) small pieces of Maker Tape. and prepare a 1/2"x 1/4" piece of conductive hook and loop.
-
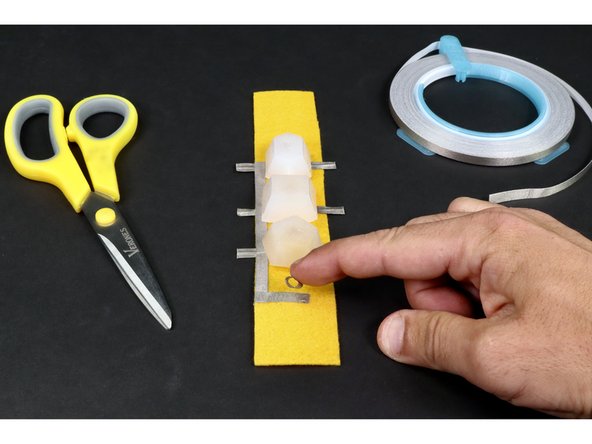
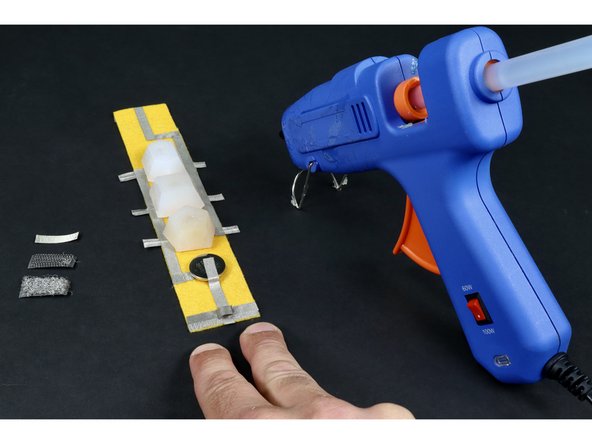
Peel one of the pieces of Maker Tape and roll it into a tape loop.
-
Place that tape loop where shown in photos 2 and 3.
-
-
-
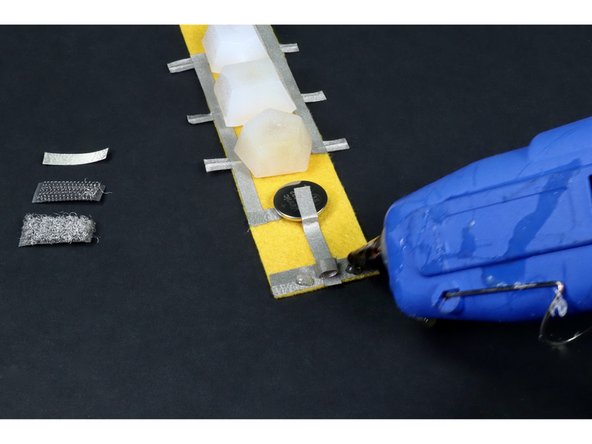
Use a hot glue gun to make 2 small glue dots on opposite sides of the tape loop.
-
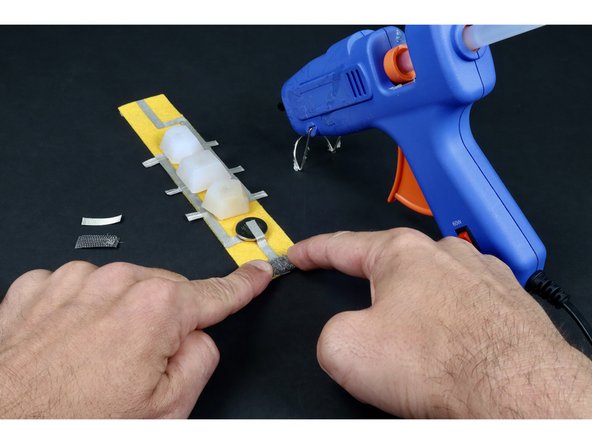
Press either the hook or the fuzzy loop portion of your chunk of conductive hook and loop over the tape loop and glue as shown in photo 3.
-
-
-
Repeat the previous step to make and place another tape loop on the remaining "pad".
-
-
-
Continue by hot gluing the remaining portion of the conductive hook and loop on top using two dots of glue on either side of the tape loop. Remember: do NOT add hot glue on top of the loop...only the areas to the right and left of it.
-
-
-
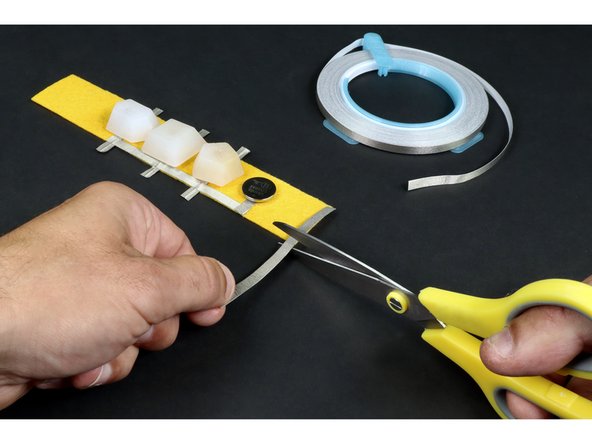
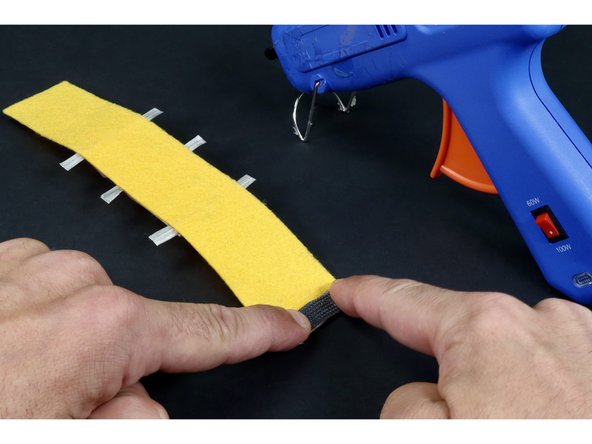
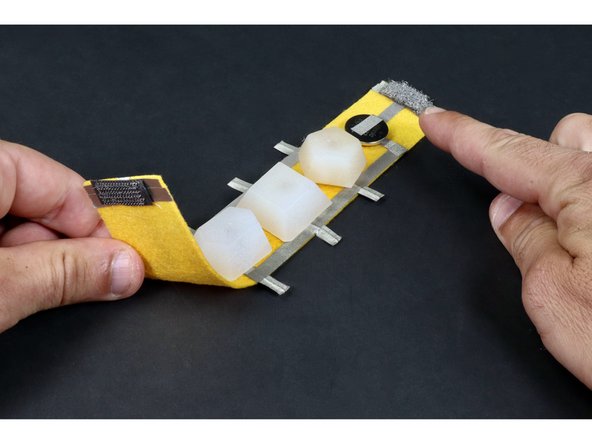
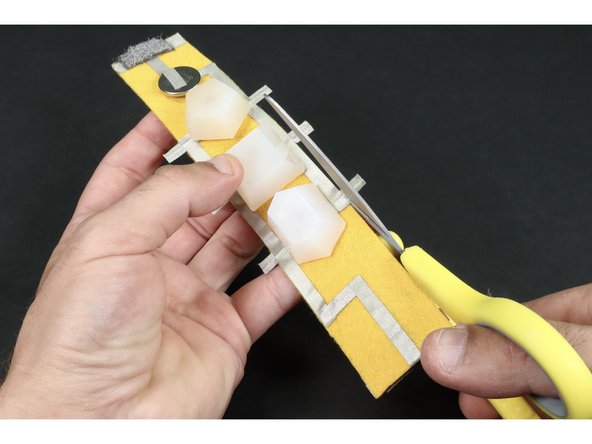
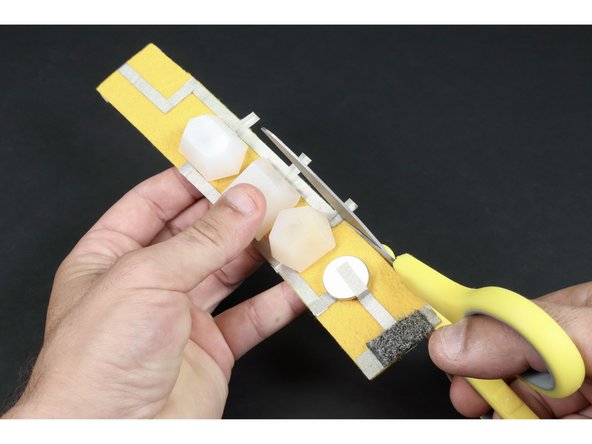
Use your scissors to trim the parts of the LED legs that hang off the edge of the bracelet.
-
-
-
Your bracelet is now complete! To complete the circuit and turn the bracelet on, simply connect the conductive hook and loop.
-


Shine on you crazy diamond... That bracelet looks like a million bucks!
Shine on you crazy diamond... That bracelet looks like a million bucks!