Introduction
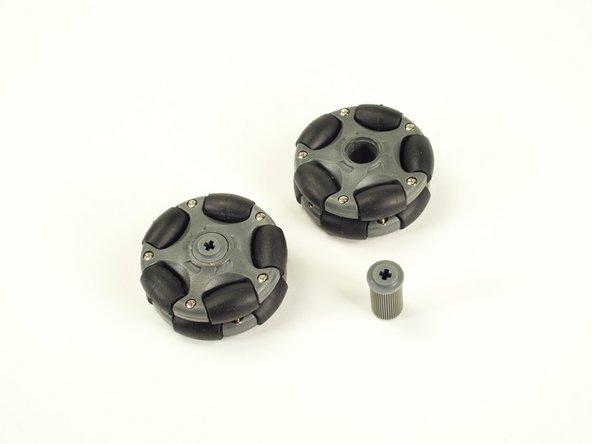
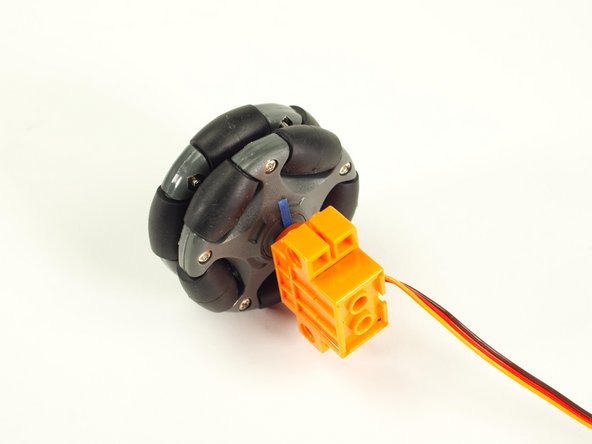
A 3D Printed Hub LEGO Compatible mount for the Nexus 58mm Plastic Omni Wheel. This hub will work with the Brick Compatible Servos we use in our Rover Kit.
Tools
Parts
-
-
You can download the file and print it on your own 3D Printer.
-
Find it in our GitHub repository: https://github.com/BrownDogGadgets/3D-Pr...
-
This file will work with this Nexus Robot 58mm Plastic Omni Wheel.
-
-
-
Note that the top of the part is slightly narrower than the body, and the the bottom is flared out a tiny bit.
-
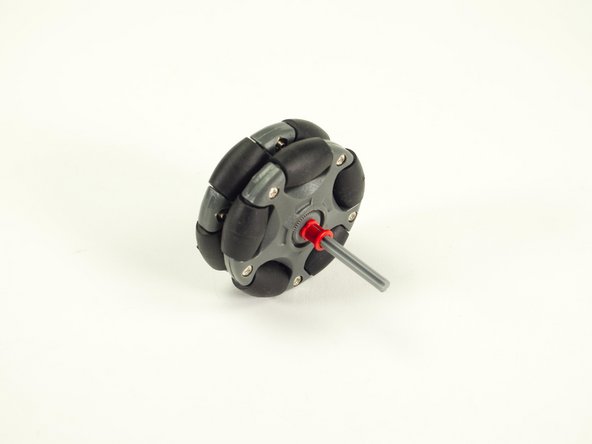
Insert into the wheel with the narrower end first. This will make it easier to insert.
-
You will (most likely) find the servo axle easier to press into the top (narrower) side, as the bottom of the print will sometimes squish and widen on the print bed.
-
If the top is too loose of a fit, you can try to put the servo axle into the plus hole on the bottom (wider) end instead.
-
If the bottom hole is too tight you can use an X-ACTO knife to widen it.
-
Alternately, see Step 4 for a "tape shim" fix.
-
-
-
If your Omni Wheels came with LEGO axle hubs and you are not going to use them do not insert them into the wheel!
-
The hubs are very difficult to remove! We had to pound them out with a rubber mallet.
-
The hubs work well for using a standard LEGO "plus" axle with a bushing, but for our purposes (attaching to a Brick Compatible Servo) they will not work as the fit is too loose.
-
This is exactly why we created our own 3D printed hubs!
-
If you do want to use these hubs (or cannot get them out) see the next step.
-
-
-
While the LEGO axle hubs are too loose to attach to the servo axle, there is a quick fix you can use. (And no, it's not hot glue!)
-
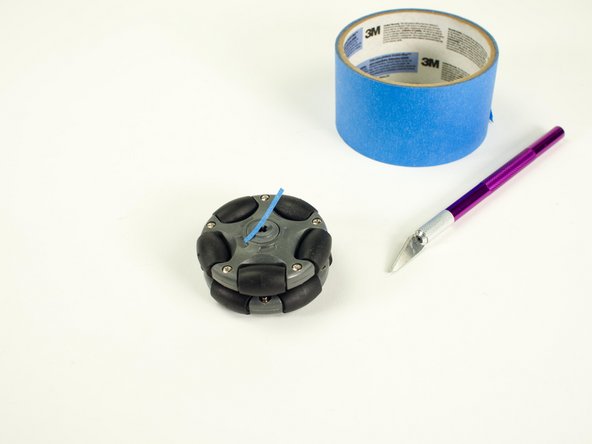
Cut a thin piece of tape (we used blue painter's tape) and stick one end down as shown.
-
Press the tape down into the plus hole using a small tool (a tiny screwdriver, toothpick, etc.)
-
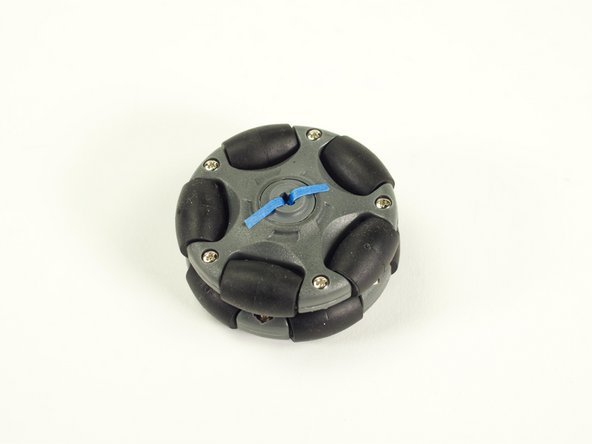
Once the tape is across the plus hole with some of it sticking into the hole, you can press the servo axle onto it and it will probably hold in place.
-
It's best not to keep removing and reinserting the servo axle once it's in place. If it becomes too loose again add a new piece of tape.
-