Introduction
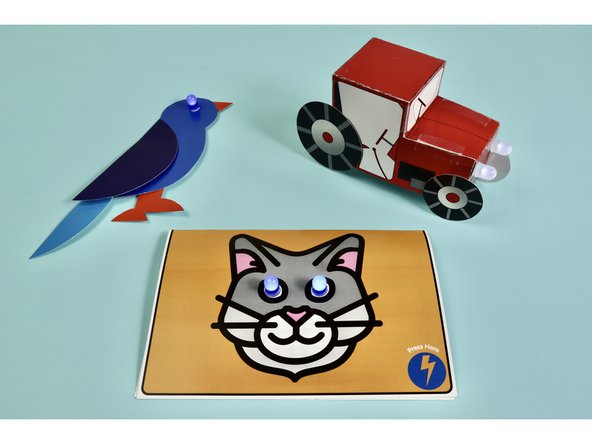
A simple, two-LED circuit card referencing the book Oscar and the Bird: A Book About Electricity by Geoff Waring.
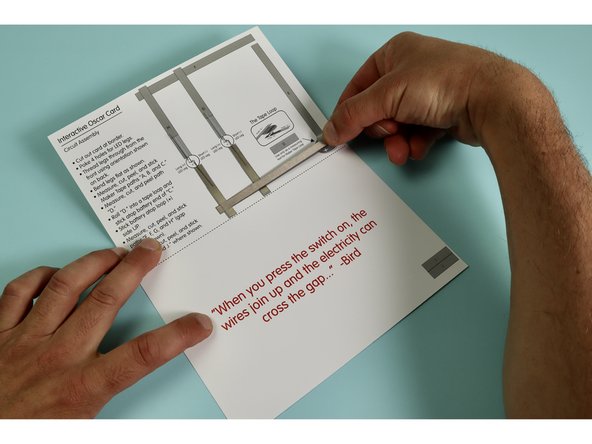
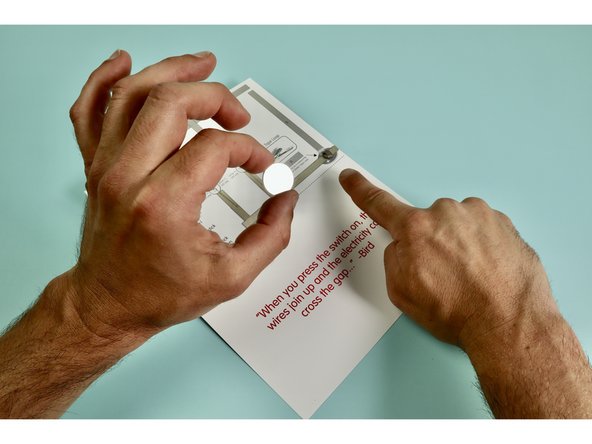
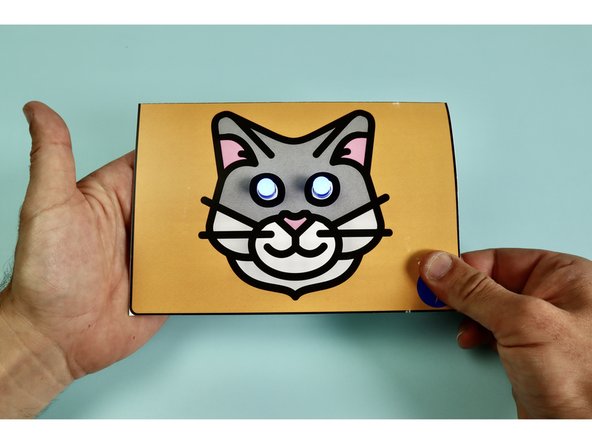
Pinch the corner to complete the circuit!
You can make this project (and many more!) with our Paper Circuits Kit.
Featured Document
-
-
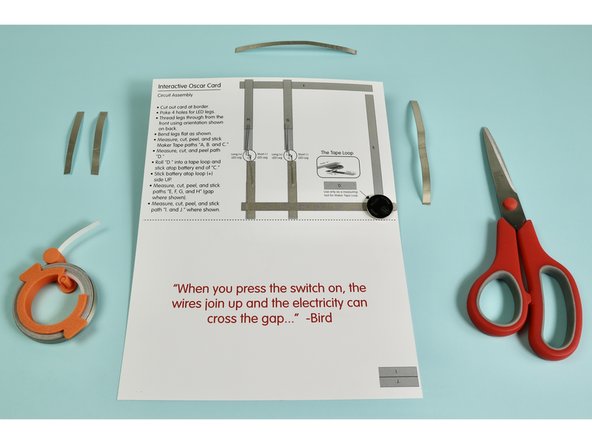
This paper circuits card is a great beginner project. Just follow the steps below to make your card.
-
Print out the full-color card or print out the black and white card and color/decorate as desired.
-
Poke holes through the front of the card for the LED legs, then push the legs through the front.
-
Make note of where the longer Positive and shorter Negative legs go. Polarity matters!
-
Note: If you are using thicker paper (such as cardstock) we recommend using a push pin to poke the holes in the paper to put the LED legs through.
-
-
-
On the inside of the card, bend the LED legs down flat against the paper as shown (each pair is bent in opposite directions).
-
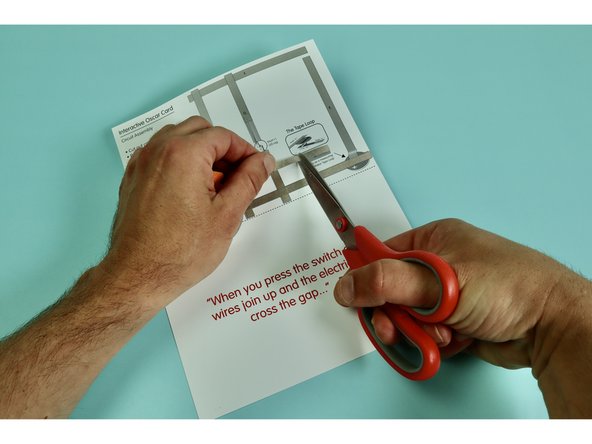
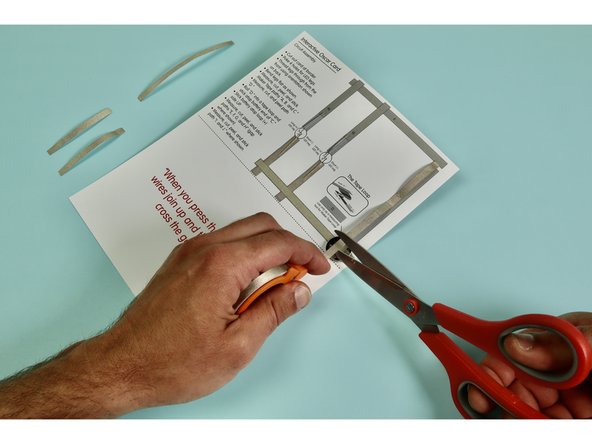
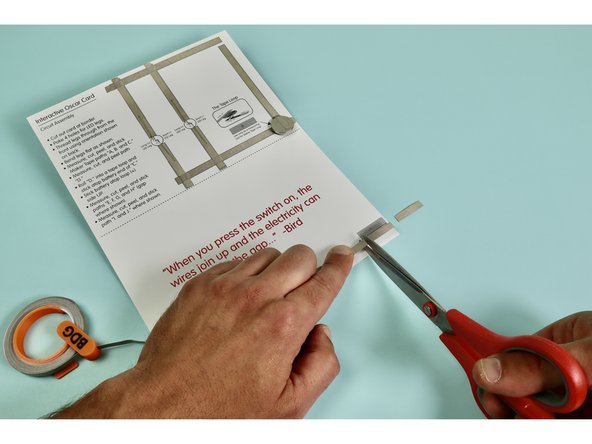
Use a scissors to measure and cut Maker Tape paths "A, B, C"
-
-
-
Peel and stick those first three paths where shown. LED paths go on TOP of LED legs.
-
Measure and cut path "D." using the graphic below the tape loop diagram.
-
Peel and roll "D." into a sticky-side-out tape loop.
-
-
-
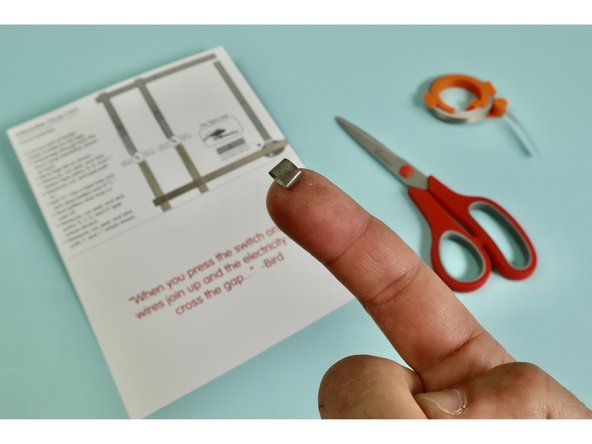
Stick tape loop to the battery end of path "C" as shown.
-
Install battery atop tape loop POSITIVE SIDE UP.
-
-
-
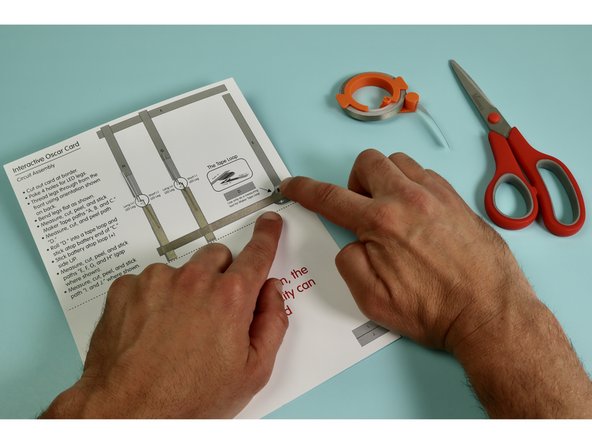
Measure, cut, peel, and stick paths "E, F, G, and H" where shown.
-
Be sure to maintain the gap shown between "G and H".
-
The battery end of path "H" should be stuck atop the Positive (+) Side of the battery.
-
-
-
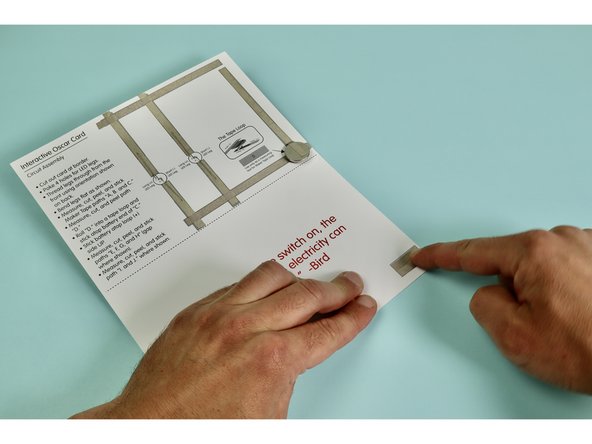
Measure, cut, peel, and stick paths "I, J" where shown so that they overlap.
-
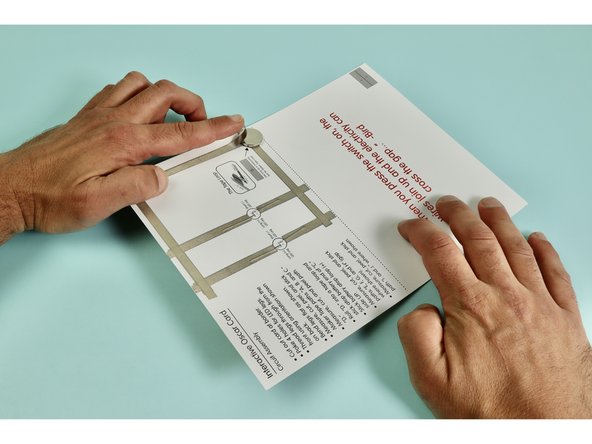
Your circuit is now finished. It will not turn on until or unless the card is closed and pinched where shown on the bottom right corner of the front image.
-
-
-
Make more Oscar and the Bird themed projects! We've got more paper circuit activities to choose from.
-
-
-