1.5

Major VersionM

by Pete Prodoehl

Introduction

Turn the Bit Board Rover into a cute penguin with this printable template.

Video Overview

Featured Document

  1. If you haven't built the Rover's Main Body yet,  see the Rover Main Body guide first.
    • If you haven't built the Rover's Main Body yet, see the Rover Main Body guide first.

    • Print the template of your choice.

    • We've included both templates in the single PDF file attached to this guide.

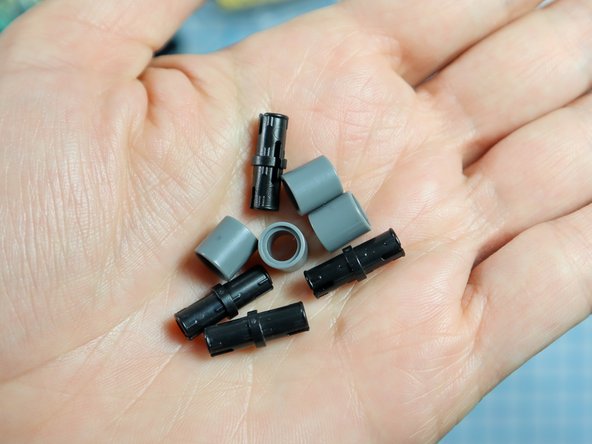
    • You will also need scissors, a hole punch, 4x LEGO pins (black) and 4x LEGO round beams (grey), and double-sided tape or glue.

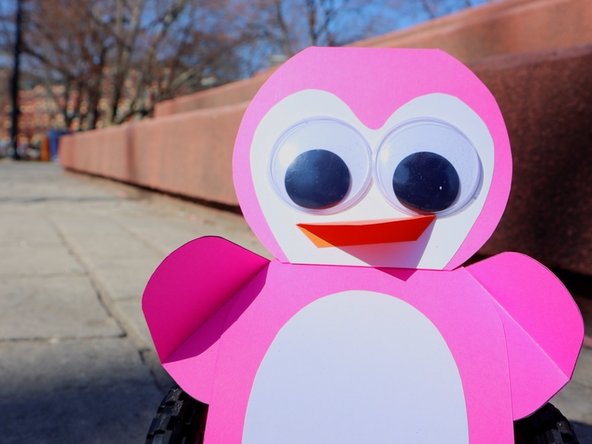
  2. If you chose the "Print and Color" template, color it in first, then cut it out. Or, If you chose to print the "Print and Color" template on colored paper, cut out the pieces and tape them in place. (Finished example in the second photo)
    • If you chose the "Print and Color" template, color it in first, then cut it out.

    • Or, If you chose to print the "Print and Color" template on colored paper, cut out the pieces and tape them in place. (Finished example in the second photo)

    • If you chose the grey "printable" template, cut out the template as shown.

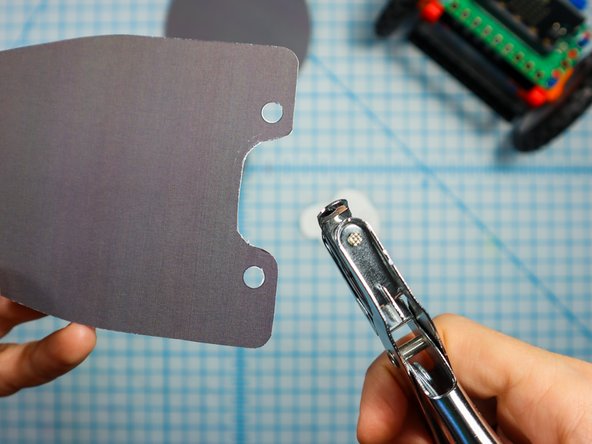
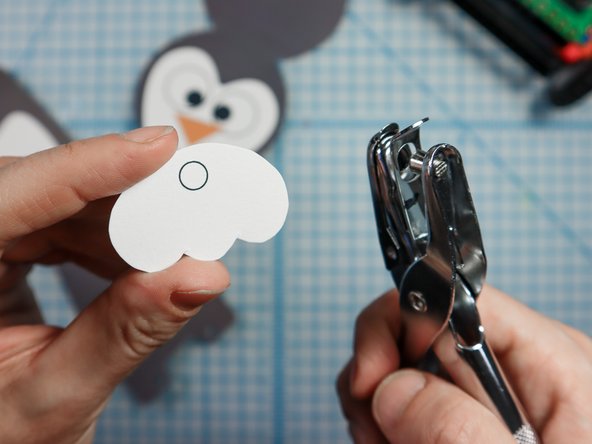
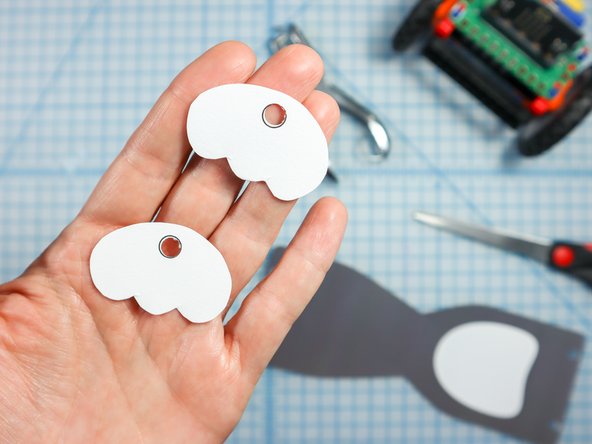
  3. Use a standard hole punch to punch out the circled where shown. Use a standard hole punch to punch out the circled where shown. Use a standard hole punch to punch out the circled where shown.
    • Use a standard hole punch to punch out the circled where shown.

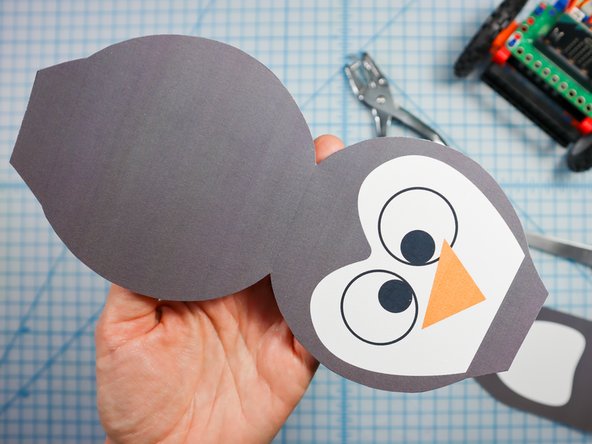
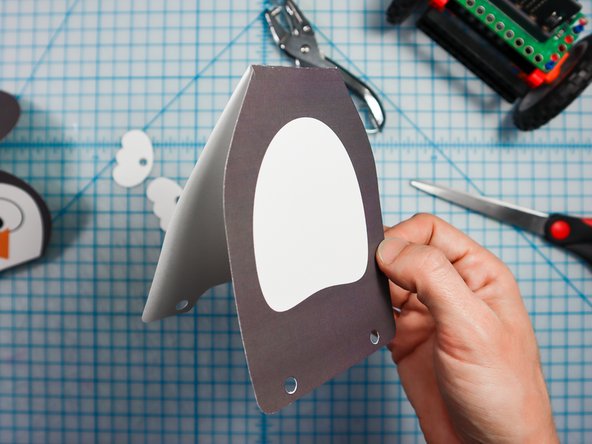
  4. Fold along the dotted lines as shown. Fold along the dotted lines as shown. Fold along the dotted lines as shown.
    • Fold along the dotted lines as shown.

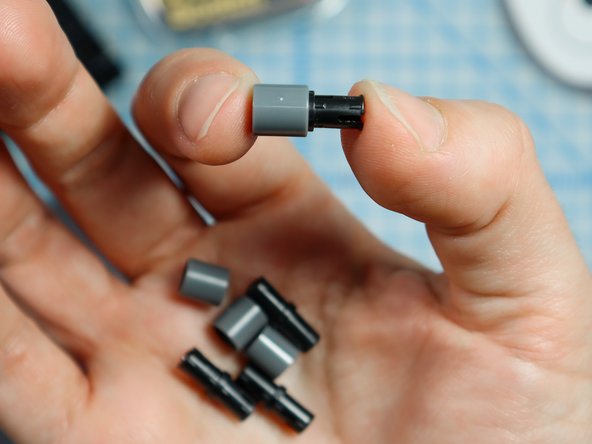
  5. Connect each LEGO pin to a LEGO round beam as shown. Connect each LEGO pin to a LEGO round beam as shown.
    • Connect each LEGO pin to a LEGO round beam as shown.

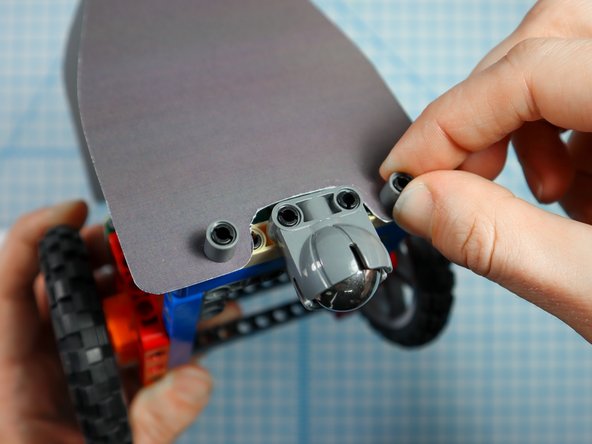
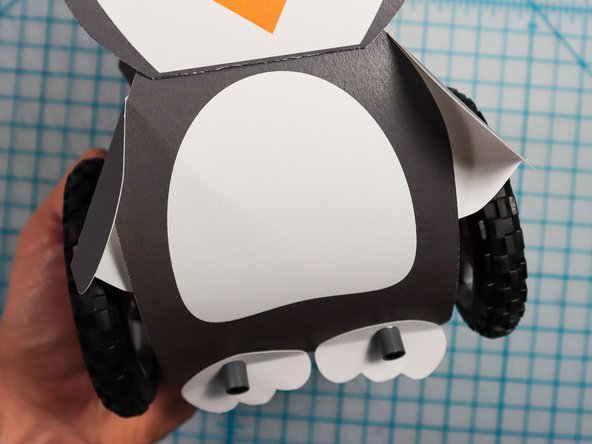
  6. Use two pin/beam sets to connect the back of the penguin body to the Rover.
    • Use two pin/beam sets to connect the back of the penguin body to the Rover.

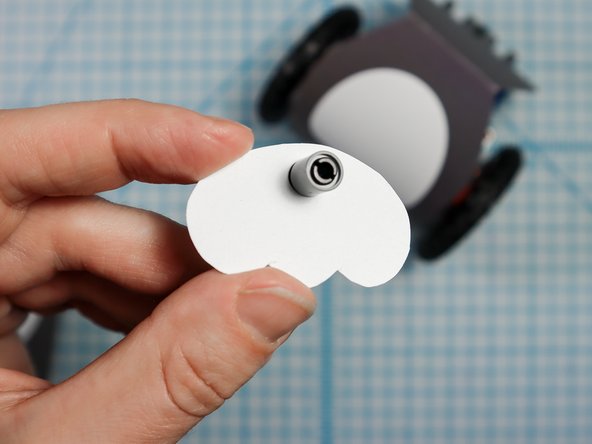
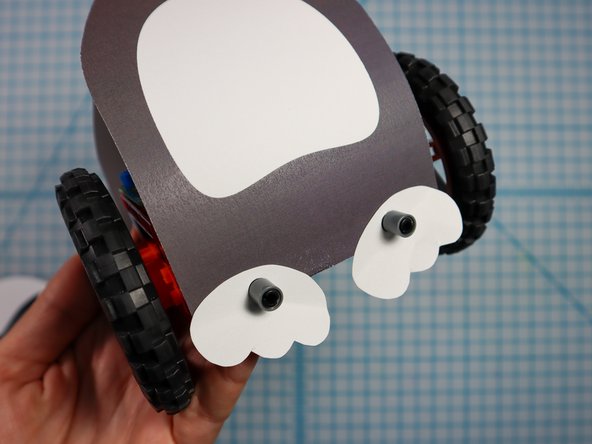
  7. Use two more pin/beam sets to attach the feet and front of the penguin body to the front of the Rover. First, put the pin through the foot, then through the penguin body, then into the Rover body.
    • Use two more pin/beam sets to attach the feet and front of the penguin body to the front of the Rover.

    • First, put the pin through the foot, then through the penguin body, then into the Rover body.

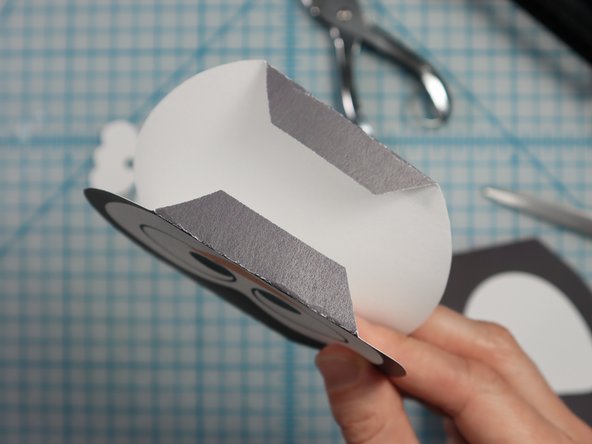
  8. Stick double-sided tape or glue to the bottom of the head flaps. Adhere the head to the body as shown. Adhere the head to the body as shown.
    • Stick double-sided tape or glue to the bottom of the head flaps.

    • Adhere the head to the body as shown.

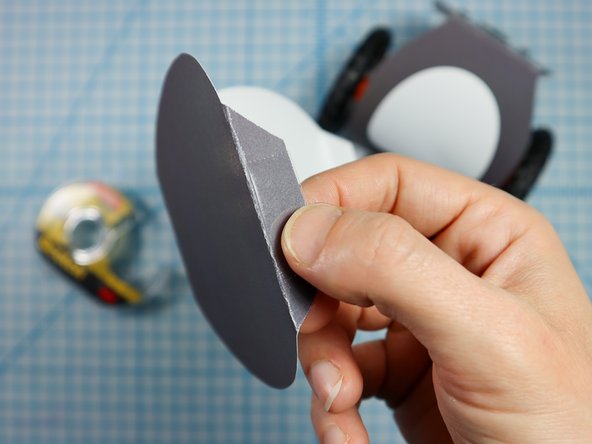
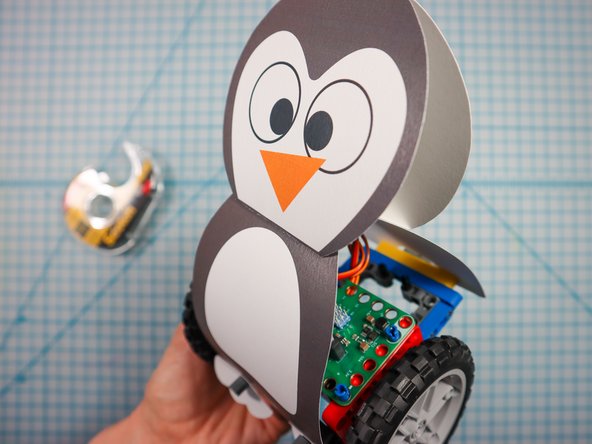
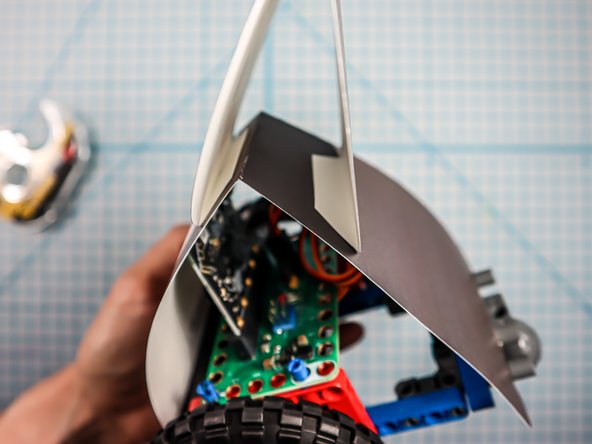
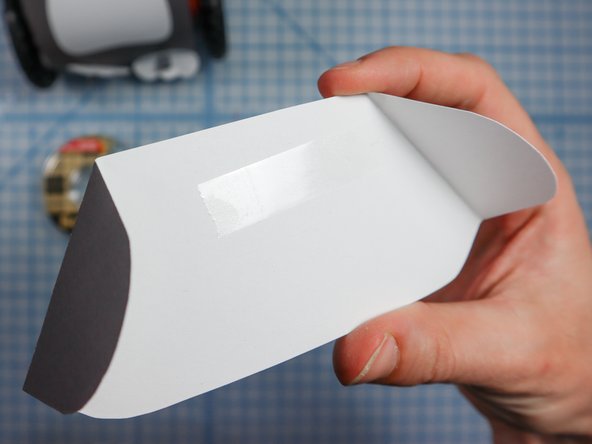
  9. Fold the wings along the dotted line. Add double-sided tape or a dot of glue to the center of the inside of the wings. Thread the wings behind the penguin's body and squeeze the spot with the tape/glue to keep them in place.
    • Fold the wings along the dotted line.

    • Add double-sided tape or a dot of glue to the center of the inside of the wings.

    • Thread the wings behind the penguin's body and squeeze the spot with the tape/glue to keep them in place.

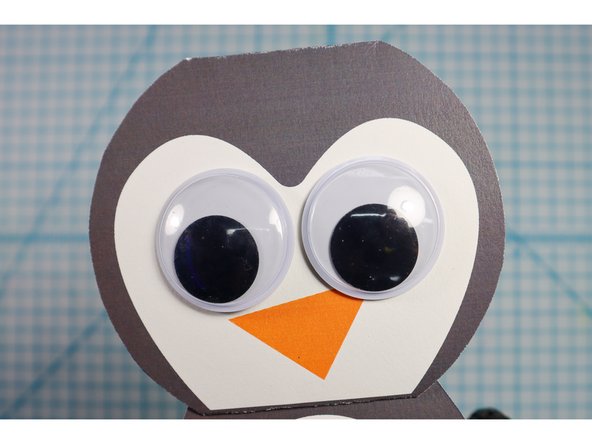
  10. The penguin's eyes are 1.5-inch circles - perfect for a set of Googly Eyes! Add them if you wish. The penguin's eyes are 1.5-inch circles - perfect for a set of Googly Eyes! Add them if you wish.
    • The penguin's eyes are 1.5-inch circles - perfect for a set of Googly Eyes! Add them if you wish.

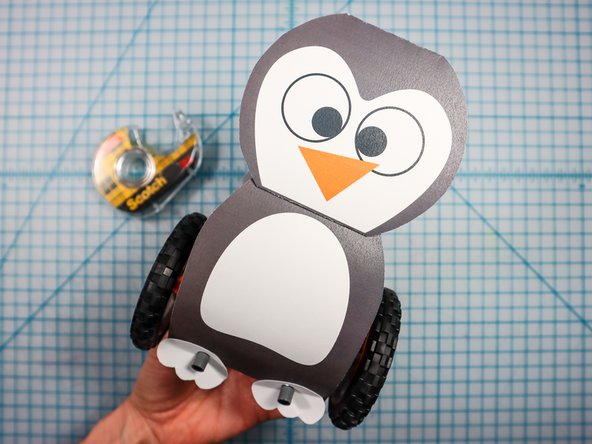
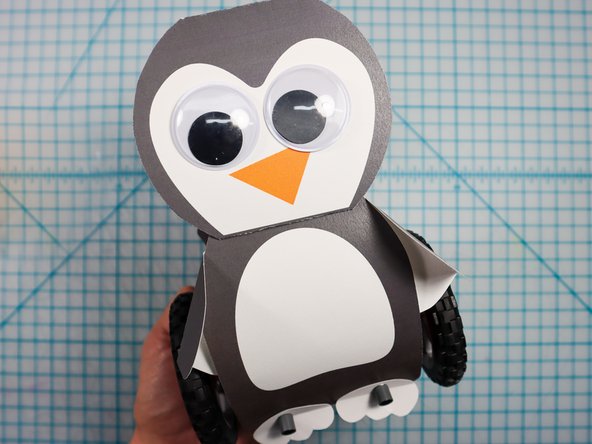
  11. Let your penguin roam free!
    • Let your penguin roam free!

Finish Line

Natasha Dzurny

Member since: 08/26/2019

4,201 Reputation

86 Guides authored

0 Comments

Add Comment

View Statistics:

Past 24 Hours: 0

Past 7 Days: 0

Past 30 Days: 4

All Time: 190