
Introduction
Use this guide to help you create a dreidel with extra chutzpah!
Video Overview
Featured Document
-
-
Print out your dreidel template (found in PDF form at the bottom of this guide) and use a scissors to cut around the perimeter of each of the four template pieces. The lever switch and circuit baseplate will be used to complete the lower portion of the project while the handle and dreidel will be used to create the upper portion.
-
Use markers, crayons or colored pencils to color the dreidel and dreidel handle as you wish.
-
Using a ruler as a guide, fold on each dotted line encountered throughout the shapes. There is no folding necessary on the baseplate.
-
While holding each short edge of the rectangular portion of the handle piece, pull the paper down over the edge of a table. This should give the rectangle a curved shape.
-
-
-
Follow the image at left to help you fold the sides of the central dreidel shape together.
-
Secure each side of the central dreidel shape together at a given seam with a single piece of clear tape. Do not tape the overlapping panels of the lowest point.
-
Fold the three small unmarked panels together that make the tip of the dreidel. Apply a dot of hot glue on top of these three panels.
-
Fold the remaining tip panel onto the dot of hot glue. The circle of this panel will be used as a target for attachment to motor later on.
-
-
-
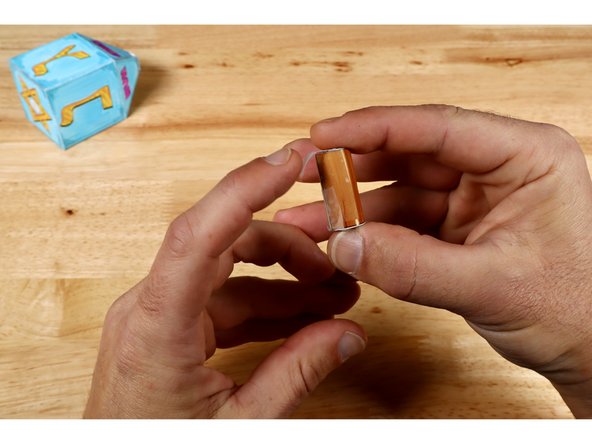
Use clear tape to finish and secure sides of cylindrical dreidel handle. Start with the long seam that helps to turn the curly rectangle into a tube. Then fold the end caps into place and secure them with clear tape as shown.
-
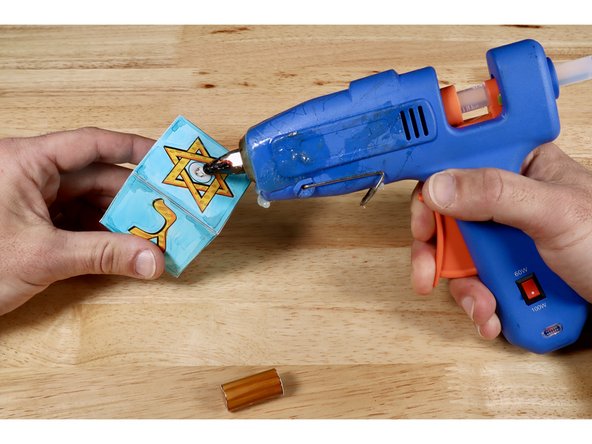
Use a hot glue gun to put a dot of hot glue in the circle at the center of the Star of David.
-
Press the finished dreidel handle onto the dot of hot glue and allow to cool before letting go.
-
-
-
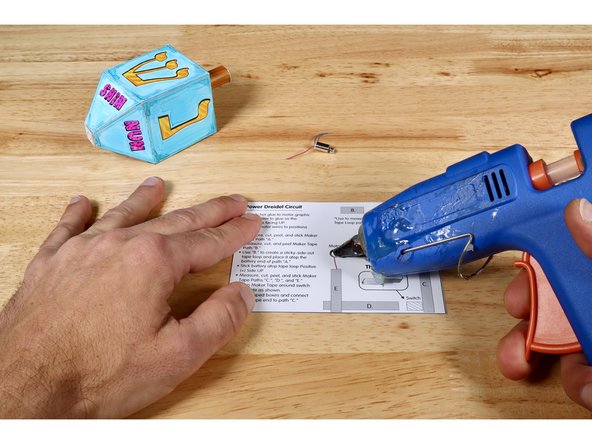
Gather the circuit baseplate, your motor and the hot glue gun.
-
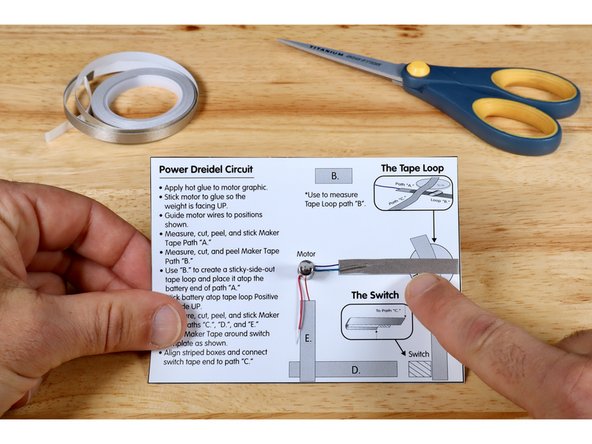
Squeeze a dot of hot glue onto the motor graphic of your circuit baseplate.
-
Press the motor into the glue so that it is oriented vertically; motor weight facing UP. Hold the motor in place for a few moments so the glue has a chance to set.
-
-
-
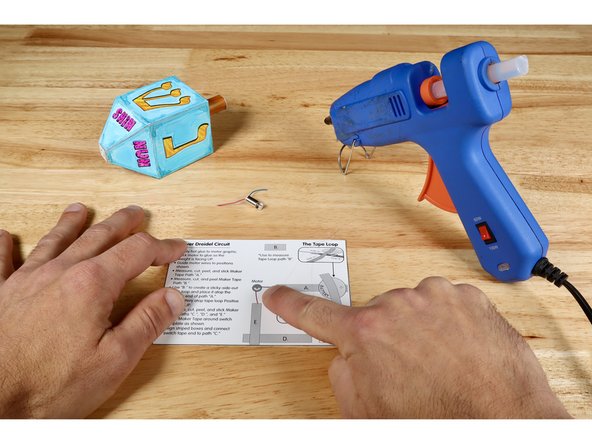
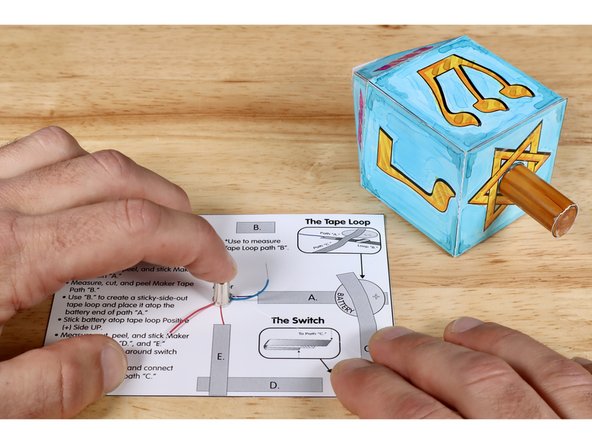
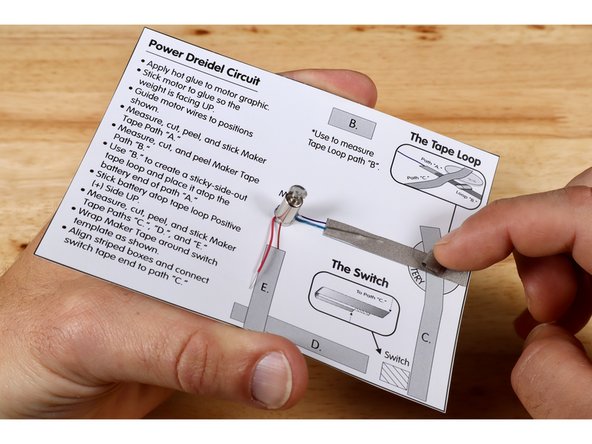
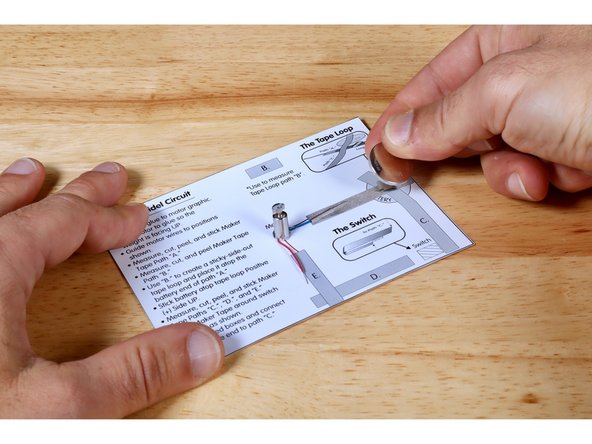
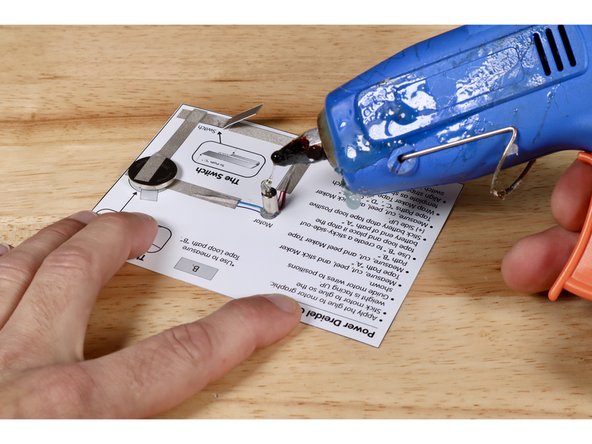
Guide motor wires in the directions shown on your circuit template.
-
Measure, cut, peel, and stick Maker Tape Path “A.” where shown on your circuit template.
-
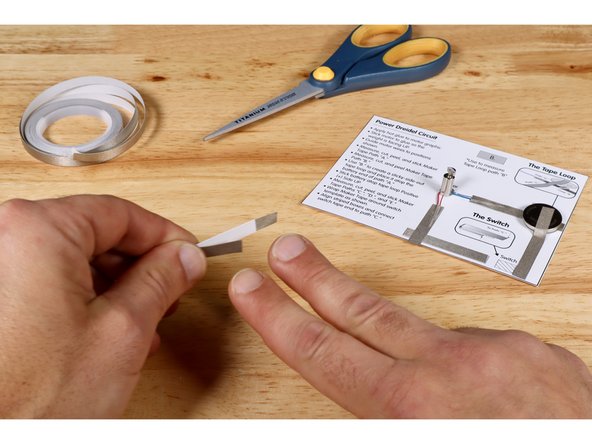
Use the measuring graphic for "B." to help you create a new Maker Tape Path. Peel and roll it into a sticky-side-out tape loop afterward.
-
Place the tape loop atop the battery end of path “A.” as shown in the final photo. This loop will hold the Negative (-) Side of your battery in contact with path "A."
-
-
-
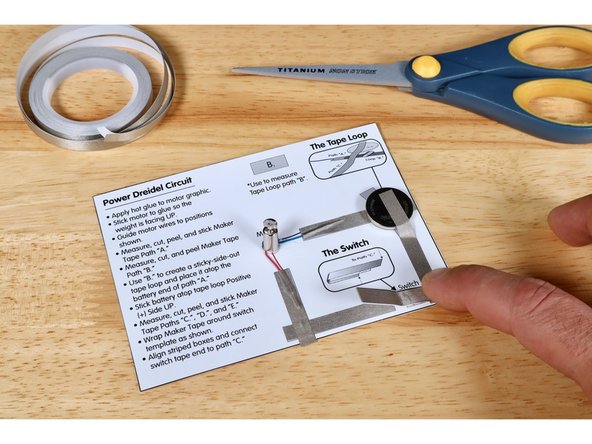
Install your battery by pressing it on top of the tape loop Positive (+) Side UP.
-
Measure, cut, peel, and stick Maker Tape Paths “C.”, “D.”, and “E.”
-
-
-
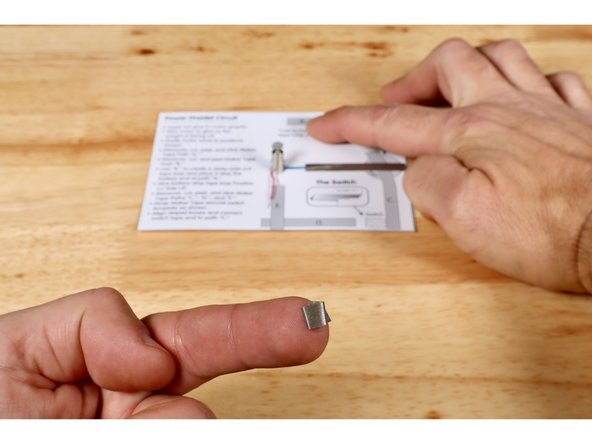
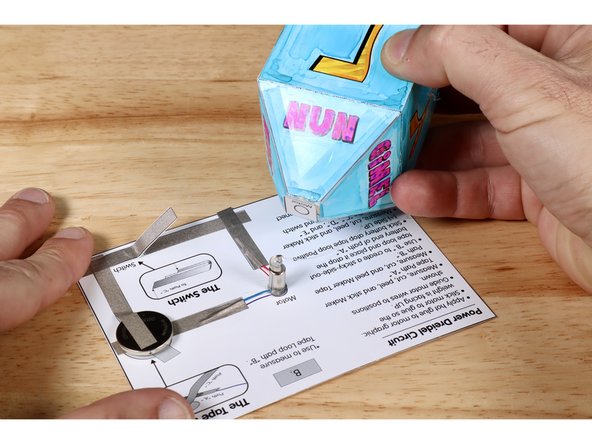
Wrap Maker Tape around the small switch template as shown. This step requires a single piece of Maker Tape that starts at the fold line on one side the template, wraps around to cover the entirety of the opposite side and hangs off that end by 1/4".
-
Align striped boxes found on both switch and baseplate and connect unattached tape end to path “C.”
-
Test your circuit! When the switch lever is pressed into contact with path "D." your motor should spin.
-
-
-
Note: This final step is simple in ways but also requires some consideration that will affect your project's operation if done sloppily.
-
Apply a small dab of hot glue TO the flat top of the motor weight. Do not put so much hot glue in place that it drips below the weight. This will cause the motor spindle to not spin freely.
-
Use the small circle on the lowest part of the dreidel shape indicated for "motor" as the target while you press and hold the dreidel atop the hot glue. Hold until the glue sets. The more on-target and plumb (straight up and down) this placement is, the more "true/evenly" the weight of the dreidel shape will spin.
-


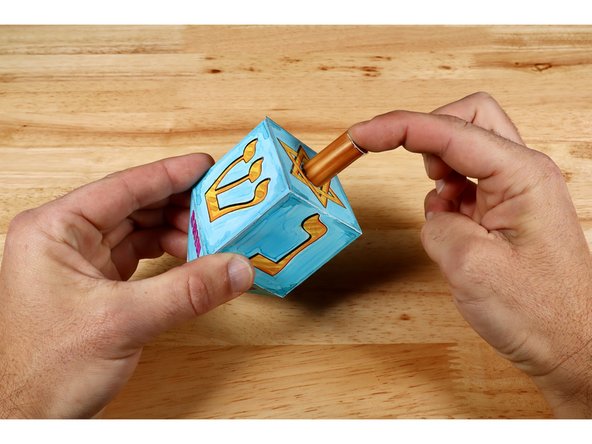


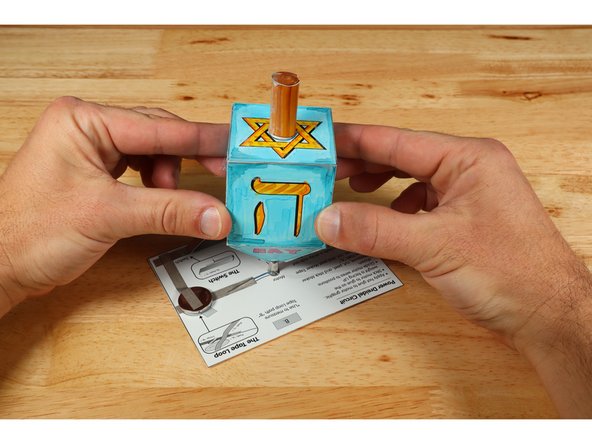
Power up your Hanukkah celebrations by playing with this circuit-based version of the classic Dreidel toy!
Power up your Hanukkah celebrations by playing with this circuit-based version of the classic Dreidel toy!