
Introduction
Meet Sally Servo - the Really Robotic Robot. :)
In this tutorial, you'll learn how to make an LED status animation like the one on Sally's robot suit.
Every robot has a good status symbol light. Use maker tape and 10mm LEDs to make one for your Really Robotic Robot. This is an easy project and a great introduction to micro:bit with many ways to customize it!
Video Overview
Featured Document
-
-
Gather supplies, and print the template (optional).
-
-
-
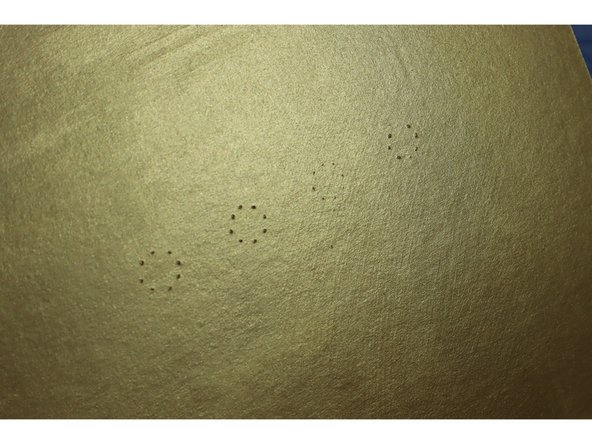
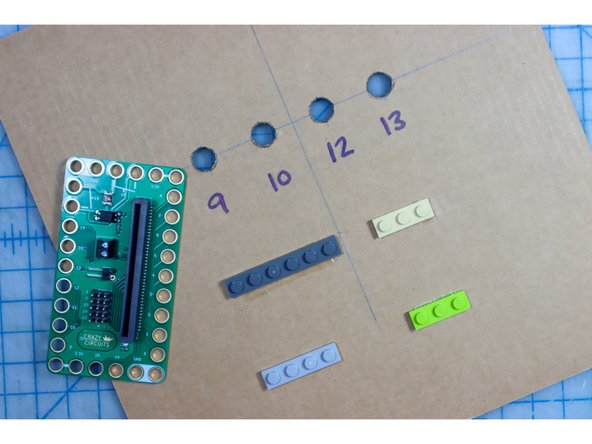
Mark the locations of the four holes for the LEDs. This photo shows the holes 1-inch apart. You could also use the template to mark the locations if you like the spacing.
-
-
-
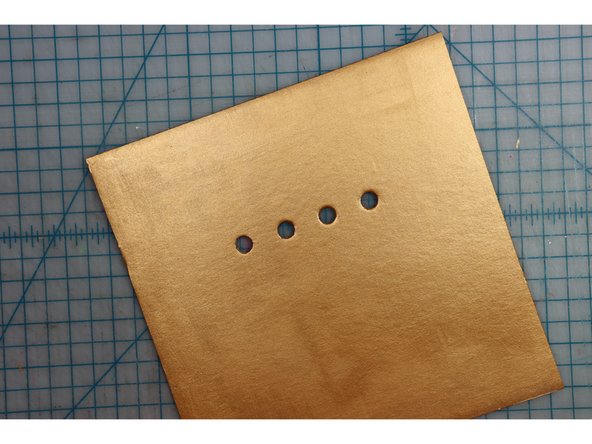
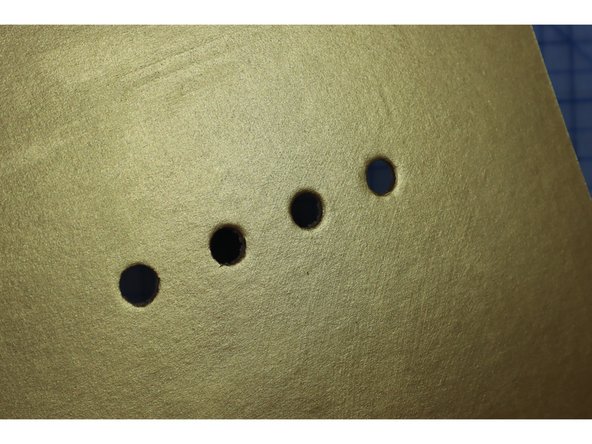
To cut the holes, we used a craft knife to mark the circles from the back side and then cut out the holes from the front.
-
Tip: You can poke the 10mm LED through the holes from the front side to make the edges nice and smooth.
-
-
-
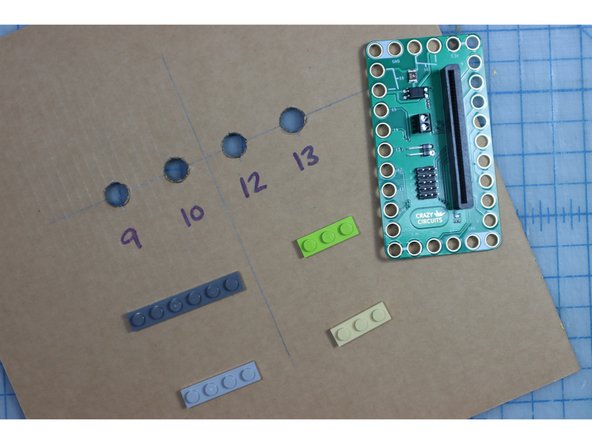
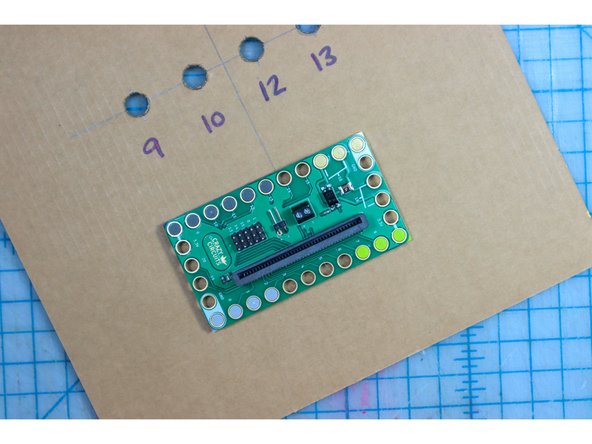
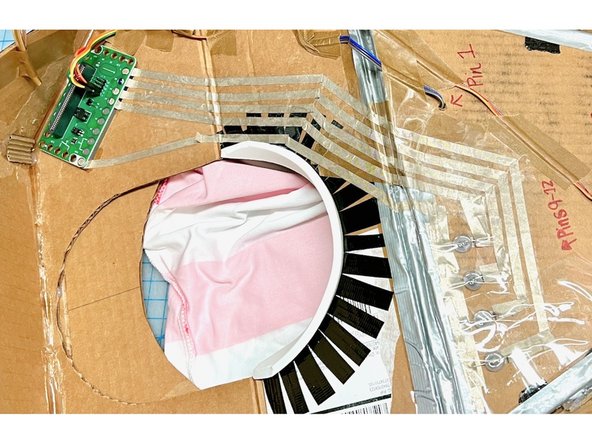
Position the bit board so that Pins 9-13 are facing the holes.
-
Glue LEGO in place, making sure that the holes for pins 9, 10, 12, 13, and GND have a LEGO peg inside them. The other LEGO are just for support.
-
-
-
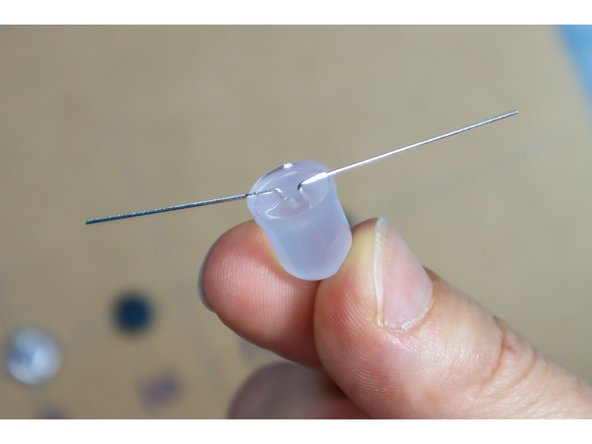
Make note of the shorter, negative leg of the LED.
-
Bend the legs open and flat.
-
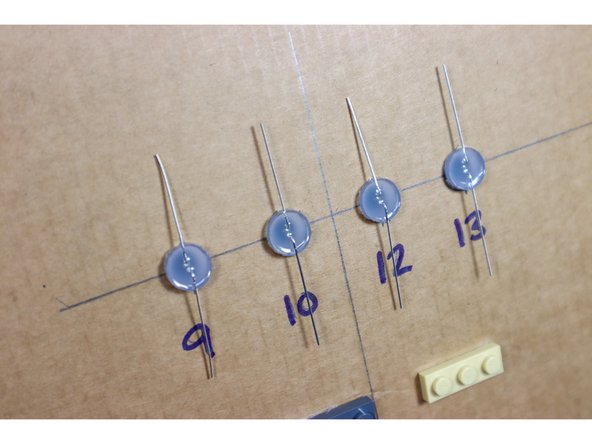
Place the LEDs in the holes with the negative legs facing away from the bit board.
-
-
-
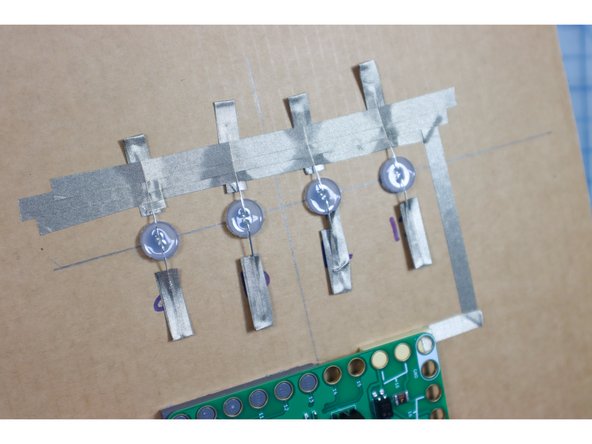
Fold a piece of Maker Tape around the LED legs as shown.
-
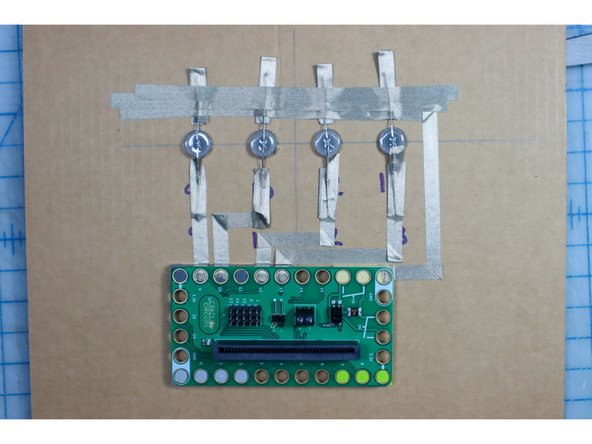
Connect a piece of Maker Tape to the Ground Pin and run it across the ground leg of all 4 LEDs. Add extra Maker Tape to secure it.
-
Connect each positive leg of the LEDs to pins 9, 10, 12, and 13. Don't use Pin 11 as it is reserved for another process on the micro:bit.
-
-
-
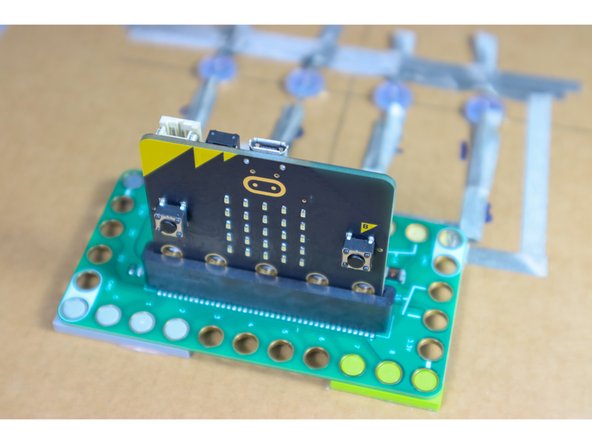
Insert the micro:bit into the bit board.
-
-
-
Download code to the micro:bit, available here.
-
This code will create an LED animation of the LEDs blinking in order every 1-4 seconds. In addition, one of the LEDs blinks quickly every 10 seconds to give it a very "robot is computing" vibe.
-
-
-
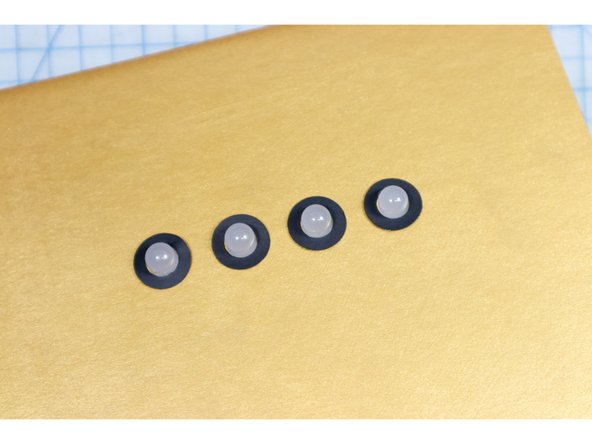
Use the ring templates to add paper details.
-
-
-
Add a battery pack to make it portable.
-
We also added clear packing tape over the entire circuit. When wearing a costume, it's easy to snag a loose piece of Maker Tape, so this is a good way to secure it while still being able to see the circuit.
-
-
-
In our Sally Servo costume, we ran the traces all the way from the front to the back of the costume. This gave us the chance to place the micro:bit in a comfortable spot for the wearer.
-
-
-
Continue to build your Really Robotic Robot costume! For more, view these guides:
-
-
-
-
-
-


Attached Documents
