Video Overview
Featured Document
-
-
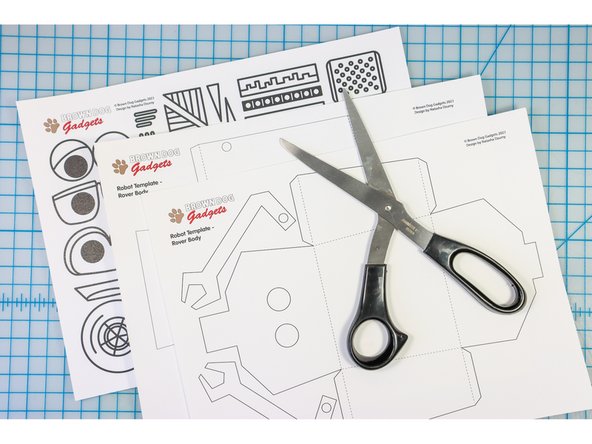
Print the template on cardstock. You could choose to print on colored cardstock to add some pizazz!
-
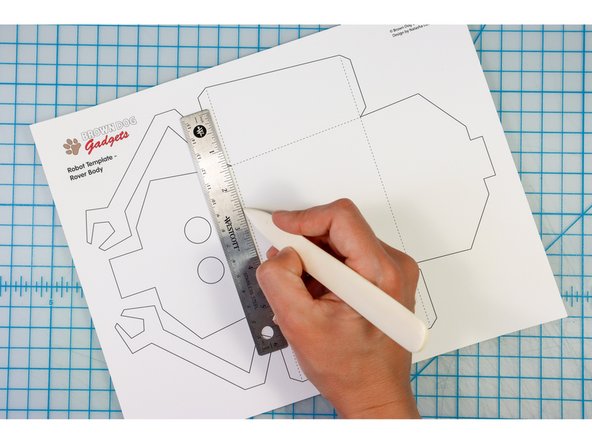
Score the paper along the dotted lines.
-
-
-
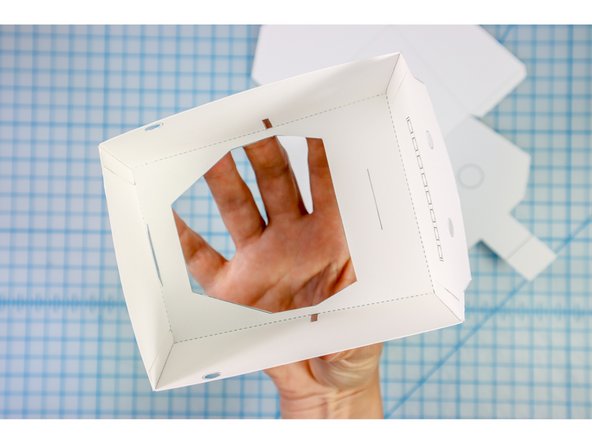
Cut along the solid lines.
-
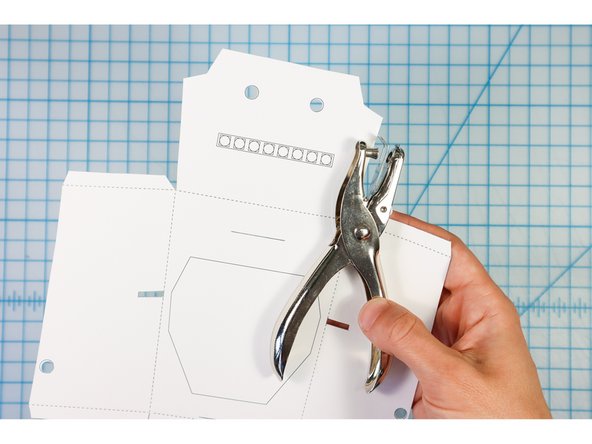
Use a standard hole punch to punch the circles.
-
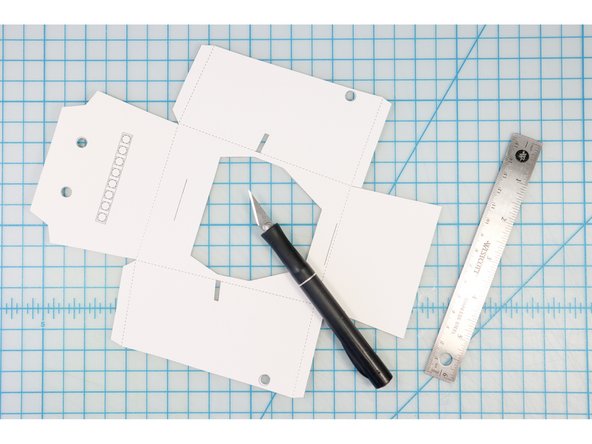
Use a craft knife and ruler to cut the interior shapes and lines.
-
-
-
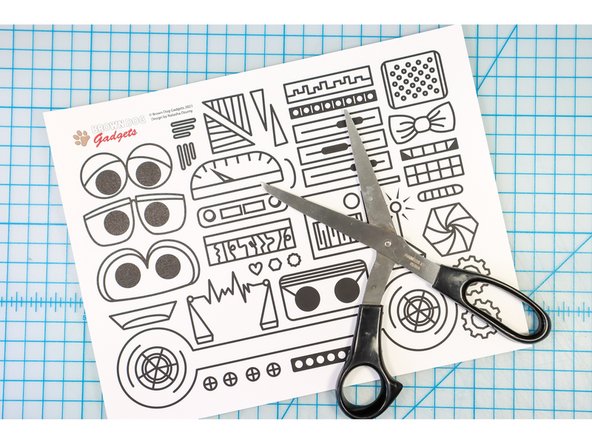
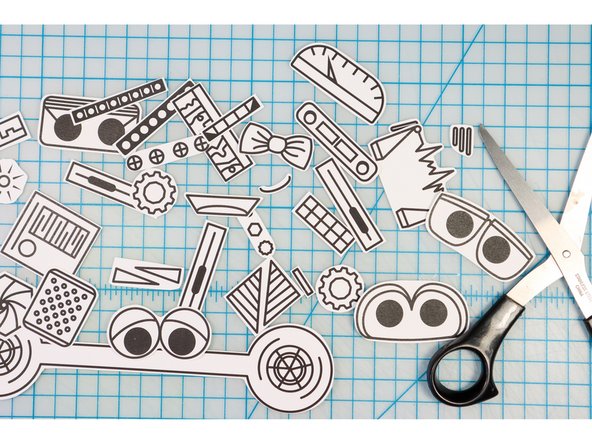
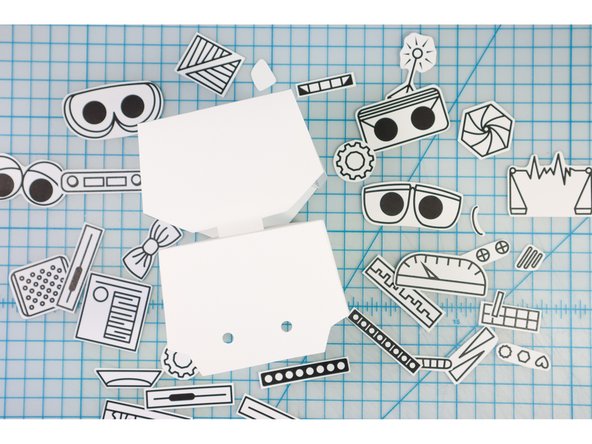
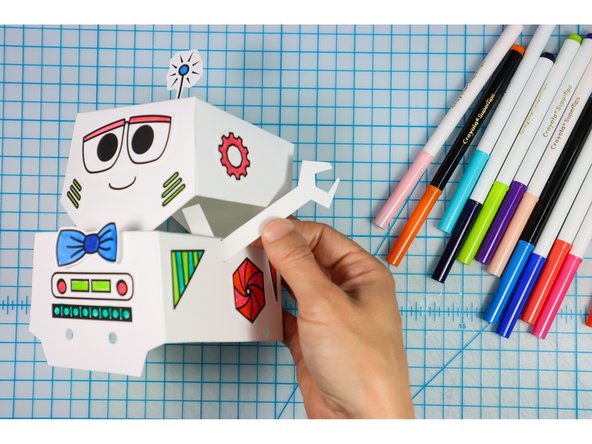
Cut out the robot designs.
-
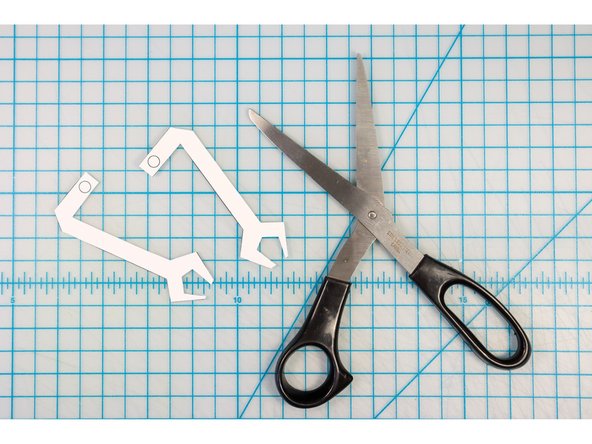
Cut out the arms.
-
Tip: You don't need to punch the holes unless you plan to create the moving arms. To learn how to do this, follow this tutorial.
-
-
-
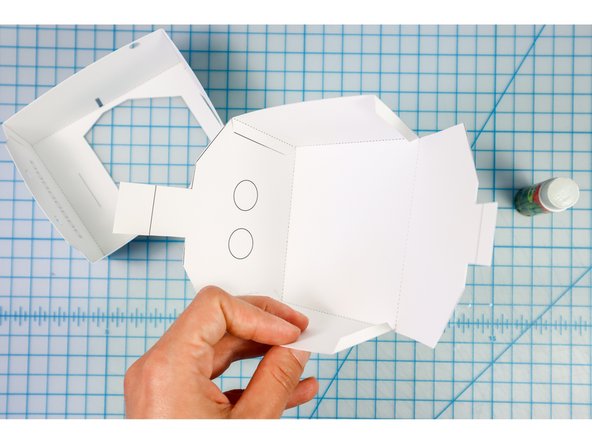
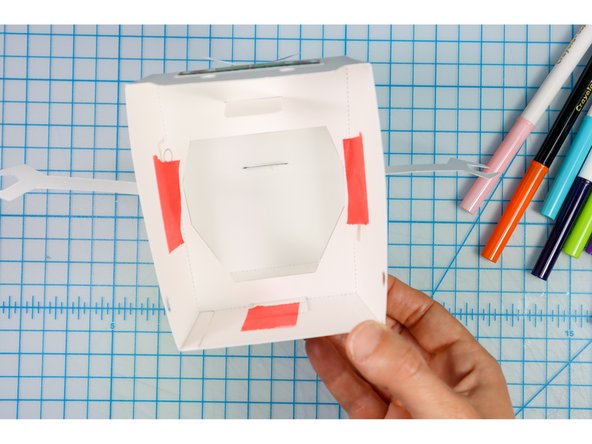
Fold the tabs and glue them to the interior of the head and body as shown.
-
You can choose if you'd like to place the design on the outside to be visible or on the inside to hide it.
-
-
-
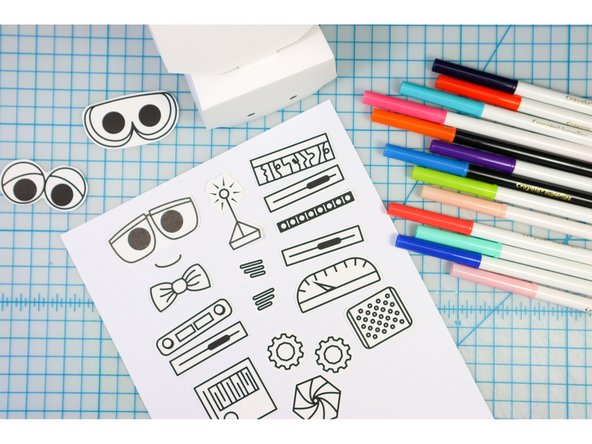
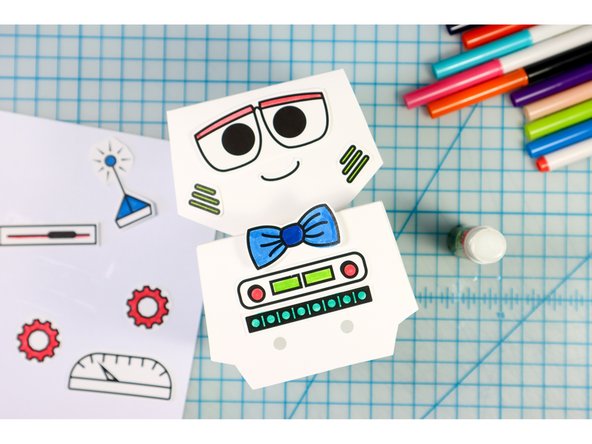
Choose facial features, or design your own.
-
Color them, then glue them to the Bot's body.
-
-
-
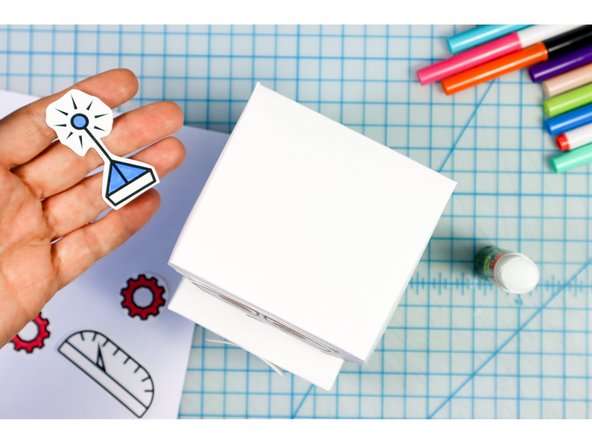
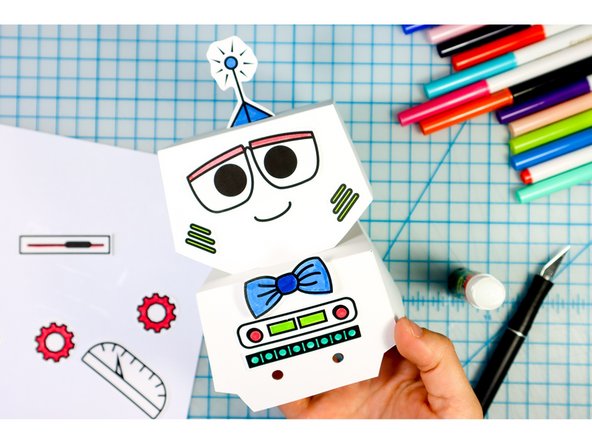
There are some shapes that look cute on top of the robot.
-
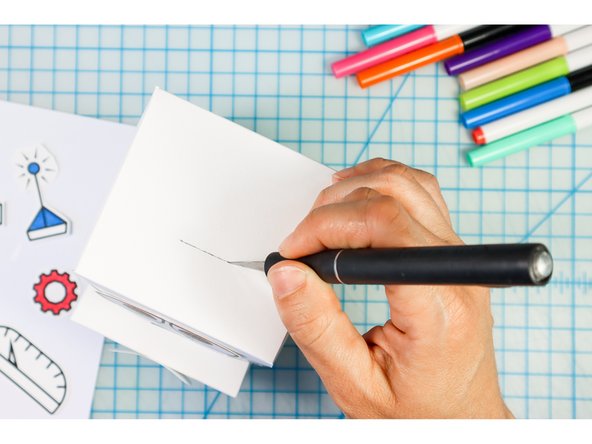
Place a slit in the Bot's head where the embellishment should go.
-
Insert the paper shape. Cute!
-
-
-
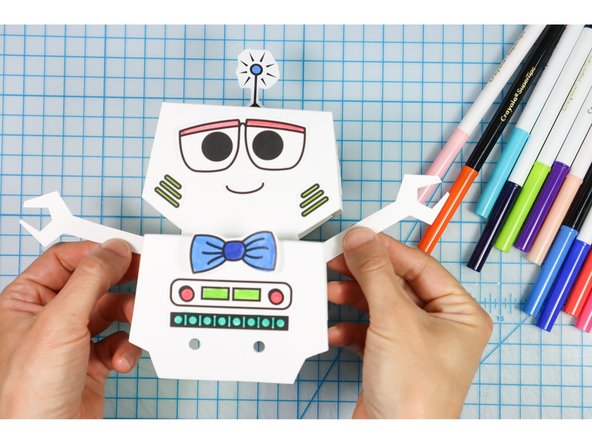
Insert the arms through the slits in the side.
-
Place them at the angle that you like and then tape them in place. (You may need to trim them shorter so that they don't stick out of the neck.)
-
-
-
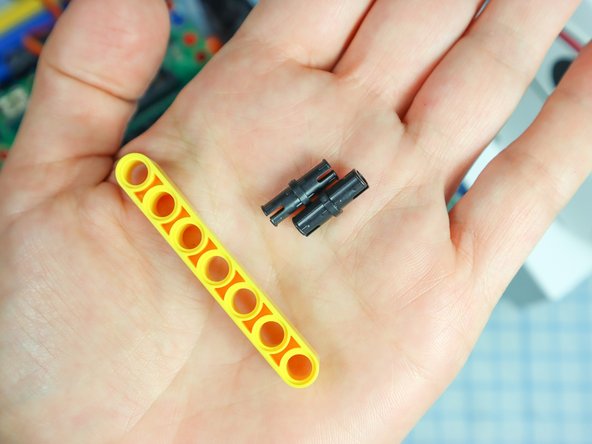
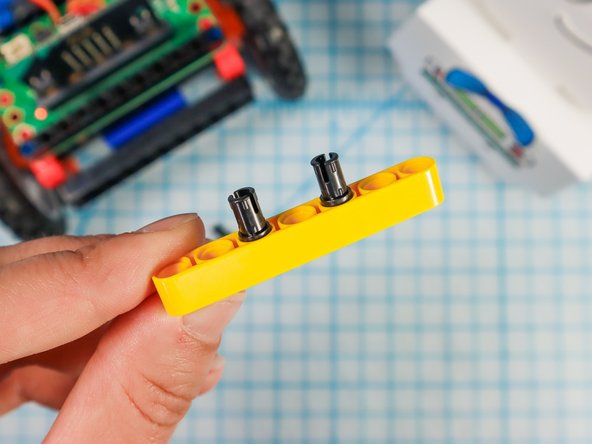
Use two pins to add a LEGO beam to the front of the Rover as shown.
-
-
-
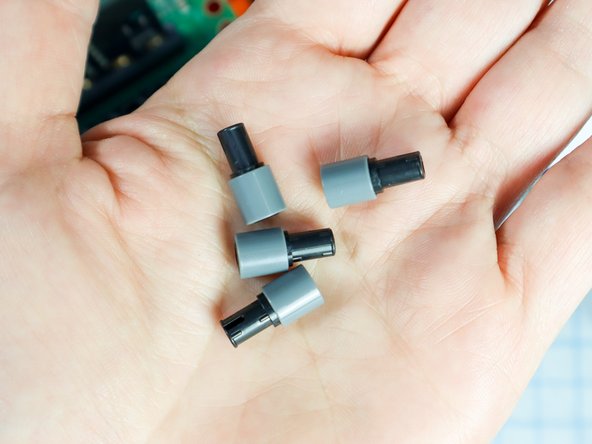
Connect 4 grey single beams to 4 black pins as shown.
-
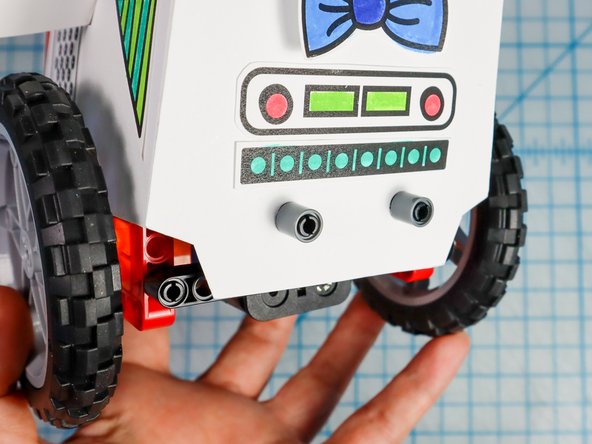
Use the pin/beam pieces to attach the body to the rover as shown. There is a connection behind the wheel on both sides and there are two connections in the front.
-
-
-
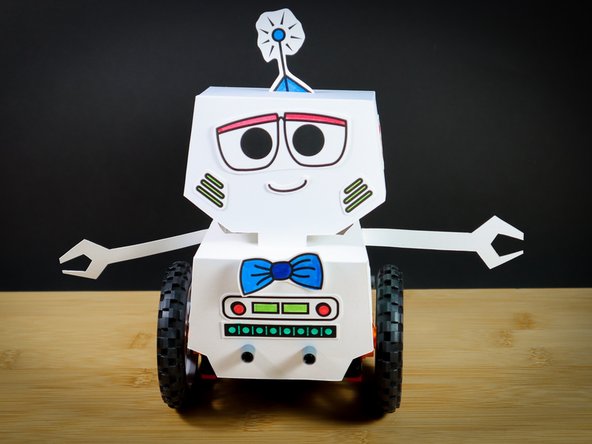
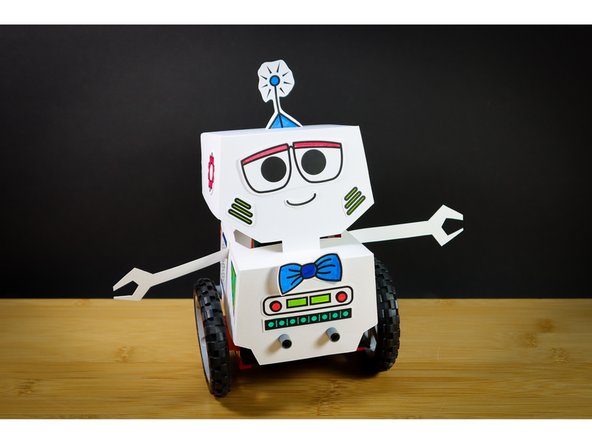
Now that you have a bot, take them out for a spin! (Connect the batteries!)
-
To make a remote control for your bot, continue with this tutorial: Rover Thumbstick Remote
-


Attached Documents
