
Introduction
We've been working closely with Santa's Workshop to bring you this innovation in naughty or nice list communication. Now, you can check in real-time if your good and bad deeds have affected your standing on Santa's Naughty or Nice list! A fun project to make and share with your friends who's results may surprise you!
Video Overview
Featured Document
-
-
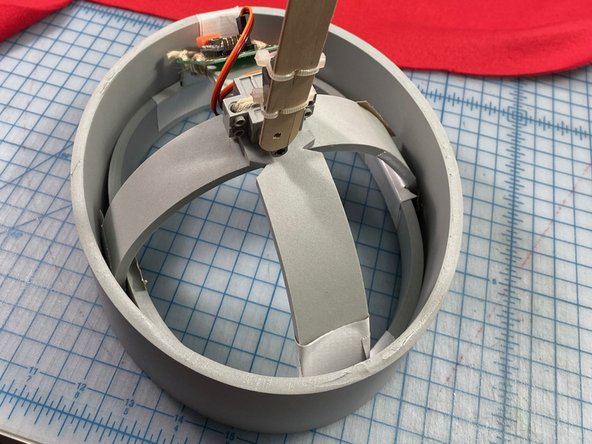
Cut strips of 1/4 inch EVA/Craft foam to these measurements:
-
1.25 in x the Circumference of the head
-
1.25 in x Over the top of the head front to back
-
1.25 in x Over the top of the head side to side
-
-
-
Attach the motor to the top of the structure by threading twine thought the foam, around the motor, and back thought he foam.
-
Tie a big knot on each side to secure as shown.
-
-
-
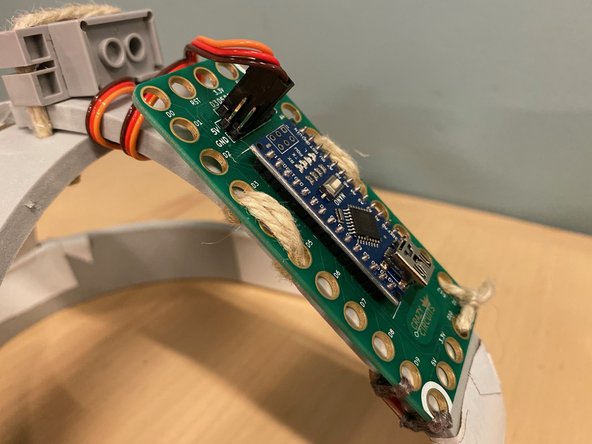
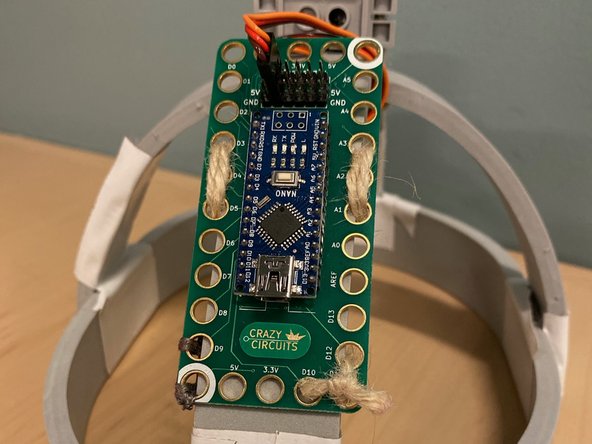
Attach the Crazy Circuits board to the back of the structure using twine.
-
Thread the twine through the holes in the Crazy Circuits board and tie a knot as shown.
-
-
-
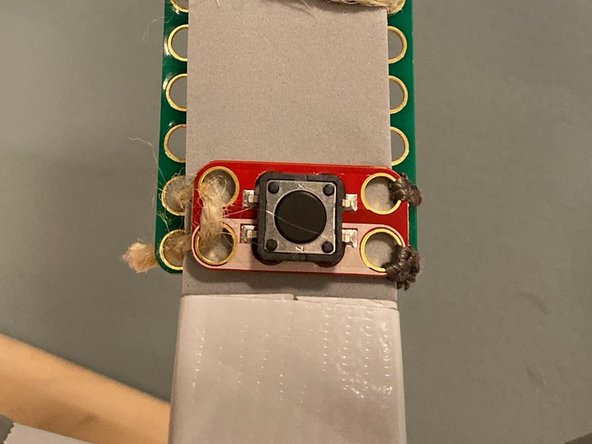
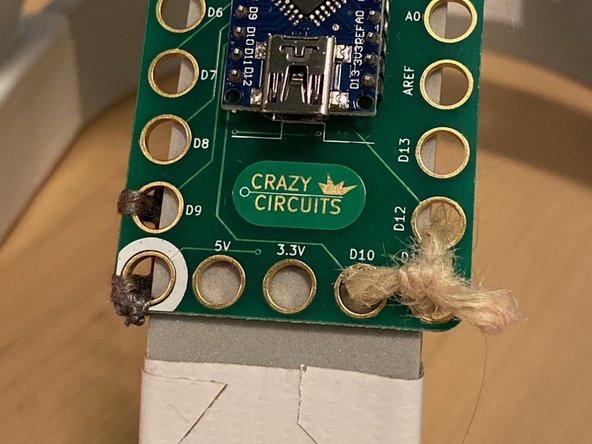
Using conductive thread, connect the D9 pin to the positive pin of the button.
-
Using a new piece of conductive thread, connect the ground pin to the ground pin of the button.
-
Tip: Use a small piece of tape to hold the button in place while you sew. Trim any stray threads and use nail polish to set the thread once you've checked that it works.
-
Use twine to tie the button to the inside of the hat structure with twine through holes D11 and D12.
-
-
-
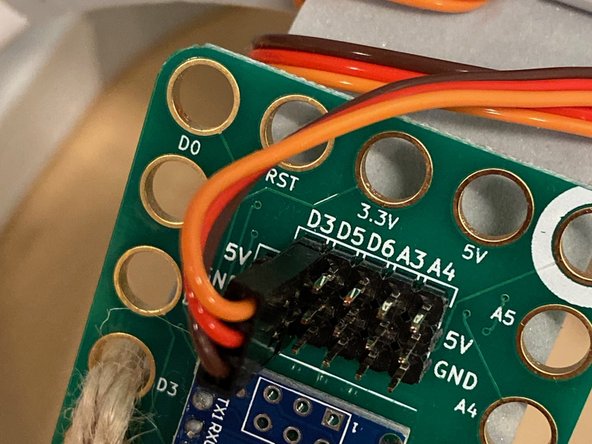
Connect the motor to D3 as shown. You can wind the wire around the structure a few times first so that it takes up the slack.
-
-
-
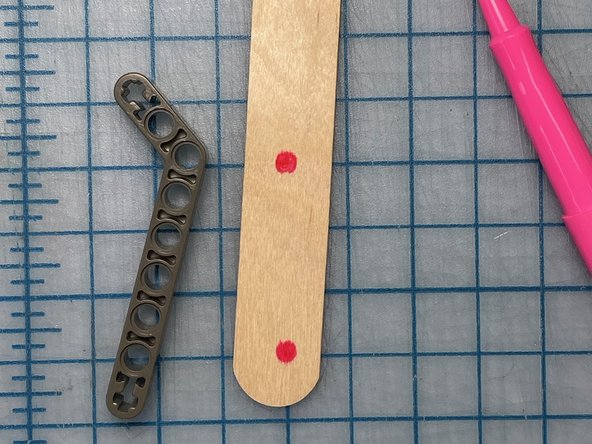
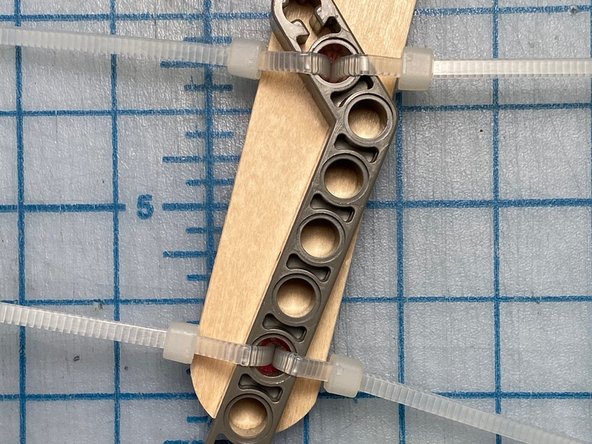
Make two holes in the popsicle stick and secure it to the lego piece with zip ties.
-
Trim the zip ties (not pictured)
-
-
-
-
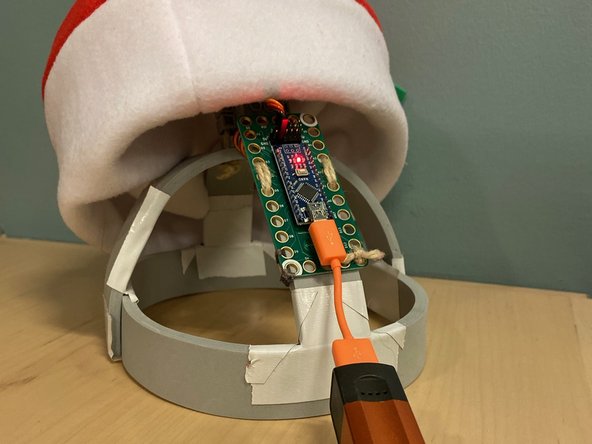
Upload the code to your Crazy Circuits board.
-
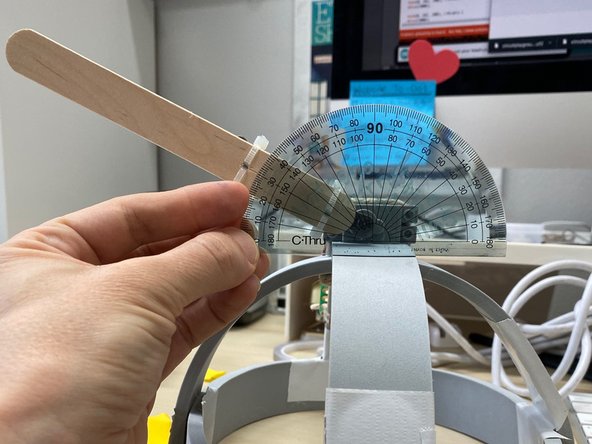
Connect the lego piece to the top of the motor. Use a protractor to check the angle, and adjust the code if you'd like to change its behavior.
-
-
-
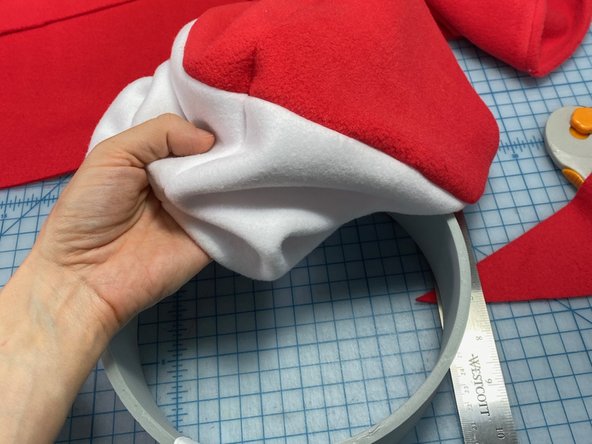
Cut another piece of foam that is 3 in wide and as long as needed to wrap around the hat structure.
-
Make or buy a Santa hat. (Tutorial coming soon)
-
Place the Santa hat over the new outer ring.
-
-
-
Plug in a tiny USB battery pack.
-
Tuck the Santa hat into the outer ring. Insert the hat structure inside.
-
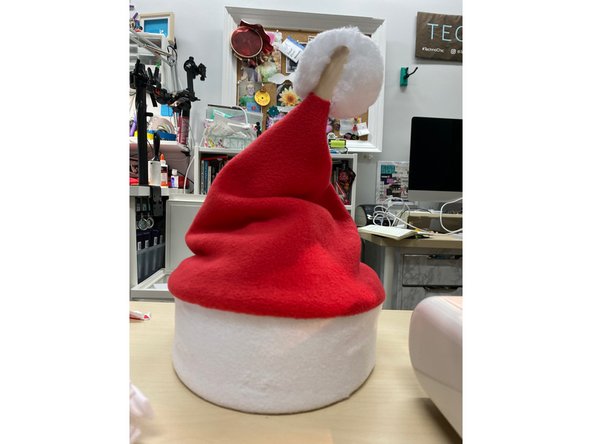
Insert the popsicle stick through the top of the hat, or otherwise secure it a the top.
-
You can choose to embellish the pom pom, make it look like an arrow, or create a design that you like.
-
-
-
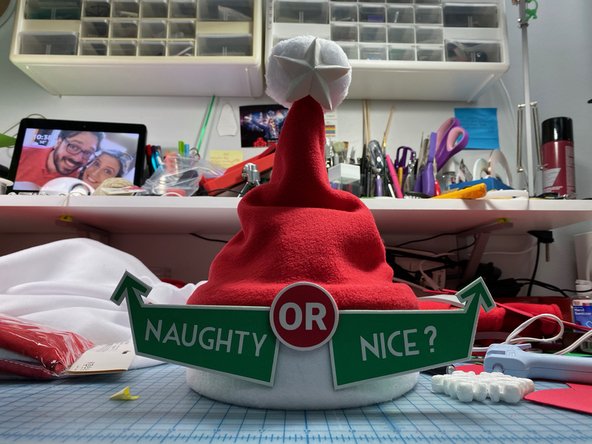
Download and cut out the "Naughty or Nice?" template out of paper, craft foam, or any material that you like.
-
Use hot glue to attach it to the front of the hat.
-
It's time to see which of your friends are naughty and which are nice!
-


Attached Documents
