
Introduction
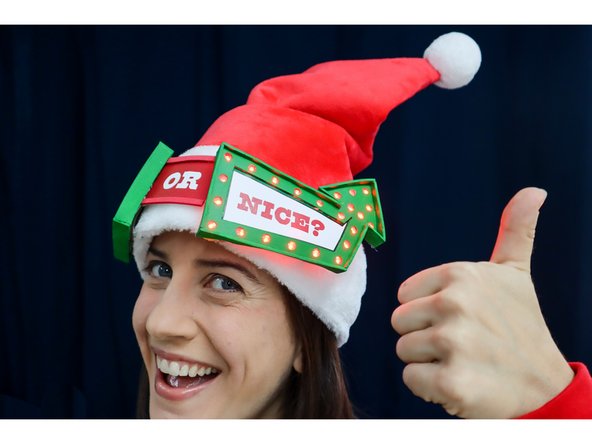
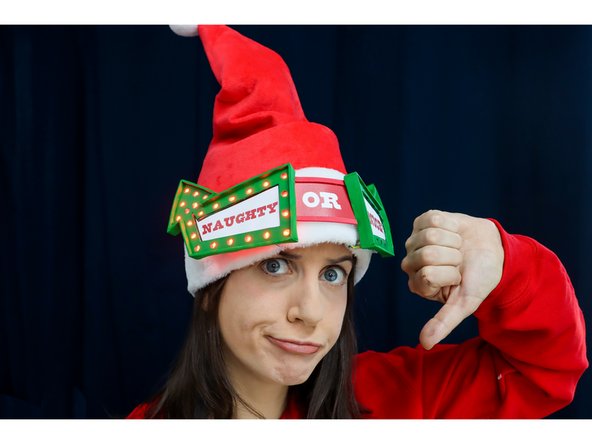
Are you naughty or nice?
Find out by making this animatronic sorting hat. We've been working closely with Santa's Workshop to bring you this innovation in "naughty or nice list communication." A fun project to make and share with your friends - their results may surprise you!
We've included a printable version (Easy) and an epic version with LEDs (Advanced). Make the project that's right for your skill level!
If you prefer working with Arduino, check out the Santa's Sorting Hat: Arduino version here.
Tools
Video Overview
Featured Document
-
-
Gather Materials
-
-
-
Cut the foam strips to size.
-
For the hat that we used, we cut a 23-inch by 1.5-inch strip to go around the head and two 14-inch by 1.5-inch strips to go over the head in both directions. Measure your hat and head to find the right size for you.
-
-
-
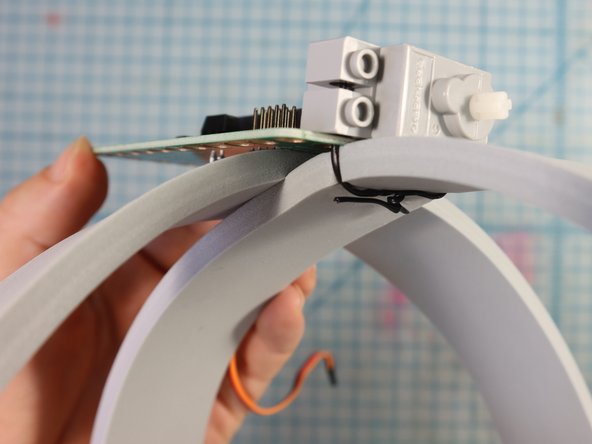
Use rubber cement to connect the ends of the long strip to make a circle.
-
Connect the two shorter pieces to the main circle, making a dome shape as shown.
-
-
-
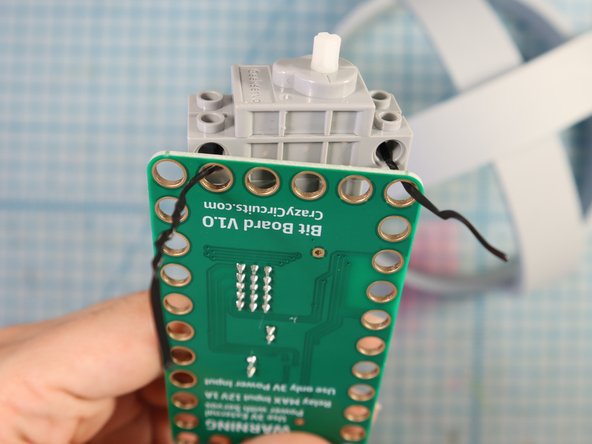
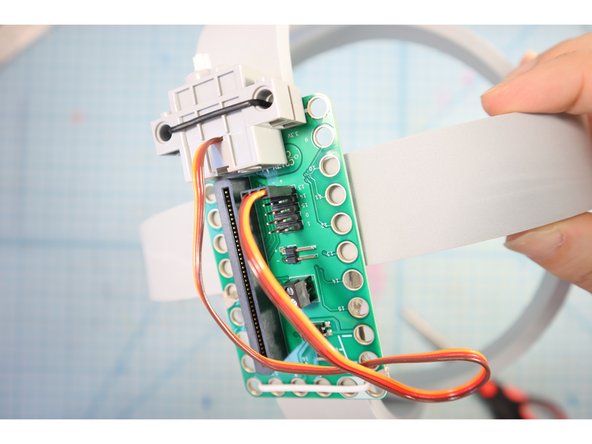
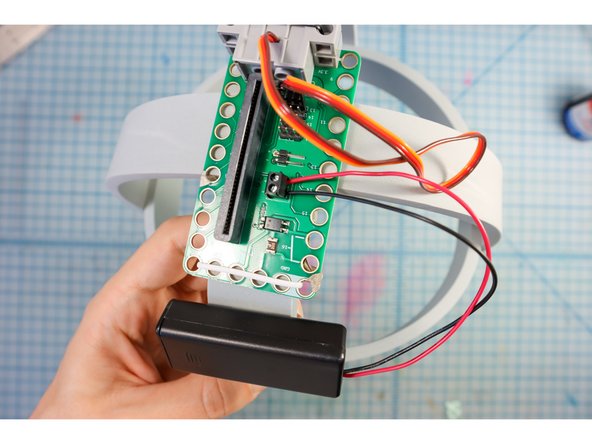
Use a plastic-covered twist tie to attach the servo motor through the GND and 3V holes.
-
-
-
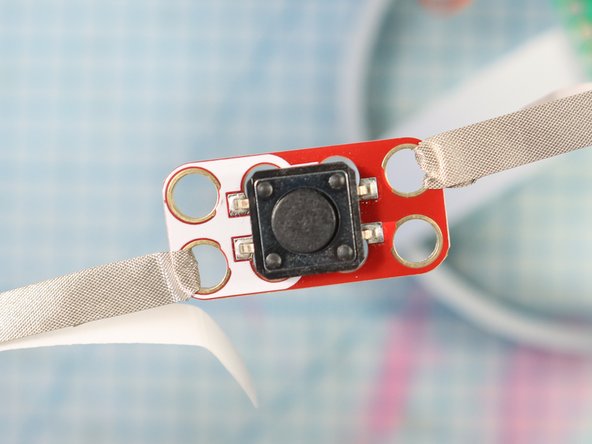
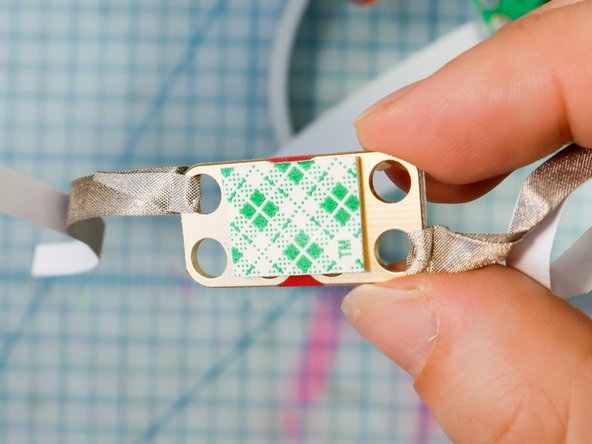
Wrap Maker Tape around the button, connecting it to itself as shown.
-
Add foam mounting tape to the back.
-
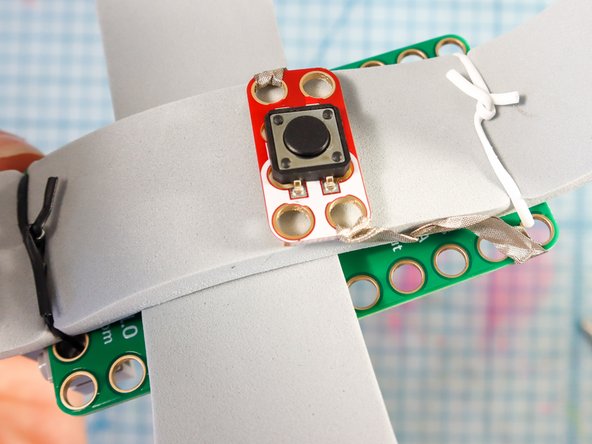
Adhere the button inside the hat where it touches the top of the head. This button will activate the code when the hat is placed on the wearer's head.
-
Adhere one of the strips of Maker Tape to Pin 5 and the other strip to GND.
-
-
-
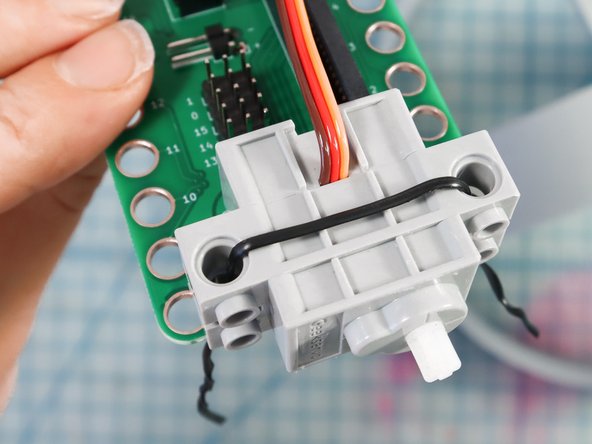
Connect the Servo to Pin 13 using the pins on the back of the Bit Board. The ground wire is the brown one.
-
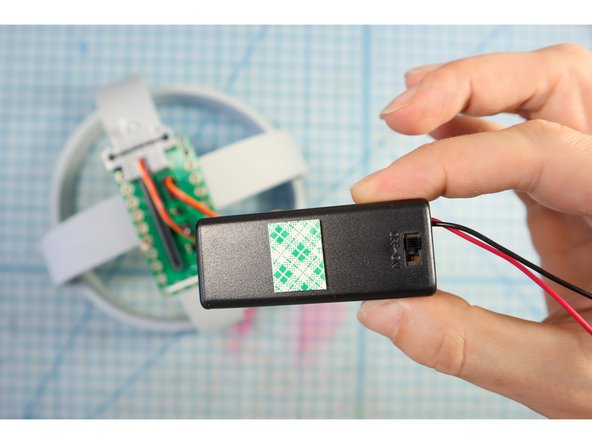
Use foam mounting tape to secure the battery pack.
-
Secure the wires into the screw terminals with a small screwdriver.
-
-
-
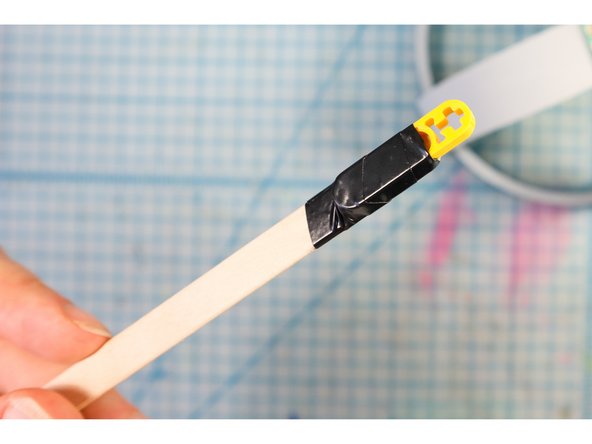
To make the arm that will swing the hat around, we put a dab of superglue to connect the LEGO to the popsicle stick (this is optional).
-
Then, we wrapped the two together with a piece of electric tape as shown.
-
-
-
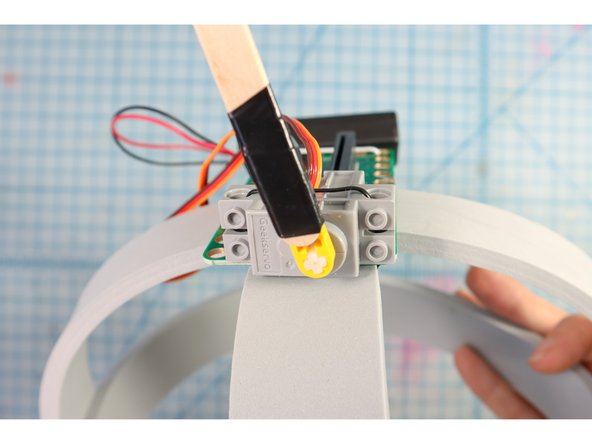
Place the micro:bit into the Bit Board and connect it to your computer to download this code.
-
Tip: Remove the stick from the motor during your first upload. Then, press button "B" to move the motor to the center position, and place the stick onto the motor facing straight up.
-
-
-
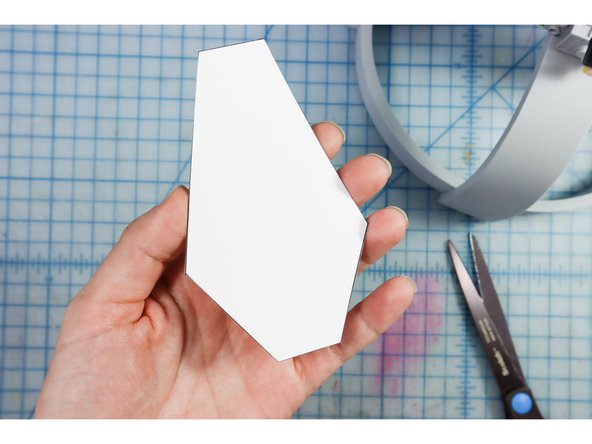
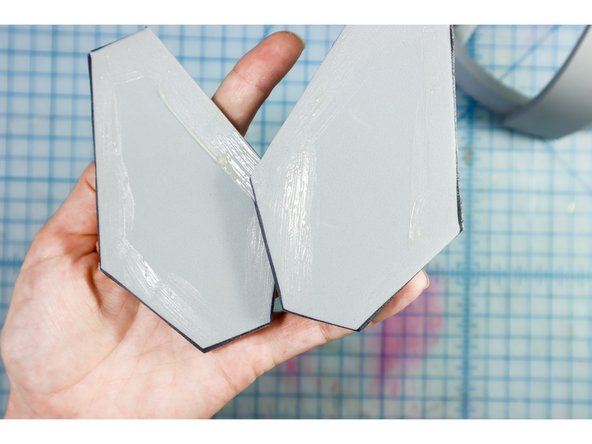
Using the foam template, cut two of the shapes out of foam.
-
Apply rubber cement to the edges, leaving the area at the bottom dry, as shown.
-
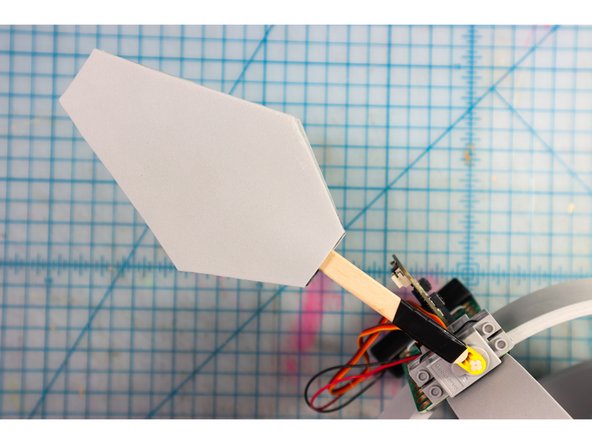
Press the two pieces together, then slide the popsicle stick between them. By keeping the glue away from the stick, you can insert it more or less to match the height of your Santa Hat.
-
-
-
Glue the foam inside the peak of the Santa hat with the front of the hat matching the front of the foam piece.
-
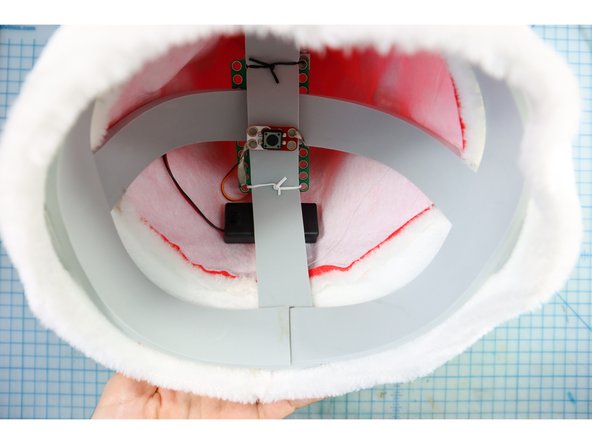
Insert the rest of the assembly inside the hat. It's easiest to do this in two steps: detach the foam piece and place it inside, then place the headpiece inside, then carefully re-attach the stick to the motorhead inside the hat.
-
-
-
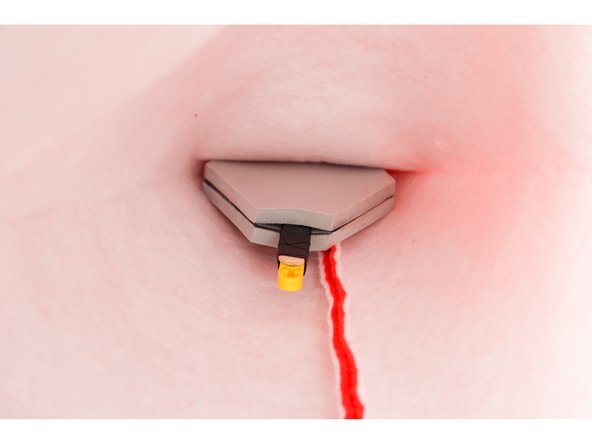
Test the hat by placing it on your head - it should dance around!
-
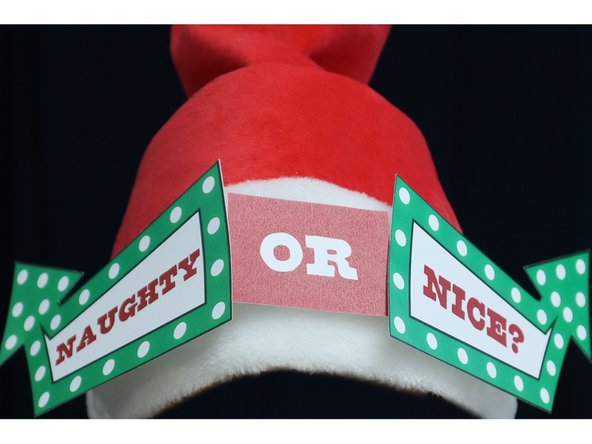
To complete the simple version of the hat, print and cut out the template, then hot glue the pieces in place, as shown.
-
-
-
For the advanced version, we'll make the template 3D and add lights!
-
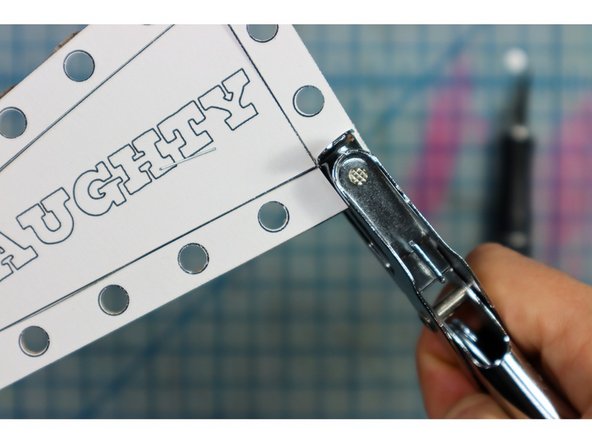
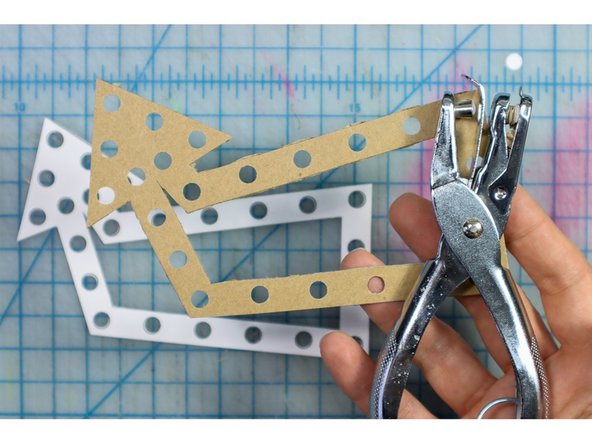
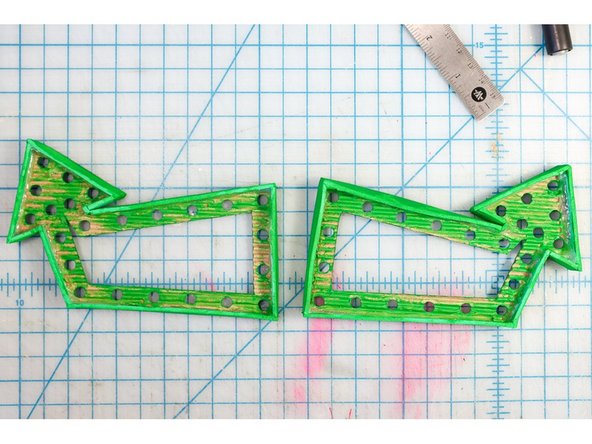
Staple the template to a piece of cardboard. We removed one side of the cardboard to make it easier to punch.
-
Cut out the arrow shape and use a hole punch to punch out the holes.
-
-
-
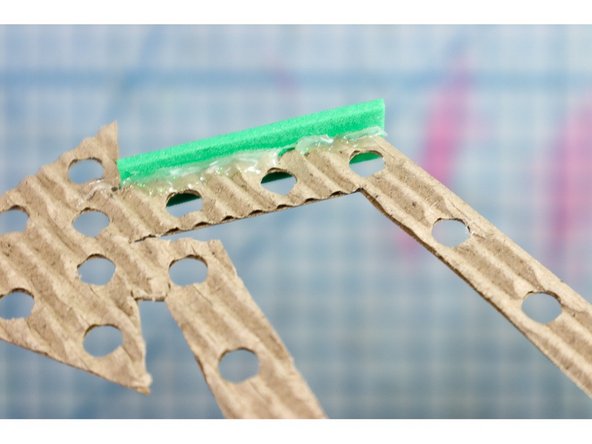
Line the outer edge with .5 inch strips of craft foam. Cardboard strips would also work.
-
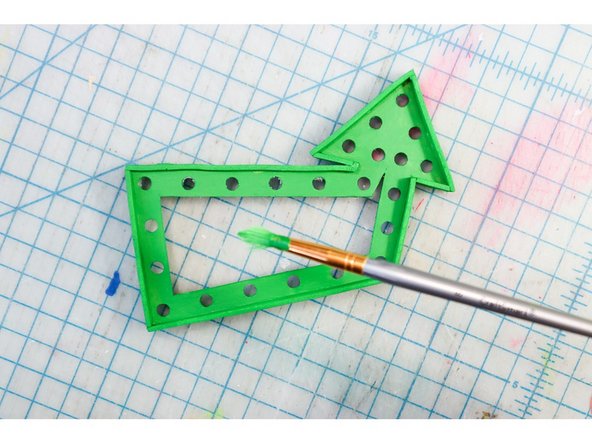
Paint the arrows green.
-
-
-
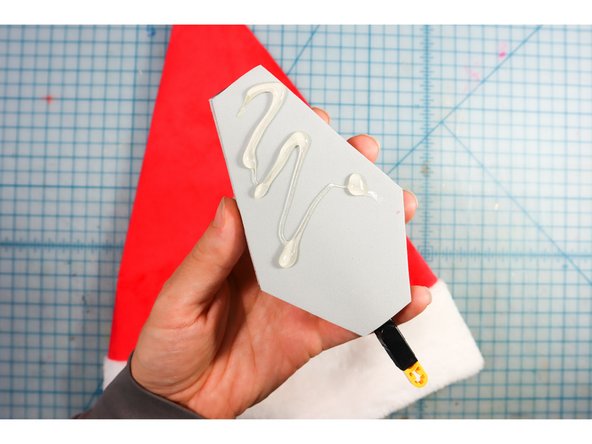
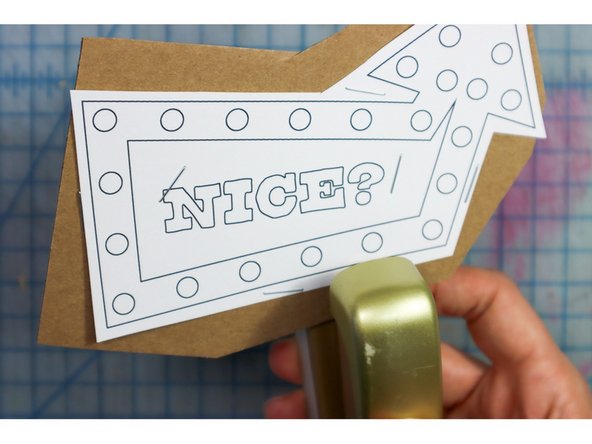
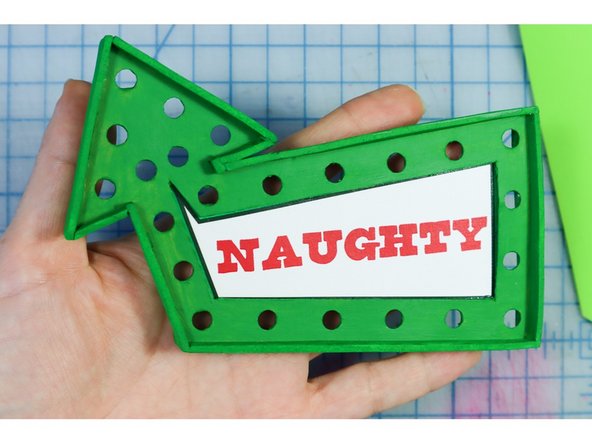
Glue the words behind the arrows, making sure not to cover the LED holes.
-
-
-
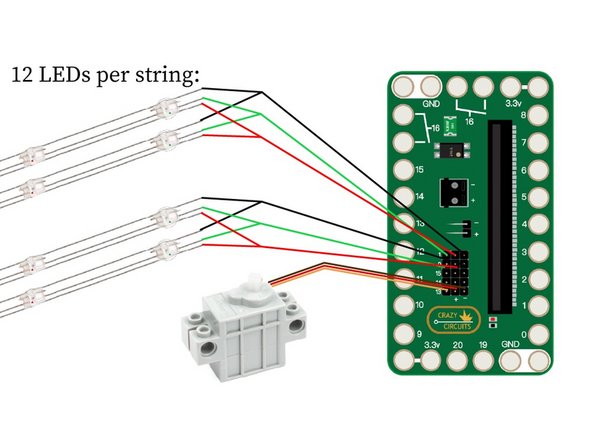
The circuit is a bit complex: We soldered two rows of 12 LEDs together so that the animation would be easy to code. See the diagram for details. Make two sets of 12, one set for each arrow. There are detailed soldering instructions in the next step.
-
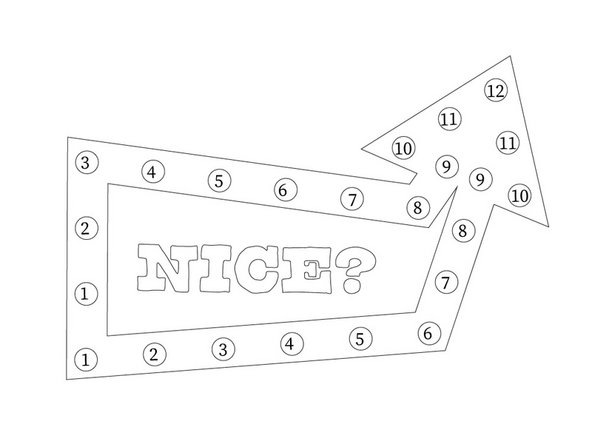
In the second diagram, you can see the LED layout, with the LEDs closest to the Bit Board (#1) placed at the bottom of the arrow, and moving around the arrow on either side toward the tip (#12). One of the two rows will have an extra LED that you can cut off.
-
-
-
This step is very tricky! If you're new to soldering, partner with a maker with experience for this step.
-
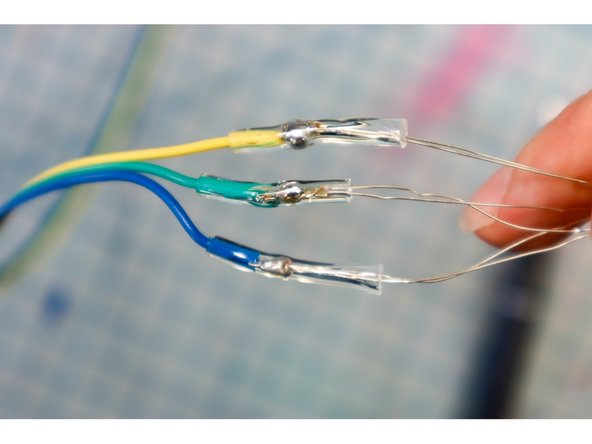
The "fairy light style" neopixel LEDs are very tricky to work with because the wires are very thin and coated with resistive plastic. Use an X-ACTO blade to peel away the plastic, exposing the copper wire.
-
Add heat shrink tubing before connecting the wires to the long female jumper wires. This will make it easy to plug it into the Bit Board.
-
-
-
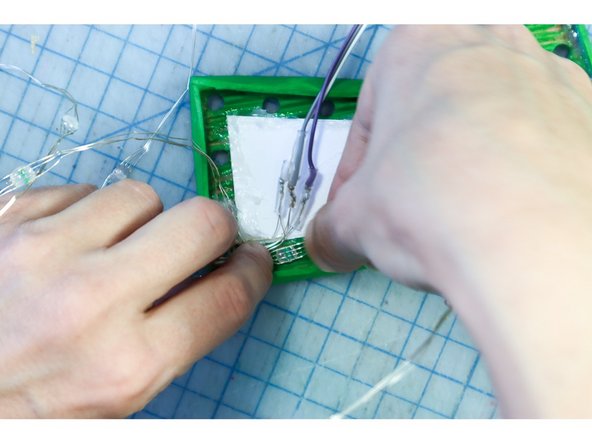
Following the diagram in step 15, glue each LED in place behind each hole.
-
Remove any glue that makes its way to the front with tweezers.
-
-
-
Connect the "Nice" arrow to Pin 0 and the "Naughty" arrow to Pin 1.
-
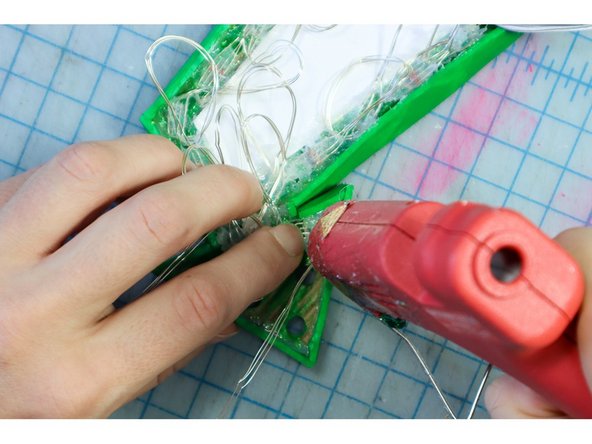
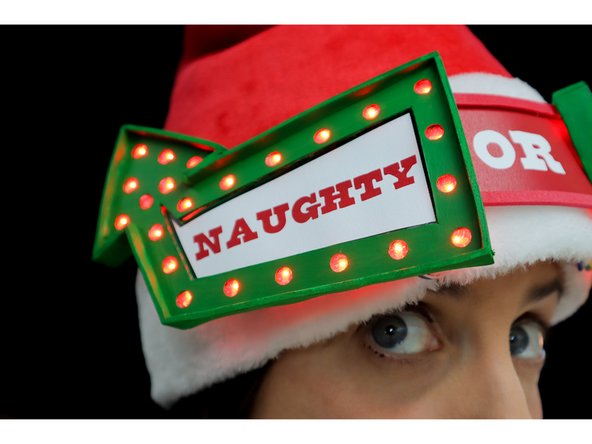
Use Hot Glue to glue the Arrows to the hat, with the "OR" sign in the center.
-
It's time to see who's NAUGHTY and who's NICE!
-


Cancel: I did not complete this guide.
2 other people completed this guide.
Attached Documents
