
Introduction
Make this simple Light-Up Ugly Christmas sweater in less than an hour! You'll be festive in no time!
Video Overview
-
-
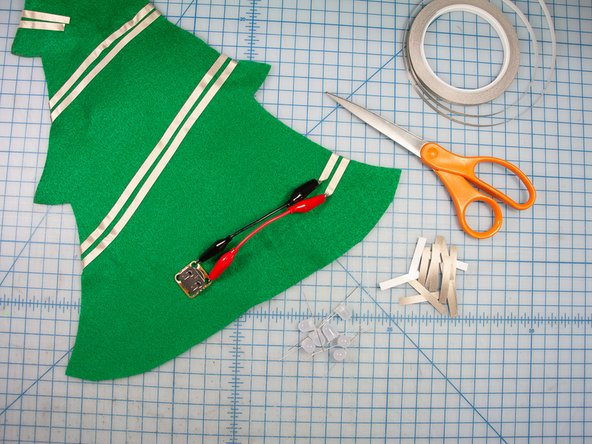
Gather Supplies
-
-
-
Fold the felt in half.
-
Draw half of a tree shape with a permanent marker.
-
Using sharp scissors, cut out the tree shape along the line.
-
Unfold it to reveal a full tree.
-
-
-
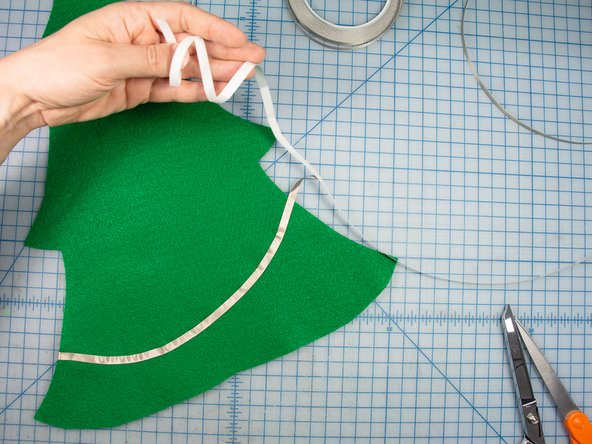
Peel the backing off the tape - only about an inch to start.
-
Position the tape at the bottom of the tree on the backside of the felt.
-
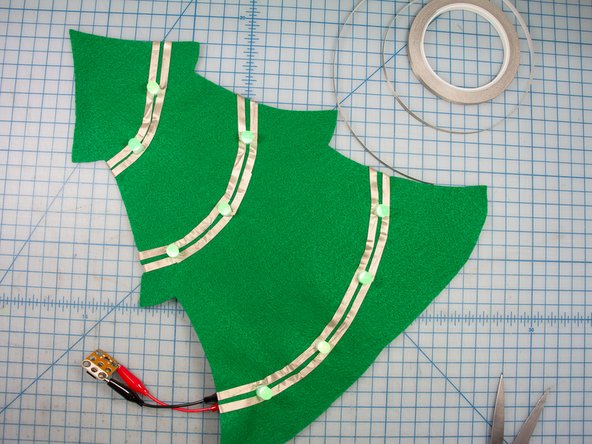
Slowly "draw" the garland around the tree in one continuous piece, peeling the backing off of the tape slowly as you go.
-
End the tape trail on the backside of the felt tree.
-
-
-
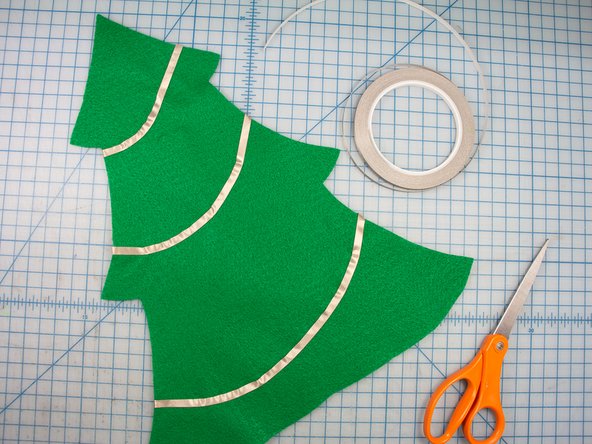
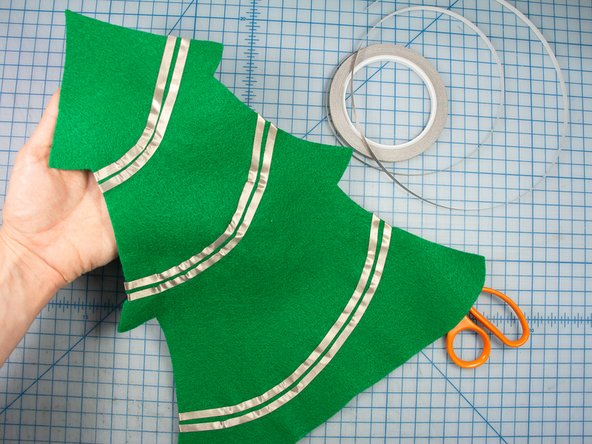
Complete the same path with another separate piece of maker tape. Be sure that the second path is parallel to the first path and that they do not touch anywhere along the way.
-
Since the Maker Tape will serve as the path for the electrical current of our circuit allowing them to touch would result in a "short circuit" which is something we do not want!
-
-
-
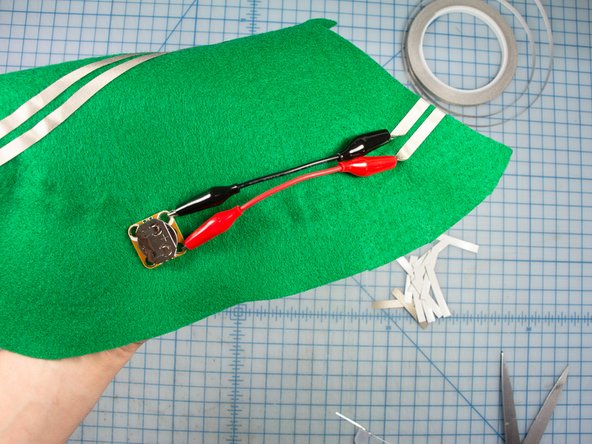
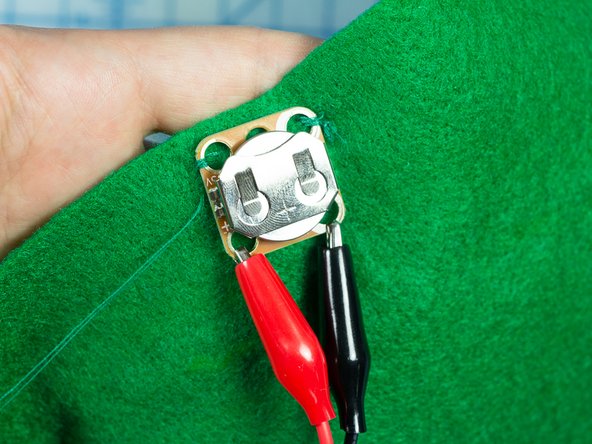
Attach a short alligator clip to the battery holder + and - holes and to each of the two Maker Tape pieces. Make sure you get the polarity correct.
-
Note: The negative side of the battery holder has white rings around the connectors.
-
-
-
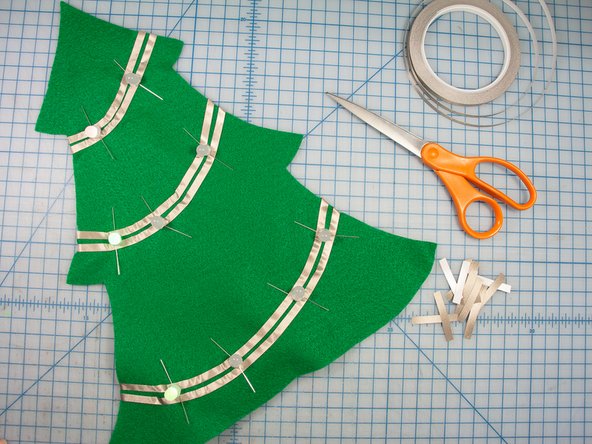
Fold the LED legs flat so that they spread in opposite directions.
-
Place the LEDs along the path to decide where they will go.
-
Allow one of the LED legs to touch one of the pieces of Maker Yape, and the other leg to touch the other piece of Maker Tape.
-
Remember, LEDs have polarity, which means one leg is positive, and one leg is negative. (The positive leg is longer.) If you have one that doesn't light up you may need to rotate it so the legs are switched.
-
-
-
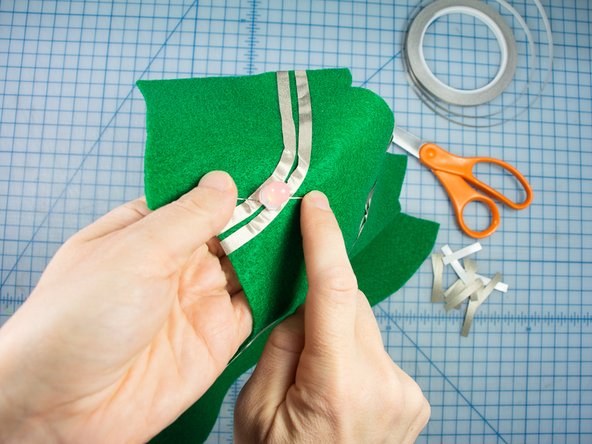
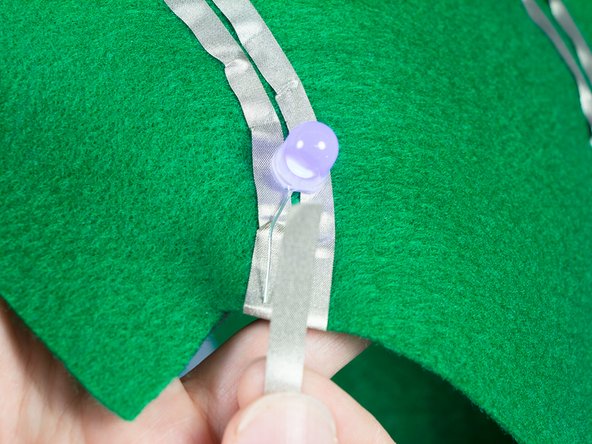
Cut many strips of maker tape about the length of the LED legs
-
Cover the LED legs to attach them to the project. Make sure that the tape runs along the piece underneath it and doesn't touch the piece parallel to it.
-
The great thing about Maker Tape is that it is conductive on both sides and all the way through. (This is not the case with most copper tapes, which are also too fragile to use on a fabric project.)
-
-
-
Make sure all of the LEDs light up.
-
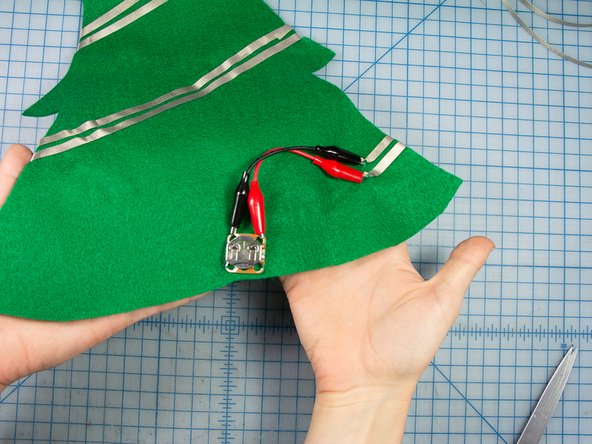
Using some green thread, sew the battery pack near the bottom of the tree so that you can easily remove the battery when it needs to be replaced.
-
-
-
Make a star from a large yellow pipe cleaner.
-
Use tacky glue to glue the tree to the center of the sweatshirt. Leave a gap in the glue around the battery pack.
-
-
-
Use tacky glue (or hot glue) to attach the star and pom-pom details
-
-
-
Wear your new Light-Up Ugly Christmas sweater and tell everyone YOU made it! Merry Christmas. :)
-


Cancel: I did not complete this guide.
One other person completed this guide.
