
Introduction
The Solar USB Charger 2.0 Kit is a great way to create a simple solar powered USB charger. The project requires a bit of simple soldering, but can easily be completed by someone who has never soldered before.
The printable PDF has some updates to reflect the new USB circuit that we're using.
Featured Document
-
-
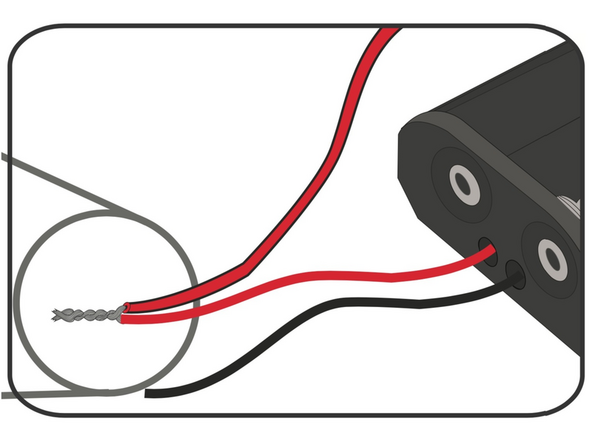
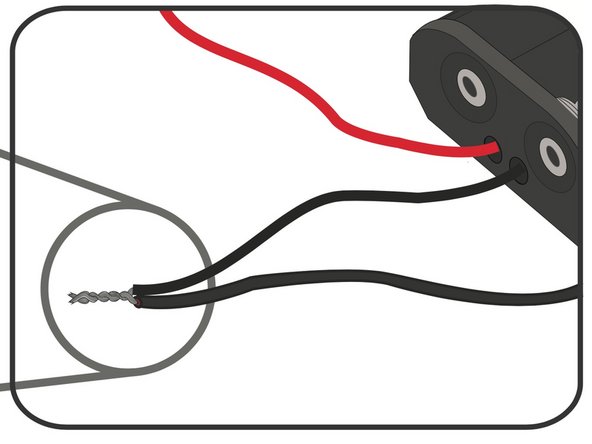
Strip the ends of all wires, including the Battery Holder.
-
-
-
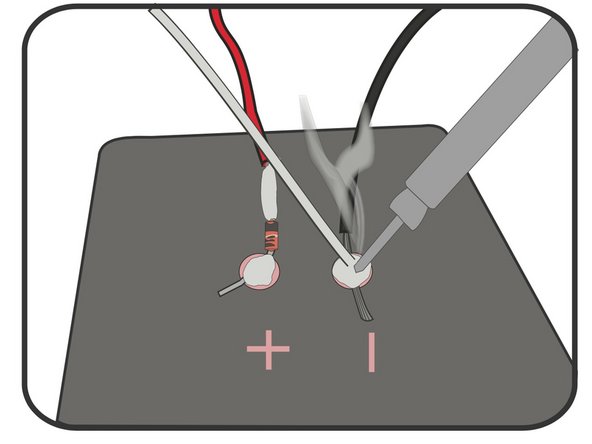
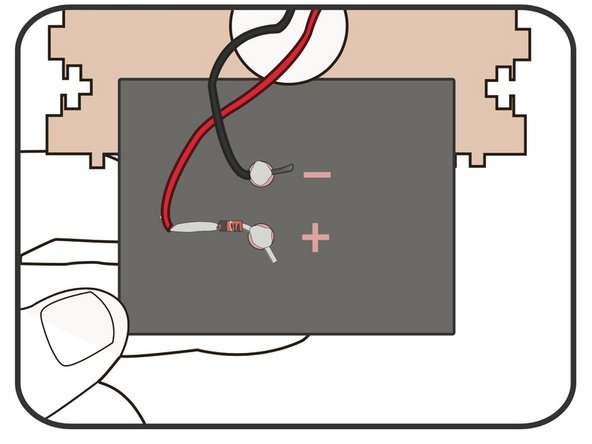
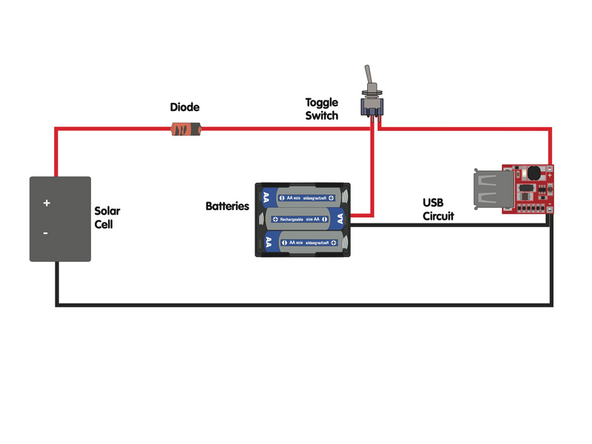
Solder the Diode to the (+) Positive solder point on the Solar Cell.
-
Note: The Diode has a black bar on one side. That side goes to the wire and the non black bar side is soldered to the Solar Cell.
-
Twist one end of your Red wire around the other side of the Diode. Solder into place.
-
Snip off excess parts of the Diode legs.
-
-
-
Thread the wire through the "Top" laser cut wood part.
-
-
-
Twist the Red wire from the Solar Cell together with the Red wire from the Battery Holder.
-
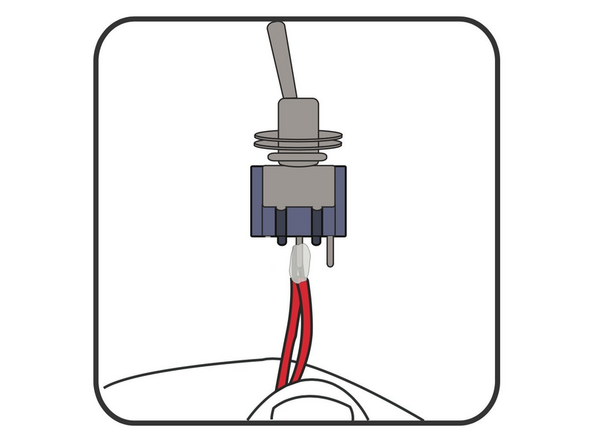
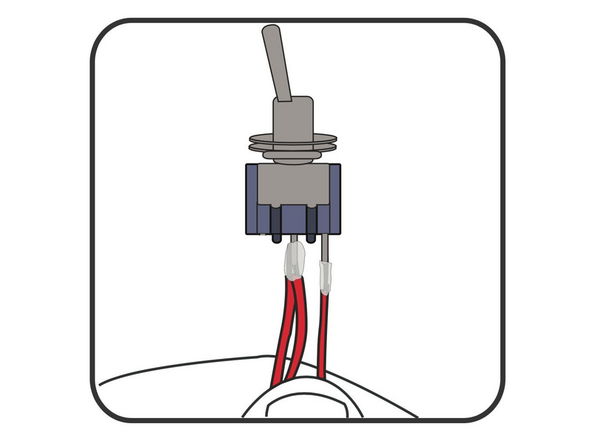
Solder both wires to the middle pin on the Switch.
-
Solder your other piece of Red wire to the outside leg of the Switch.
-
-
-
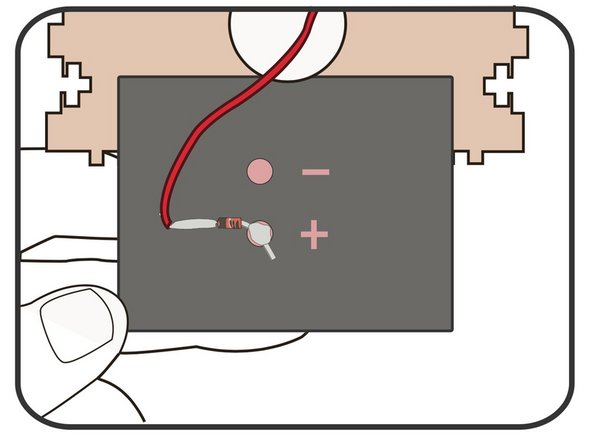
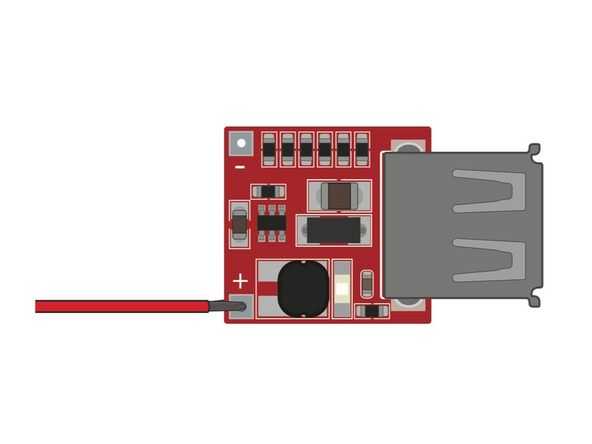
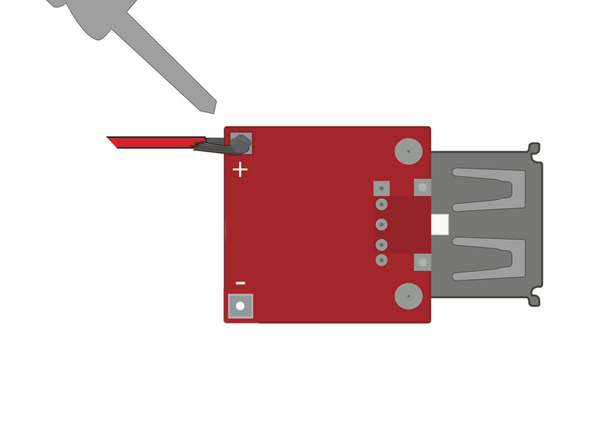
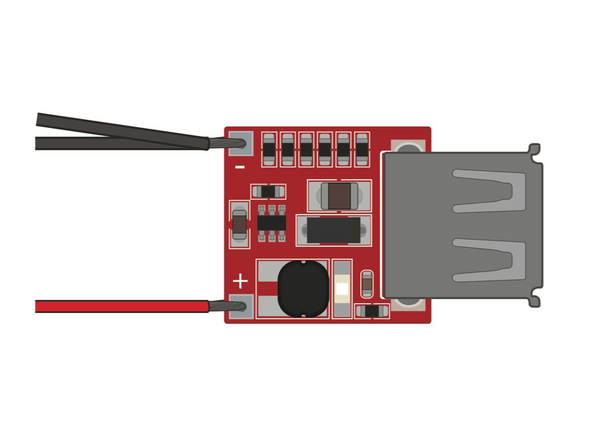
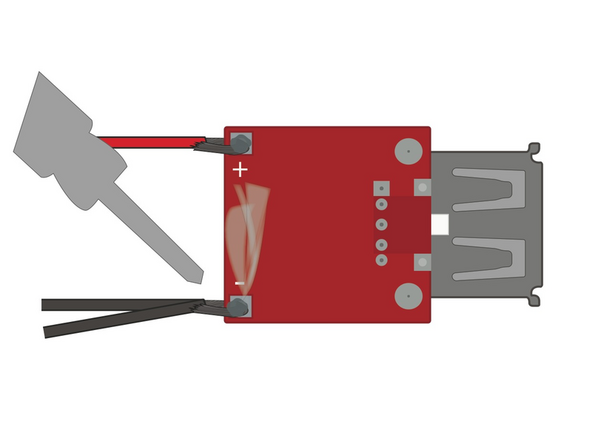
Solder the Red wire coming off the Switch to the (+) Positive terminal on the USB Circuit.
-
-
-
Solder your Black wire to the (-) Negative side of the Solar Cell.
-
Thread it through the "Top" wooden piece.
-
-
-
Twist the Black wire from the Solar Cell together with the Black Wire from the Battery Holder.
-
-
-
Solder the two Black wires to the (-) Negative terminal on the USB Circuit.
-
-
-
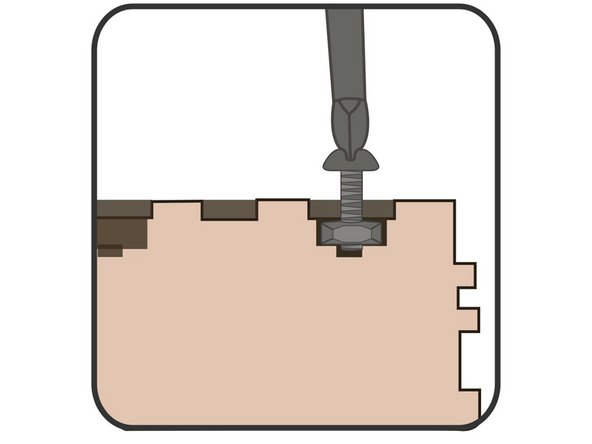
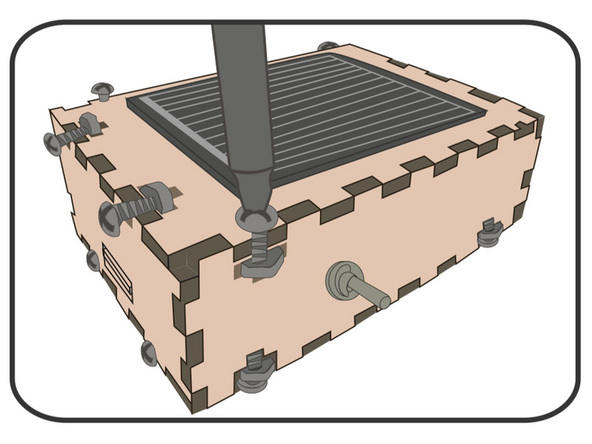
Use a screwdriver to assemble the body.
-
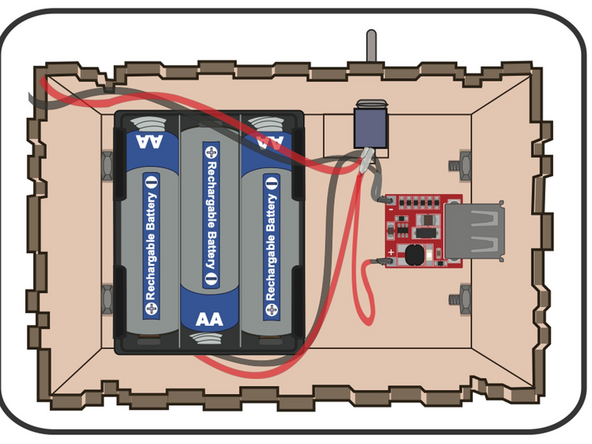
Use double sided tape to hold down the USB Circuit and Battery Holder.
-
Close up the box and secure the Solar Cell to the top using tape.
-
-
-
The rechargeable AA Batteries used in the kit may be dead, charge them up quickly with a wall AA charger.
-
In a pinch, use regular AA Batteries for a quick test. NEVER try to charge regular AA Batteries.
-
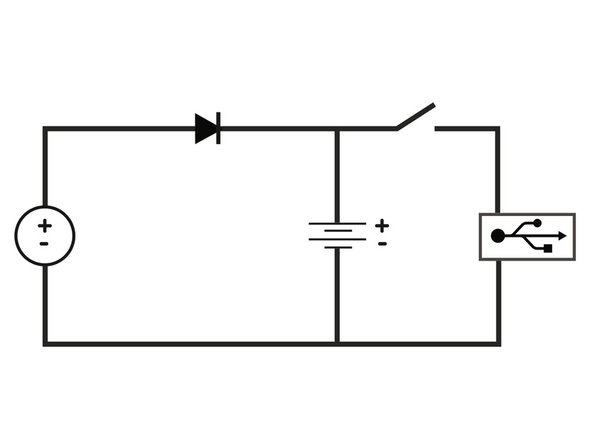
Check out the diagrams in this step if you're worried you missed something.
-
The Solar Cell on this charger is weak and it may take a couple of days to charge up your internal batteries all the way.
-


Attached Documents
