Introduction
Use stiff felt, craft foam or cardstock to make this Spider with two LEDs.
You can make this project (and many more!) with our Wearable Circuits Kit or our Paper Circuits Kit.
Tools
Parts
Featured Document
-
-
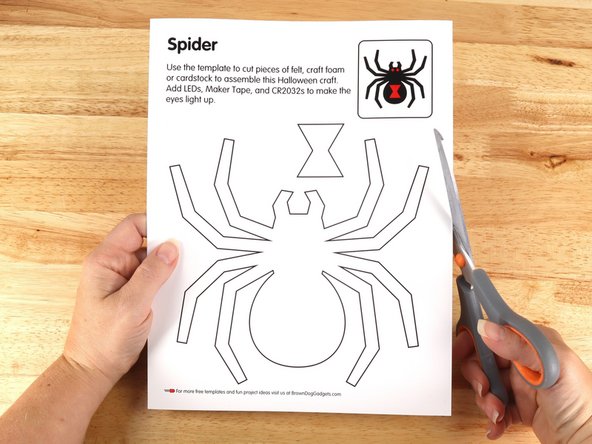
Print out the template on heavy cardstock.
-
We have included a full color template as well as a black and white template. Print the one that works better for your printing needs.
-
Cut out each part of the template.
-
-
-
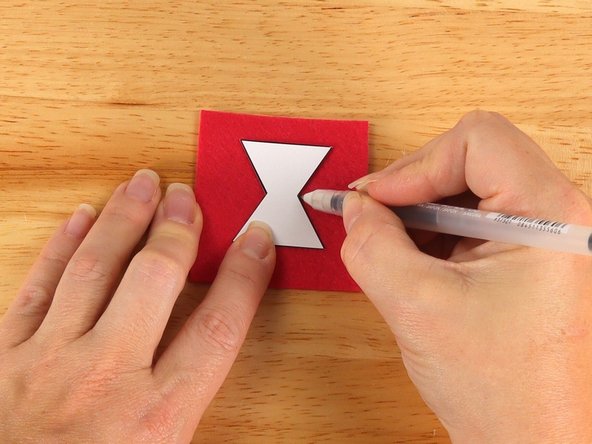
Use the template to trace the parts onto stiff felt, craft foam, or cardstock.
-
Cut out the parts.
-
-
-
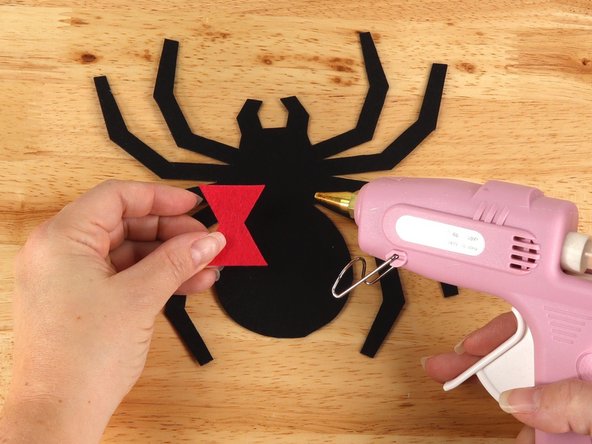
Use glue to assemble the Spider.
-
Regular Elmers glue and Tacky glue both work well, but you will need to give the Spider time to dry overnight before adding the circuit. Hot glue also works well and dries fast so you can build the circuit right away.
-
-
-
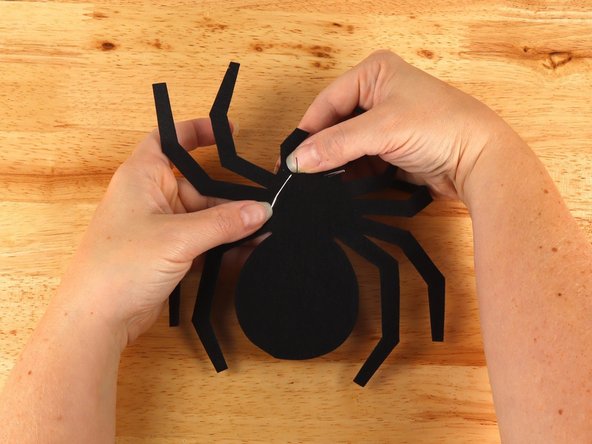
Use a safety pin or a push pin to poke four holes (two for each LED) through the felt for the LED legs to go through.
-
-
-
Add the LEDs by pushing the legs through the holes.
-
Note! Make sure the longer Positive (+) legs are in the middle of the project when you put the legs through the holes.
-
-
-
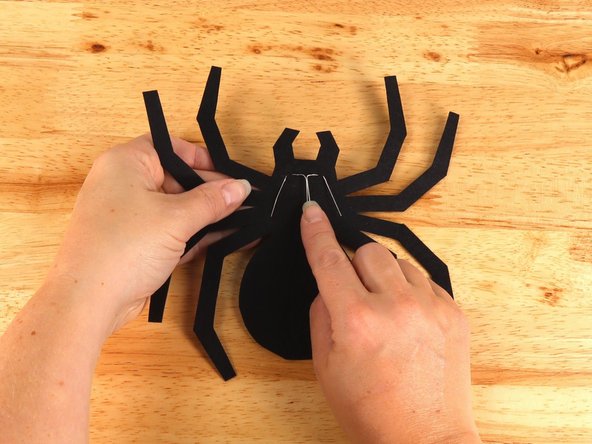
Bend the shorter (Negative) LED legs towards the bottom and slightly outward.
-
Bend the longer (Positive) LEDs legs in and down.
-
-
-
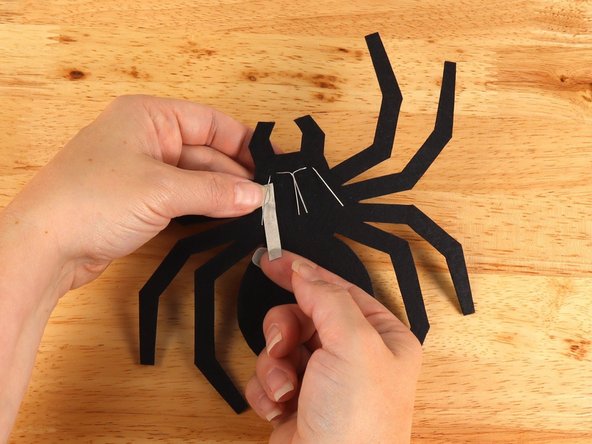
Place a piece of Maker Tape UNDERNEATH each LED leg.
-
Place another piece of Maker Tape OVER THE TOP of the LED legs so the LED legs have Maker Tape under and on top of them.
-
Two layers of Maker Tape create a "tape sandwich" with the LED legs in the middle. Since the felt isn't as flat as paper this will help create a better electrical connection.
-
-
-
Add Maker Tape to make the outside (Negative) pathways longer if needed.
-
Use a piece of Maker Tape to connect the two outside (Negative) pathways.
-
-
-
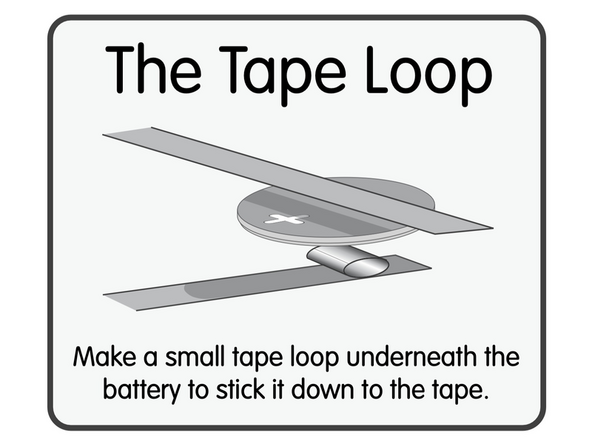
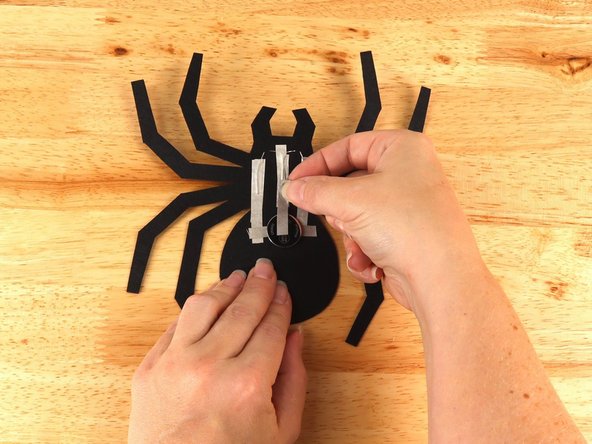
Make a loop of tape (sticky side out) using a short piece of Maker Tape, and stick it atop the middle of the tape pathway connecting the two longer (Negative) pathways.
-
Once your Tape Loop is in place you can add the Battery to it.
-
Make sure the Positive side of the Battery is facing upwards, with the Negative side stuck down to the tape.
-
-
-
Add Maker Tape to connect the top (Positive) side of the battery to the Positive LED legs path above.
-
-
-
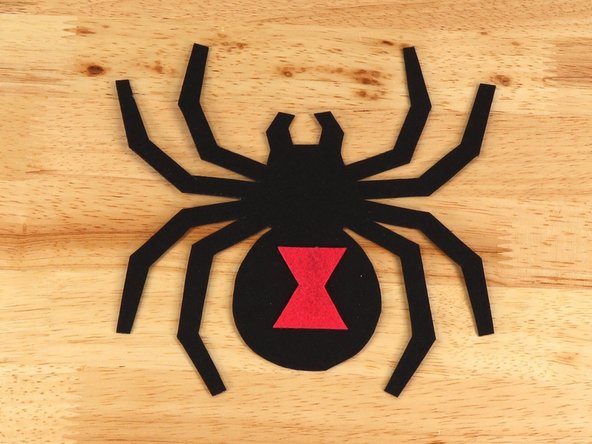
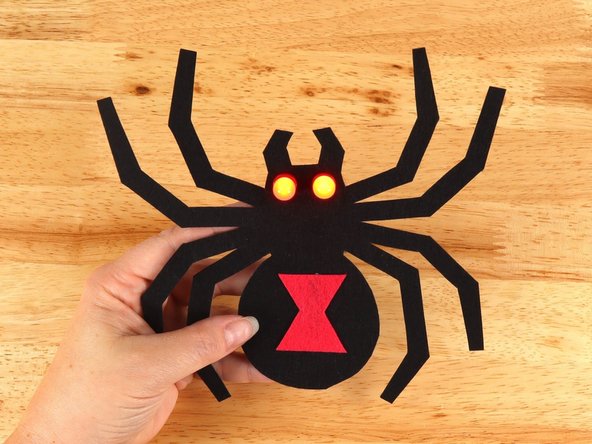
Your Halloween Spider craft is assembled and ready to show off to other!
-


Attached Documents