
Introduction
This fun light-up eyes project will make everyday objects come alive! It's the perfect thing to scare your guests at a Halloween party. (They're also suitable for anytime you want a fright.)
You can make this project (and many more!) with our Paper Circuits Kit.
Tools
Video Overview
Featured Document
-
-
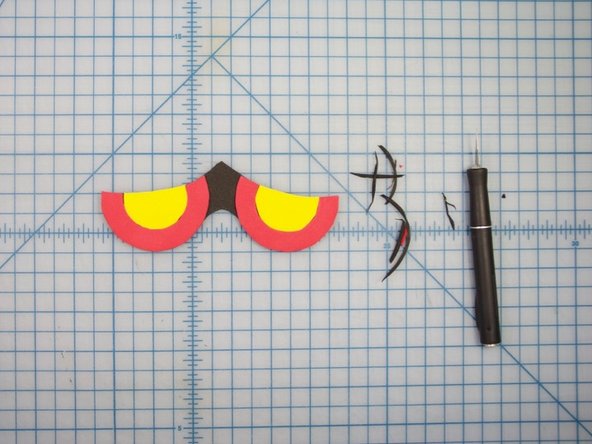
Gather Supplies
-
Cut each shape out with room around the edge
-
Staple the shape to the foam outside the shape to hold it in place.
-
-
-
Cut out the rest of the shapes using the same method.
-
-
-
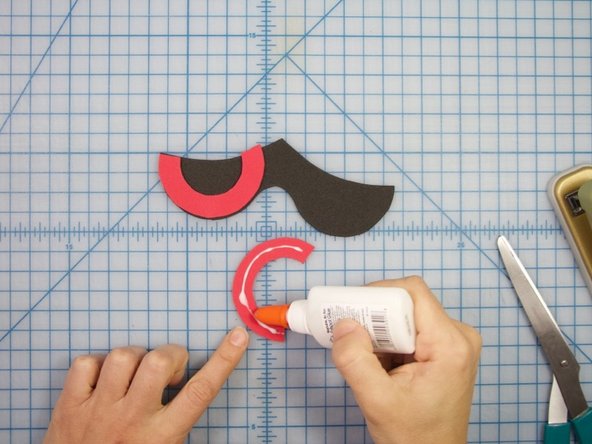
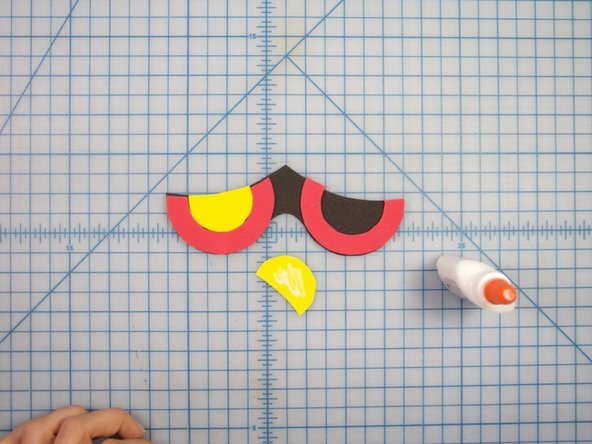
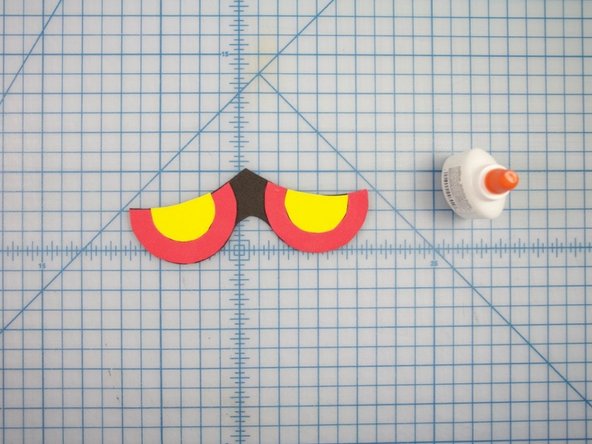
Glue the shapes together.
-
-
-
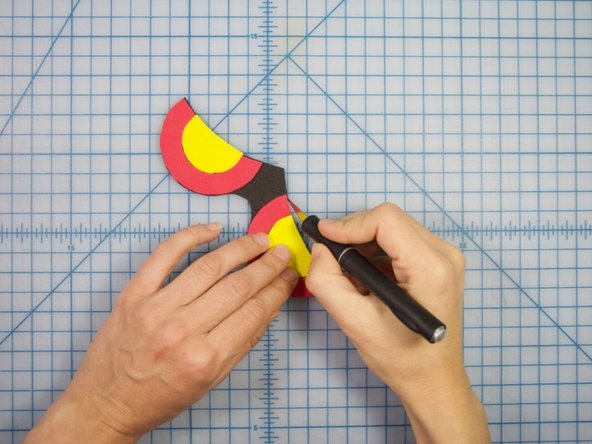
Trim away any excess foam visible around the edges by holding your cutter at an angle.
-
-
-
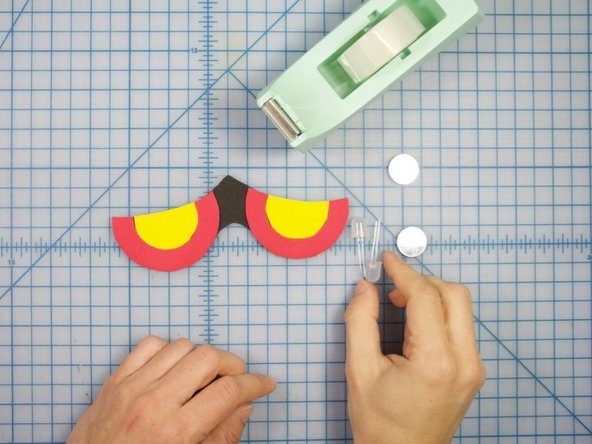
Choose two LEDs to be the glow of the eyes.
-
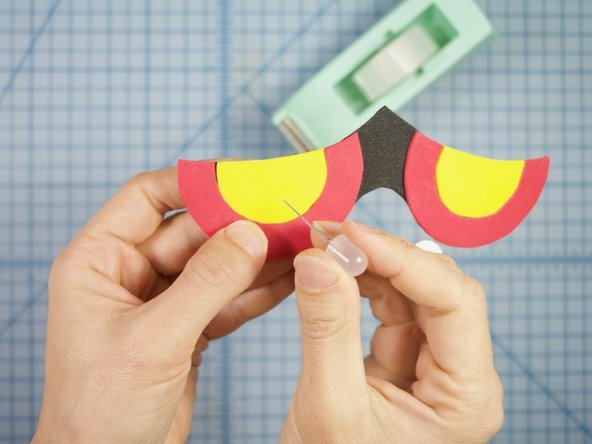
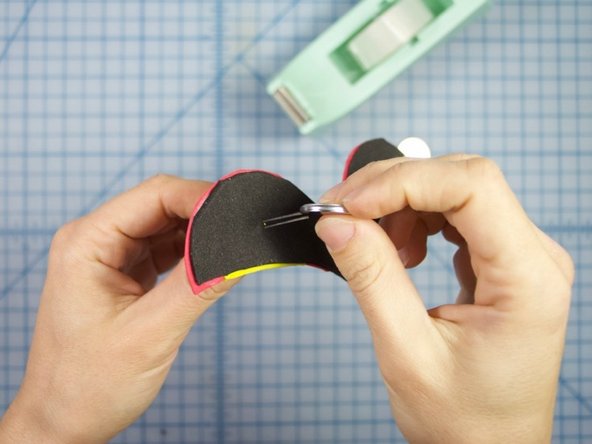
Poke the legs through the foam at the desired location.
-
Note: It's best to position the shorter (negative) leg of your LED to face the outer edge of the eyes.
-
-
-
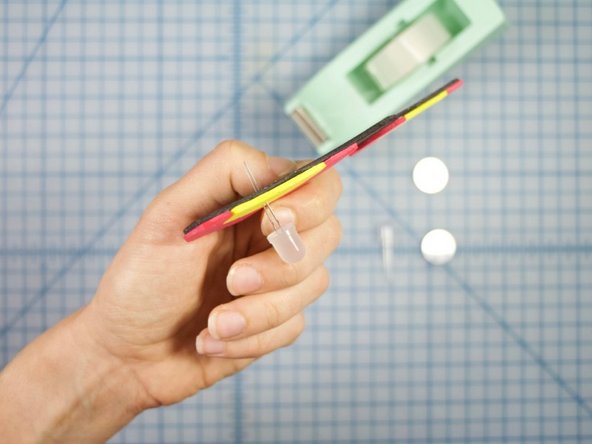
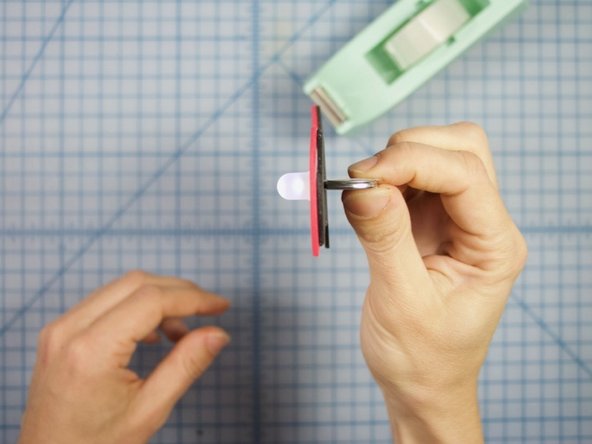
Insert the battery between the two legs. Make sure the long leg touches the "+" side of the battery and the short wire touches the "-".
-
You should have a light! (If you don't, flip the battery over)
-
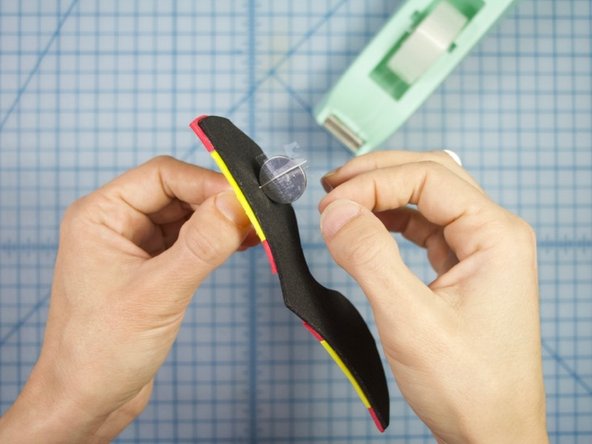
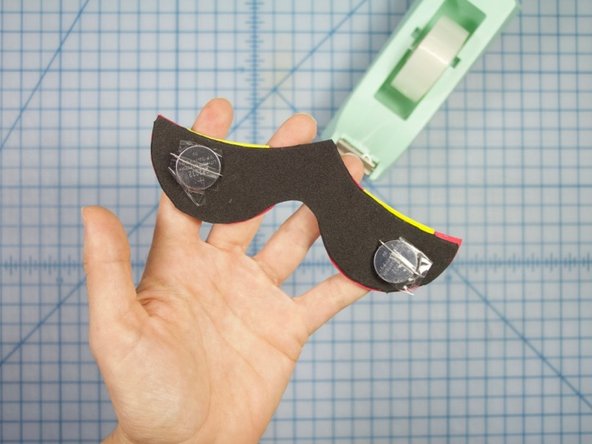
Once you have a lit up LED, wrap a long piece of tape horizontally around the battery and legs to hold them together.
-
-
-
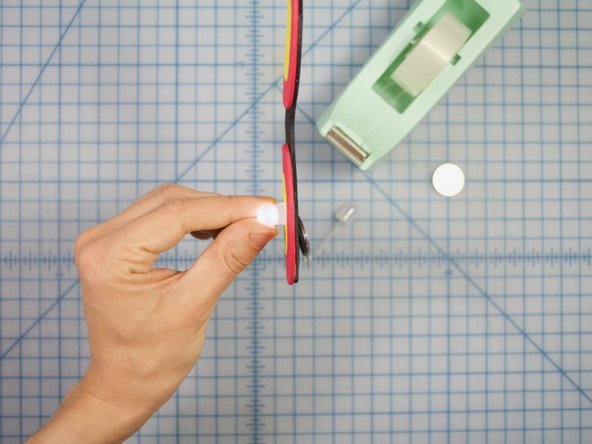
When the tape is secure, hold the LED in one hand and use the other hand to bend the battery flat against the back, with the positive side facing up and the negative side facing the foam.
-
Repeat LED steps to complete the other eye.
-
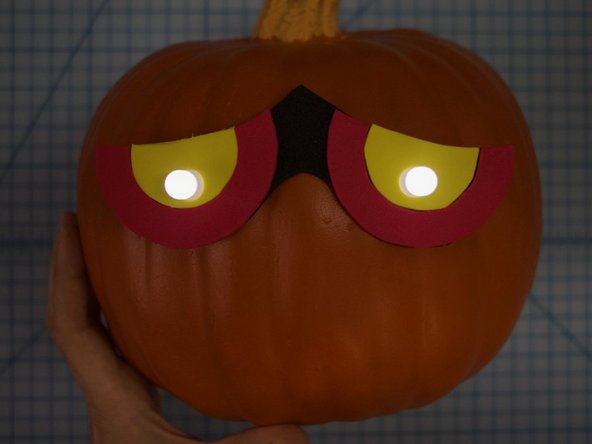
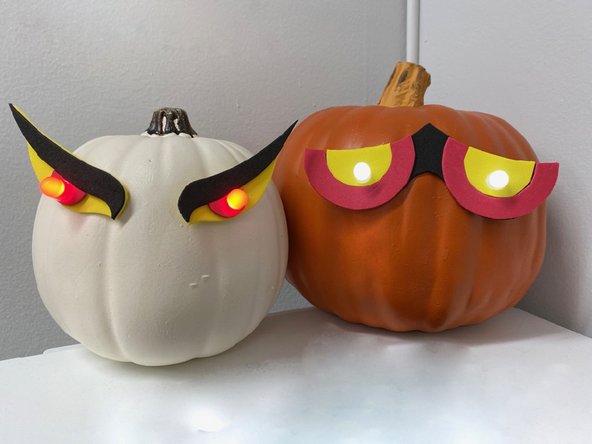
If you want more Spooky Eyes just repeat these steps with another design from the template to make more!
-
-
-
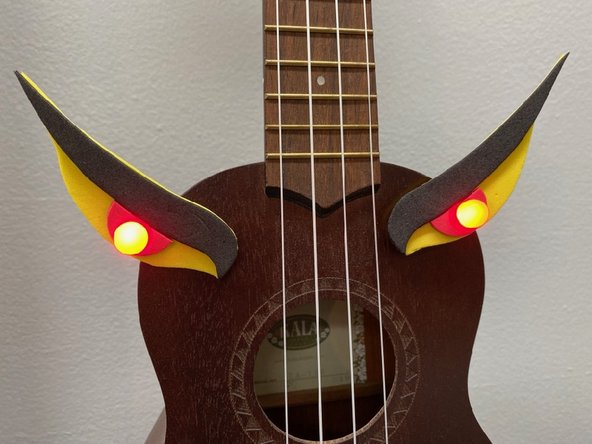
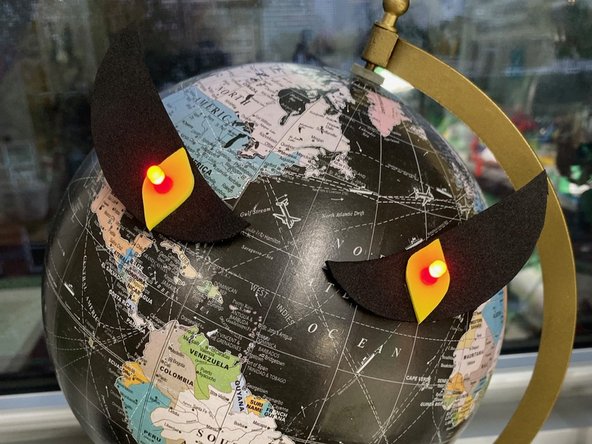
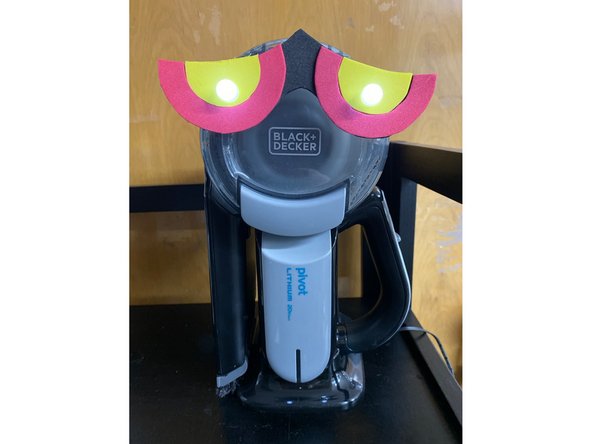
Pumpkins are great, but we had even more fun making other objects come to life with spooky eyes! Here are some examples.
-
-
-
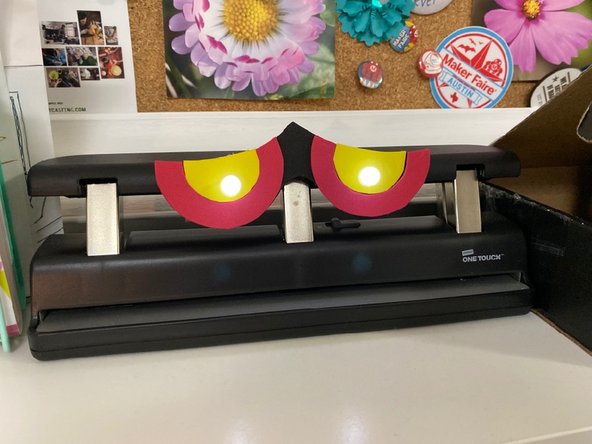
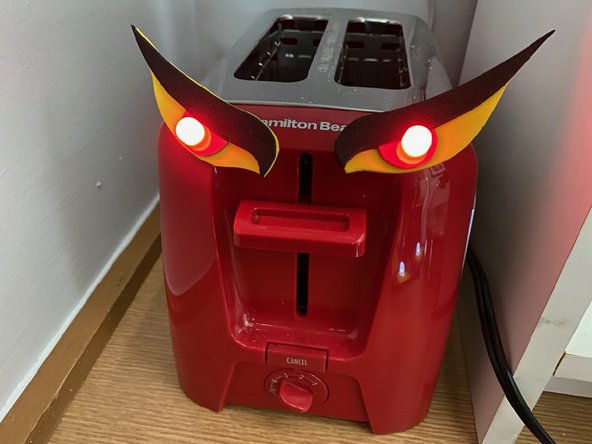
Here are some more examples.
-
Have fun making your house spooky for your next Halloween party!
-


Attached Documents
