
Introduction
Create a knife switch with this template and conductive Maker Tape. All you need is some cardboard, Maker Tape, a few brass fasteners, and an LED and CR2032 battery.
We also have a Giant Cardboard Knife Switch. Sometimes bigger is better!
You can make this project (and many more!) with our Paper Circuits Kit.
Tools
Video Overview
Featured Document
-
-
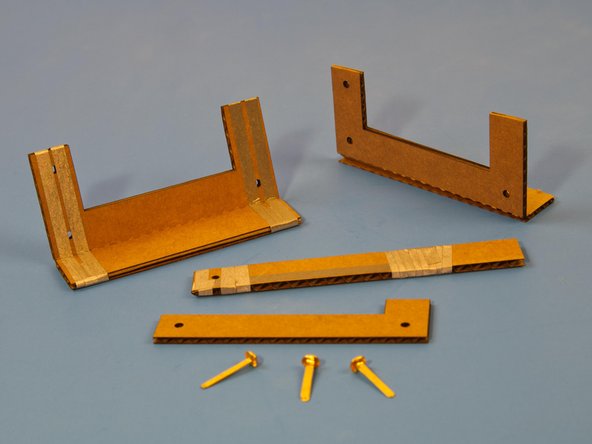
Print the last page of the PDF document and glue the template to a piece of cardboard.
-
-
-
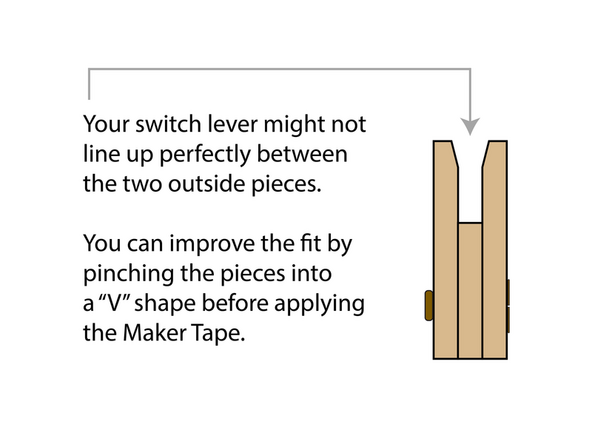
Attach Maker Tape as shown.
-
-
-
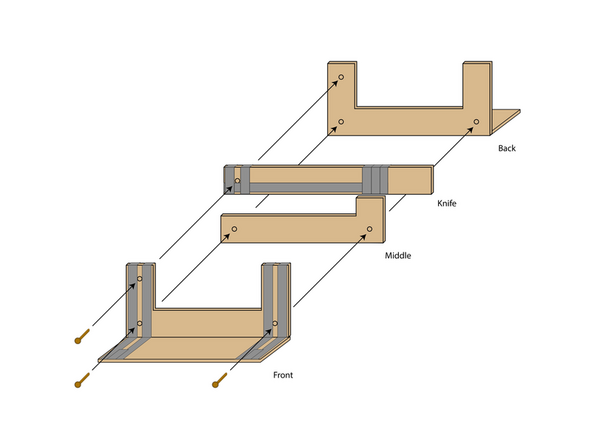
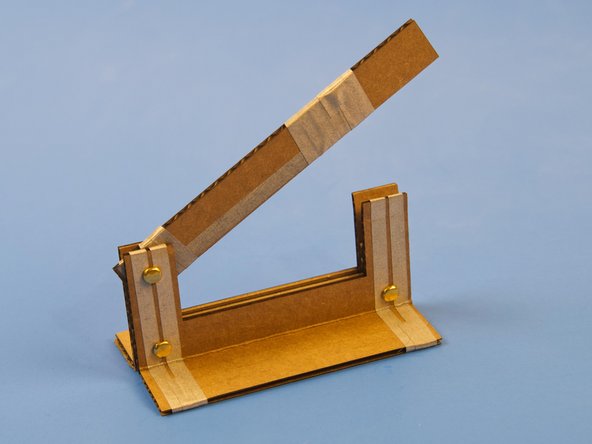
Assemble switch as shown.
-
Use three brass fasteners to hold the switch together.
-
-
-
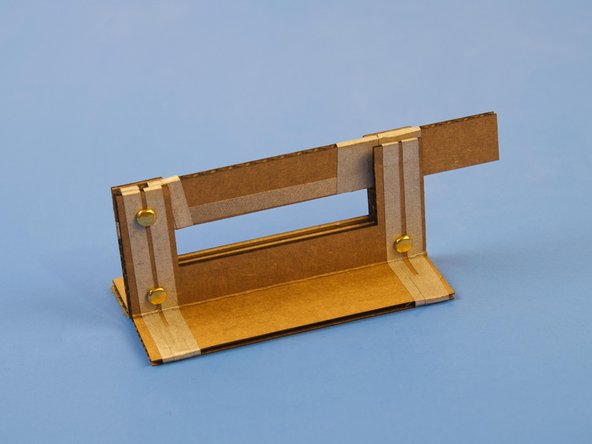
Connect your circuit to the pieces of Maker Tape on the left and right side of the base.
-
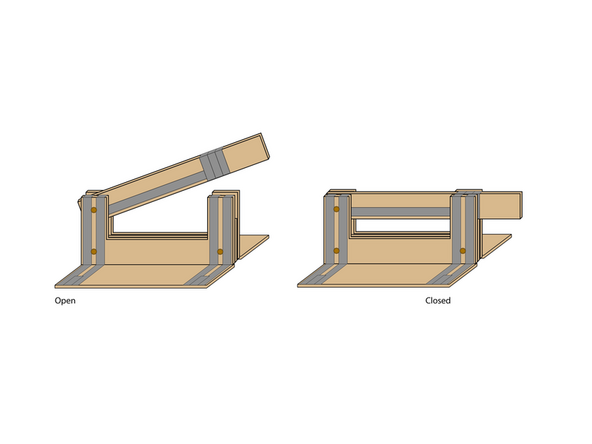
When you close the switch your circuit will be completed and will turn on!
-
-
-
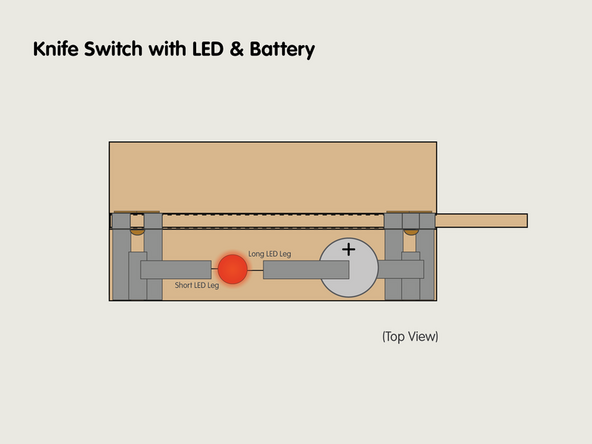
One quick and easy way to demonstrate the knife switch is to add an LED and and a CR2032 Battery.
-
All you need is a little Maker Tape and you can add it right onto the base of the switch!
-
-
-
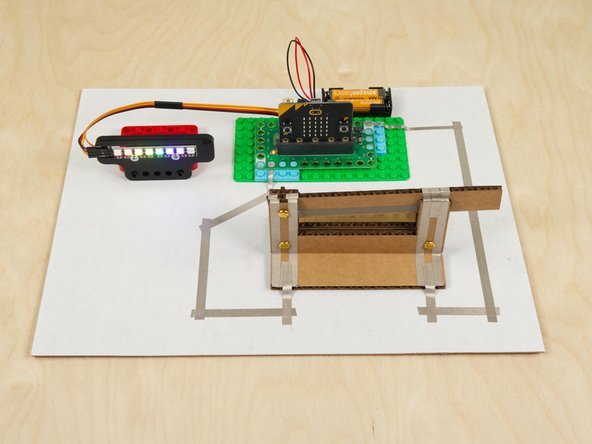
Since the Cardboard Knife Switch is a functional switch we can use it anywhere we might use a switch, including in a micro:bit project! The Knife Switch with NeoPixels is a great example of this idea!
-
For a more complex project using Cardboard Buttons check out our Game Show Buzzer System guide.
-
What ideas can you come up with to connect a knife switch to a Crazy Circuits project?
-


Cancel: I did not complete this guide.
One other person completed this guide.
Attached Documents
