Introduction
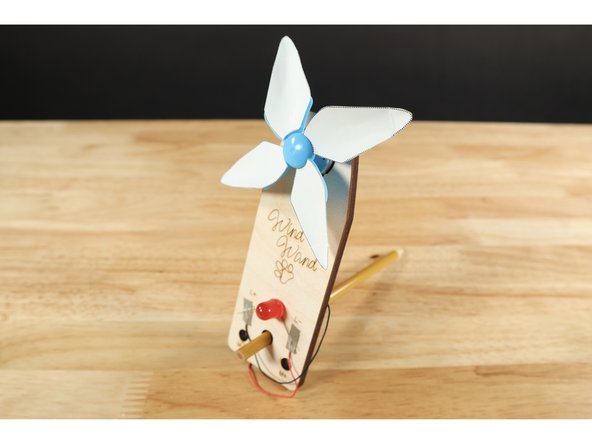
Included in your kit is a template card featuring four customizable paper fan blades. Use this guide to see how you design, attach, and alter them!
Video Overview
Featured Document
-
-
Use this basic testing procedure to gauge and compare the efficiency of the variety of fan styles that can be fashioned with materials in your kit. The blue fan alone will still drive the generator enough to light up your LED but some simple changes can impact output efficiency. Set this test up and try it first with the basic blue fan.
-
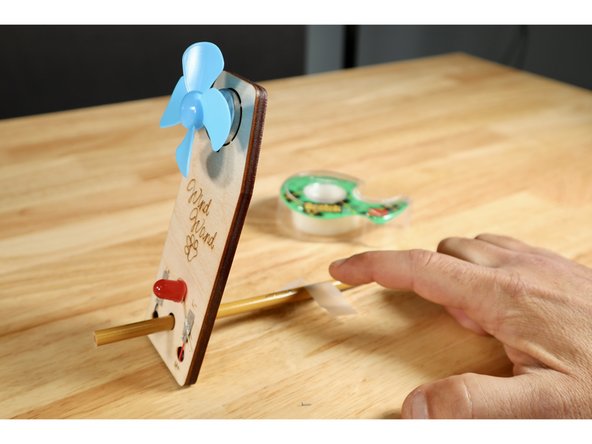
Put the Wind Wand in position and tape the pencil to the table behind it so that the wand doesn't move when tested.
-
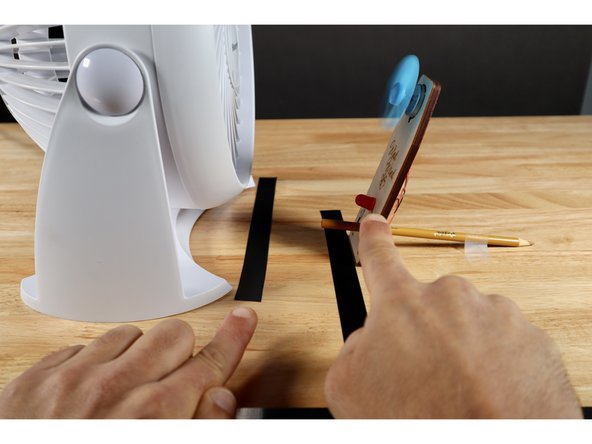
Put a piece of tape on a flat testing surface to mark a standard position for the Wind Wand. You will use this now for an initial test and then come back to it to test each separate alteration you choose to make!
-
Position a fan (we love the Vornado linked in the materials) right in front of the blue Wind Wand turbine fan blades and find the fan speed needed to make the LED light up from this close-up distance.
-
-
-
Now slowly back the fan up while observing the LED until no discernible light is being produced. Mark the fan's position with a piece of tape.
-
Repeat this procedure using the same fan speed setting from the initial trial after you add the paper blades but before you alter them; marking the fan's final position with another piece of tape.
-
Repeat this procedure using the same fan speed setting from the initial trial after you add curvature to the blades; marking the fan's final position with another piece of tape.
-
Repeat this procedure one final time using the same fan speed setting from the initial trial after you put a fold in the tips; marking the fan's final position with another piece of tape.
-
-
-
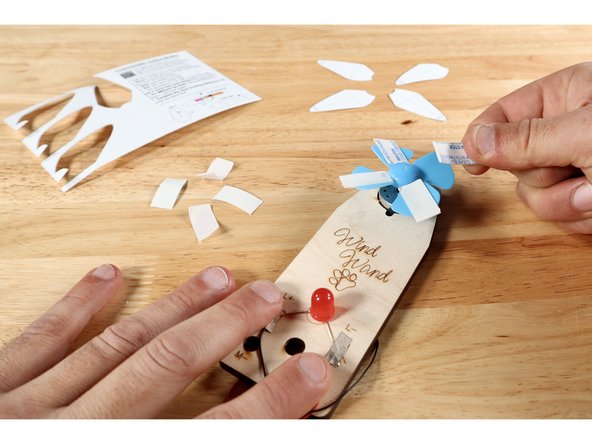
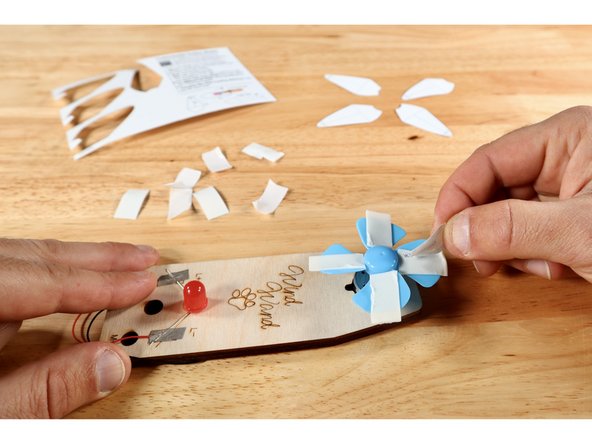
After cutting each of the blades from the template card, peel one side of the foam tape pieces. Stick the foam tape pieces to each of the blue plastic fan blades.
-
Peel the remaining backing from each of the foam tape pieces, revealing the second sticky side.
-
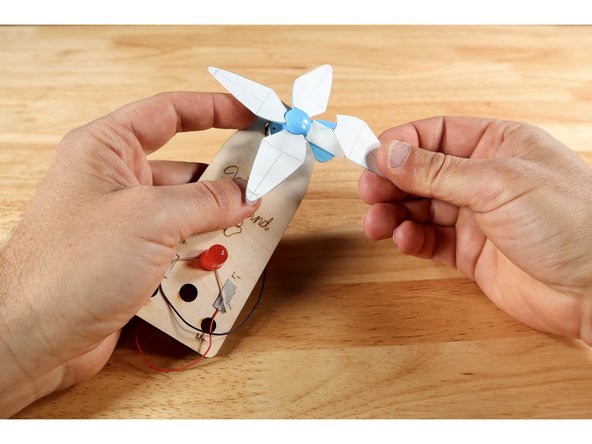
Stick each of the fan blades to the tape pieces as shown with the guidelines facing outward.
-
-
-
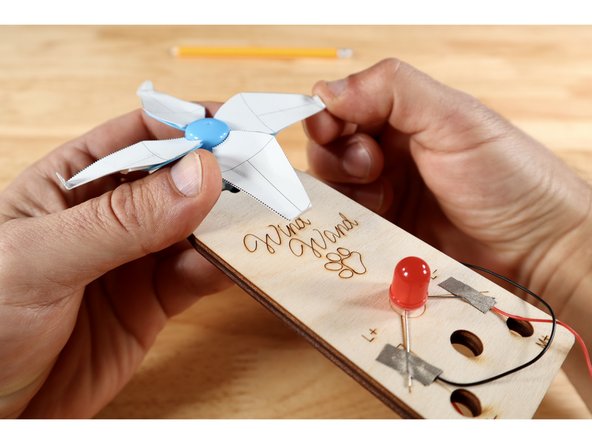
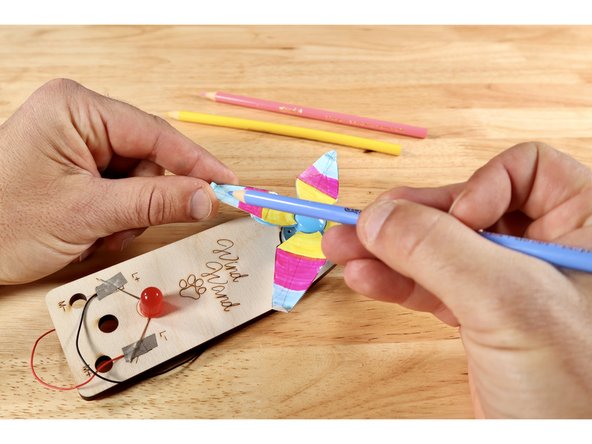
Lay a pencil on top of the guideline that runs directly down the middle of the blade the long way (labeled "b" on the template card diagram) until the eraser meets the line shown (labeled "a" on the template card diagram). Using the pencil as a form, curl the sides of a given blade.
-
Repeat until all four flat blades have a curved surface.
-
-
-
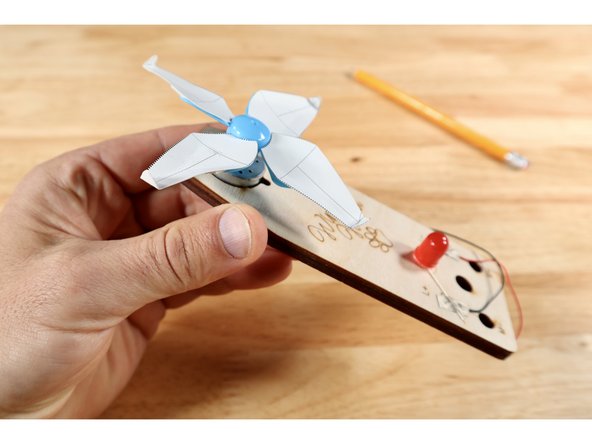
There are several lines in the area labeled "c" on the template card diagram. Choose one line near the blade tip to fold on and repeat for all four blades.
-
-
-
Although it's probably easier to have colored the blades while they were flat, that MIGHT make it harder to reference the guidelines on them used for altering the shape.
-
Use colored pencils to add a design to the fan blades! Avoid using markers as they may smear on the unfolded areas because of the paper's coating and get absorbed by the paper on folds making the shape less rigid.
-


These blades, along with a plain blue fan, give a group with individual Wind Wands several variations to choose from, test, and compare for performance.
These blades, along with a plain blue fan, give a group with individual Wind Wands several variations to choose from, test, and compare for performance.