Introduction
So you've used one the templates we've created to help you make a fun multilayered felt embellishment...now what do you do with it?
Featured Document
-
-
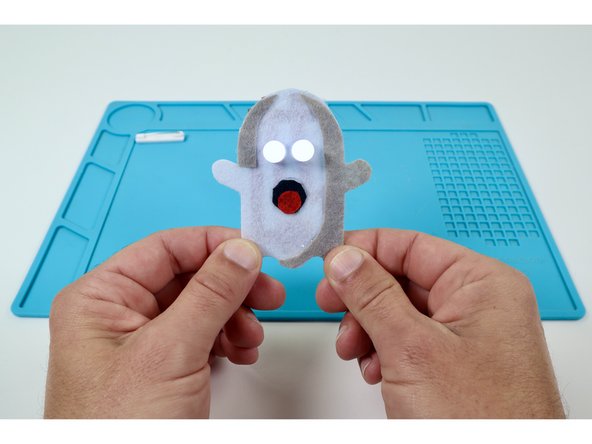
Although this project is pictured to feature a felt ghost, any two LED design can be used in its place.
-
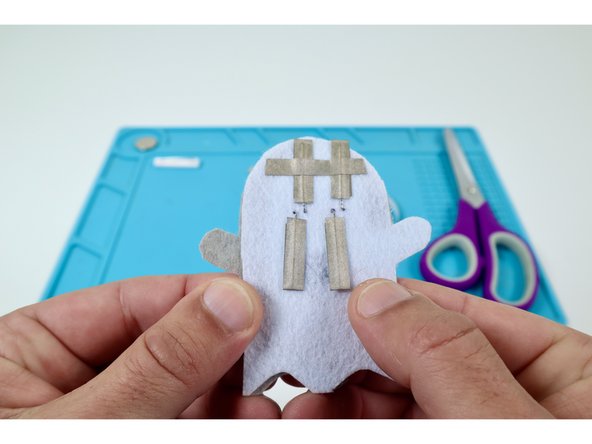
Begin by gathering the materials and tools shown along with the felt design you've completed.
-
-
-
Measure and cut the three Maker Tape pieces pictured in the photos at left. These pieces will make up the path leading from the pair of Short LED Legs to the negative side of your battery.
-
-
-
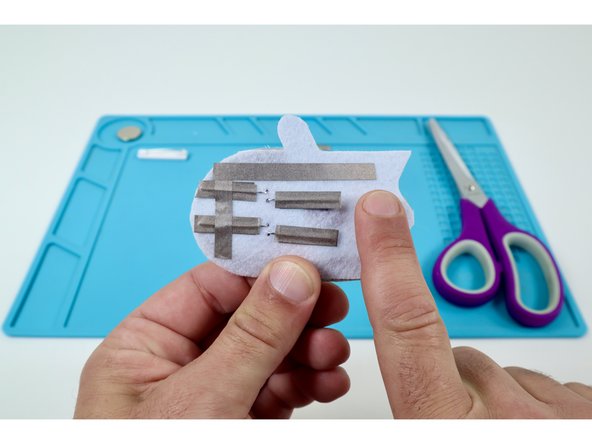
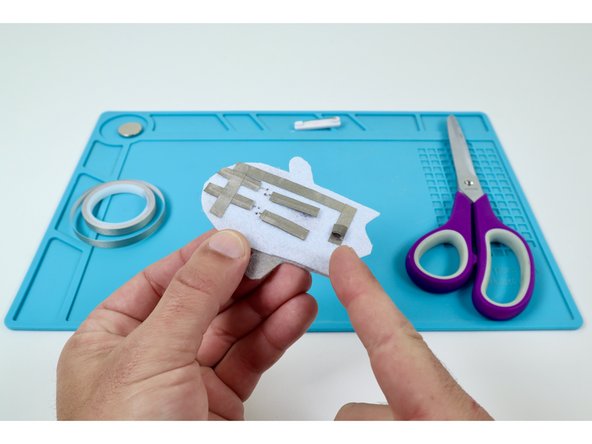
Peel and stick the three Maker Tape paths you cut in the previous guide step as shown in the photos at left.
-
The first path should go across both of your short legs.
-
The second path should overlap the first and go down the right side of the felt embellishment. Make sure it does not contact the remaining (long) LED legs.
-
The third path should overlap the second and be guided perpendicular to the left.
-
-
-
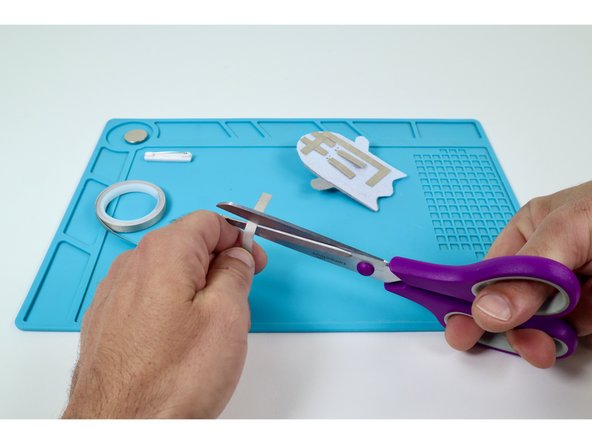
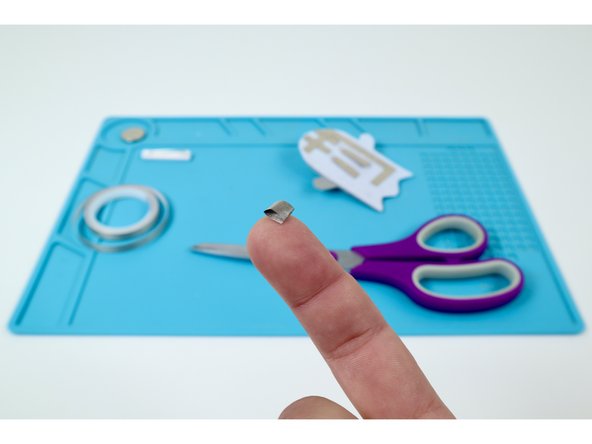
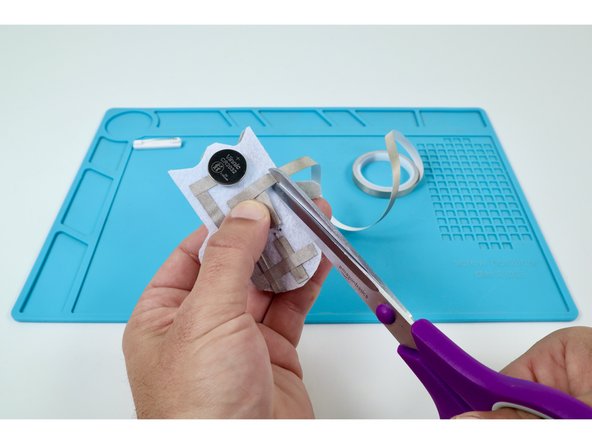
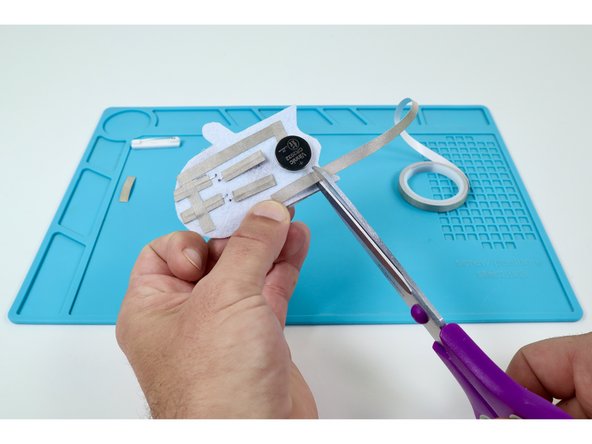
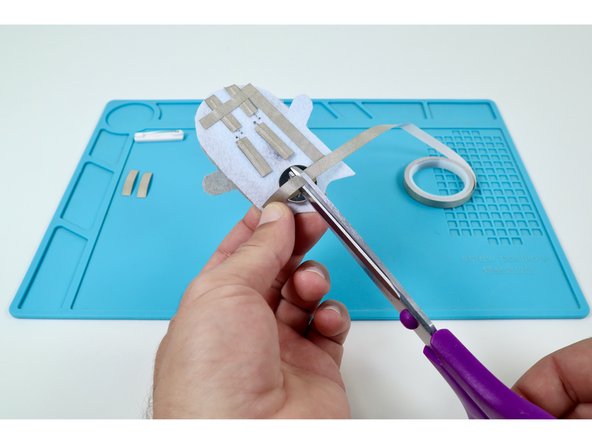
Cut and peel a small piece of Maker Tape.
-
Use that piece of Maker Tape to create a sticky-side-out tape loop.
-
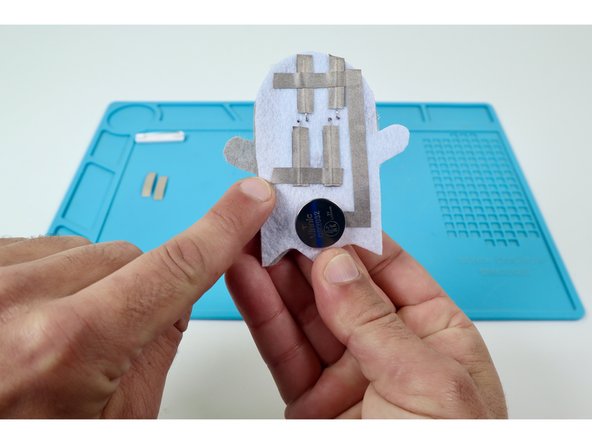
Place that Maker Tape Loop atop the end of the end of the path leading from the Short LED Legs as shown in photo 3.
-
-
-
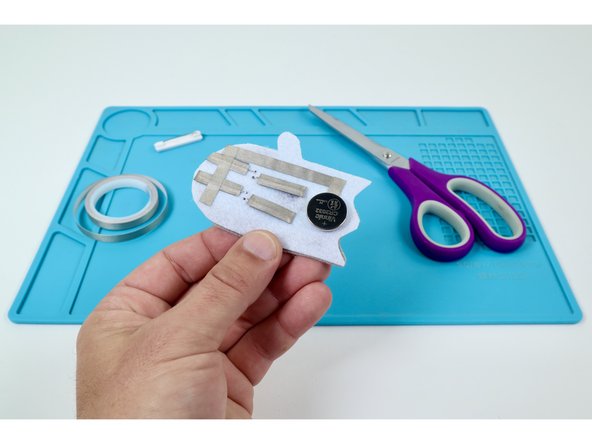
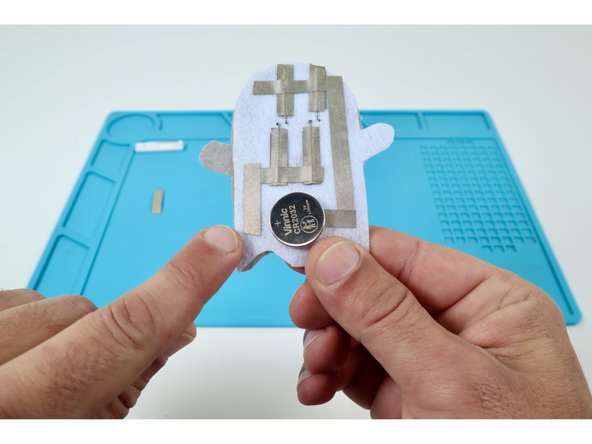
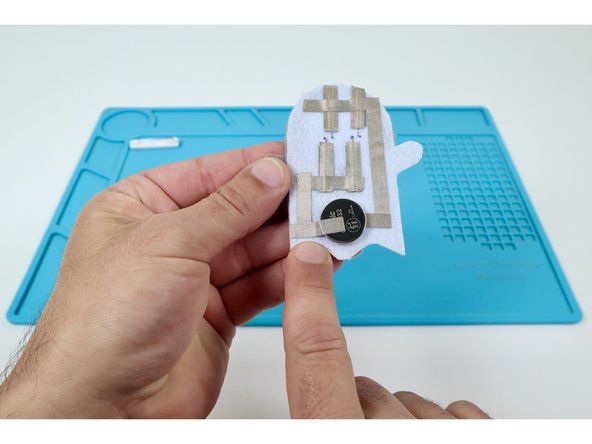
Stick your battery atop the Maker Tape Loop so the Positive (+) Side is UP.
-
-
-
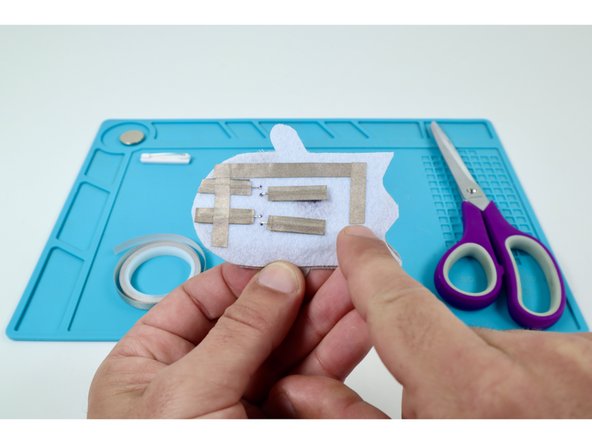
Measure and cut three final pieces of Maker Tape as shown in the photos at left. These pieces will be used to create the path leading from the Long LED Legs back to the top of the battery.
-
-
-
Peel and stick the three Maker Tape paths you cut in the previous guide step as shown in the photos at left.
-
The first path should go across both of your long legs toward the left edge of the felt embellishment. Make sure the right end of it does not contact any part of the path leading from the Short LED Legs.
-
The second path should overlap the first and go down the left side of the felt embellishment.
-
The third path should overlap the second and be guided perpendicular to the right atop the battery.
-
Note: At this point, the LEDs will turn on.
-
-
-
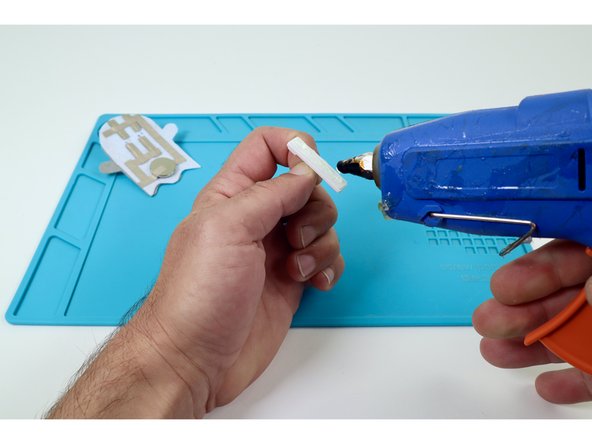
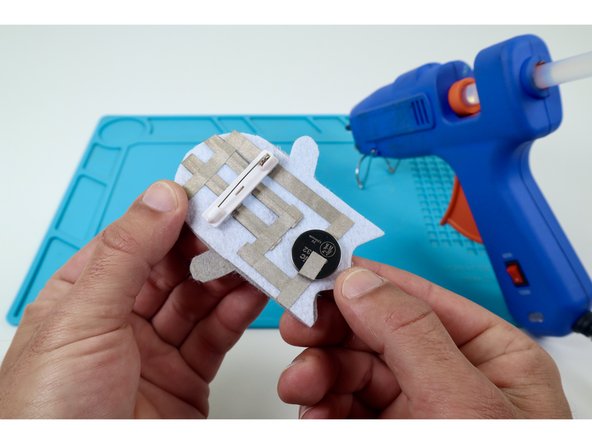
Peel the backing off of a self-stick safety pin and add a bead of hot glue.
-
Stick that safety pin where shown in photo 2.
-