Introduction
So you've used one the templates we've created to help you make a fun multilayered felt embellishment...now what do you do with it?
Featured Document
-
-
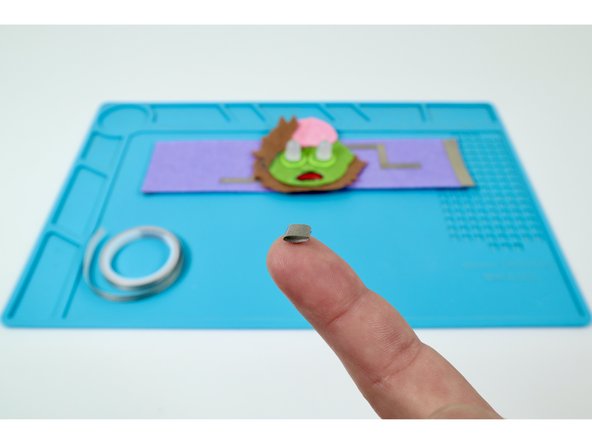
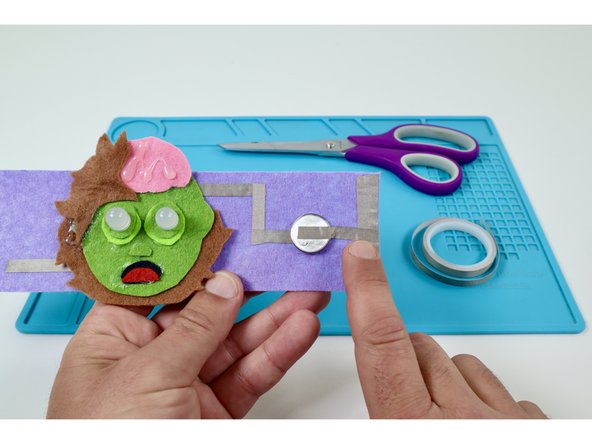
Gather the materials and tools listed/pictured here.
-
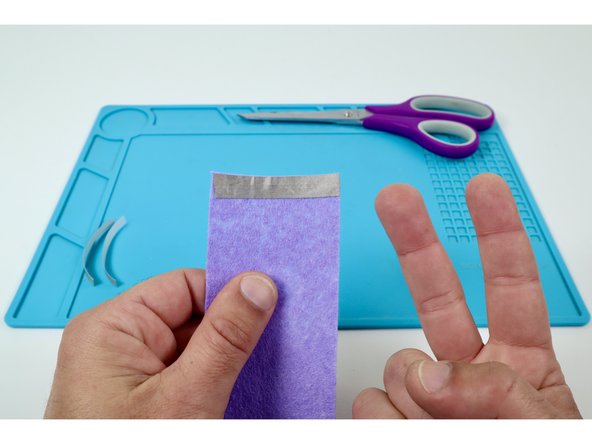
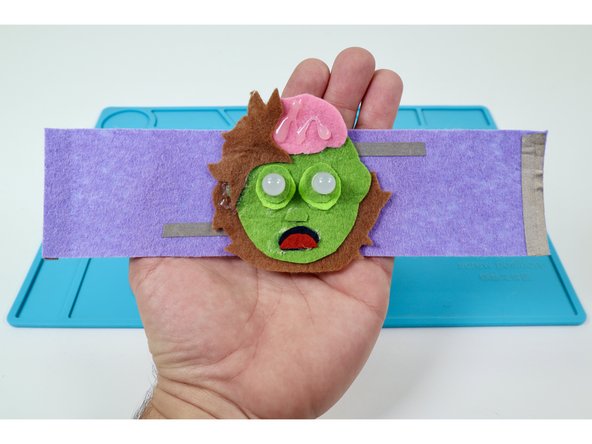
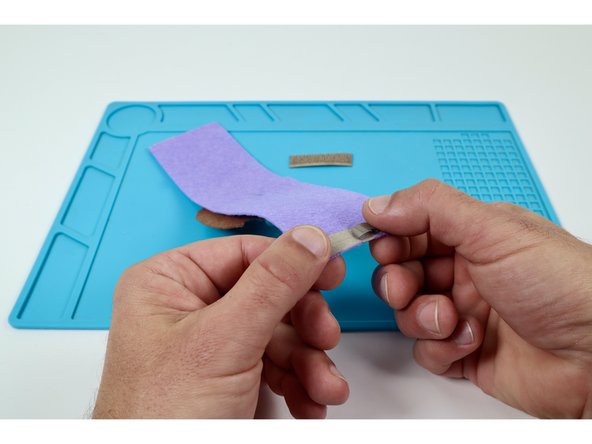
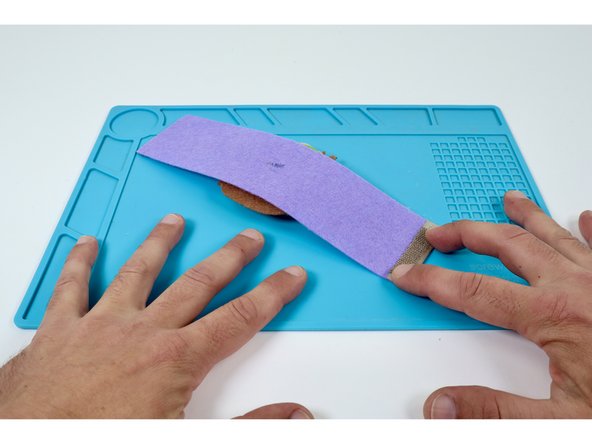
The felt band pictured should be long enough to get around your wrist and wide enough to accommodate your felt embellishment of choice.
-
Note: Although this project is pictured to include the felt zombie design, you can substitute any 2 LED felt embellishment and use the same assembly process described here.
-
-
-
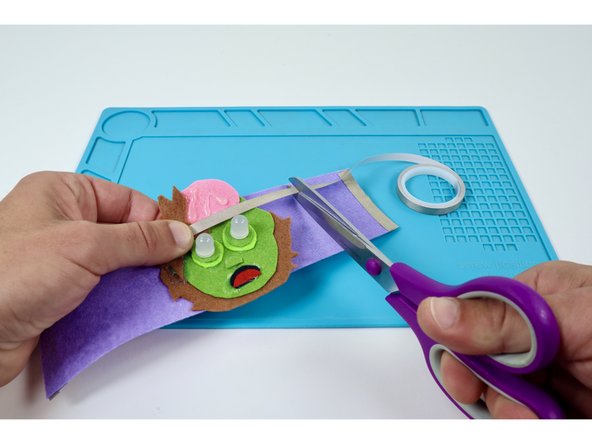
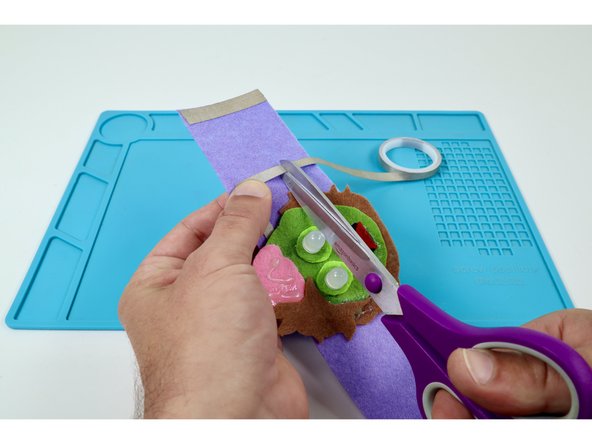
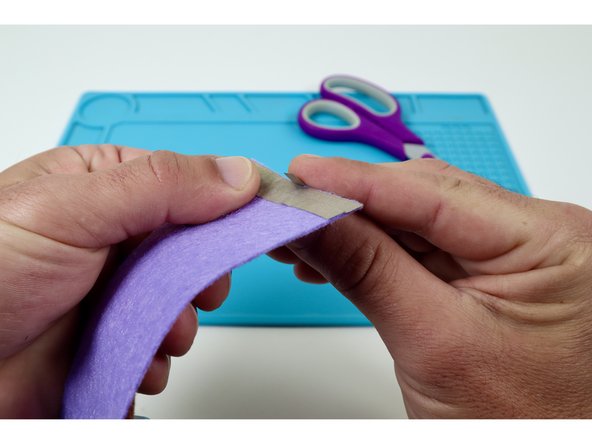
Measure and cut 4 pieces of Maker Tape that are the width of the band.
-
-
-
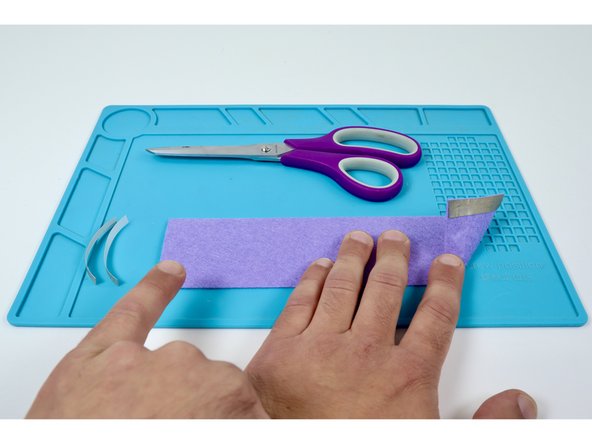
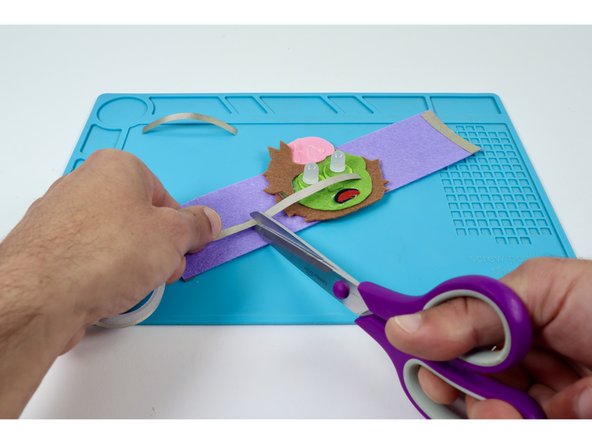
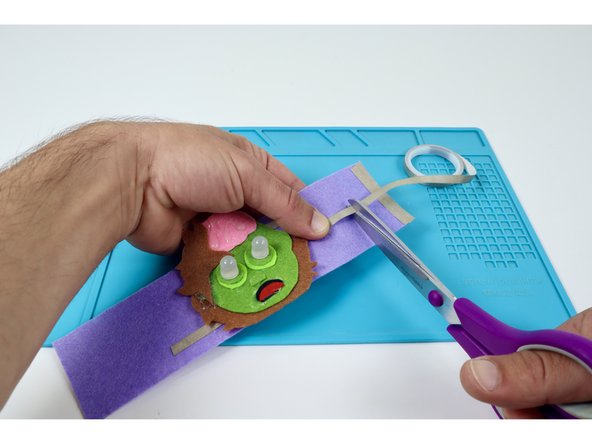
Use the pieces you just cut to create a pad at the end of one side of the band. The two pieces should overlap one another a tiny bit.
-
Use the remaining two pieces of Maker Tape to create an identical pad on the opposite side of the opposite end of the band.
-
From here forward, we will refer to these areas as "edge pads".
-
-
-
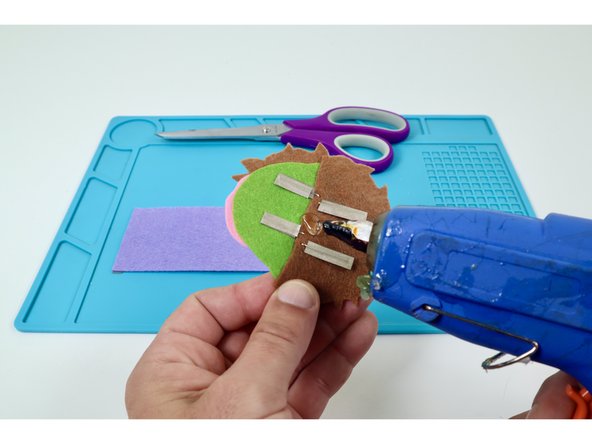
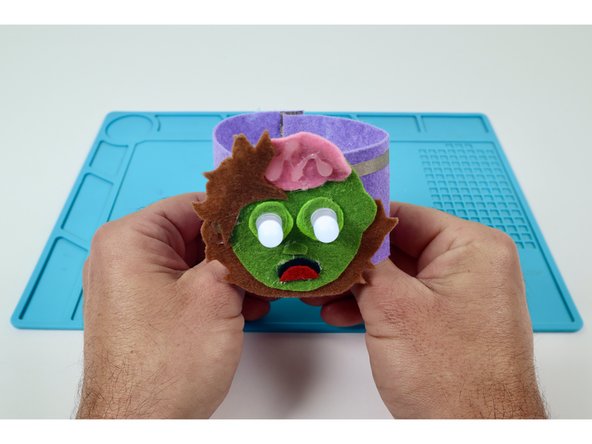
Use a small dab of hot glue where shown on the embellishment to help you stick it in the middle of the band.
-
Note: This will help to keep everything still while placing the next two Maker Tape paths.
-
-
-
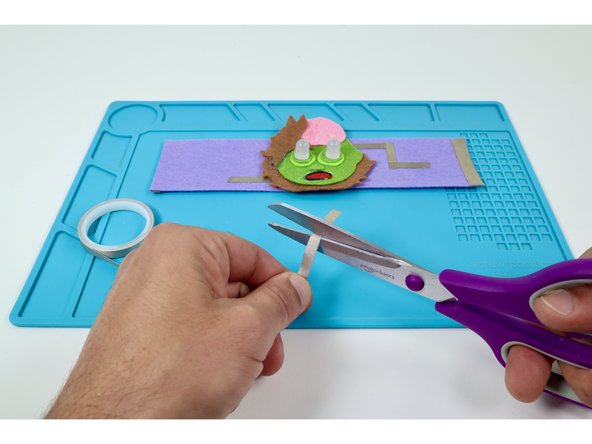
Measure and cut two Maker Tape paths that can reach from the furthest LED out to a point just past the edge of the felt embellishment.
-
-
-
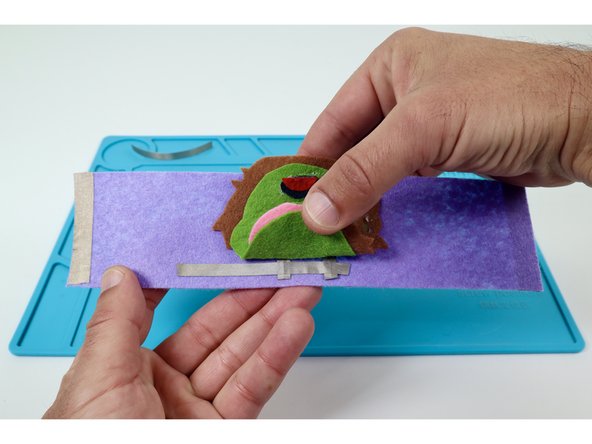
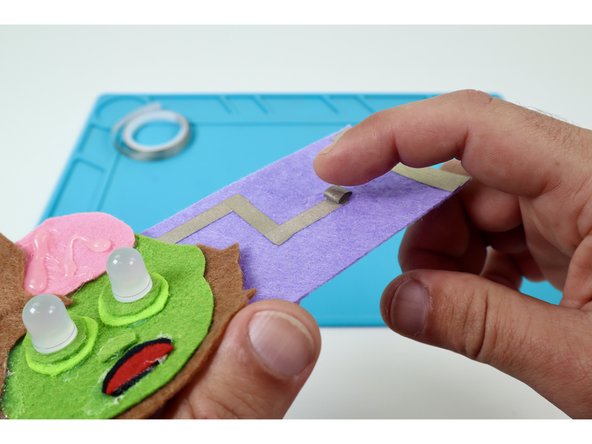
Lift up the edge of the felt design that hides the SHORTER LED legs enough to reveal them.
-
Peel and stick one of the two paths you have prepared as shown atop BOTH short legs and out past the edge of the embellishment toward the edge pad on that same side of the band as the embellishment.
-
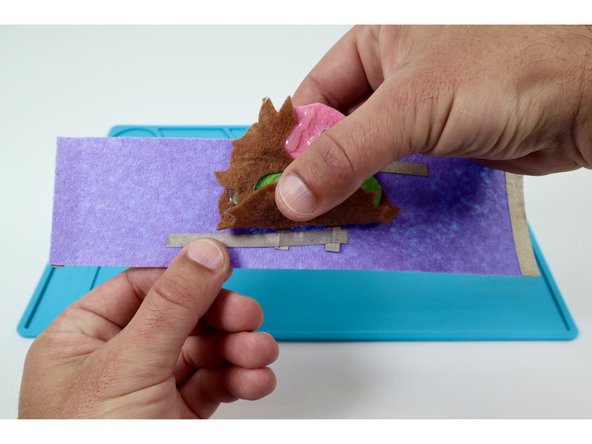
Now lift up the edge of the felt design that hides the LONGER LED legs enough to reveal them.
-
Peel and stick the remaining Maker Tape path you have prepared as shown atop BOTH long legs and out past the edge of the embellishment toward the side of the band that has the edge pad on the opposite side.
-
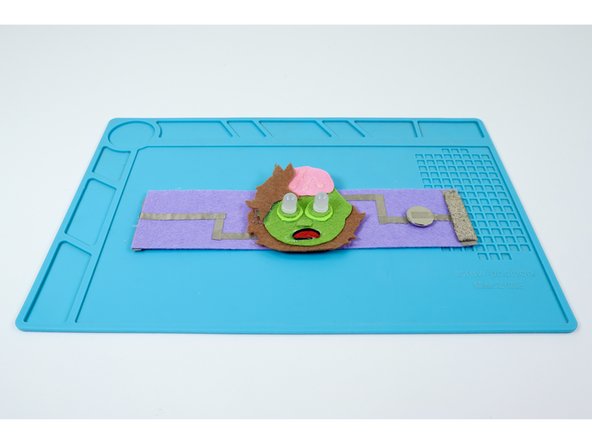
When done correctly, you should now have two paths coming out from under the embellishment, headed in opposite directions as shown in photo 3.
-
-
-
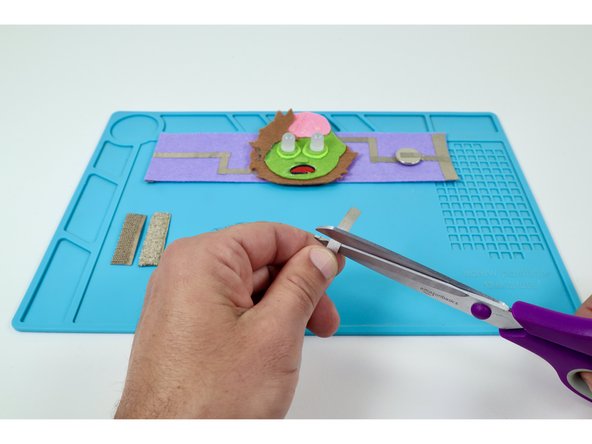
Measure, cut, peel, and stick two small Maker Tape paths as shown. The goal is to create what is pictured in the last photo.
-
Cut one more small piece of Maker Tape for use in the next guide step.
-
-
-
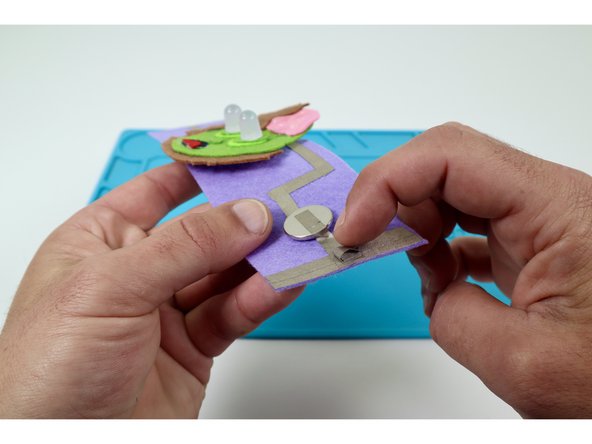
Make a tape loop (sticky-side-out) with that last piece of Maker Tape that you just cut at the end of the last guide step.
-
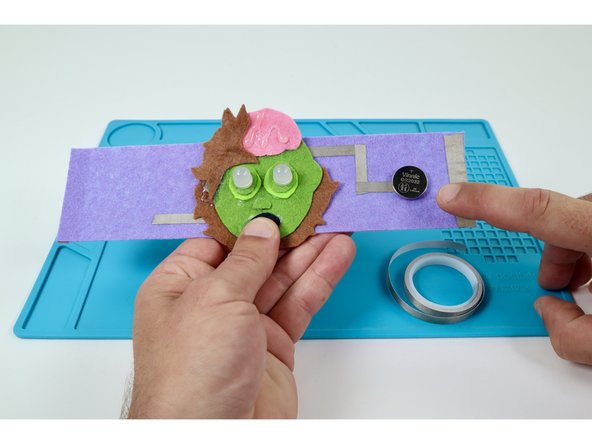
Place that tape loop atop the most current "end" of the path leading from the Short LED Legs.
-
Stick your battery down atop that tape loop with the Positive (+) Side UP.
-
-
-
Measure, cut, peel, and stick a Maker Tape path that extends from the top of the battery to the edge pad nearest to it.
-
Your "short leg" (negative) path is now complete.
-
-
-
Measure, cut, peel, and stick the same two Maker Tape paths that began the extension of the Short LED Leg side of the bracelet.
-
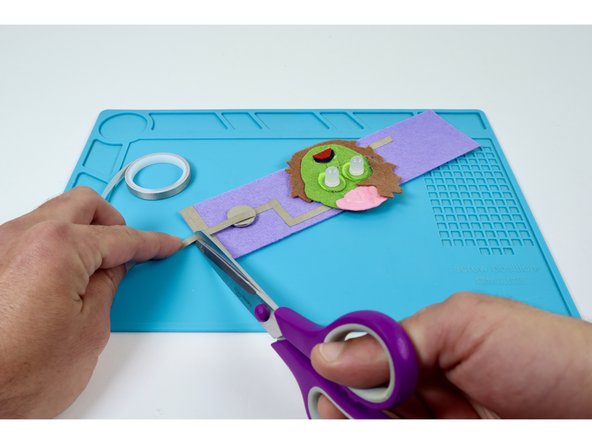
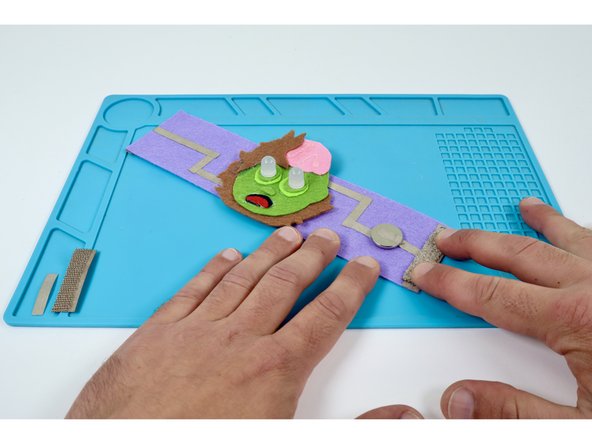
To finish this side of your circuit and connect to the remaining edge pad on the opposite side of the bracelet, measure and cut one final Maker Tape path that goes from the current end of this side to a point just past the edge.
-
Stick that path in place as shown in photo 2 and curl the tag end around to the back.
-
Press the tag end in contact with the remaining edge pad as shown in photo 3.
-
-
-
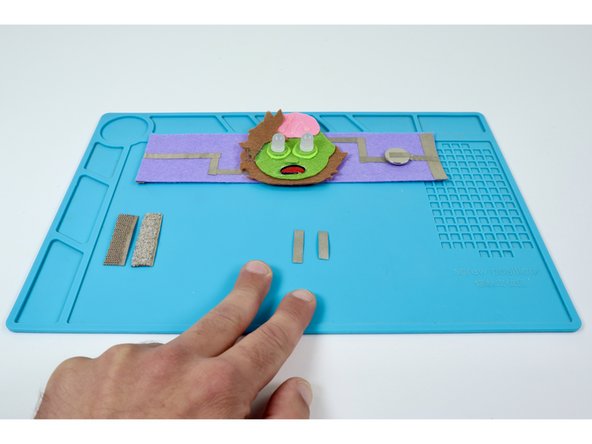
Cut two small pieces of Maker Tape that you will use to create tape loops. These tape loops are involved in the conductive hook and loop closure system.
-
-
-
Use one of the two pieces of Maker Tape to create a tape loop (sticky-side-out) and stick it in the middle of the edge pad pictured in photo 1.
-
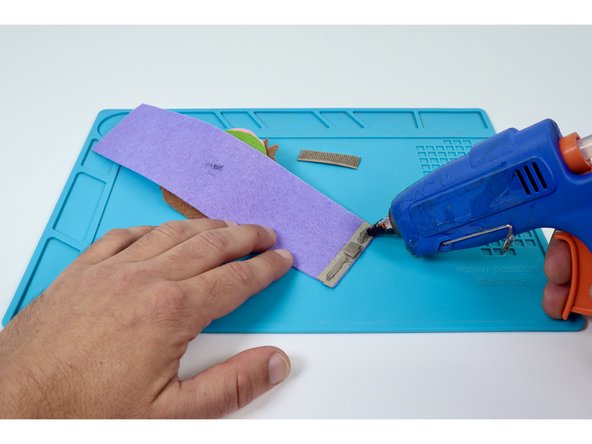
Use a hot glue gun to put a small bead of glue atop the edge pad on each side of the tape loop. Do not put glue on the tape loop.
-
Press one half of your conductive hook and loop atop the edge pad.
-
-
-
Use the remaining piece of Maker Tape to create a tape loop (sticky-side-out) and stick it in the middle of the edge pad pictured in photo 1.
-
Use a hot glue gun to put a small bead of glue atop the edge pad on each side of the tape loop. Do not put glue on the tape loop.
-
Press the remaining half of your conductive hook and loop atop the edge pad.
-
-
-
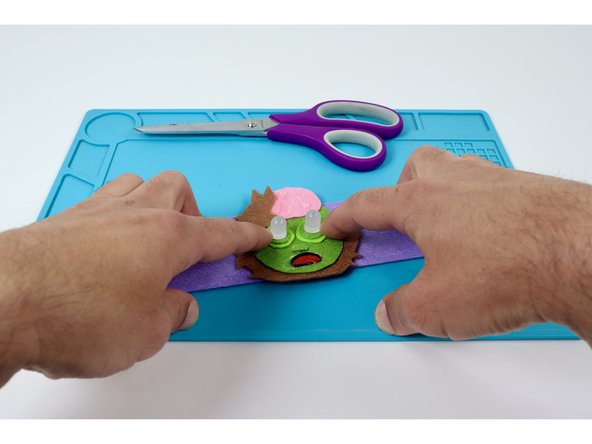
To complete the circuit and turn the LEDs on, simply connect the two pieces of hook and loop.
-
To turn the LEDs off, disconnect the hook and loop.
-