
Introduction
The fidget spinner craze may be slowly down, but that doesn't mean we can't still make up some fun projects! Our Fidget Spinner is 3D printed and requires just a couple of Crazy Circuits parts. More or less, we designed a spinner with standard LEGO compatible studs on them so they would fit Crazy Circuits parts. Adding a battery holder and LEDs is straight forward and simple.
Featured Document
-
-
Click here and download all the 3D files.
-
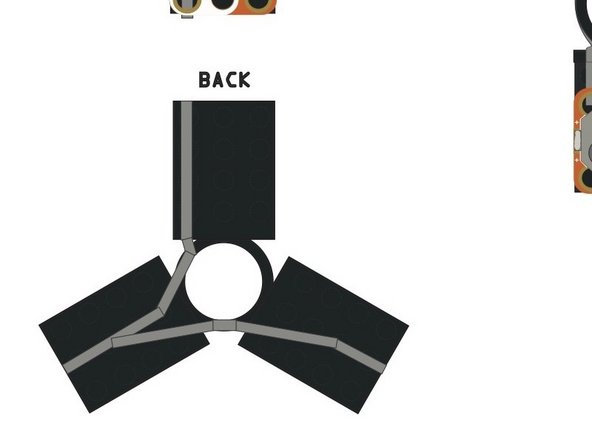
We recommend using the 3x4 sized armed spinner as it fits the Battery holder.
-
-
-
Open up the file in your 3D printing software.
-
Adjust as needed. Then Print.
-
We're using a Replicator 2. Printing at 100% was too loose for our parts. We increased the size to 102% which made everything fit.
-
-
-
Start by making sure the parts fit onto the 3D printed studs, both with and without tape. If they're too loose or way too tight, change your print settings and try again.
-


Attached Documents
