
Introduction
Connect a NeoPixel Stick and a Potentiometer to a Bit Board and control them with code.
We'll explore how to control an Addressable RGB LED Strip (also called "NeoPixels").
Video Overview
-
-
The magical thing about these “Individually Addressable” LEDs is that you don’t have to connect each LED to an individual pin on your micro:bit, you just need one signal wire along with power (Positive and Negative) to light things up.
-
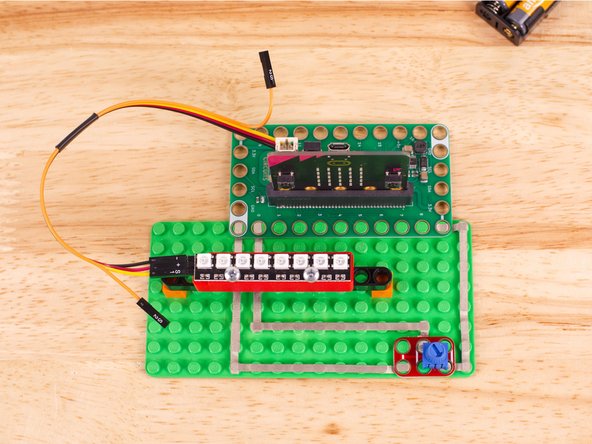
So let's get connected! If you turn the NeoPixel Strip over you'll see labels for the three pins. You should see IN, VCC, and GND.
-
Use the Crazy Circuits Ribbon Cable to connect the NeoPixel Strip to the Bit Board.
-
The end with S1, +, and - can plug directly into the Pin 13 row (make sure S1 goes into 13) and the other end should plug into the NeoPixel Strip as shown.
-
We only need three wires for the NeoPixel Strip so you can leave S2 (the Orange wire) unconnected.
-
We'll also connect a potentiometer using Maker Tape. Connect it to GND, Pin 0, and 3V. (The center hole connects to Pin 0.)
-
-
-
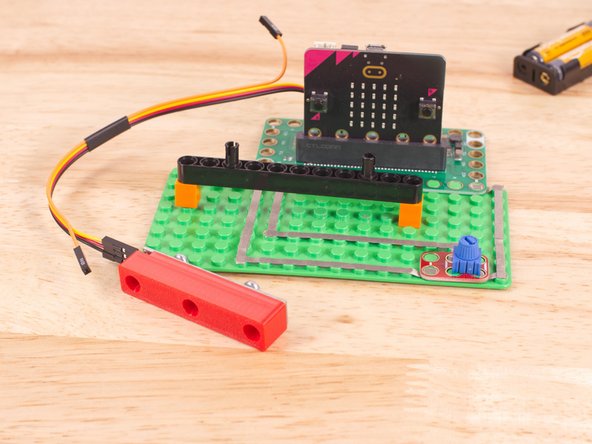
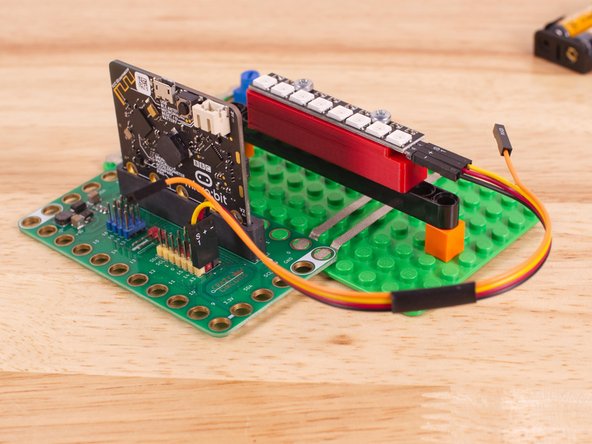
To mount the NeoPixel Stick in place we used our NeoPixel Beam Holder with a long Technic Beam and two 1x1 LEGO bricks.
-
You can always use rubber bands, tape, or some other method.
-
The important thing is to make sure the connector is on the left hand side so the number index for the NeoPixel strip makes sense.
-
-
-
If you've never used a micro:bit before you'll want to check out this guide: Bit Board V2 Setup and Use
-
We're going to load the following code for our NeoPixel Bright program: https://makecode.microbit.org/_AqMidvbEH...
-
We'll explore using the set brightness function in the forever loop.
-
The forever loop first calls show rainbow to light up the pixels, then reads the potentiometer value (and uses round to get an integer) which we'll use to set the brightness.
-
-
-
Once the code is loaded it should start running immediately.
-
You can power the micro:bit via the USB cable you used to load the code or you can use a battery pack plugged into the Bit Board.
-
Turn the potentiometer anti-clockwise and it should lower the brightness of the NeoPixels.
-
Turn the potentiometer clockwise and it should raise the brightness of the NeoPixels.
-
-
-
Follow along with our recorded Live Stream!
-
You can watch the full video of us walking through this project, along with explaining and exploring the code: https://www.youtube.com/live/-2ECPBjKX1Q
-


Attached Documents
