Introduction
Make your own animatronic singing fish with our Bit Board, two micro:bits. and an MP3 Player Board.
Video Overview
Featured Document
-
-
Print the template and cut out all the shapes.
-
Start by tracing the main piece. It's longer than a standard piece of paper, so it comes in two pieces that need to be taped together.
-
Before tracing, remove one side of the paper from the cardboard to expose the corrugation.
-
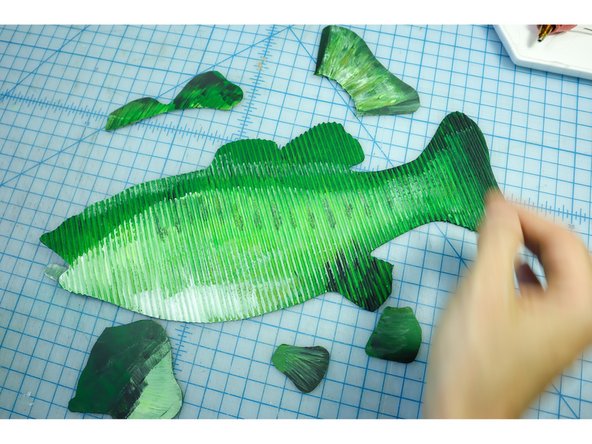
Important! Make sure the fish template is oriented so that the corrugation lines are vertical. This will ensure that the fish head and tail will be able to bend outward.
-
-
-
Cut out the smaller pieces from the cardboard, this time with the flat side facing out to add contrast with the texture of the corrugation.
-
-
-
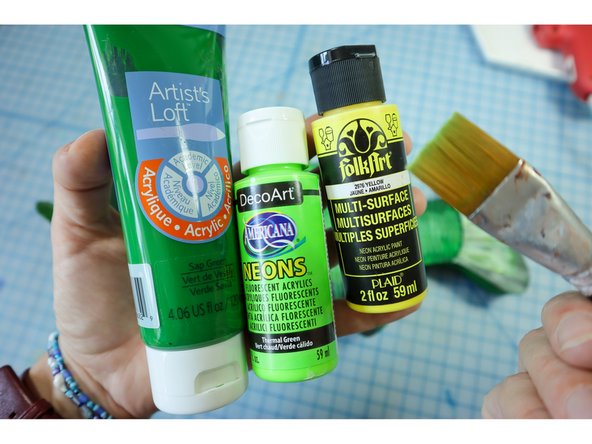
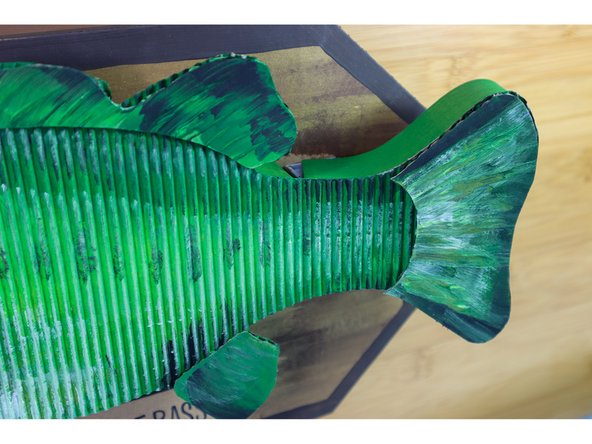
Paint the fish with acrylic paint. I found that using neon green paint looked great to make it really pop!
-
-
-
Cut strips of cardboard with exposed corrugation 1.25 inches wide. (ensure the corrugation is perpendicular to the length of the strips.)
-
Paint the strips green.
-
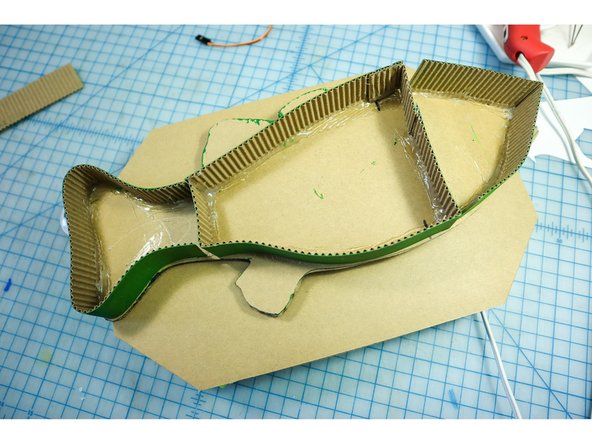
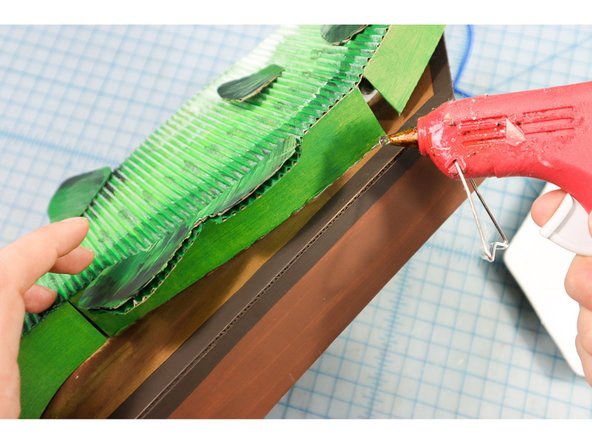
Using hot glue, carefully line the perimeter of the fishtail, the center of the body, and the head as shown. The center section should have a vertical wall as well to connect to the plaque. The three segments are necessary for the head and tail to move.
-
-
-
Cut 2 strips that are 2 inches wide by 8 1/8 in tall.
-
Cut 2 strips that are 2 inches wide by about 7 1/2 inches tall. This measurement may be different if your cardboard is thicker.
-
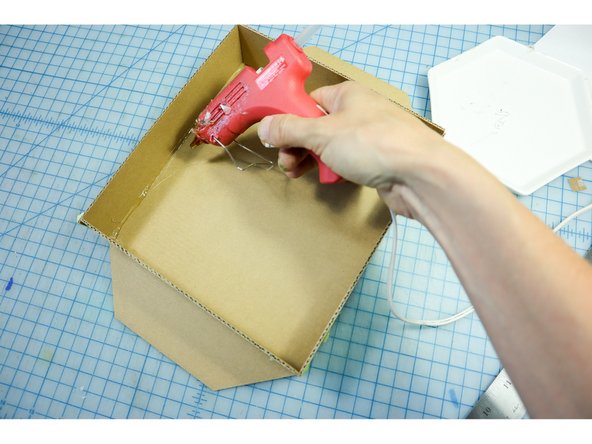
Glue the pieces to the back of the plaque to make a box. This box will house the electronics and battery pack.
-
-
-
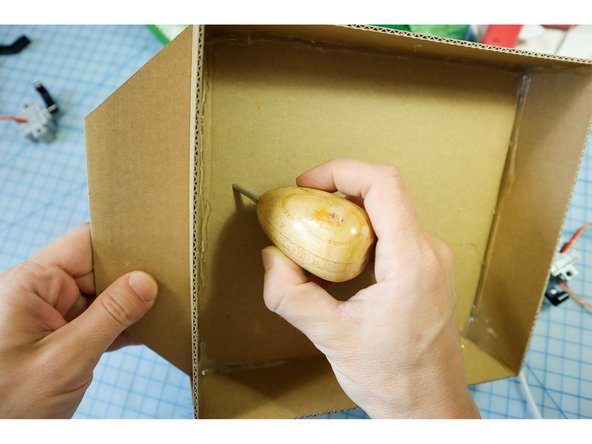
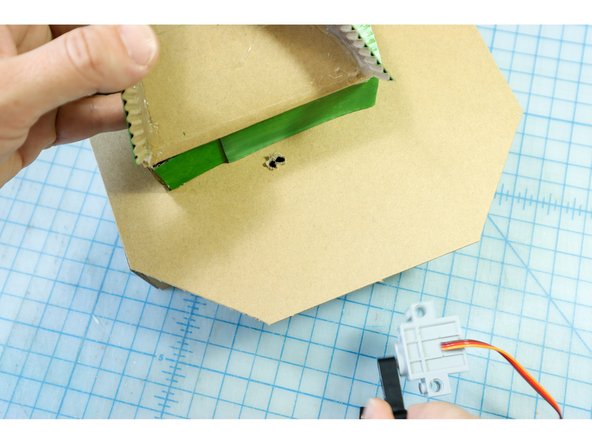
Make holes in the box to thread the motor wires through. Place the fish body on the plaque to find the correct location of the holes.
-
We used an awl to make our holes but if you don't have one you can use scissors or a knife.
-
-
-
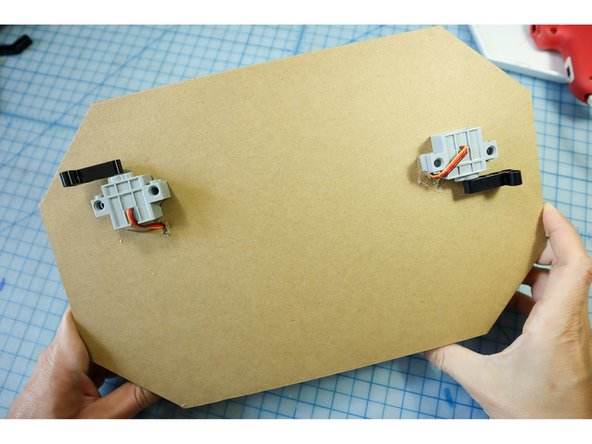
Thread the motor wires through the holes.
-
-
-
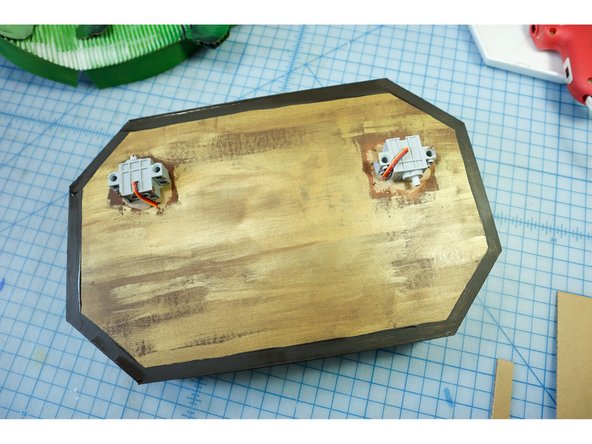
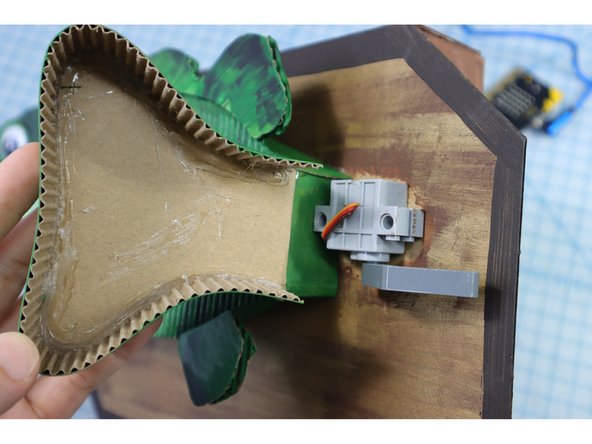
Use hot glue to glue the motors in place.
-
-
-
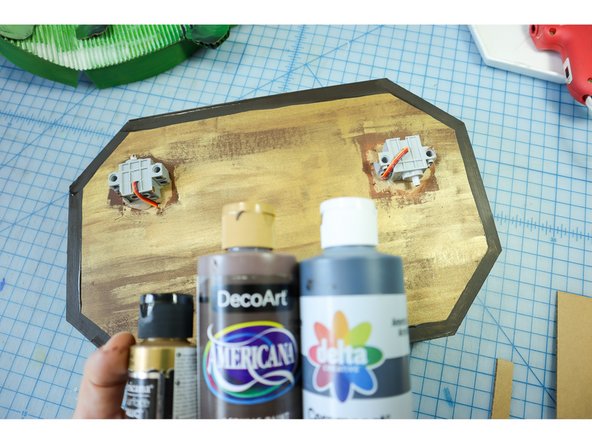
Paint the plaque medium brown, then use gold paint to dry brush over it. Finally, create a border with dark brown.
-
-
-
Use super glue to glue 4 small LEGO pieces into place. This will make a resting spot for the Bit Board that will allow it to be easily removed.
-
-
-
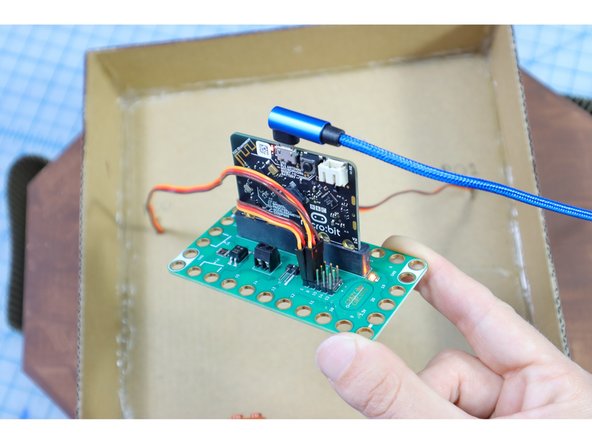
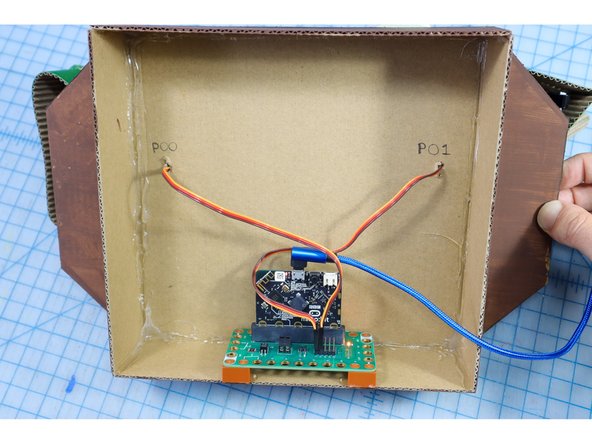
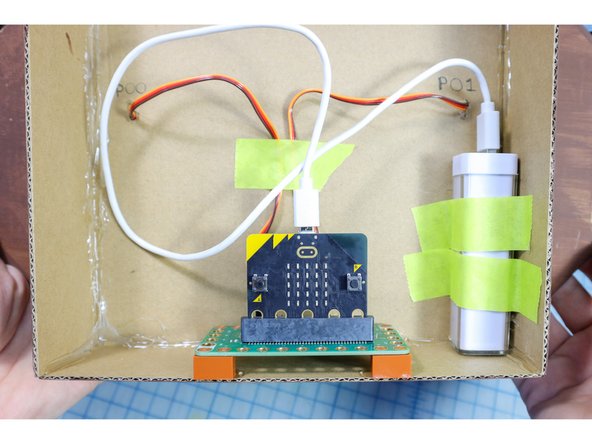
Connect the motor in the fish head to Pin 1 and the motor in the tail to Pin 0 using the pins on the back of the Bit Board. The brown wire is Ground.
-
Label the Pins on the back of the cardboard to make it easier when you need to disassemble and reassemble your circuit.
-
-
-
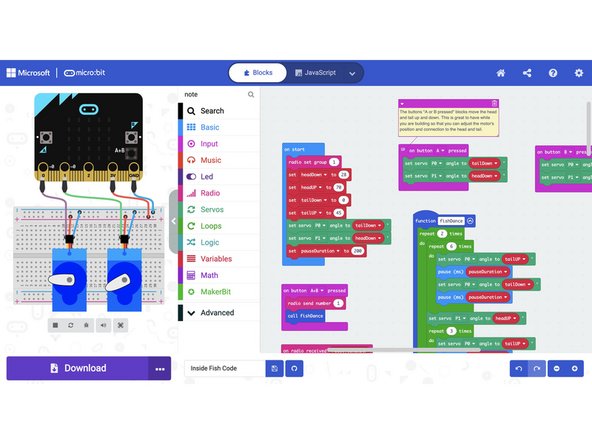
Upload the code (available here) to the micro:bit.
-
This code listens for a signal from the other micro:bit and starts the "fish dance" on cue!
-
This code also allows you to raise and lower the fish head and tail by pressing buttons "A" and "B" on the micro:bit. This will be helpful while you are connecting all of the pieces together. You will most likely need to change the angle values since those values are based on the exact placement of the motors.
-
-
-
With the motors in place and the angles set, use hot glue to attach the center part of the fish body to the plaque. Remove any excess glue with tweezers.
-
-
-
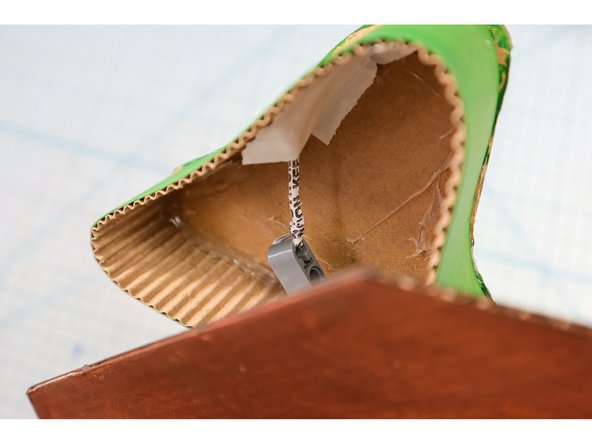
Use a twist tie and tape to connect the motorheads to the head and tail. This type of connection can be a bit loose to allow for some wiggle room in the angle of the motor's pull.
-
Remember that you can use buttons "A" and "B" on the micro:bit to lift and lower the head and tail, and adjust the motor angles again once the head and tail are attached.
-
-
-
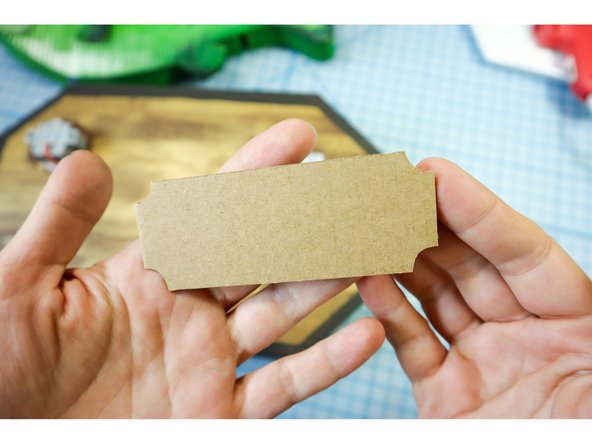
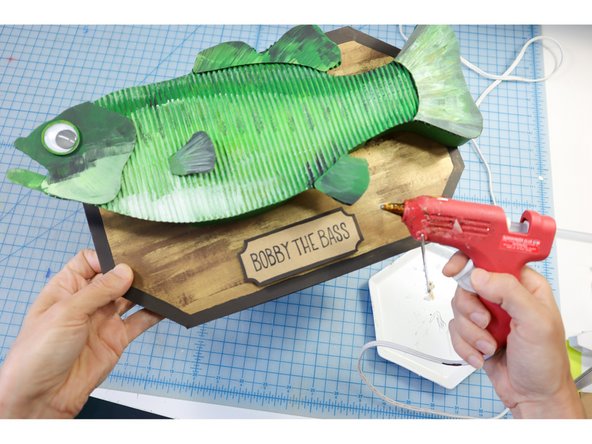
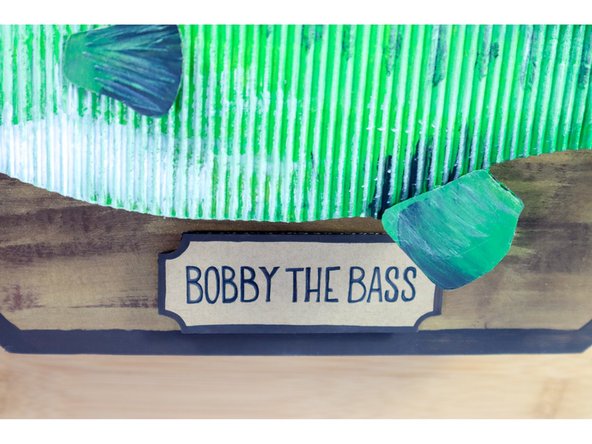
Cut a small nameplate from cardboard and name your fish!
-
Use hot glue to adhere it to the plaque.
-
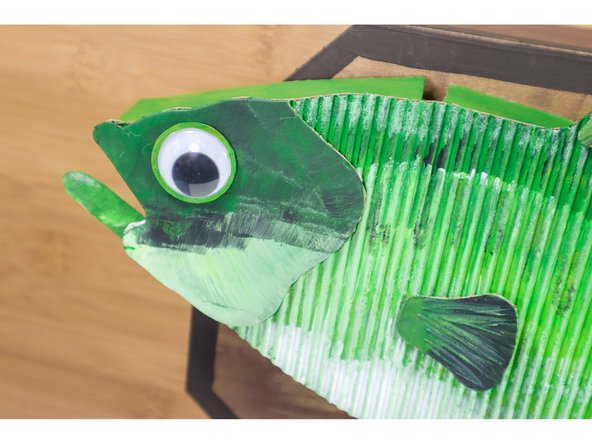
If you have one, add a googly eye to the fish to make it extra silly!
-
-
-
To power the fish, tape a small USB battery pack inside the fish plaque and plug in the micro:bit.
-
-
-
The controller will play the music and send a radio signal to the micro:bit inside the fish that will make it dance.
-
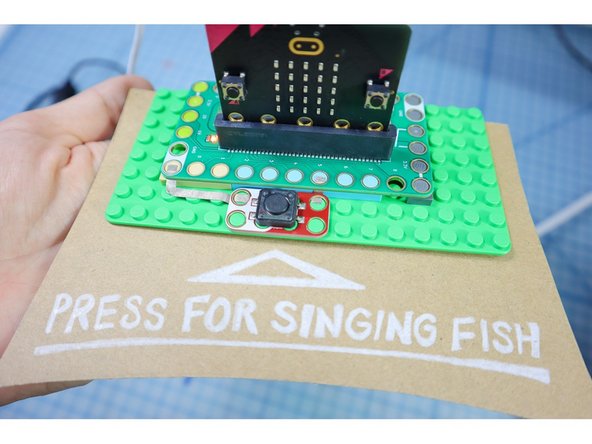
Add a button to Pin 5 with Maker Tape as shown. (Pin 5 is also connected with Button A on the micro:bit, so it works with the "Button A Pressed" block.)
-
Make a sign to let everyone know how to control the fish.
-
-
-
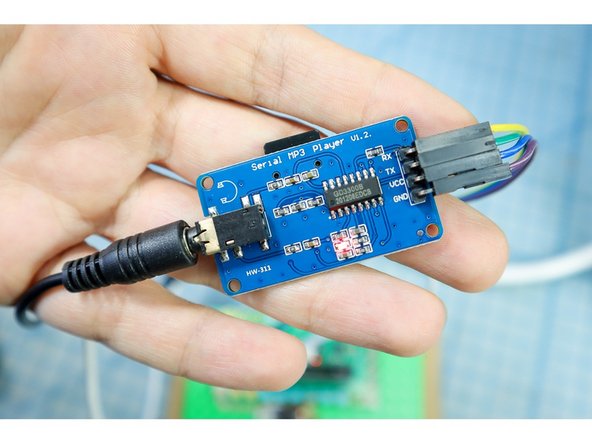
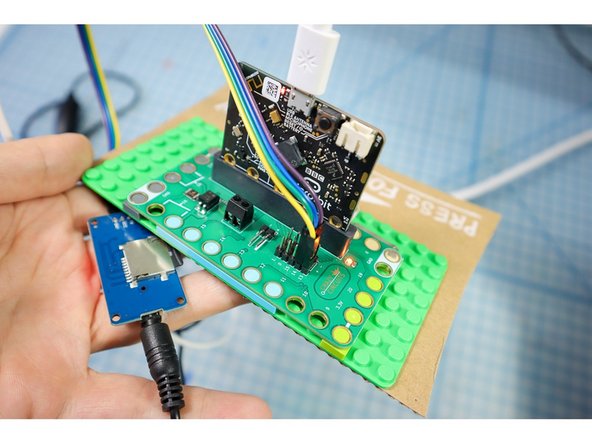
Connect the MP3 Player to the circuit: RX to Pin 13 and TX to Pin14.
-
-
If the file downloads as Projects_Bobby the Bass_001xxx.mp3 you will need to rename it to 001xxx.mp3
-
There is a specific way to format the memory card so that it works with the MP3 player - follow the instructions here to set it up.
-
Insert the memory card and plug in the speakers. Plug the speakers into power - we used a 2x USB power brick that also powers the micro:bit using a separate cable. (see photo #3)
-
-
-
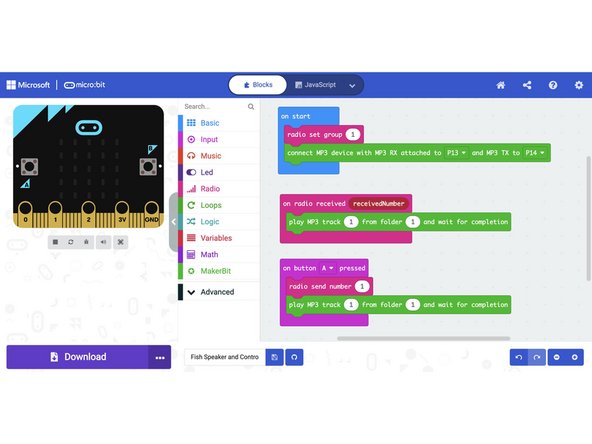
This code will set up the MP3 player and play the song when the button is pressed. It will also send a radio signal to the other micro:bit to make the fish dance. Download the code here.
-
-
-
It's fish dancing time!
-
This can be really fun because it is a remote control. You can surprise your friends!
-
From here, you can change the song on the SD card (or even write your own!) and adapt the "fish dance" code to make the fish sing any song. What will you create?
-


