
Introduction
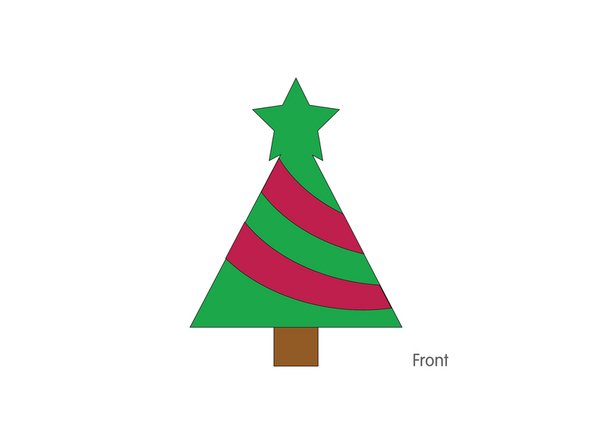
Make a Felt Christmas Tree with a light-up star! It can be a fun holiday wearable, an ornament for a real tree, or just a cool yule decoration.
We made ours using stiff felt, but you can also make a paper version using construction paper or regular paper that you color yourself!
You can make this project (and many more) with our Wearable Circuits Kit or our Paper Circuits Kit.
Tools
Video Overview
Featured Document
-
-
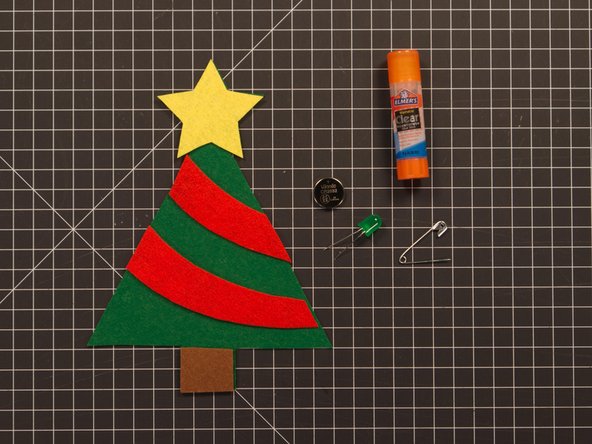
For this project we're going to use stiff felt, one Jumbo 10mm LED, one CR2032 battery, and some Maker Tape. (You can choose any color LED for this project.)
-
You'll also need a pair of scissors and some glue. (We'll discuss glue in the next step!)
-
Note: You can opt to make this project using paper instead of felt. Either use colorful construction paper or just color the pieces with colored pencils or crayons.
-
-
-
There are a few options for assembling the tree, so let's talk about glue.
-
White School Glue is a classic, and everyone seems to have a bottle. It's not great for felt though.
-
Hot Glue (and a hot glue gun) works great for adhering felt, but if you're working with kids there's safety to keep in mind. Hot glue burns are no fun!
-
Spray Glue is also great for adhering felt, but it's messy and without the proper ventilation we would not recommend it.
-
Tacky Glue is another great option for felt. It's not as common as some of the other choices though. (If you do have it, use it!)
-
Glue Sticks are pretty common, and can work for felt. It's not the best, but it'll do in a pinch, and it's pretty kid-friendly.
-
We'll use a Glue Stick for this project and share some tips along the way.
-
-
-
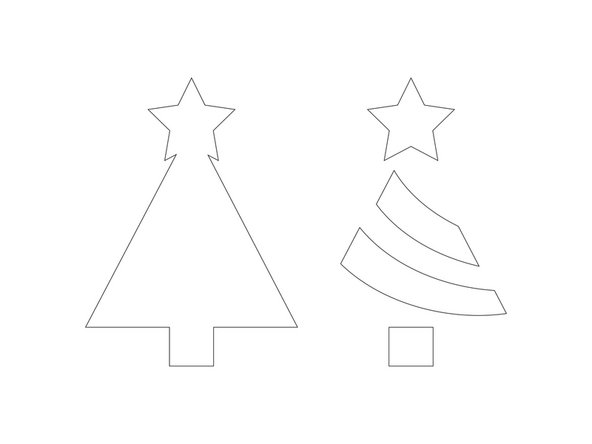
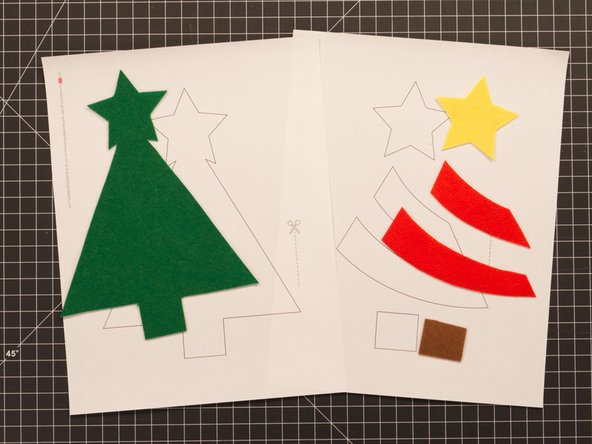
Print the PDF template pages and then use them to cut out felt pieces for your project.
-
If you get a pack of stiff felt you should be able to find green, red, brown, and yellow for the tree, but you can choose any colors you like! Make the tree your favorite colors!
-
If you have access to a laser cutter it's an awesome way to cut felt! If you wanted to pre-cut a whole bunch of felt for a class or workshop a laser cutter is a great way to do it.
-
-
-
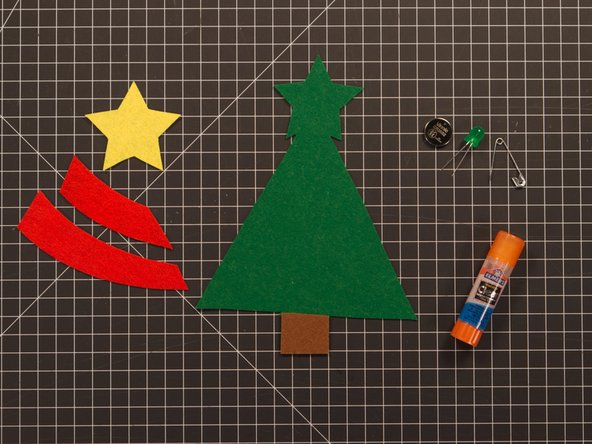
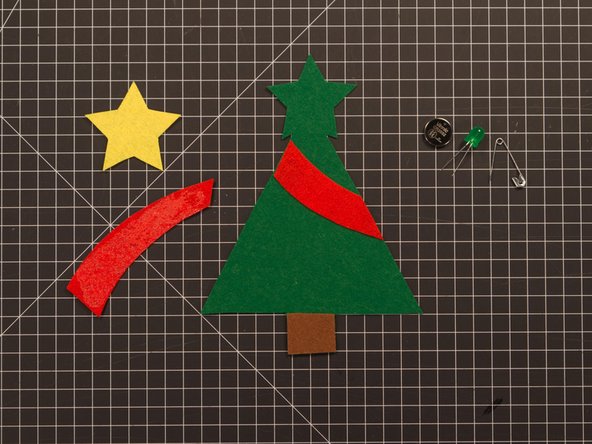
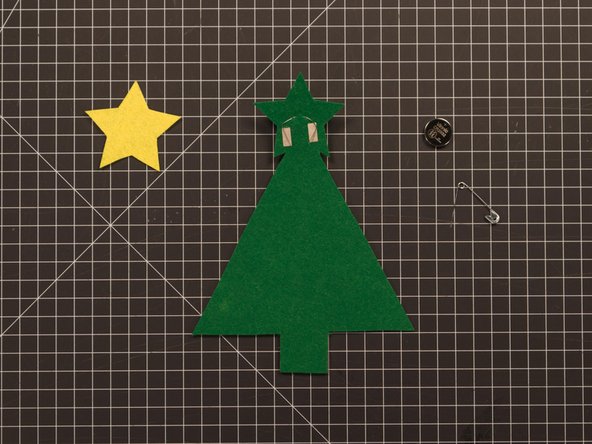
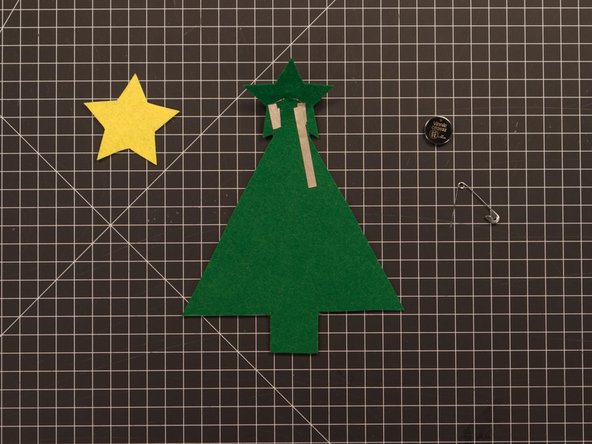
With all of our felt pieces cut out we're ready to start assembling our tree.
-
We did a "dry fit" of all of our pieces to make sure none were missing and to figure out where everything would go.
-
-
-
Let's start with the easy piece, The tree trunk gets glued to the bottom of the tree.
-
We found that if you use a glue stick it is very helpful to put a bit of glue on both pieces. So cover the brown piece and then put a bit on the area where the brown piece will attach.
-
The glue stick takes a while to dry, so once you stick it down be careful not to let the felt piece move around. (You could help them stay in place with a few small pieces of blue painter's tape.)
-
With our glue stick we found that things stuck together really well after letting the glue set overnight.
-
-
-
Attach the two ribbons to the tree. Make sure you've got them in the right position since they are different sizes.
-
If you prefer the ribbons to swoop left instead of right just flip them over!
-
You can also skip the ribbons or use something else like little round pieces of felt to represent ornaments. You get to choose how to decorate your tree!
-
-
-
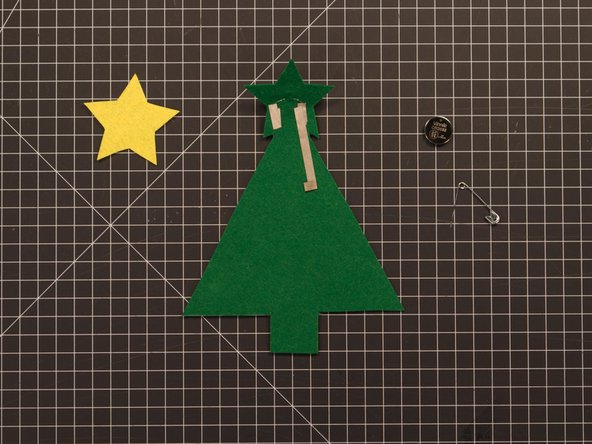
With all the felt glued down your tree should look like this! (We've still got the star but we'll add that at the end.)
-
Remember that if you are using a glue stick be careful with your tree at this point as the glue takes some time to dry.
-
Next we'll add the circuit so your tree can light up!
-
-
-
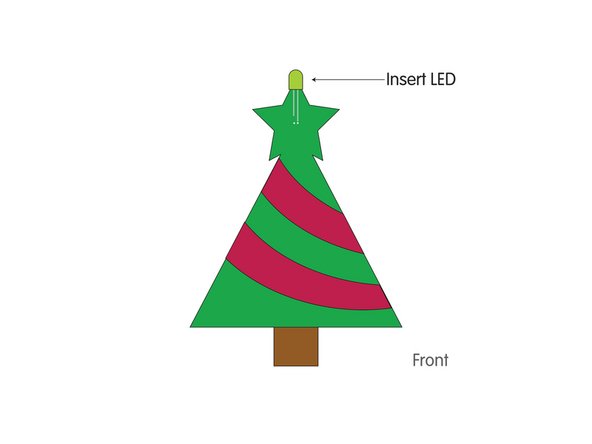
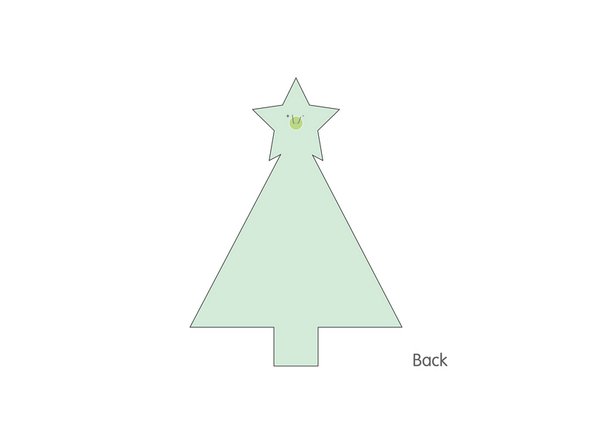
We'll need to poke two holes through the felt to put the LED legs through.
-
We recommend using a safety pin or a push pin to make the holes.
-
Be careful poking the holes! Make sure you don't poke your finger with the pin.
-
-
-
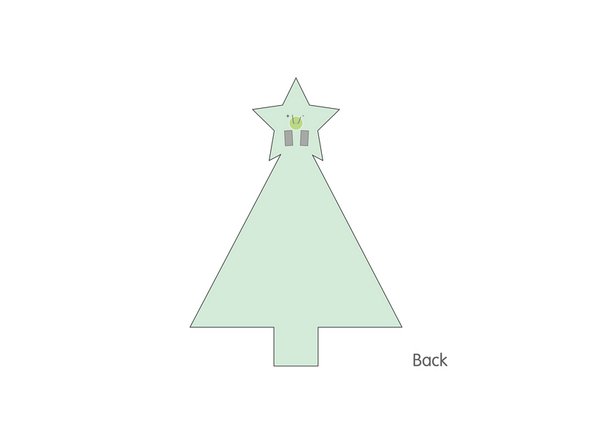
Add the LED by pushing the legs through the holes.
-
Note! Make sure the longer (positive) leg is on the right side when you put the legs through the holes.
-
With the longer (positive) leg on the right side you'll need to remember that when we flip over the tree then the positive leg will be on the left side.
-
-
-
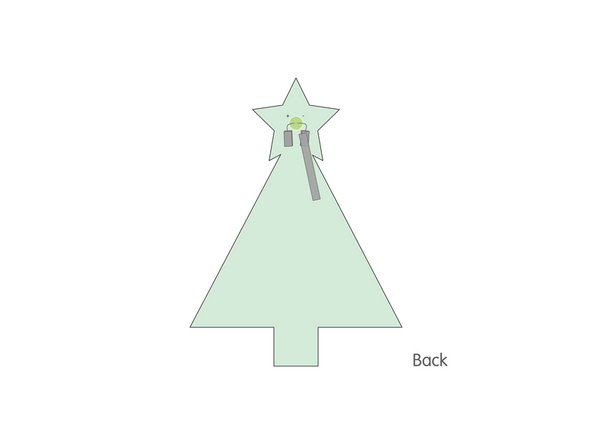
Flip over your tree and you'll see the LED legs sticking straight up. We'll need to bend them down flat, but before you do that we're going to add two pieces of Maker Tape.
-
Add two "pads" of Maker Tape (one for each leg) so that when you bend the legs down they make contact with the tape.
-
-
-
Bend the LED legs down and press them against the tape pads that were added in the previous step.
-
-
-
Once the LED legs are flat against the tape, add another layer of Maker Tape over the LED legs.
-
We should now have a nice solid electrical connection to the LED legs.
-
Two layers of Maker Tape create a "tape sandwich" with the LED legs in the middle. Since the felt isn't as flat as paper this will help create a better electrical connection.
-
-
-
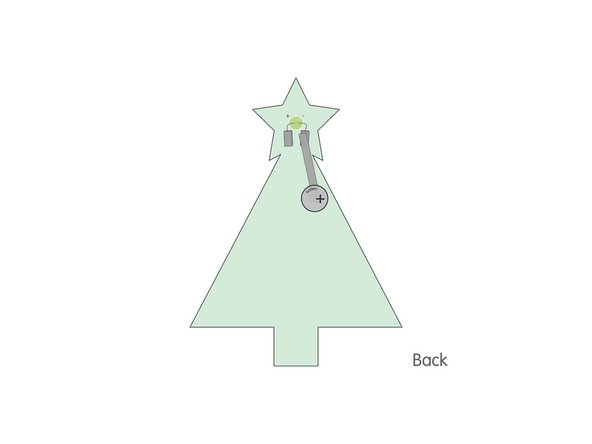
Add the negative piece of Maker Tape to the LED leg on the right side. (This will connect the negative leg to the negative side of the battery.)
-
If you need to use more than one piece of Maker Tape to connect things that's fine. You can overlap Maker Tape and it will still work because it's conductive on both sides and all the way through.
-
-
-
Using Maker Tape, create a small tape loop.
-
Add the tape loop to the negative piece of tape.
-
-
-
Stick the battery down to the tape loop added in the previous step.
-
Make sure you stick the negative side of the battery down to the tape loop.
-
-
-
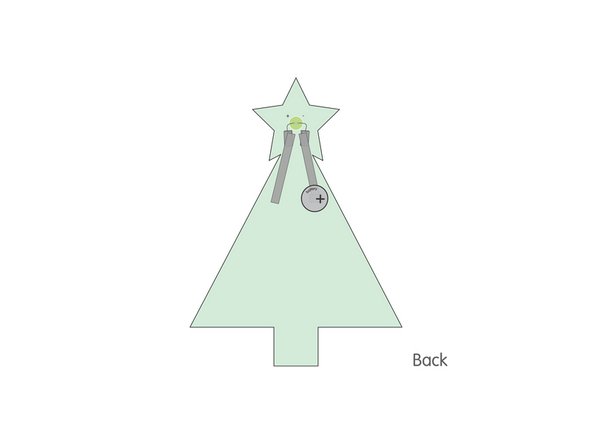
Add additional pieces of Maker Tape to connect the positive LED leg to the top of the battery.
-
Your LED should light up as soon as you connect the tape!
-
If your LED did not light up there are a few things you can try.
-
Check that all of your tape is pressed down securely. If there is a piece not making contact that may prevent your circuit from working.
-
Try flipping over the battery. If your LED is reversed you can fix your circuit by flipping the battery upside down to match the polarity of the LED.
-
If you want to turn off your circuit you can just peel back the piece of tape touching the top of the battery. Once you "open" the circuit the LED will turn off!
-
-
-
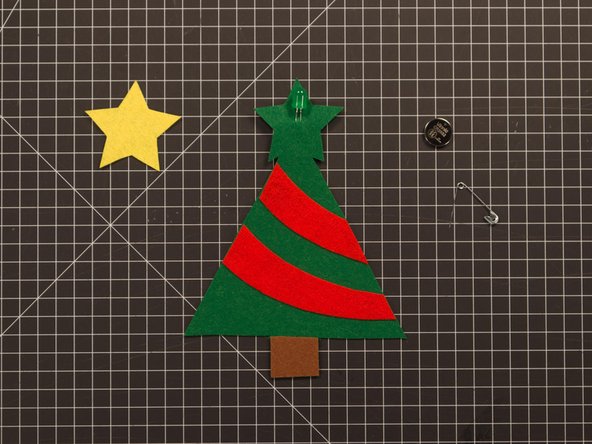
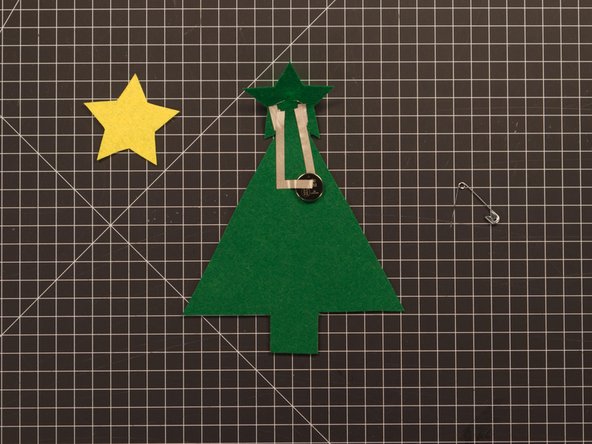
Flip your tree over again so you can see the front. Your LED should be glowing!
-
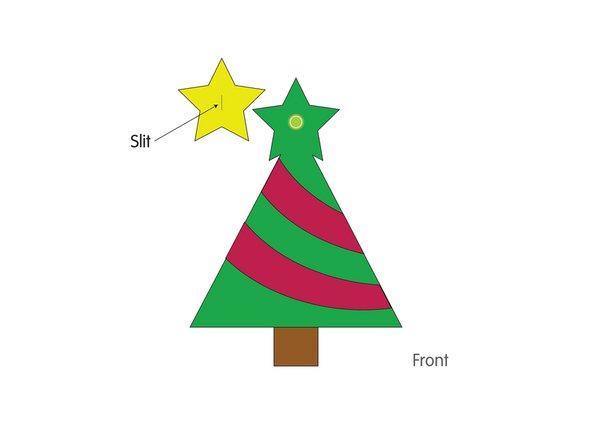
Let's add the star. To do so you'll need to cut a slit into it so it will fit over the LED.
-
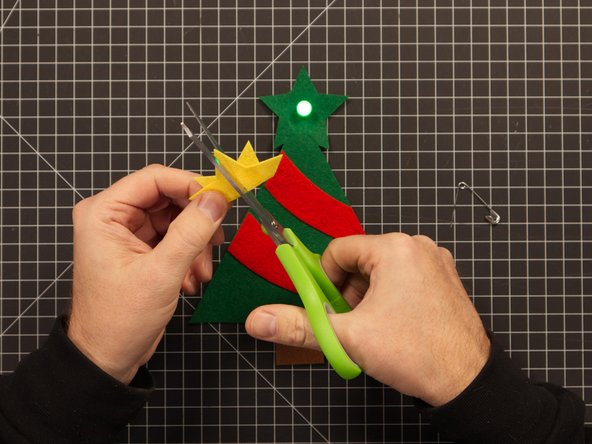
You can easily cut a slit by folding over the star and making a small cut. (Start small, and try to fit the star over the LED. If you need to make the slit longer, cut a little more.)
-
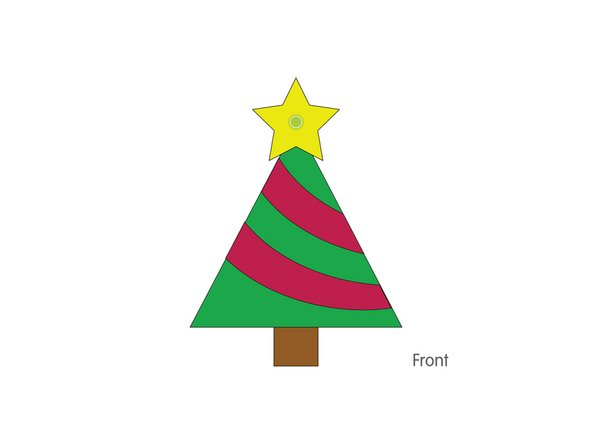
Depending on the slit that you cut your star might stay in place just fine, but if you need to, you can glue it in place.
-
-
-
Enjoy your Felt Christmas Tree!
-
You can easily safety pin your tree to your clothing, or hang it on your real Christmas tree as an ornament.
-
What other ways can you decorate with your new Felt Christmas Tree?
-


Attached Documents
