Introduction
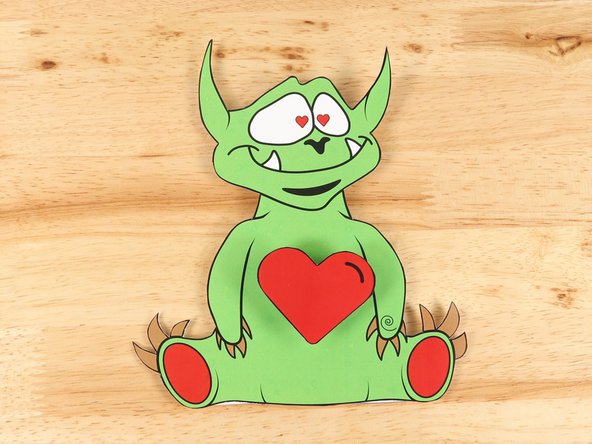
Create this love monster and make his heart spin!
This can be created with our Paper Circuits Kit and a barrel motor!
Video Overview
Featured Document
-
-
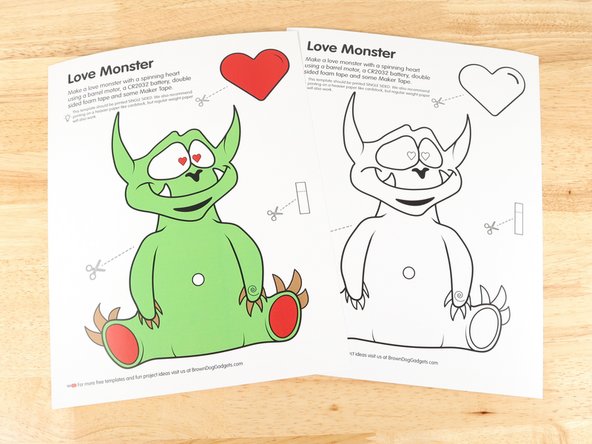
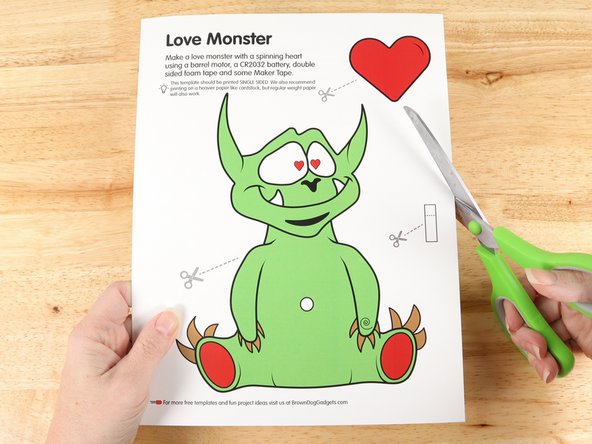
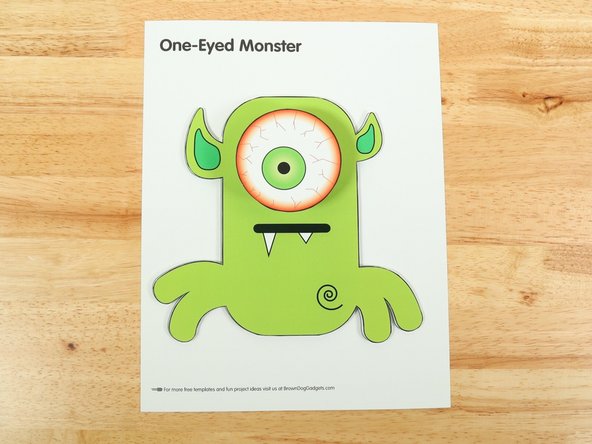
Make sure to print this template single-sided. You will be making a project with two distinct layers with a small gap in between.
-
-
-
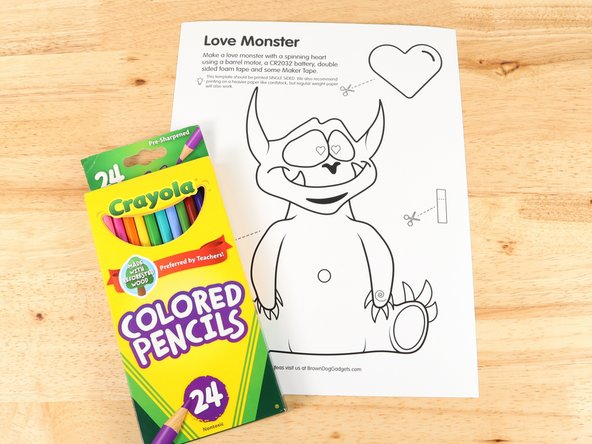
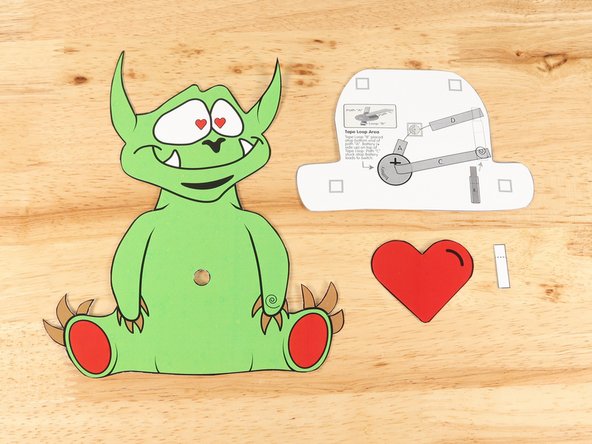
Color and cut out the top layer of the monster template, the heart, and the switch.
-
Cut out the small circle in the middle of the monster.
-
We will be putting the motor through this hole in a later step.
-
Decide if you want to cut out the template that has the circuitry. If you leave it uncut, the space on the paper around the monster can be decorated to depict a scene. Otherwise you can cut out the template before assembling.
-
-
-
Add hot glue or double-sided foam tape to the center of the bottom template where the motor will go.
-
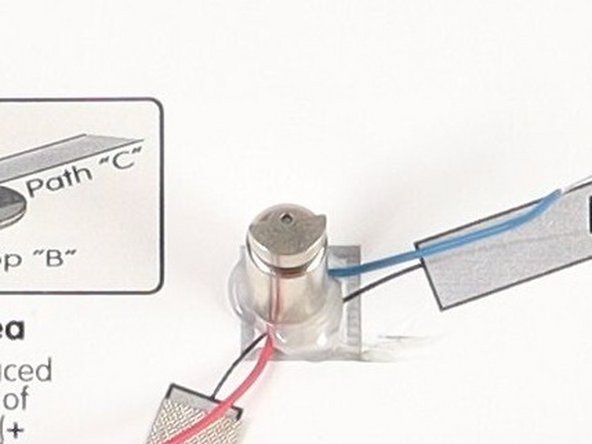
Stick the motor to the hot glue or double-sided tape making sure the back of the motor (with the wires) is stuck down to the glue/tape and the part that spins faces upwards so it can move freely.
-
-
-
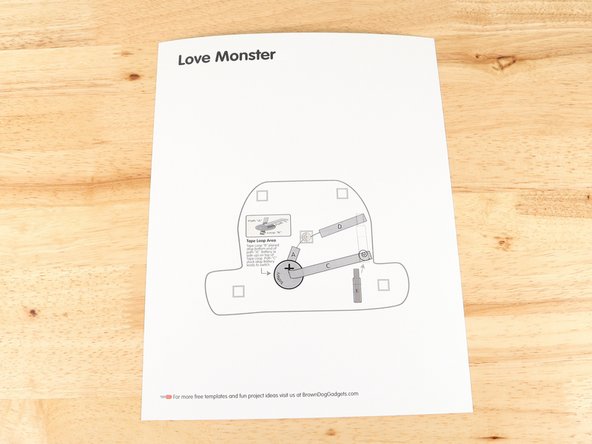
Add a strip of Maker Tape to Tape Path A. under the wire motor.
-
Add another piece of Maker Tape to Tape Path A. pressing it down atop the red wire.
-
If your wires are reversed it will just change the direction the motor rotates.
-
-
-
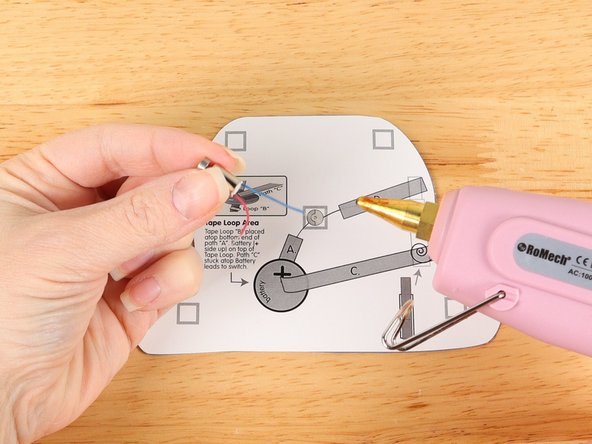
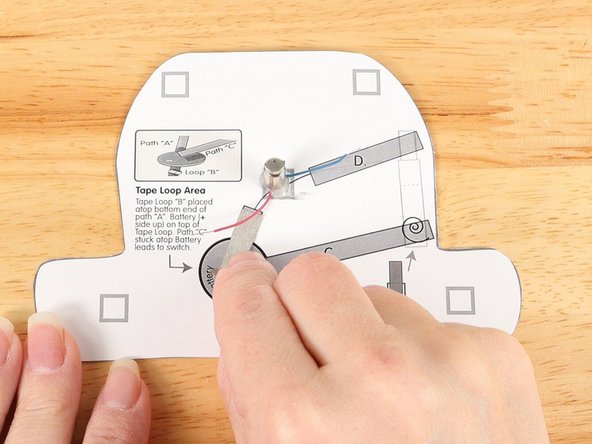
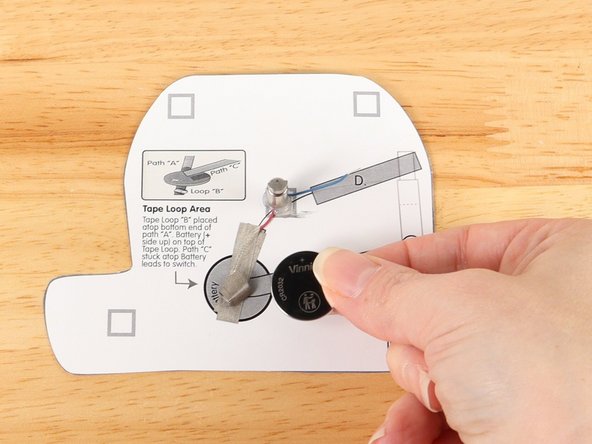
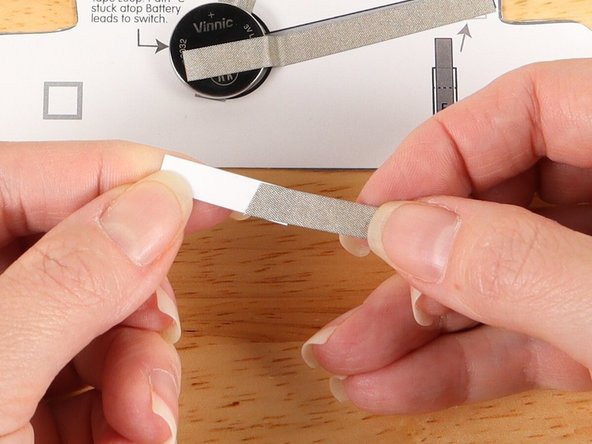
Make a loop of tape (sticky side out) using a short piece of Maker Tape, and stick it atop the end of Path A.
-
-
-
Once your tape loop is in place you can add the Battery to it.
-
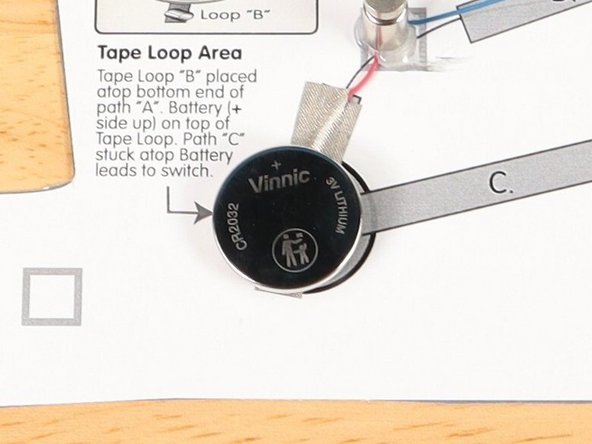
Make sure the Positive side of the Battery is facing upwards, with the Negative side stuck down to the tape.
-
-
-
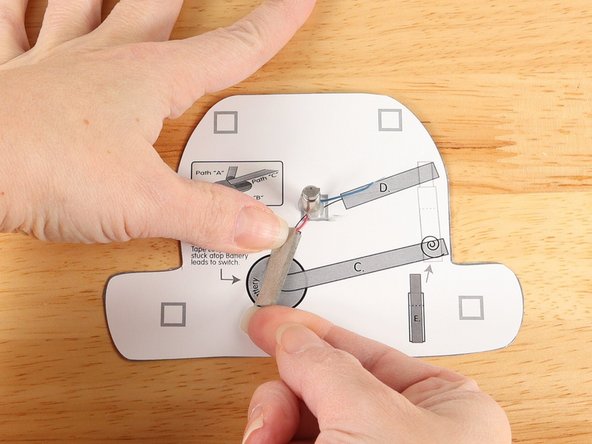
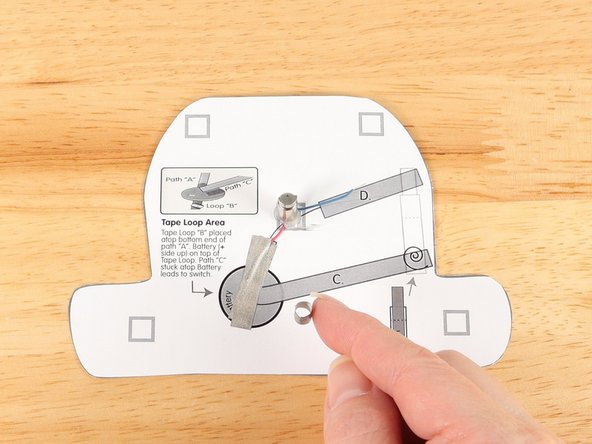
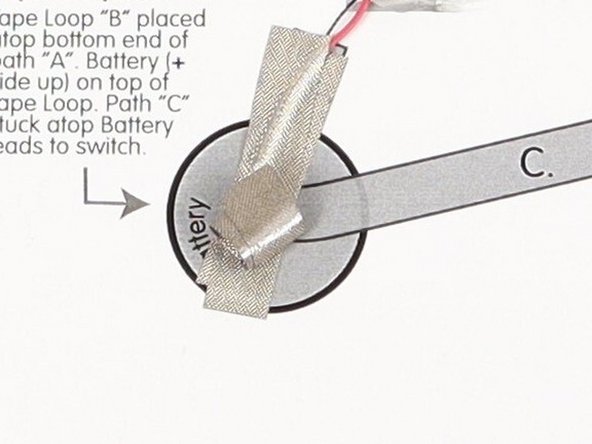
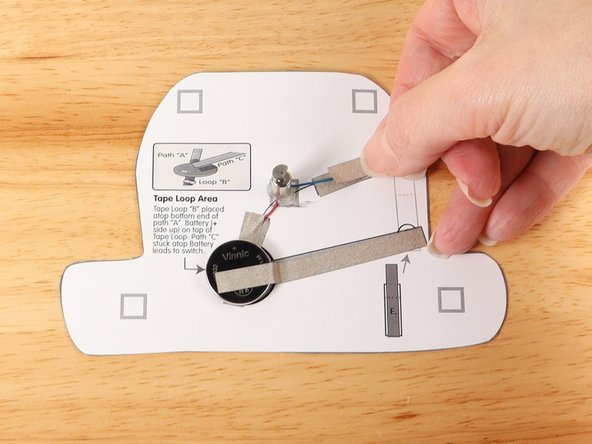
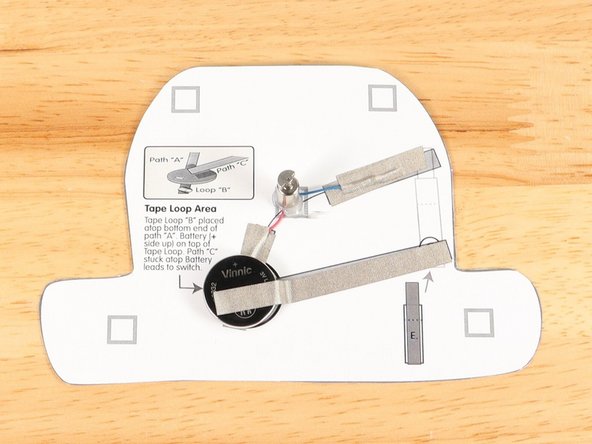
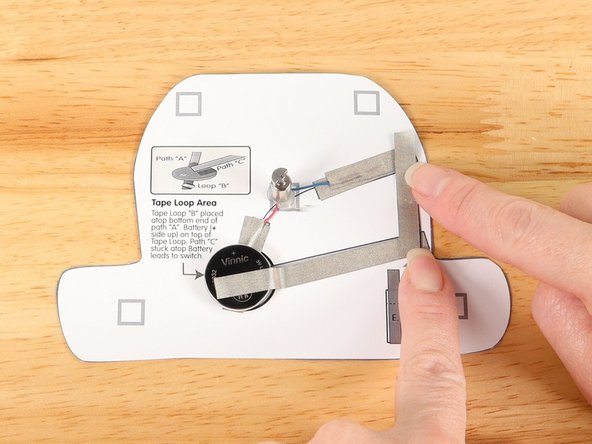
Add tape Path C. to the top of the battery and onto the template.
-
-
-
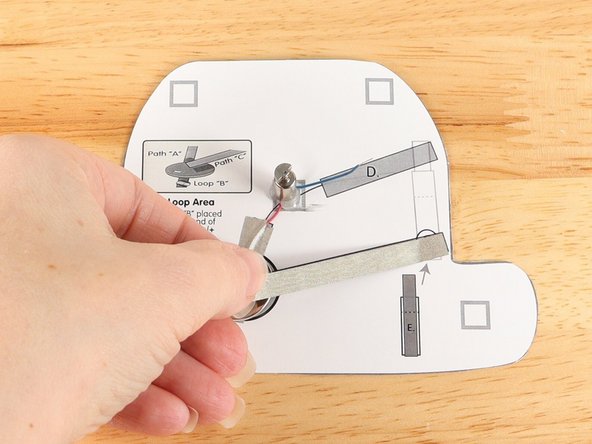
Add a strip of Maker Tape to Tape Path D. under the wire motor.
-
Add another piece of Maker Tape to Tape Path D. pressing it down atop the blue wire.
-
-
-
If you haven't made a paper lever switch yet see the guide: Switch - Lever Switch
-
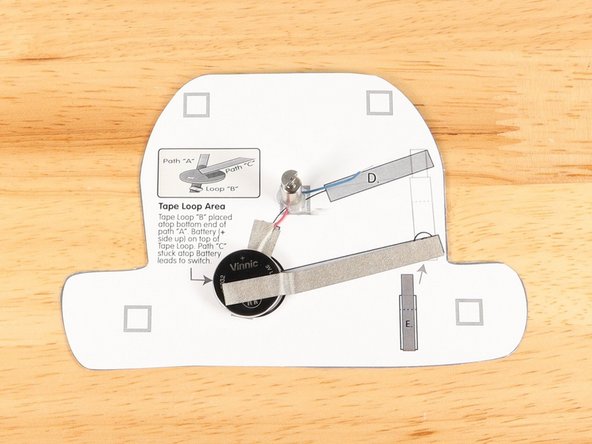
Add the paper switch to the end of Path D. so that the Maker Tape overlaps.
-
Make sure the other end of the paper switch comes in contact with Path C.
-
If the switch does not reach the Path D. tape you can adjust and add more Maker Tape as needed.
-
-
-
At this point you should test the circuit to make sure it works. When you press down on the switch the motor should spin.
-
It is easier to fix the circuit if it is not working before adding the top monster layer.
-
If it does not spin...
-
Make sure that your switch is making contact.
-
Make sure your motor can spin freely and doesn't have tape or glue impeding movement.
-
-
-
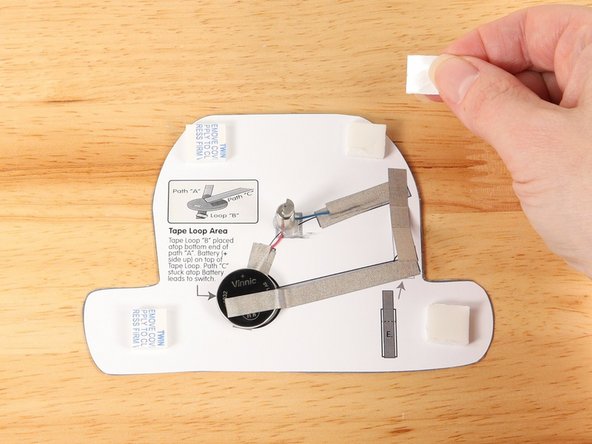
Add four small pieces of double-sided foam tape to the squares around the outline of the monster.
-
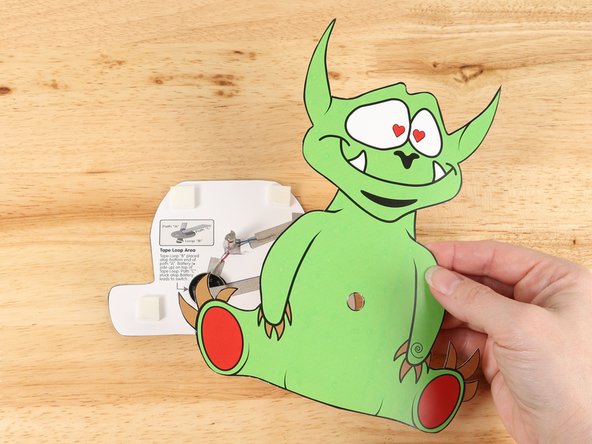
Place the monster template over the top of the motor so the motor goes through the small hole you cut earlier.
-
Press down on top of the template to adhere the top layer to the foam tape.
-
-
-
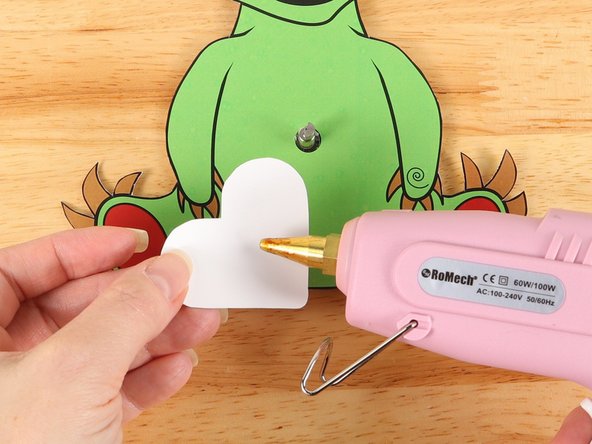
Add hot glue or another square of double-sided tape onto the middle of the heart template, and then stick the heart to the top of the motor.
-
-
-
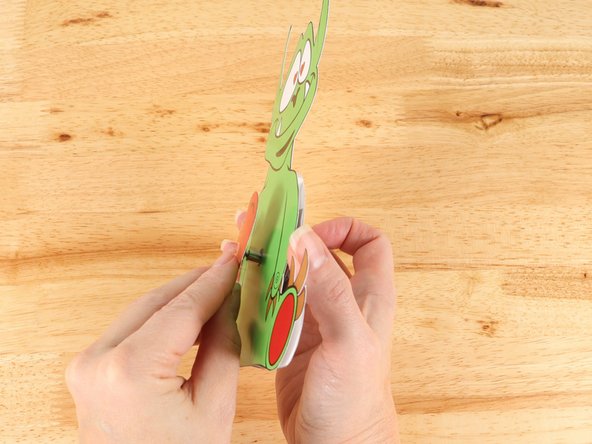
The switch is underneath the swirl pattern on the monster. Tap the swirl to make your monster's heart spin!
-
-
-
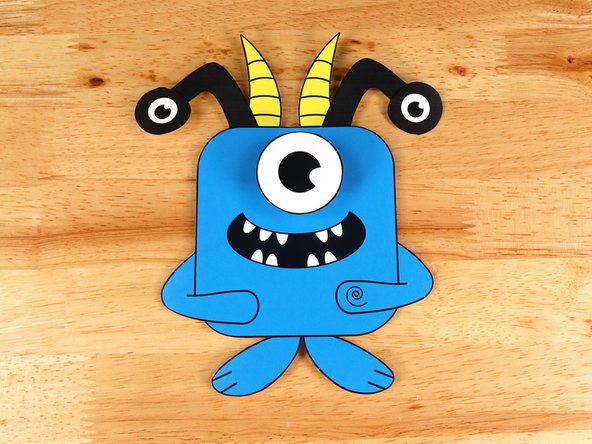
Check out these other monsters and create them for your next project!
-
-
-


Attached Documents